V-Ray for Cinema 4D
Resumable Rendering Workflow
This page is a tutorial on how to use resumable rendering with V-Ray for Cinema 4D.
Last updated 19 September 2025
This page is a tutorial on how to use resumable rendering with V-Ray for Cinema 4D.
Overview
Resumable rendering allows you to resume incomplete renders from where they left off in the previous session. The rendering may have stopped due to any number of reasons such as a power failure or having the job bumped off a machine or a render farm, or perhaps you stopped the render manually and want to start from where you left off.
Resumable rendering uses sidecar files for tracking checkpoints. For Bucket sampling, it uses a .vrimg file, and for Progressive sampling, it uses a .vrprog file.
Want to follow along but don’t have a license?
How it Works
Resumable renders are possible with both Bucket and Progressive Image Sampler types:
With Bucket rendering, an additional .vrimg file is written, storing the data of the completed buckets. When resuming the render, V-Ray reads the .vrimg file to determine which buckets still need to be rendered and continues to calculate what is left to complete the image. Another great ability of this feature is that the Light Cache data is saved within the partial image file so that the light cache does not need to be recalculated when the render resumes.
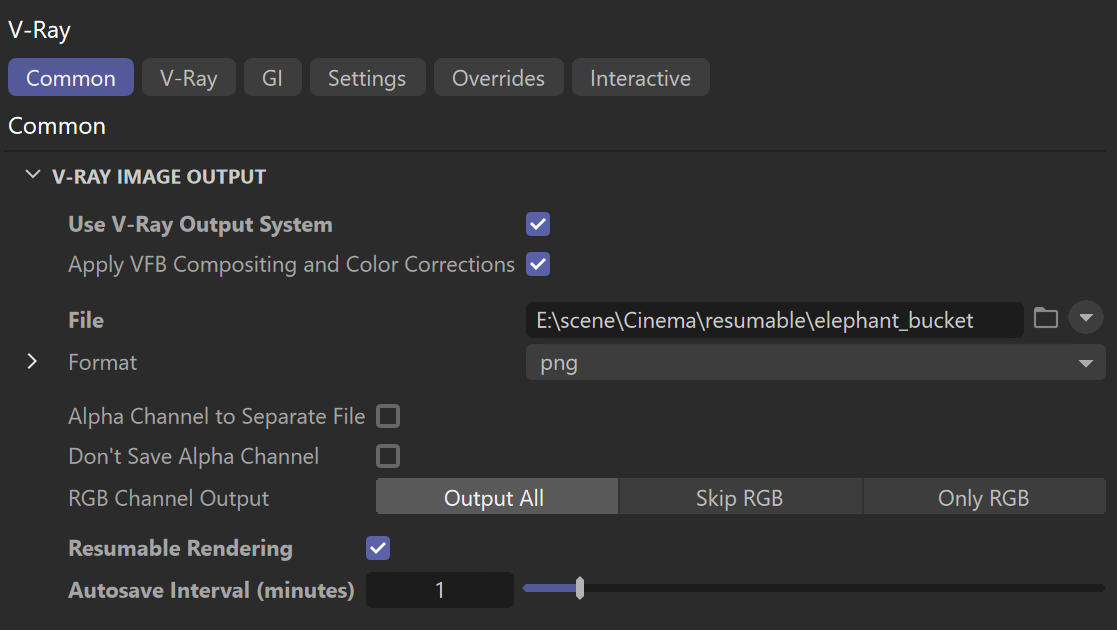
With the Progressive image sampler, the state of the render is saved to an additional resumable .vrprog file. When using the Progressive Image Sampler, setting the Autosave Interval (minutes) to anything higher than 0 is useful so V-Ray can write out the .vrprog files during rendering, in case the process is unintentionally stopped. However, setting the Autosave Interval (minutes) value too low (below a couple of minutes for example) may slow the render process.
If V-Ray finds a .vrprog file or a partially completed .vrimg file for the current frame, the rendering resumes from where it left off. If not, V-Ray starts a new render and a resumable file is then saved.
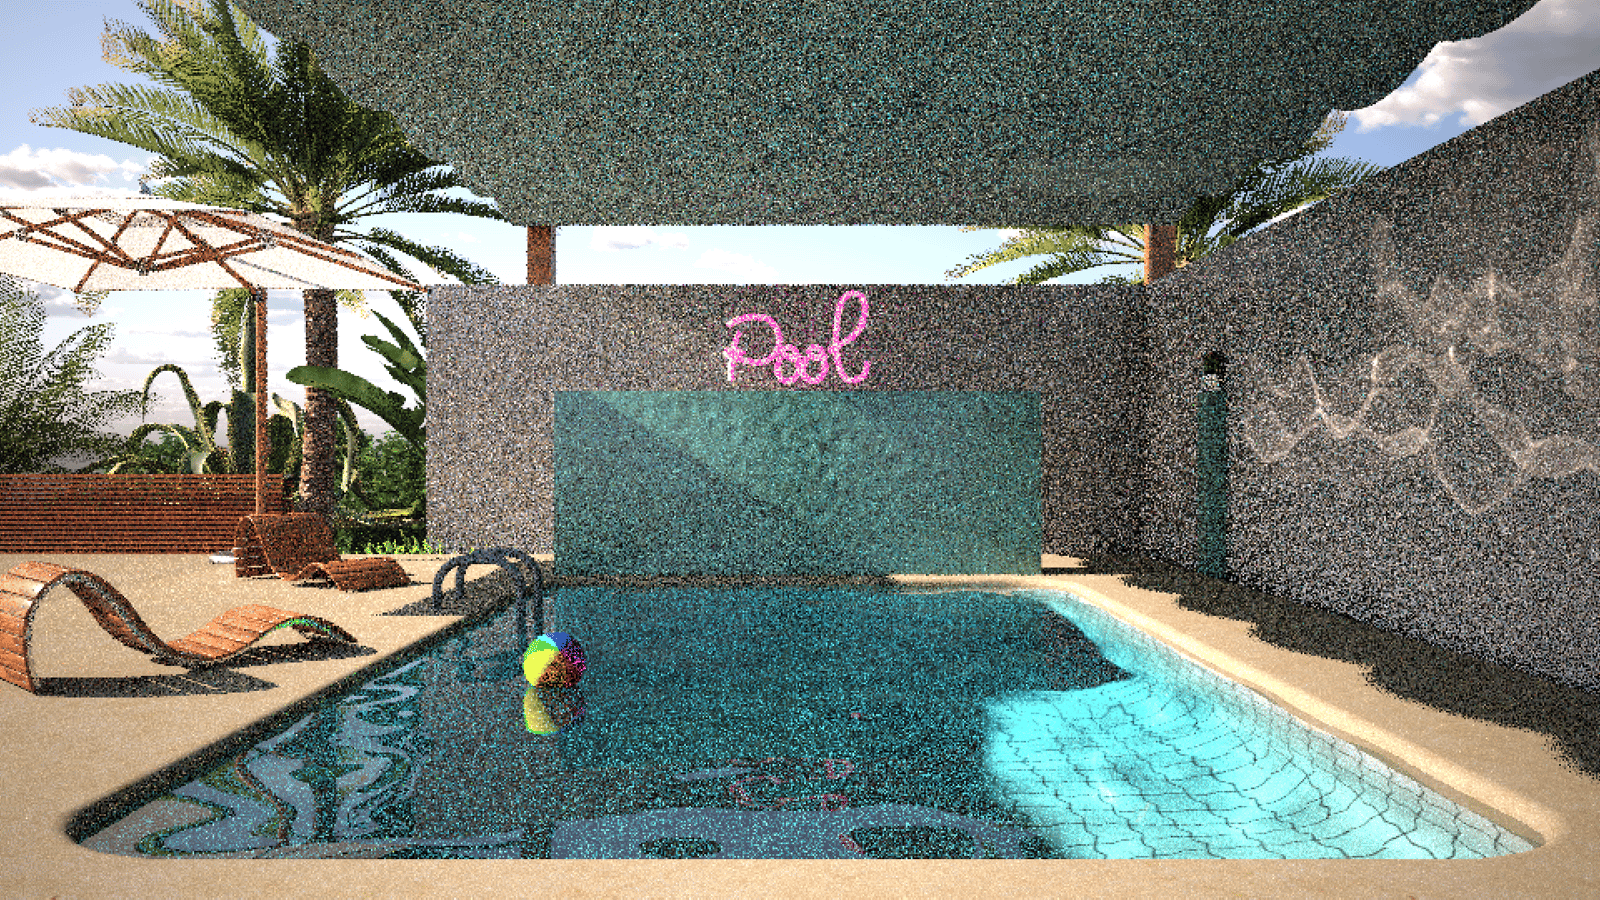
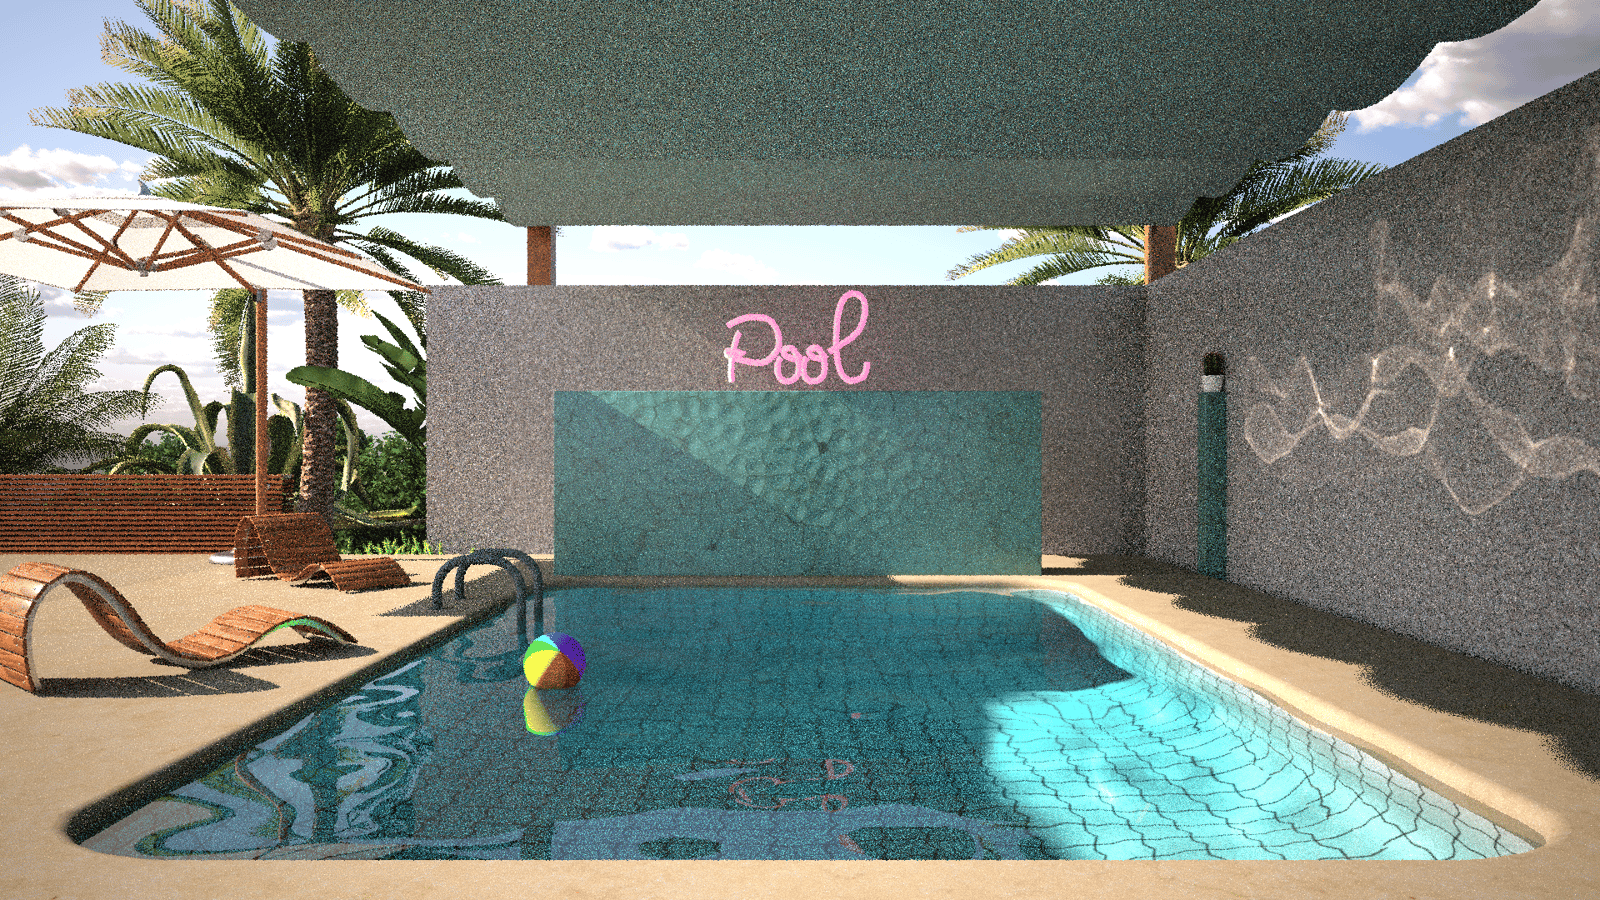
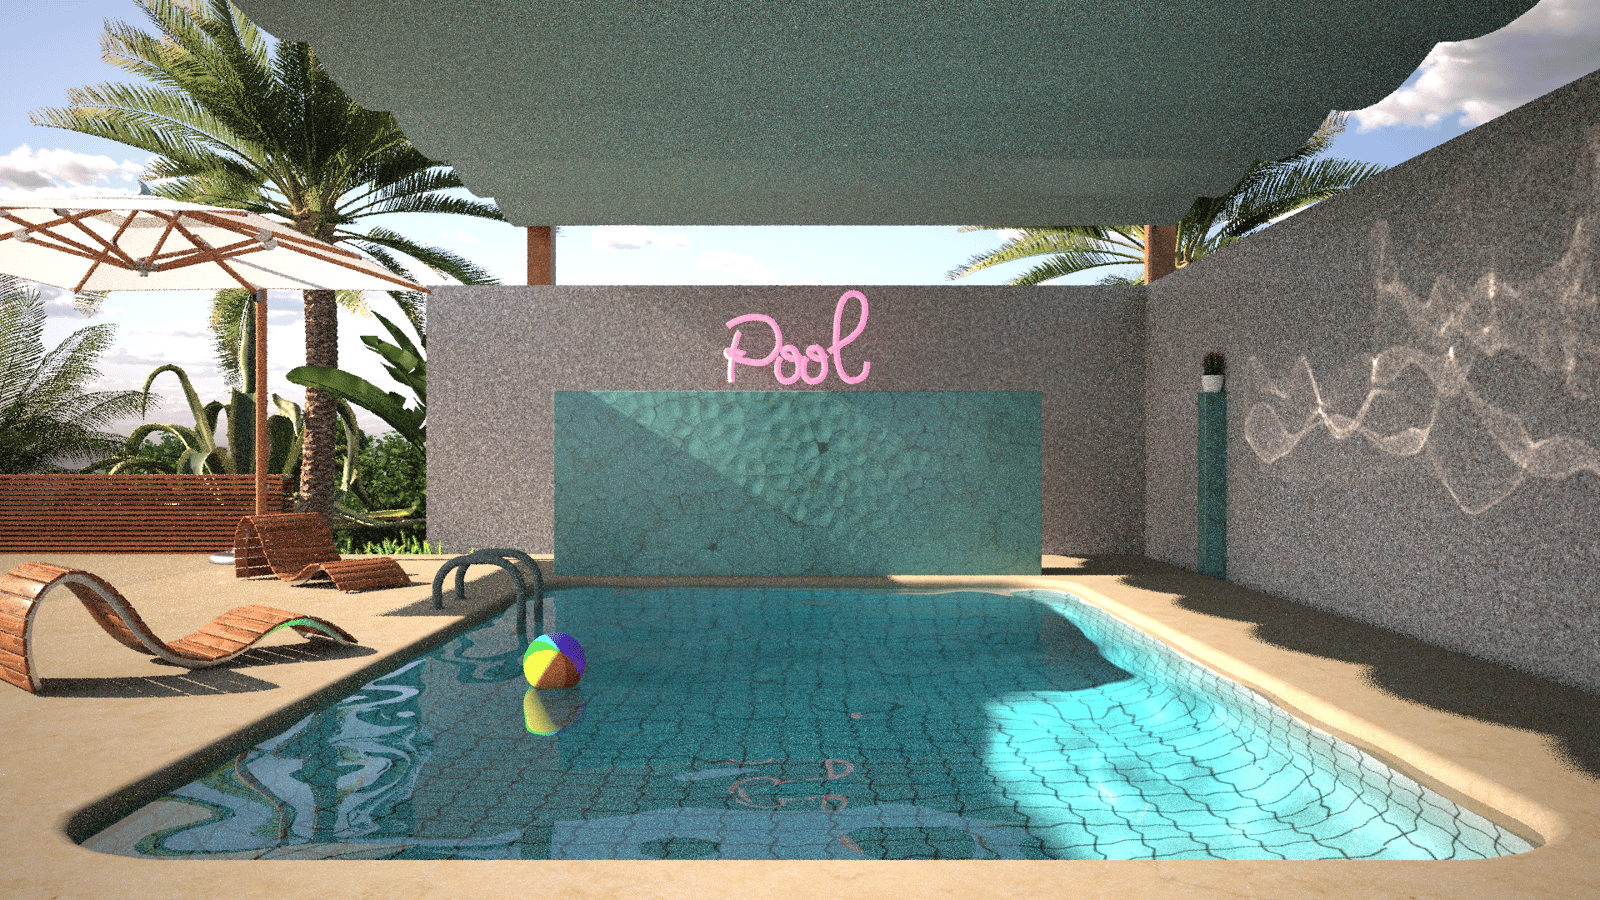
Workflow
- To enable resumable rendering, go to Render Settings > V-Ray > Common > V-Ray Image Output and click on the Resumable Rendering checkbox.
- To set the location of your resumable file, enable the Use V-Ray Output System option. Set the output file's name and directory using he File setting. The File Format you set is irrelevant.
When rendering animations, no additional steps in the V-Ray settings need to be taken. Just make sure to set the Frame Range in the Cinema Output settings.
Notes
- Light Cache data is saved in the resumable files, but the Irradiance Map (or any other GI map) is not, and will need to be recalculated when resuming the render. The rendering should still continue from where it was stopped, after the GI data is recalculated.
- Enable the Resumable Rendering option before starting a new render, not only when resuming.
- To start a new render, the old .vrimg/.vrprog resumable rendering file should be deleted.
- The scene should not be changed between stopping and resuming, except for the Progressive sampling options (Min Subdivs, Max Subdivs, Max. Render Time in Min, Noise threshold, Ray Bundle Size).
- When Test Resolution is enabled, Resumable Rendering is temporarily disabled.