KeyShot Studio
Area Light
The power of the light can be controlled in either Watt, Lumen or Lux. Lumen or Lux are recommended for best results. The choice between Lumen or Lux depends on the preferred workflow.
Last updated 3 August 2026
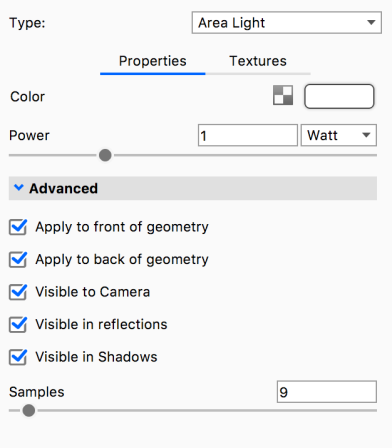
Area Light is a material type that will give you diffuse lighting. This will function similarly to a flood light. |
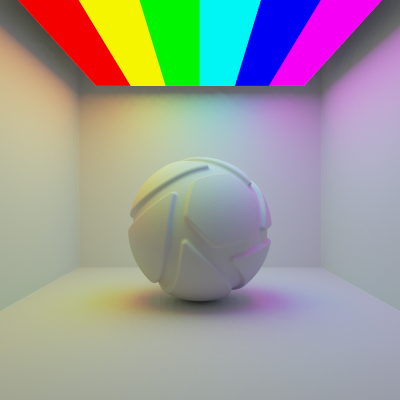
Color Here, you can choose the color the light will cast. You can also place a texture in front of the light source to color and mask the emitted light. For accurate lighting colors, use the Kelvin scale to select accurate lighting temperatures. |
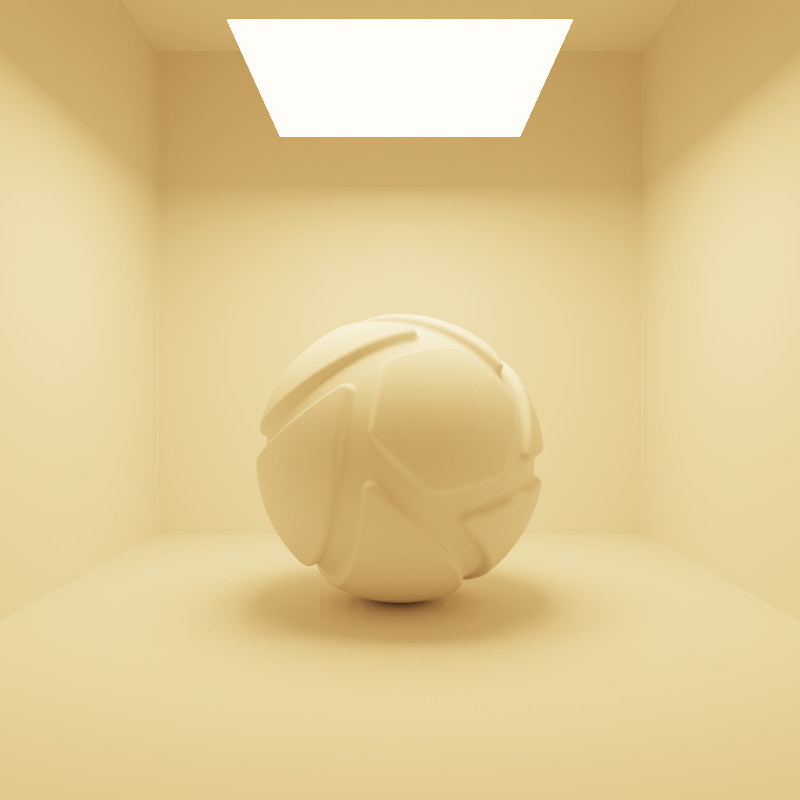
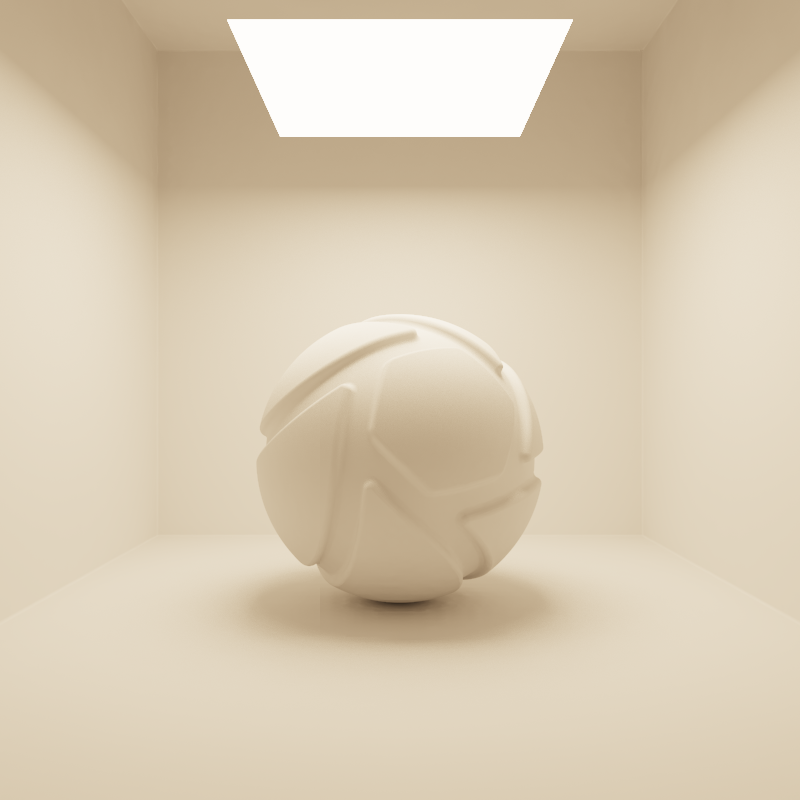
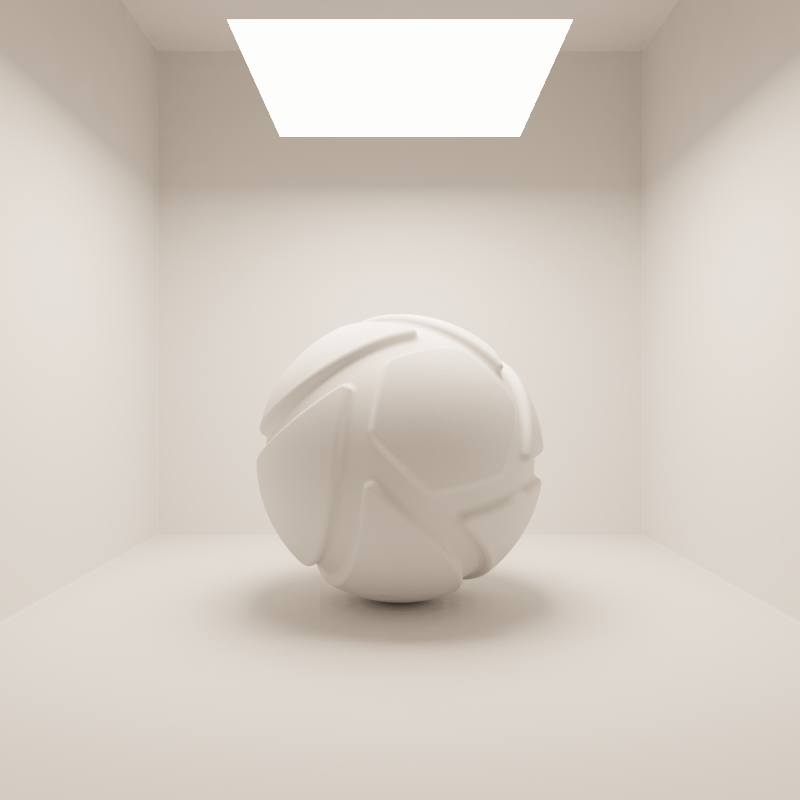
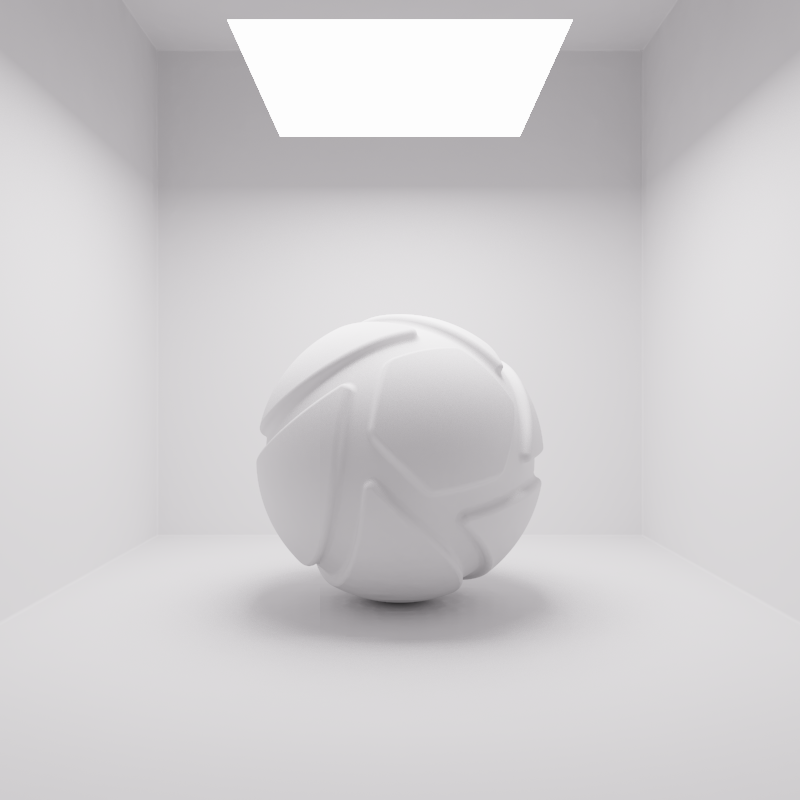
Color = 3000 Kelvin | Color = 4000 Kelvin | Color = 5000 Kelvin | Color = 6500 Kelvin |
Power
The power of the light can be controlled in either Watt, Lumen or Lux. Lumen or Lux are recommended for best results. The choice between Lumen or Lux depends on the preferred workflow.
Lumen
When the Power unit is set to Lumen, then the light output is specified as luminous flux. Total light output will be constant for area light objects of different sizes.
The examples below show the effect of increasing the size of a square area light from 10 to 200 mm. Power is a constant 250 Lumen.
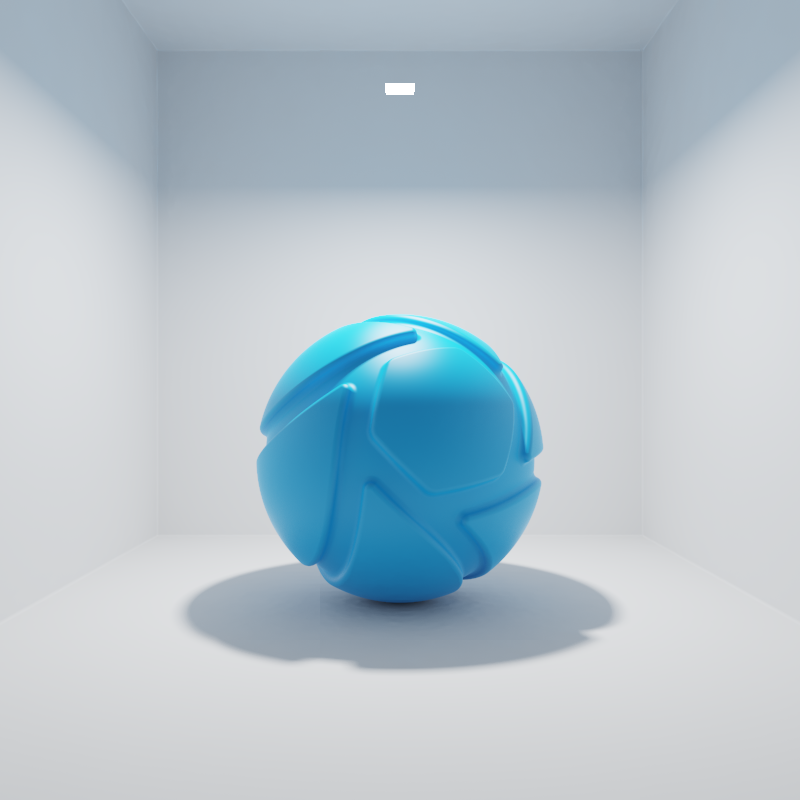
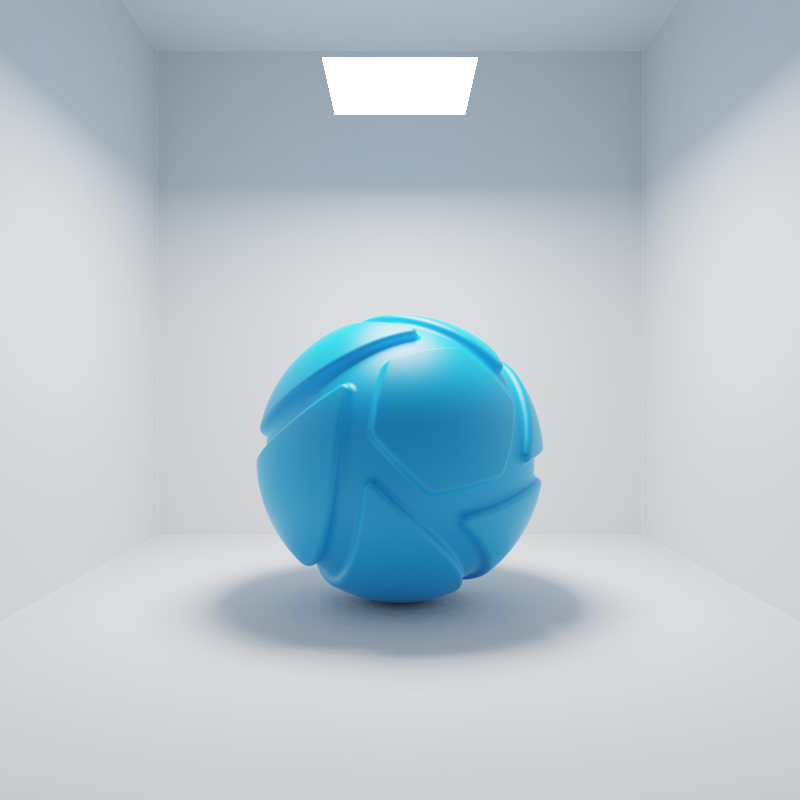
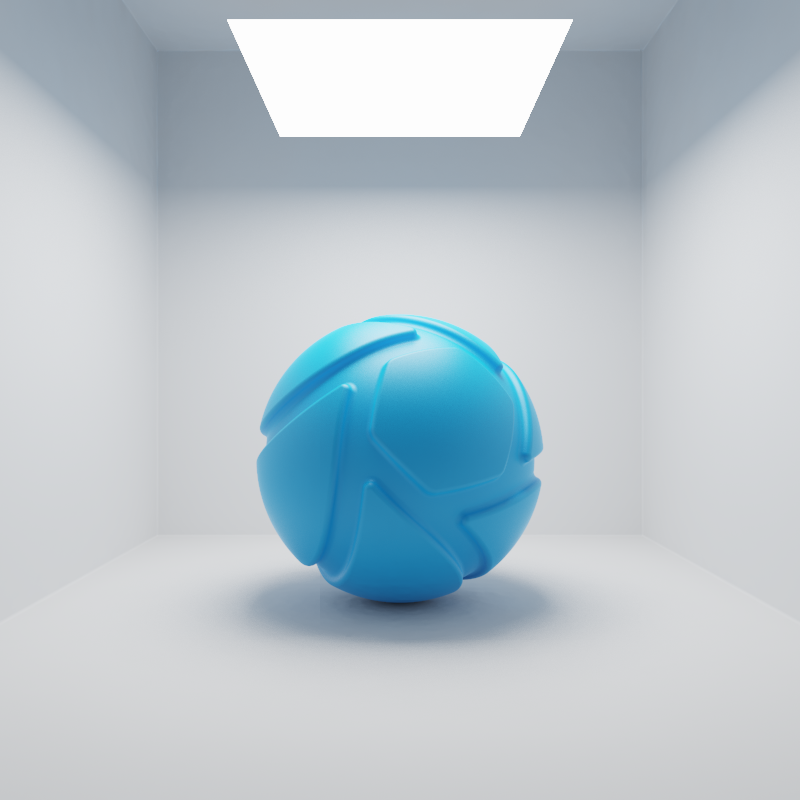
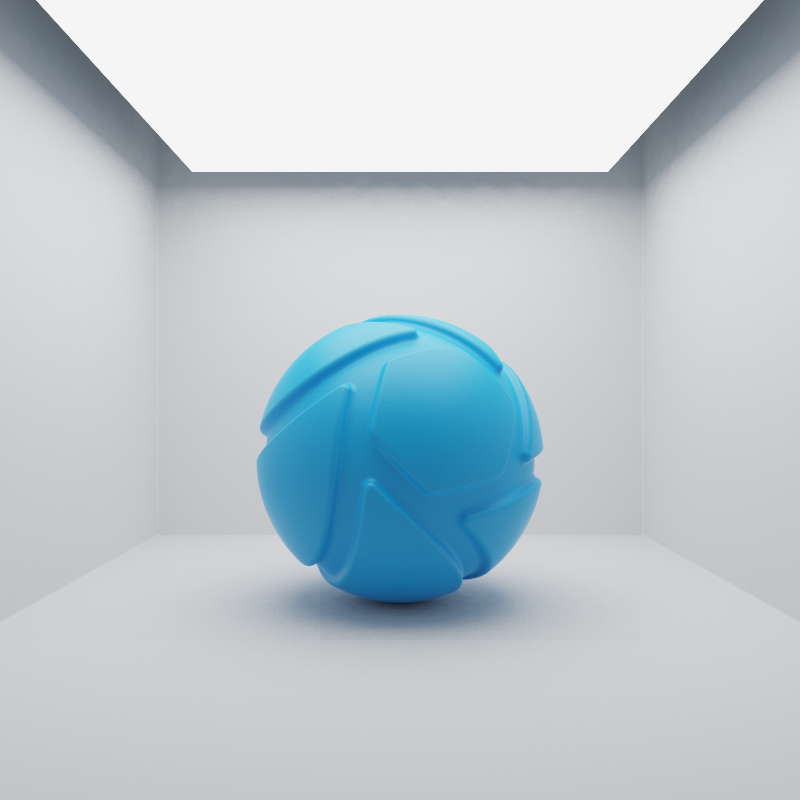
Size = 10 mm x 10 mm | Size = 50 mm x 50 mm | Size = 100 mm x 100 mm | Size = 200 mm x 200 mm |
Lux
When the Power unit is set to Lux, then the light output is specified as luminous emittance. 1 Lux equals 1 Lumen per square meter of light-emitting surface. Total light output will vary for area light objects of different sizes. Small area lights are dim, while large area lights are brighter, since the light-emitting surface area is larger.
The examples below show the effect of increasing the size of a square area light from 10 to 200 mm. Power is a constant 25000 Lux.
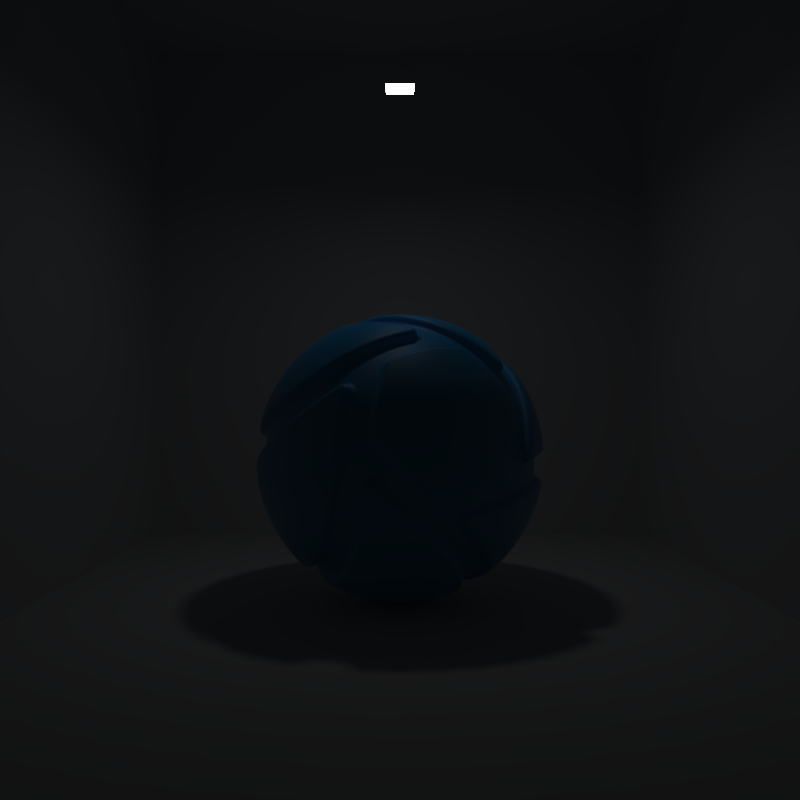
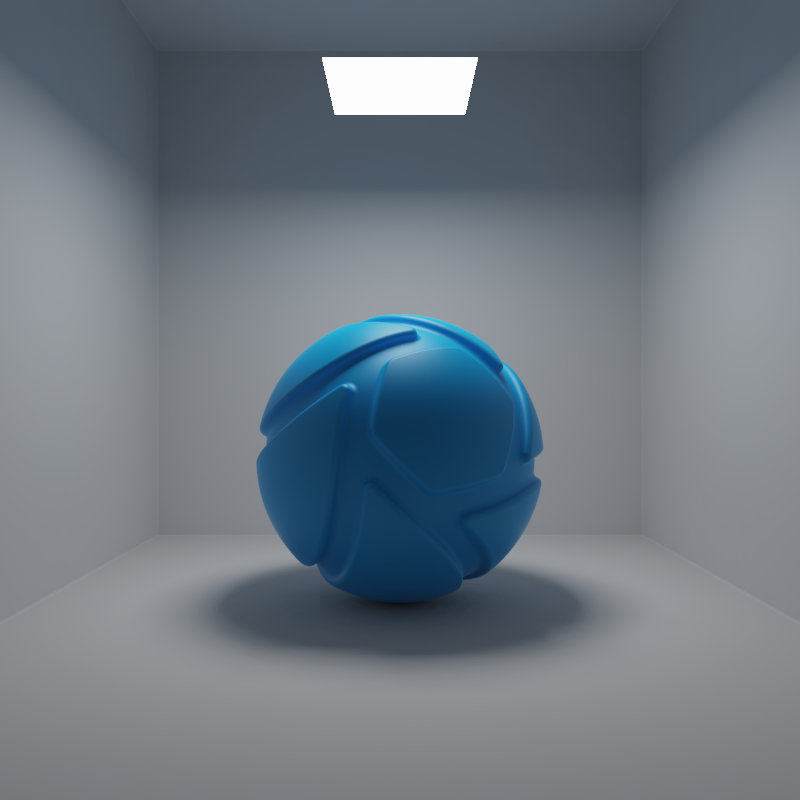
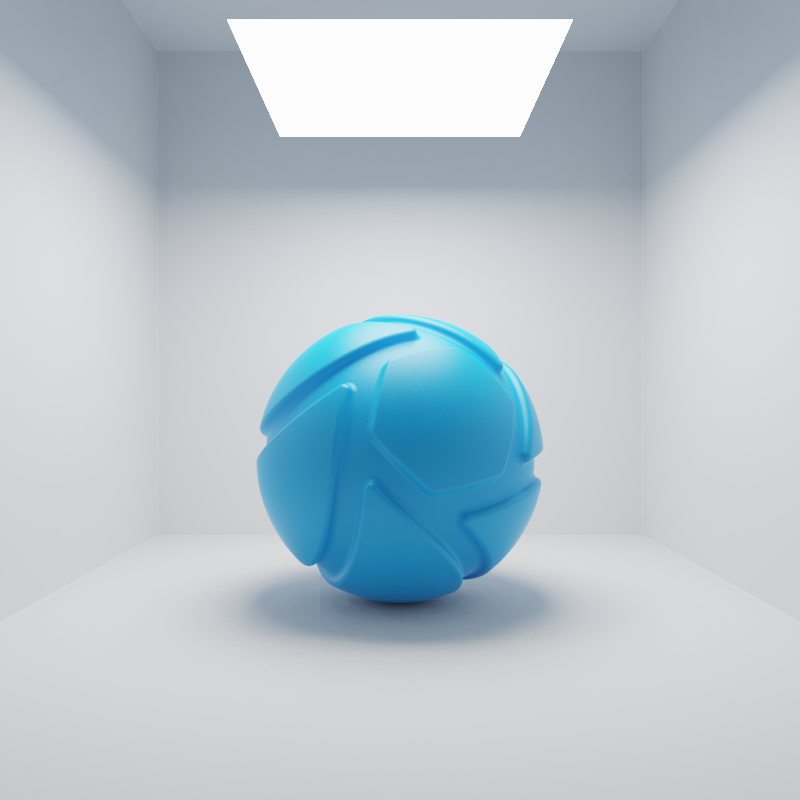
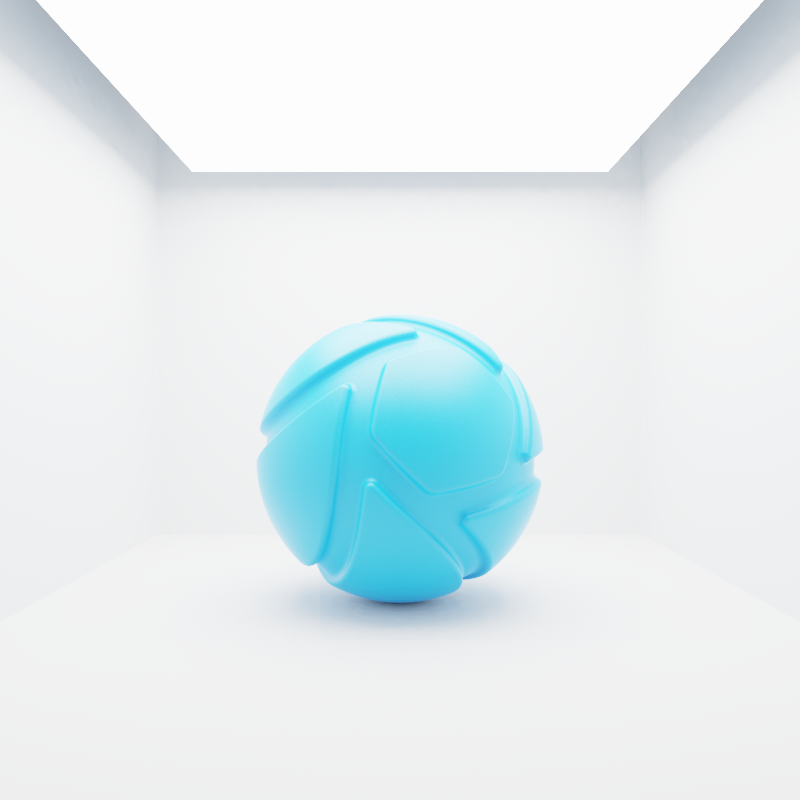
Size = 10 mm x 10 mm | Size = 50 mm x 50 mm | Size = 100 mm x 100 mm | Size = 200 mm x 200 mm |
Apply to Geometry
There are two checkboxes to make an area light emit from the front, back or both sides of the geometry. Which side of the geometry is interpreted as front or back depends on the orientation of the surface normals.
Toggling these options is mostly useful for surface geometry without thickness.
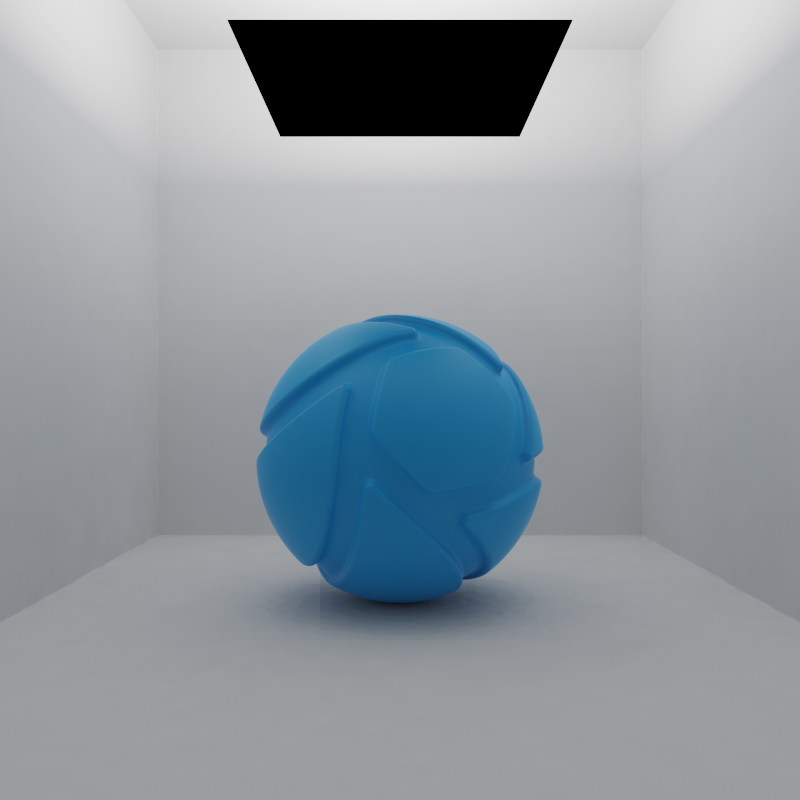
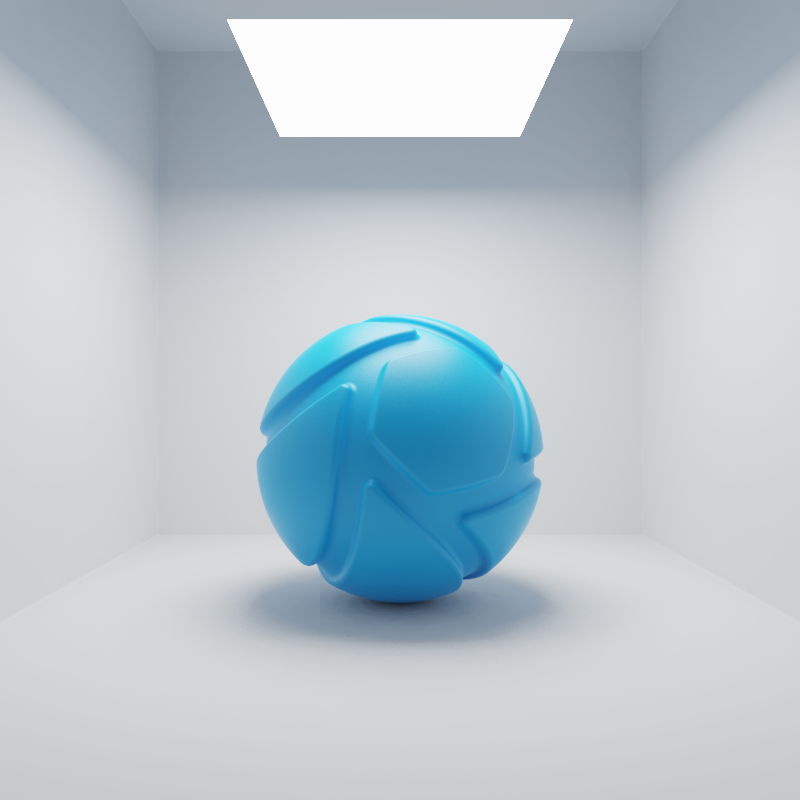
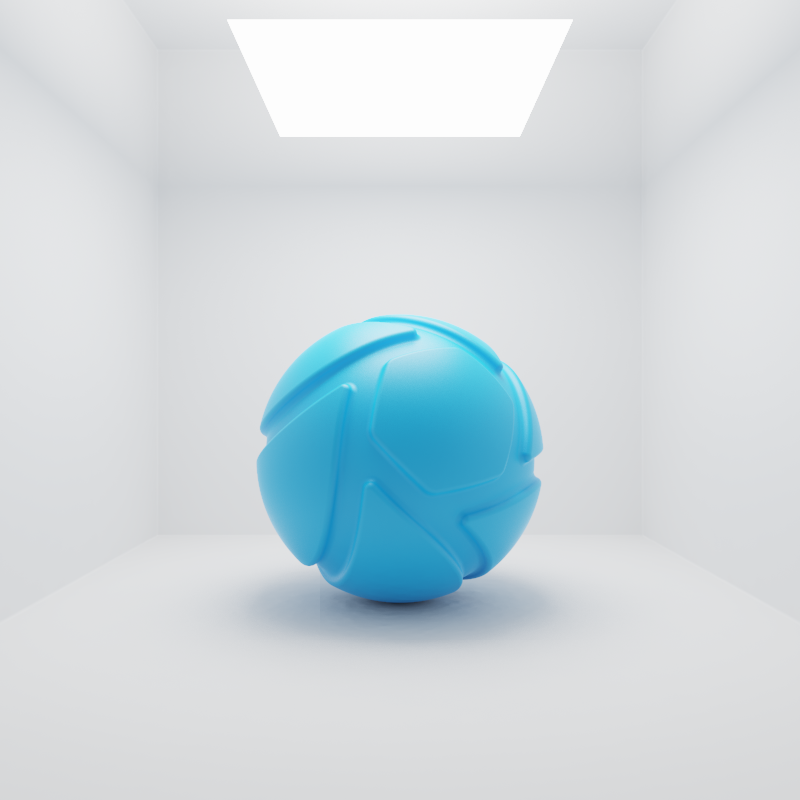
Apply to Front of Geometry The example shows a planar area light, emitting from the front side. | Apply to Back of Geometry The example shows a planar area light, emitting from the back side. | Apply to Front and Back of Geometry The example shows a planar area light, emitting from both the front and back side. |
Visible to Camera
Here, you can toggle whether or not the light source geometry is shown in real-time window and renderings.
The examples below show the effect of toggling visibility to camera.
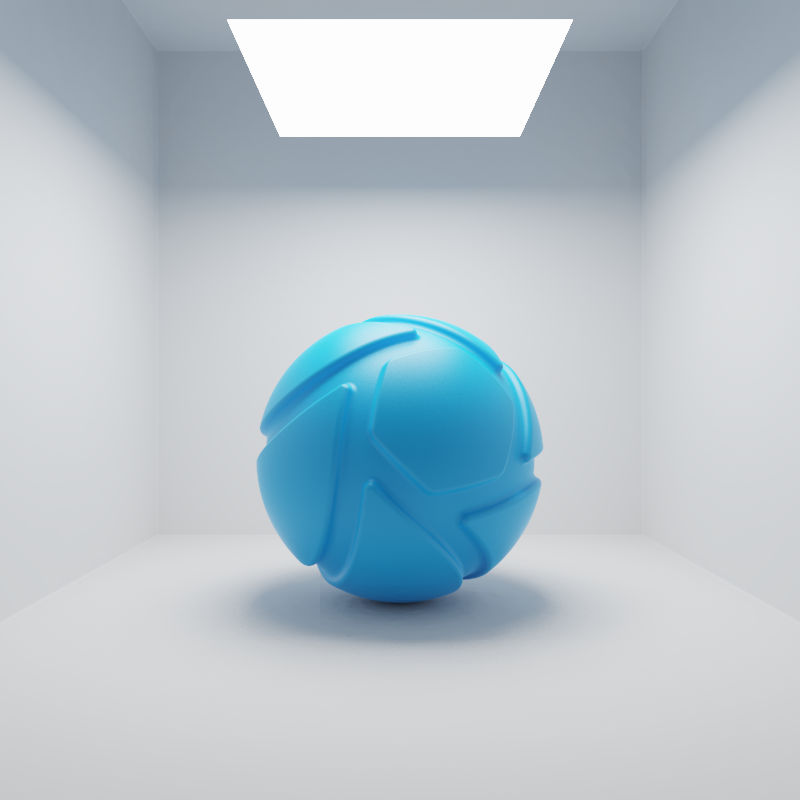
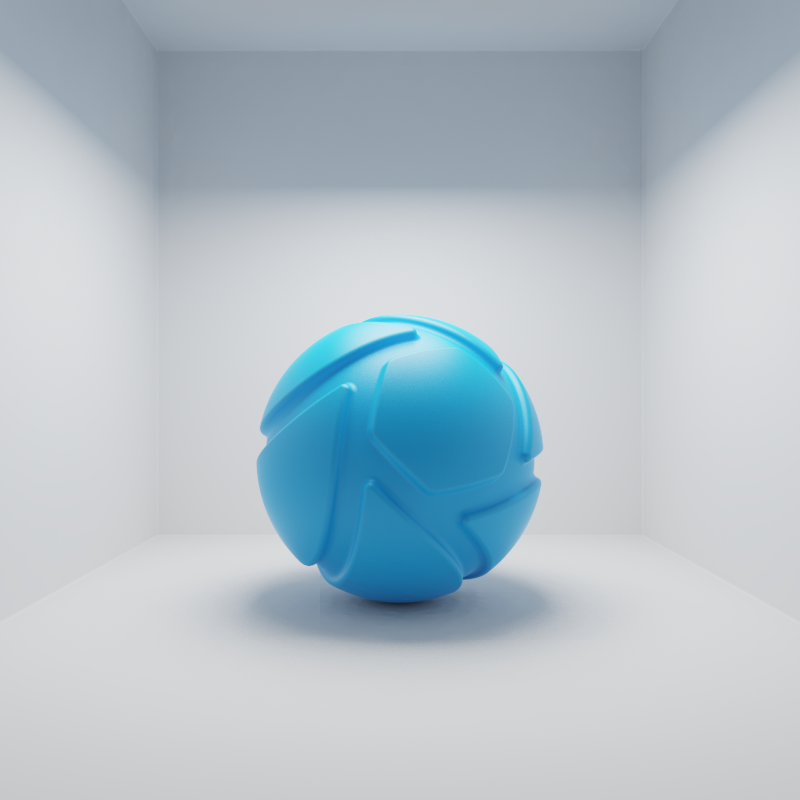
Visible to Camera = checked | Visible to Camera = unchecked |
Visible in Reflections
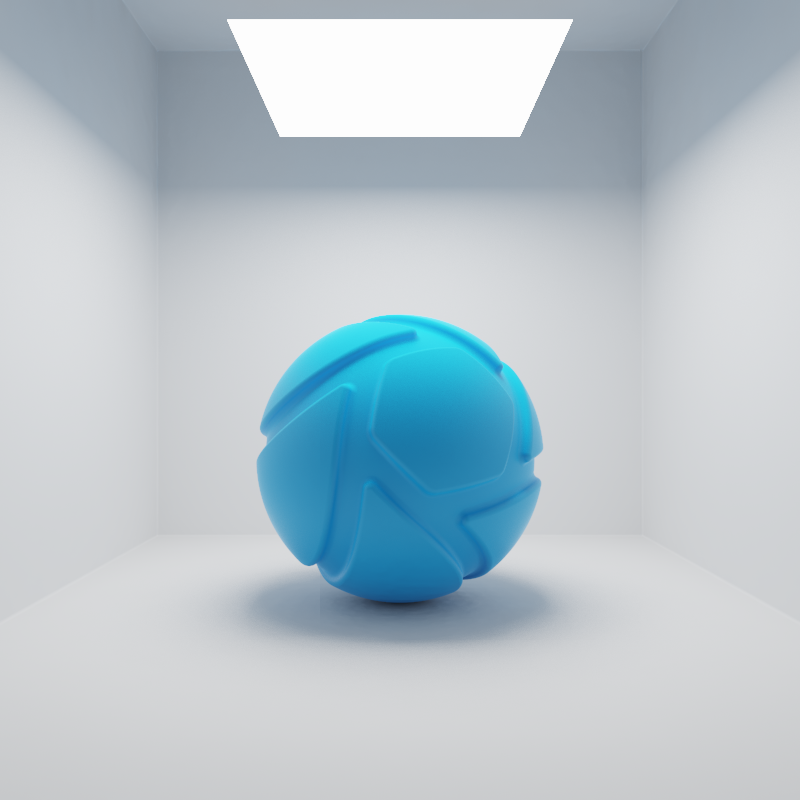
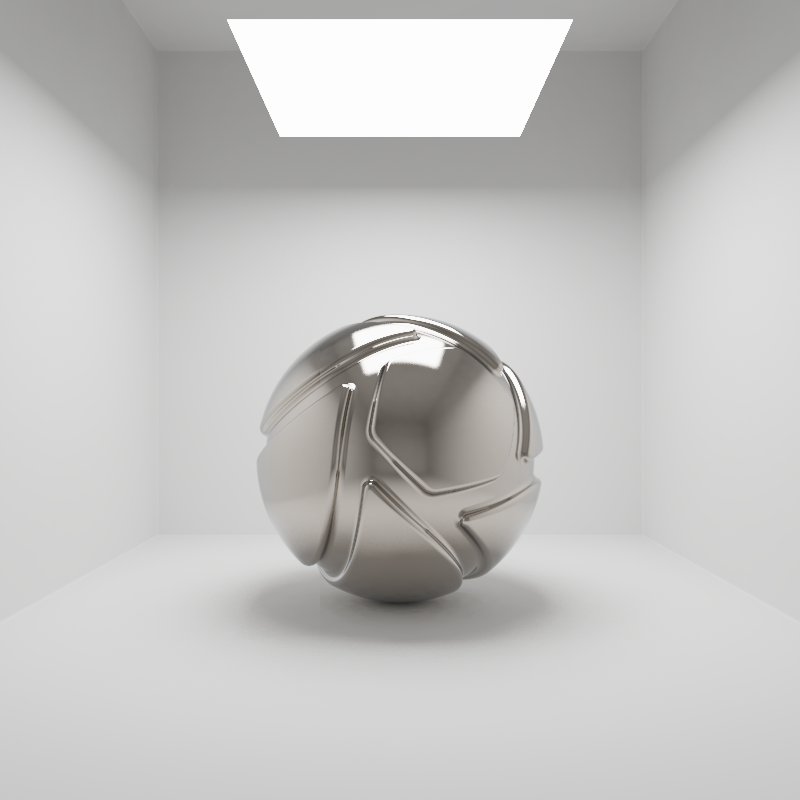
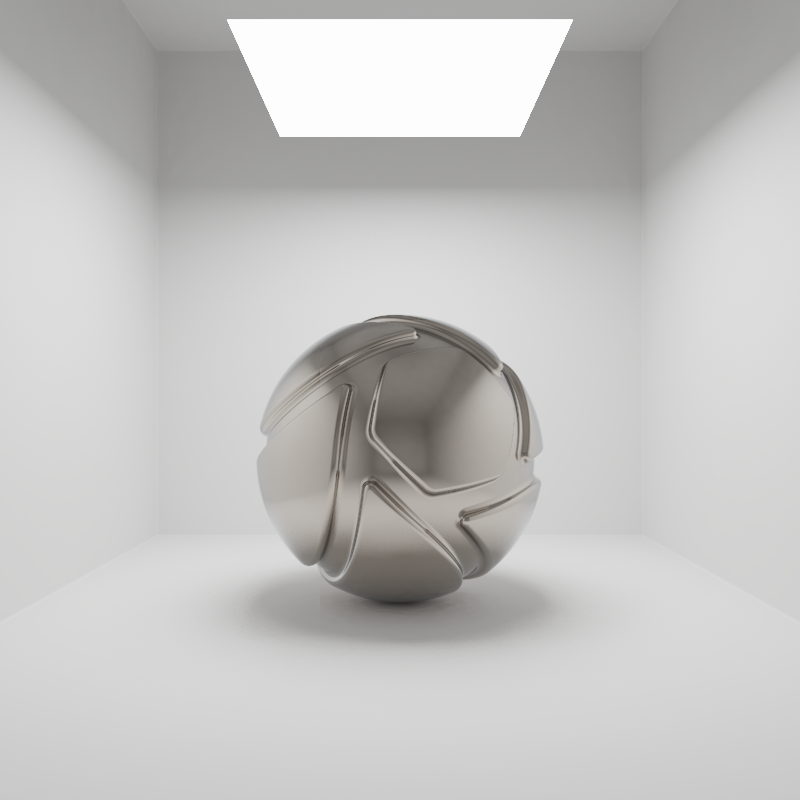
Here, you can toggle whether or not the reflection of the light source is shown in real-time window and renderings.
The examples below show the effect of toggling visibility in reflections.
Reflections in Plastic material
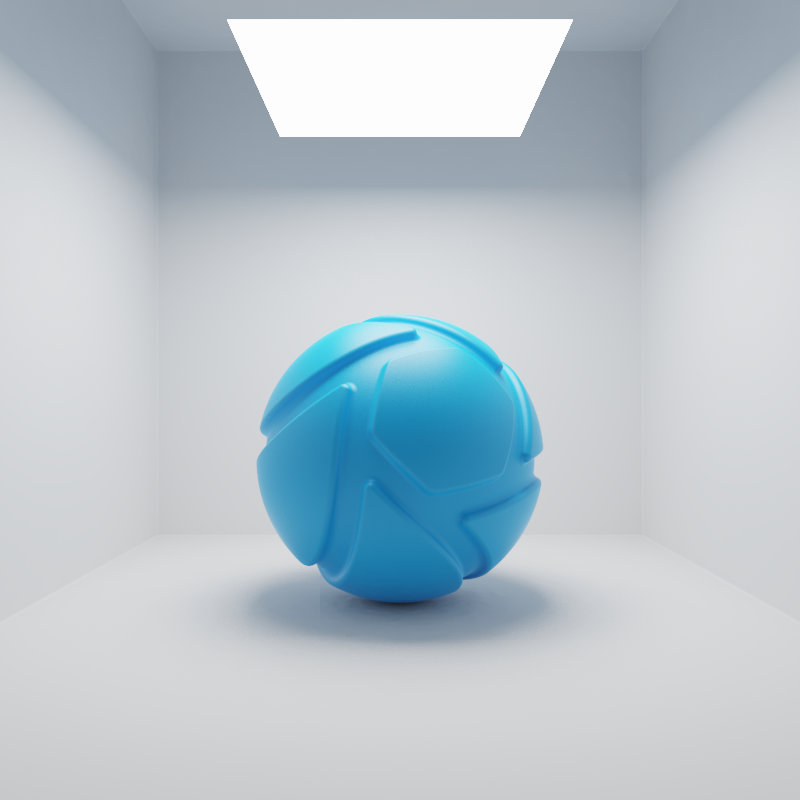
Reflections in Metal material
Visible in Shadows
Here, you can toggle whether or not the light source geometry casts a shadow in the real-time window. Disabling allows light to pass through the area light object. This option is disabled by default so as not to block any other light sources, including HDRI lighting.
The examples below show the effect of toggling visibility in shadows. The scene is lit by a large area light with a warm color (HSV: 30°, 90%, 100%) and a slightly smaller area light with a cool color (HSV: 225°, 35%, 100%) directly below it. Visible in Shadows is toggled for the smaller, cool area light.
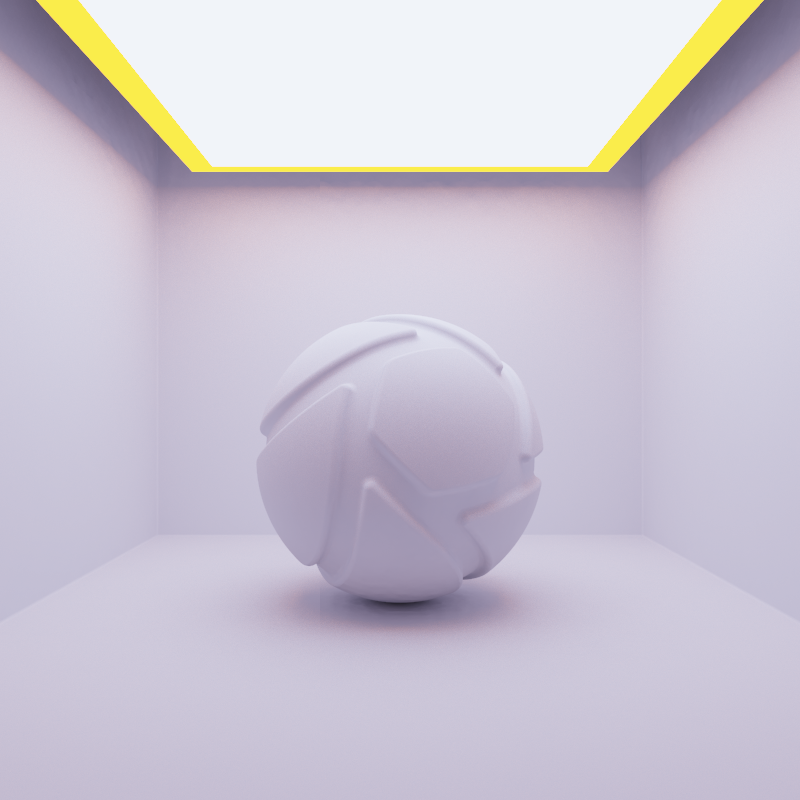
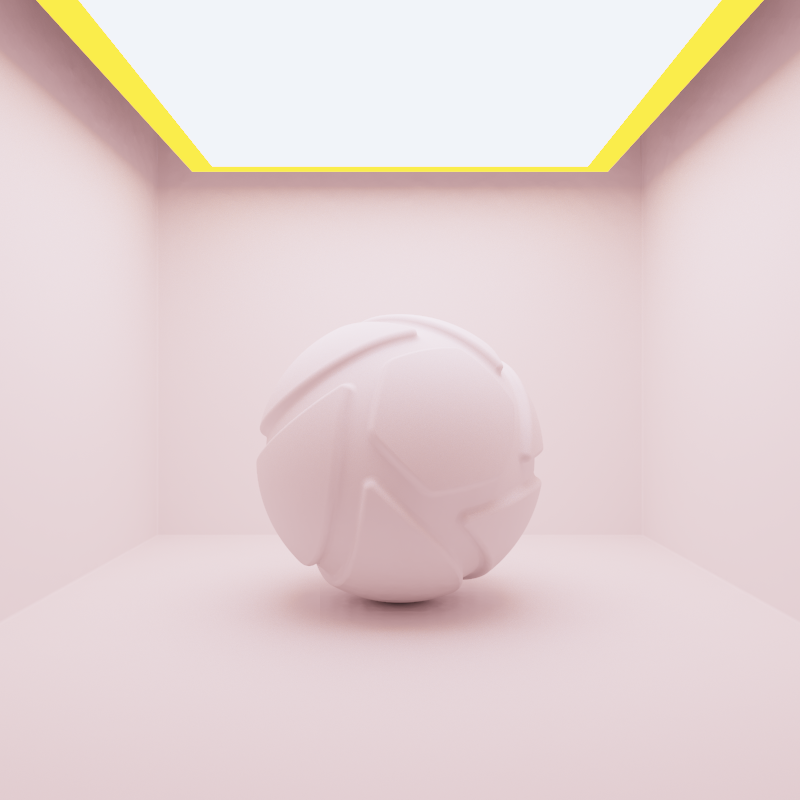
Visible in Shadows = checked | Visible in Shadows = unchecked |
With Visible in Shadows checked, the cool area light blocks the warm area light. As a result, the cool area light is the predominant light source in the scene, causing a clear blue cast.
With Visible in Shadows unchecked, light from the warm area light is able to pass through the cool area light. As a result, both area lights are contributing more or less equally to the scene’s lighting. The cool and warm light now blend, causing a warmer cast.
Samples
Use this slider to control the amount of samples used in the render.