KeyShot Studio
Map Types
KeyShot Studio has four primary map types along with a number of material and texture settings that can also accept textures. Each Material Type uses texture map types depending on the material type and settings. You will see the available map types in the Project Window > Material > Textures tab.
Last updated 3 August 2026
KeyShot Studio has four primary map types along with a number of material and texture settings that can also accept textures. Each Material Type uses texture map types depending on the material type and settings. You will see the available map types in the Project Window > Material > Textures tab.
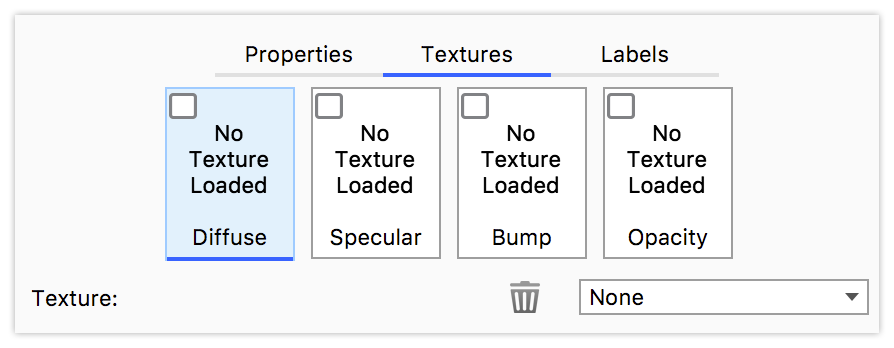
The Primary Map types are not the only texture maps you will encounter. Anywhere you find the Texture icon  in the material properties you will be able to add a texture to the property. Apply a texture by drag and drop from the library, right-click to select a type or click to load a texture from a file. When a property has a texture applied you can click it to adjust.
Primary Map Types
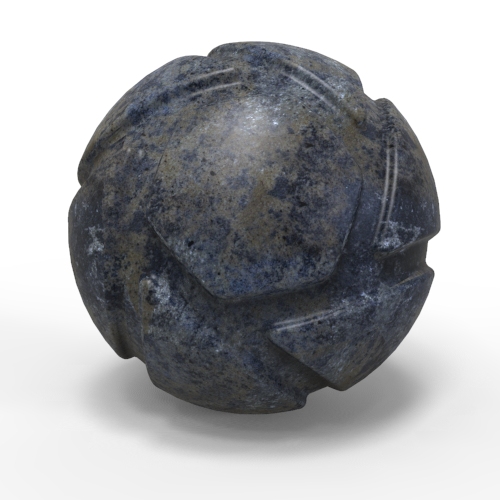
Plastic with a texture map applied as a diffuse texture. | Diffuse The Diffuse (also seen as Color or Transmission) map type allows an Image texture or 2D/3D procedural texture to be applied to replace the basic solid Diffuse/Color/Transmission setting. This map type provides full color information and will show transparency when a PNG with alpha transparency is used. |
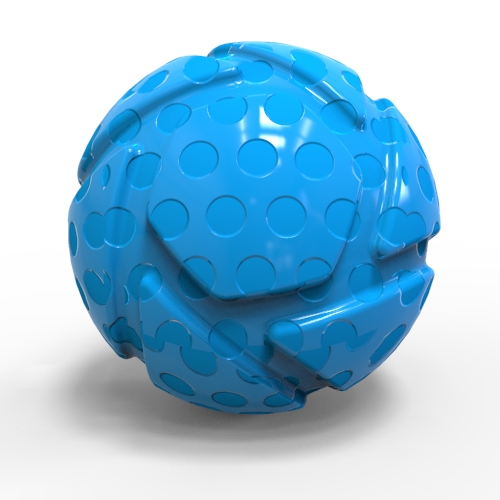
The plastic material uses the same mesh as both specular and bump map. | Specular The Specular map type can use black and white values to indicate areas that have varying levels of specular intensity. Black will indicate areas of 0% specular reflectivity, whereas white will indicate areas of 100% specular reflectivity. Notice in the example that while the material in itself is reflecting specular reflections, the dots are not. |
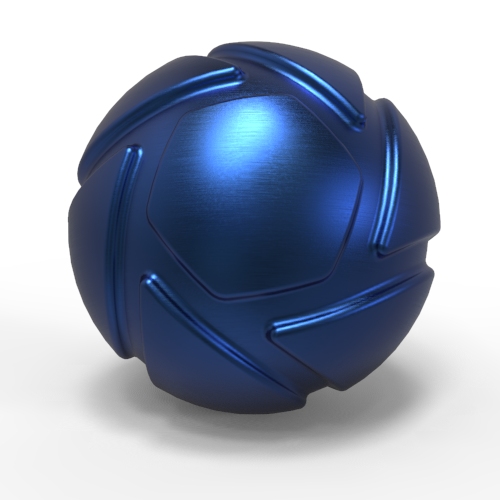
Bump The Bump map type is used to create fine details in materials that would be unrealistic to include in the model, like the brushed metal in the example. Bump uses the texture to simulate deformation of the surface. There are two methods of applying bump maps. The first and easiest is using a black and white image. The second way is by using a Normal map. Black and White Image Normal Maps Bump Height | |
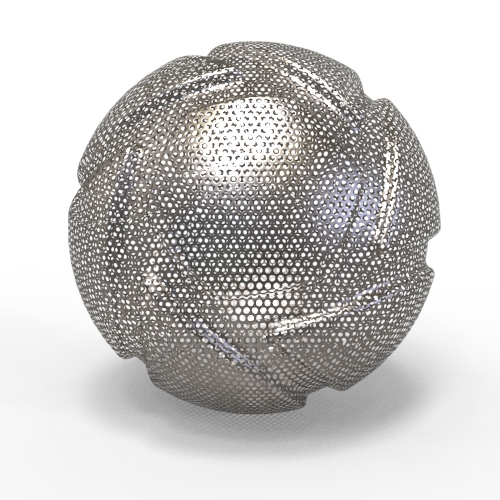
Mesh material created with opacity map | Opacity The Opacity map type can use black and white values or alpha channels to make areas of a material transparent. This is useful for creating materials like the mesh material shown, without actually modeling the holes. Opacity Mode
|