Enscape Envision
Anima Crowd Details
This page provides information about the Anima Crowd tool.
Last updated 27 May 2026
This page provides information about the Anima Crowd tool.
Overview
The Anima Crowd tool gives you access to a wide variety of human character assets for crowd simulations, spanning from ambient to posing to walking. The crowd simulation consists of three components: an anima crowd object, an anima crowd path object, and anima character assets (actors). The anima crowd object and the characters are dependent on the anima crowd path object, while the path is considered their dependency object. The crowd simulation components can be found in the Objects left-hand side panel tab, while their parameters are accessible from the Details right-hand side panel tab.
Currently, 4D characters can only be added on a path, but not as part of the crowd simulation.
Crowd Creation

Anima Crowd Settings
A field showing the name of the selected Anima crowd object, allowing you to also rename it. The new name is automatically displayed in the All filter tab. |
A field showing the name of the selected Anima crowd object, allowing you to also rename it. The new name is automatically displayed in the All filter tab. | |
Lock – Disables the position and transformations of the selected crowd simulation object. Click to enable the options for manipulation again. | |
Hide – Toggles the visibility of the element on and off. Invisible objects are indicated by and are not rendered. | |
Make instance unique – Excludes the selection from the rest of its instances and makes it unique. The action is disabled if the selection has no instances. | |
Select all instances – Selects all instances the selected object(s) has in the project. |
Generate – Generates a crowd of people. The character placement on the path is random. By default, only downloaded rigged models are used, unless specified otherwise.
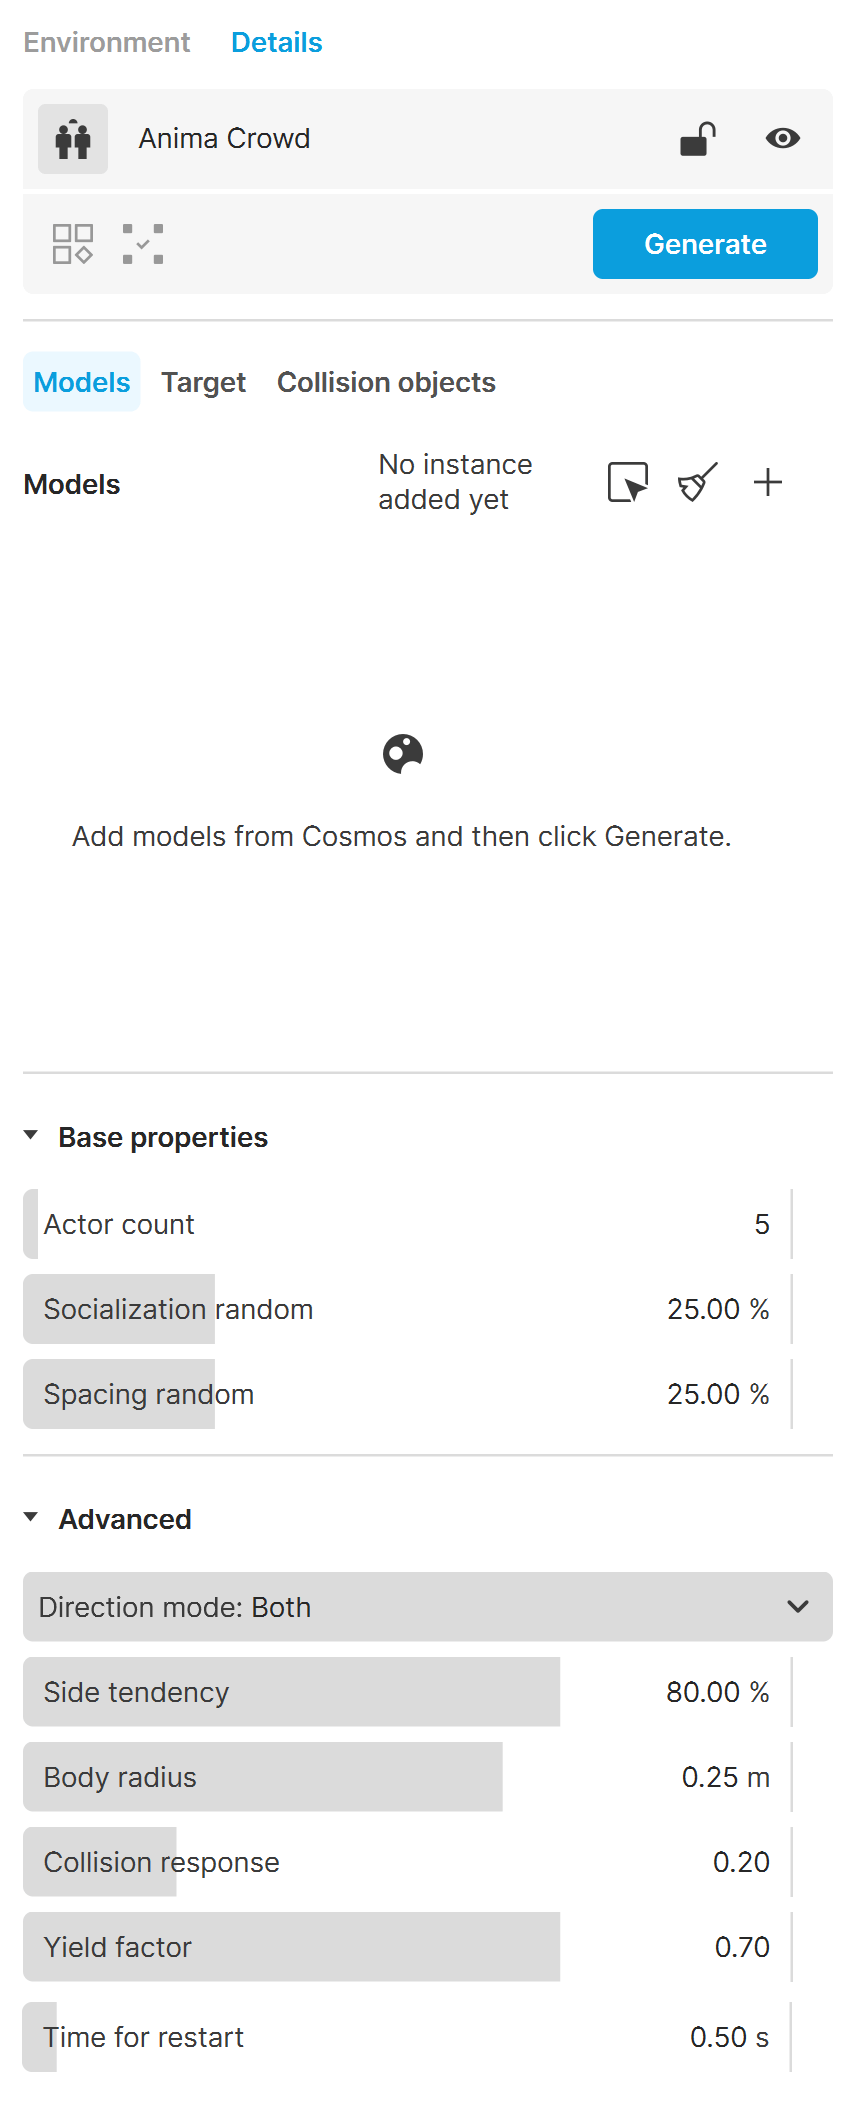
Models
A field where you can drop actors (human characters) from the Cosmos Asset Library available in the left panel when you click Asset library toolbar button. The characters are used to populate the path when generating crowds. If no actors are dropped here, only downloaded rigged models are used by default.

Select all instances of this model () – Selects all instances (in the viewport) of the currently selected model from the Models list.
Remove all models () – Removes all models from the Models list.

Add models from asset library () – Opens the Cosmos Asset Library in the left panel and allows you to add models from it into the Models list.

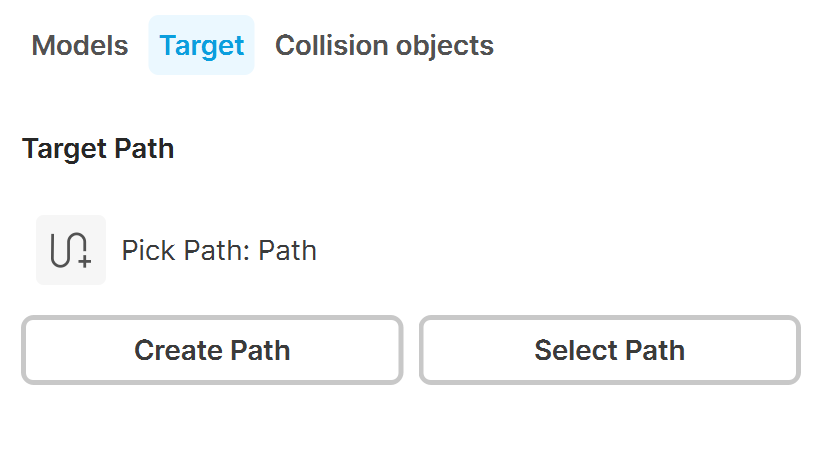
Target

Pick Path () – Selects an existing path (a path object) onto which actors (human characters) can be added.
Create Path – Initiates a path object creation for the anima crowd simulation. Click in the viewport and drag to create the first segment of your path. Repeat as many times as needed, and click Done. The created path is located in the Objects tab > Path filter tab and is named Path by default.
Select Path – Opens the path object's parameters in the Details tab.
Collision Objects
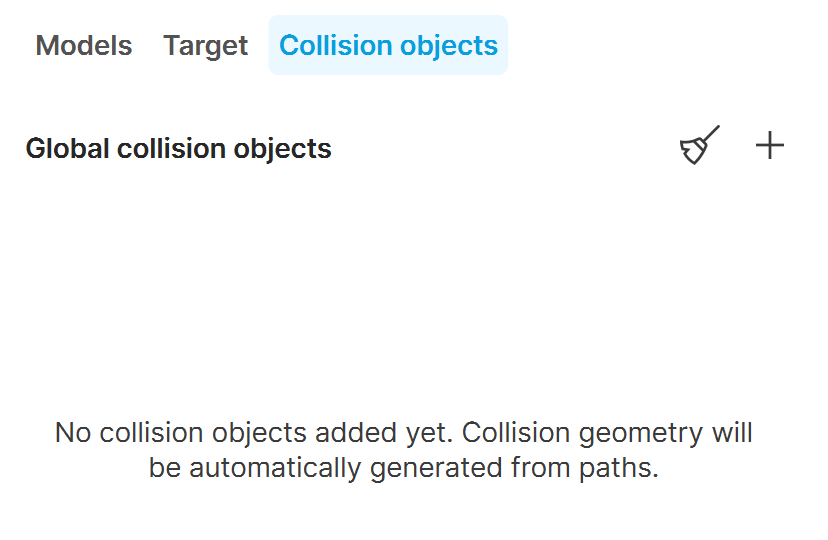
When no collision objects are selected, the collision geometry is automatically generated from paths.
Remove all collision objects – Clears the collision objects list.
Pick collision object – Picks an existing object and adds it to the collision objects list.
Base Properties
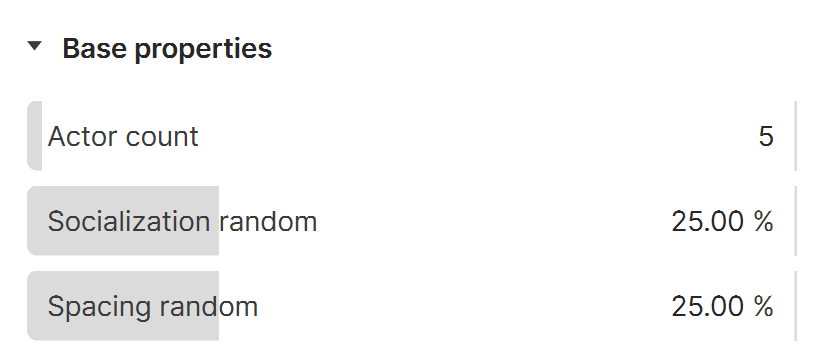
Actor count – Sets a limit for the human characters when the Generate option is used.
Socialization random – Used when square areas and walkways intersect. This value determines the likelihood that an actor will leave the walkway and socialize with other characters in the square area. At 100% nearly all the characters move the square area, at 0% none of them do.
Spacing random – Determines the distance that characters socializing in square areas will stand to one another. Larger values create a sparse distribution, low values create a dense distribution.
Advanced
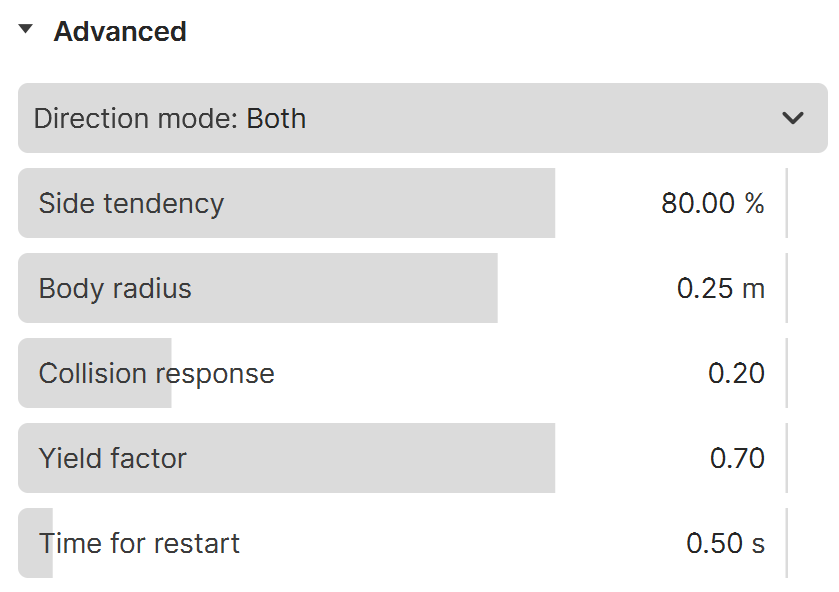
Direction mode – Determines the direction in which actors move along the path.
Forward – Actors follow the path from the first point to the last (as the path was originally drawn).
Backward – Actors move along the path from its end point towards its first.
Both – Actors use one of the directions at random. Note that direction will not change during playback - it is fixed for each character during its animation.
Side tendency – When Direction mode is set to Both, this parameter controls how many walks are on the sides. When set to 0%, characters walking in both directions use the full width of the walkway. If set to 100%, forward and backward walking characters use half the walkway each. When set to 200%, characters walk only along opposing outer edges of the walkway. Using negative values reverses the sides.
Body radius – Specifies the minimum distance the actors are from each other during the simulation.
Collision response – Specifies how quickly an actor is pushed when they enter another actor’s body radius.
Yield factor – Specifies how much the actors slow down when colliding with other actors.
Time for restart – Specifies the time between when an actor reaches the end of the path and when it reappears at the start. This is not valid for closed paths.
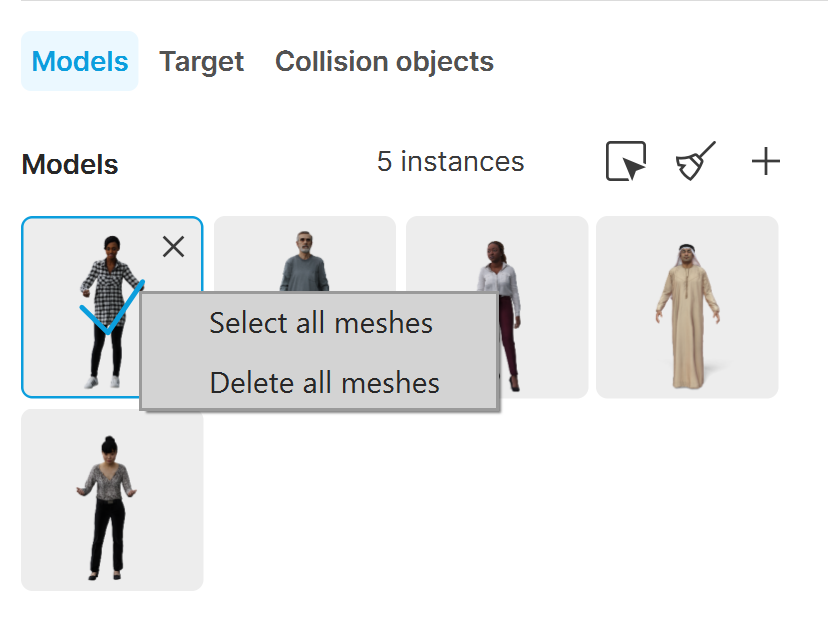
A dropdown menu appears when you right-click on a model in the Models section.
Select all meshes – Selects the character in the viewport and displays the character's parameters in the Details tab.
Delete all meshes – Deletes the character from the viewport but not from the Models section.
Anima Crowd Path Settings
The settings of the Anima Path are accessible from the Details tab when the path is selected. You can select the Anima Path either from the Anima Crowd properties by choosing the Select Path option (Details tab) or from the Objects tab > Path filter tab. More information is available at the Path Details page.
Anima Characters Settings
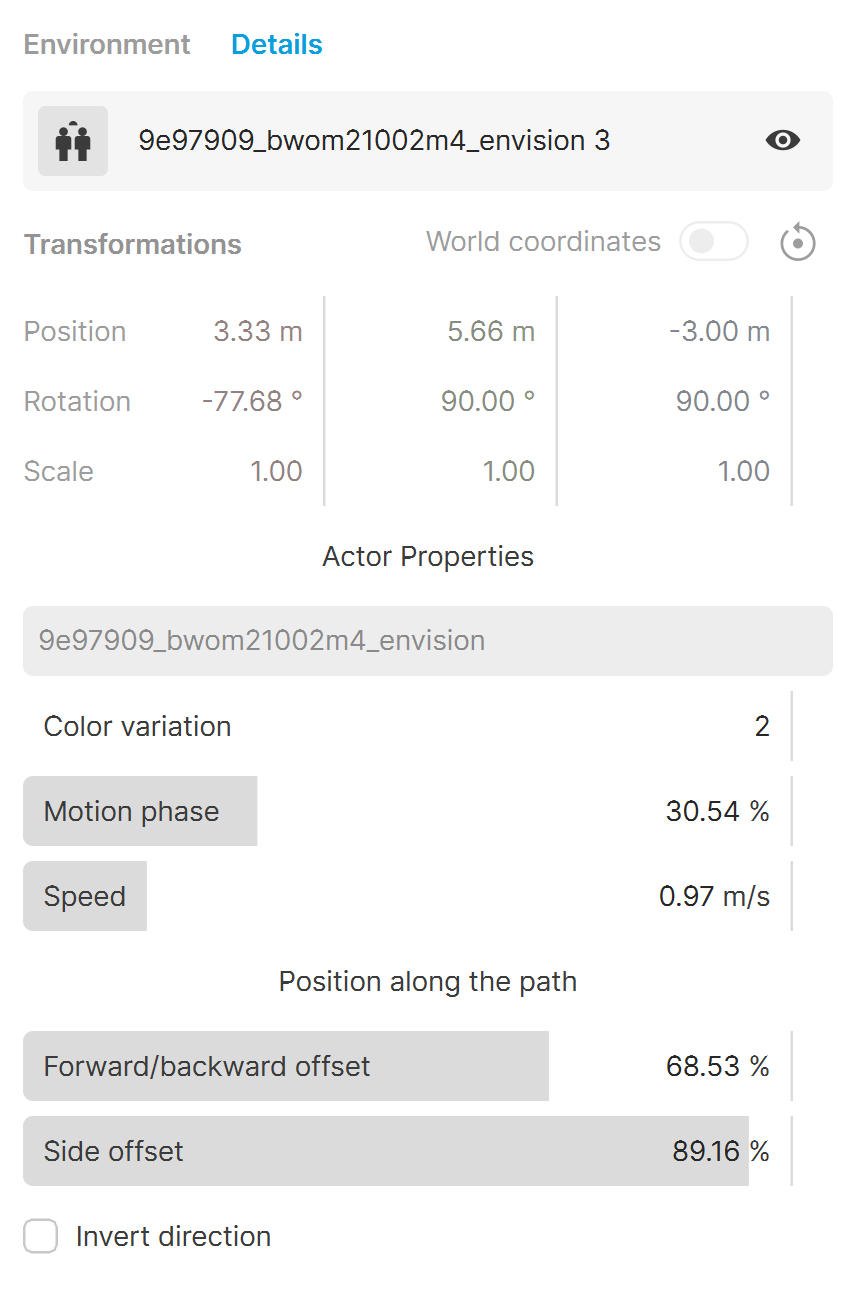
Visible – Toggles the visibility of the actor on and off. Invisible actors are not rendered.
Position – Moves the actor along the X, Y and Z axes.
Rotation – Rotates the actor along the X, Y and Z axes.
Scale – Scales the actor along the X, Y, and Z axes.
Actor Properties – Shows properties of the selected actor, such as name. The properties cannot be modified.
Color Variation – Specifies a color variant for the actor from predefined presets.
Motion phase (%) –
Speed (m/s) – Specifies the movement speed of the actor. Lower values make the actor appear more static, while higher values make the actor run.
Forward/backward offset (%) – Adjusts the actor's position along the path, moving it forward or backward. Positive values move the actor forward, negative values move the actor backward.
Slide offset (%) – Adjusts the actor's position along the path, moving it left or right.
Invert direction – Shifts the direction of movement of the actor.
See also: