Enscape Envision
Animation Tab
This page provides information about the Animation tab and its Animation Timeline in Enscape Envision.
Last updated 7 July 2026
This page provides information about the Animation tab and its Animation Timeline in Enscape Envision.
Overview
The Animation Timeline is located in the bottom expandable Animation tab. It provides an easy way to create animations inside Envision. The Animation Timeline supports the following:
- Placing imported or stored cameras in the cameras track of the animation timeline.
- Placing environment setups in the environments track of the animation timeline.
- Placing variations in the variations track of the animation timeline.
- Placing sound files in the audio track of the animation timeline.
- Toggling cameras, environments, variations, and audio tracks on and off.
- Setting transition (movement) for the variation and environment setups.
- Adding keyframes and controlling their settings.
- Manipulating animation clips by deleting and reordering them, adding transition elements, and controlling their duration.
- Setting movement easing for cameras in the cameras track.
- Setting transitions for camera parameters such as aperture, exposure, and focus distance in the cameras track.
- Viewing imported animation from .vrscene files in the timeline.
The timeline offers two modes that adapt to different levels of animation expertise. Easy Mode exposes a simplified set of tracks for quick, focused animation work, while Advanced Mode unlocks the full timeline for complex, customized workflows.
Access the Animation Timeline

The Animation Timeline is accessible from the Animation () tab in the Bottom dock panel. When the tab is open, it is highlighted in blue.
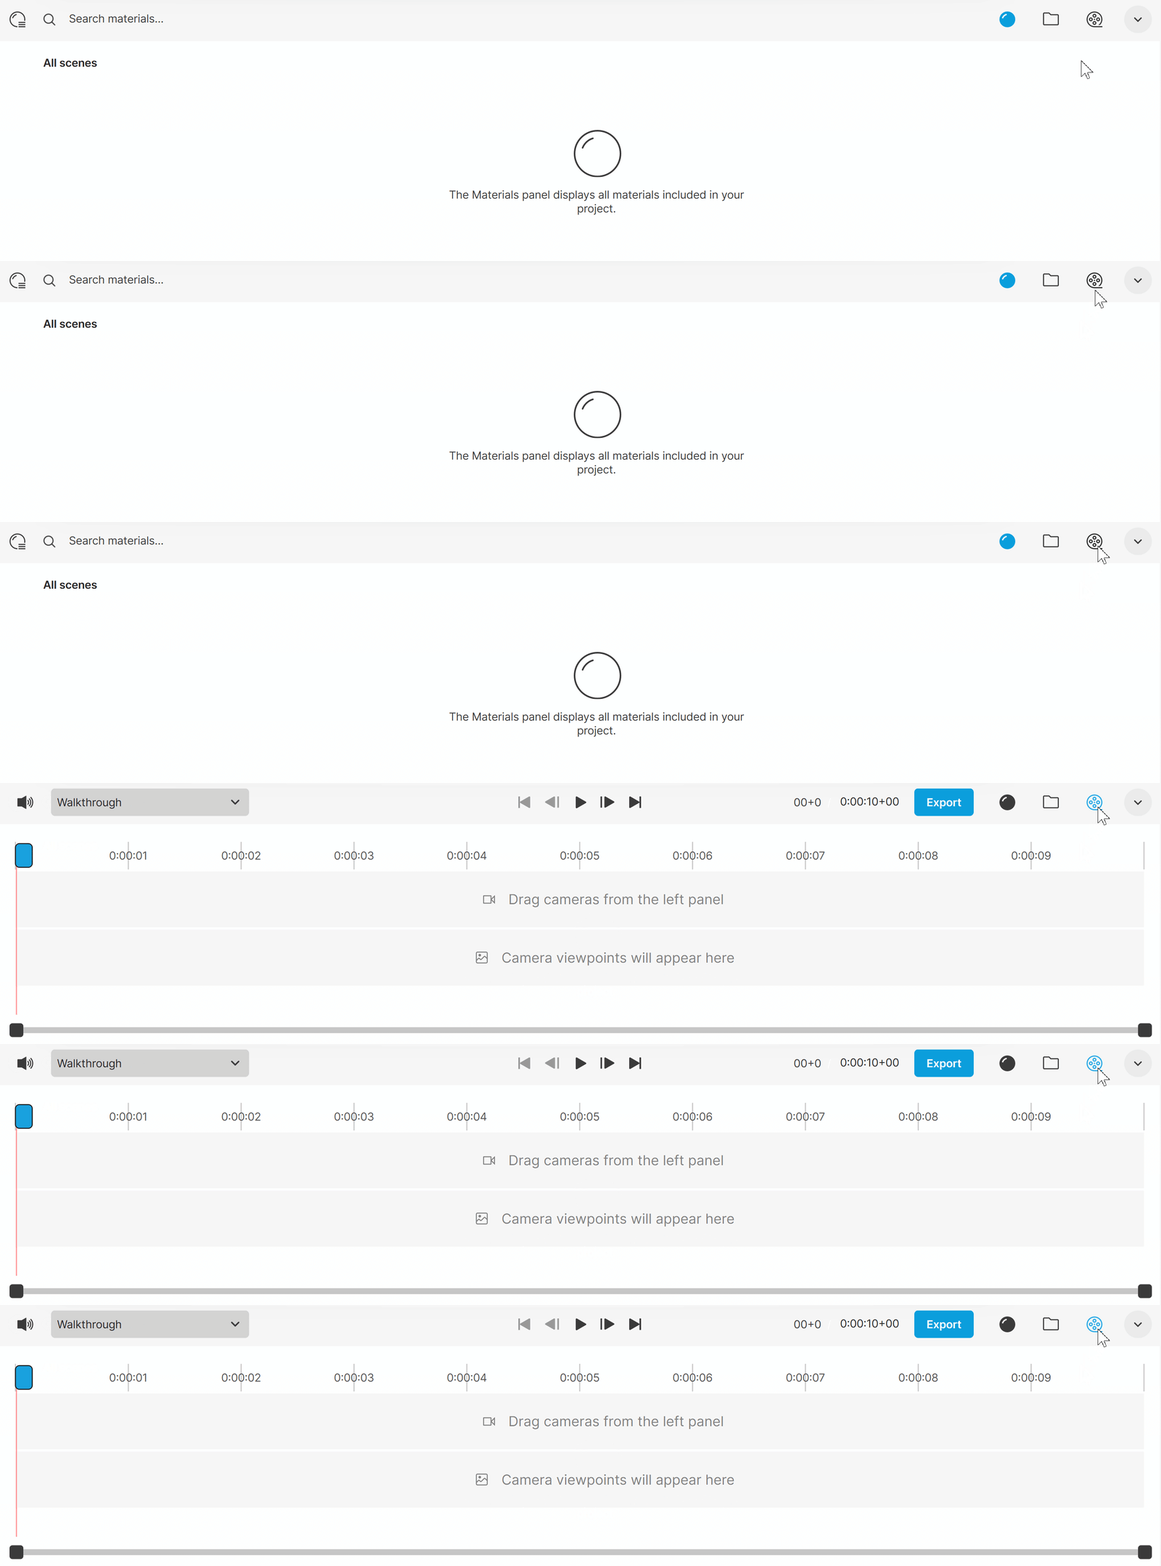
Animation Timeline Interface
The Animation Timeline has a compressed and expanded view. The compressed view shows a limited set of options. The expanded view shows the complete set of options. The options defer depending on the workflow mode chosen.
Easy Mode
Based on the chosen setup, the available track in the timeline differe.

Compressed timeline in Easy mode

Expanded timeline in Easy mode - Walkthrough setup
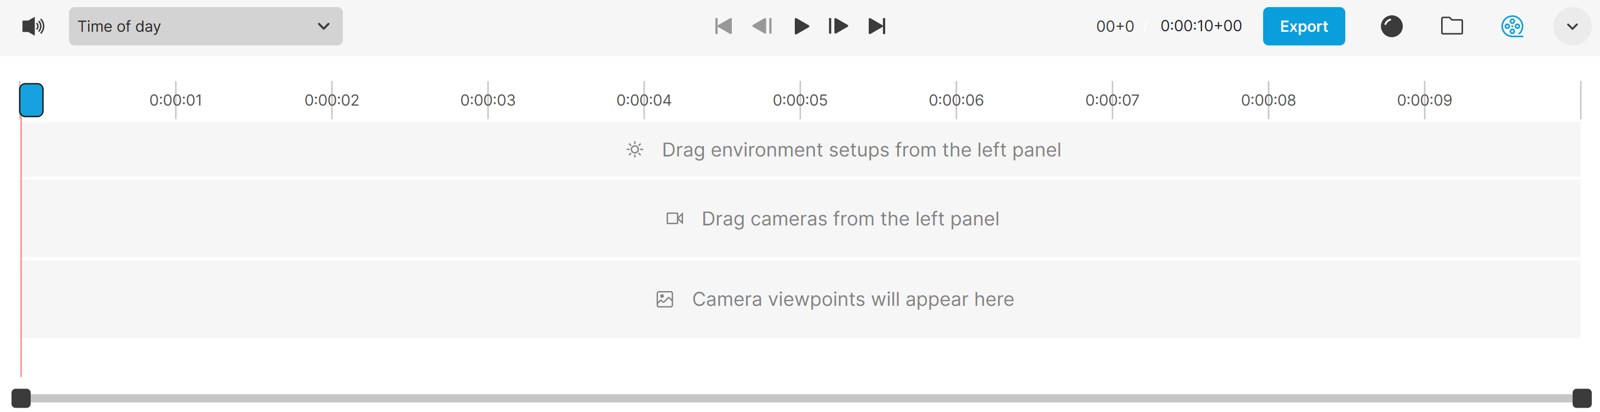
Expanded timeline in Easy mode - Time of day setup
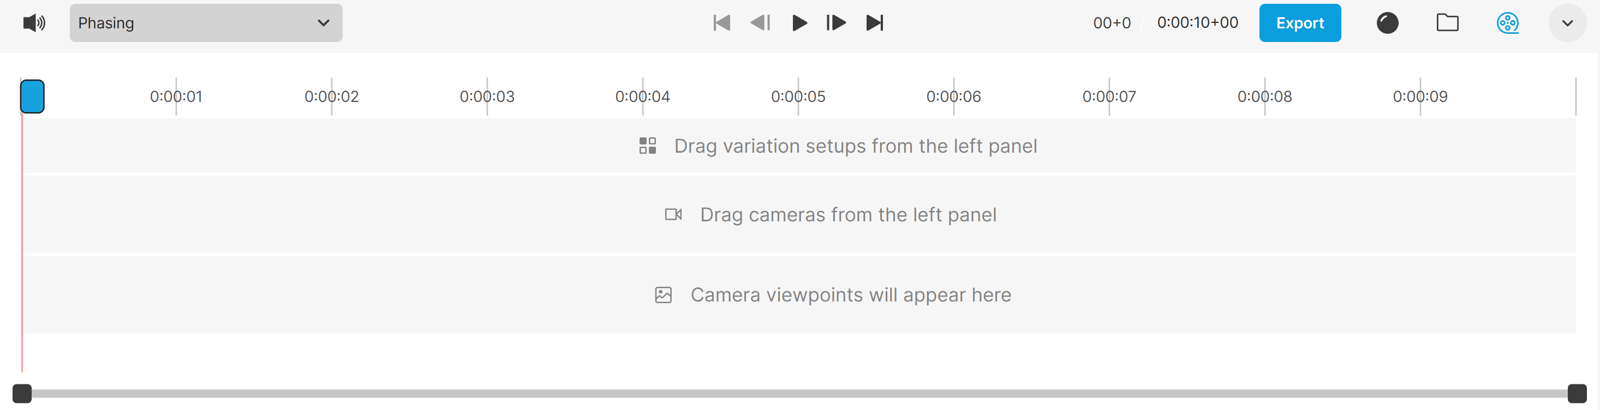
Expanded timeline in Easy mode - Phasing setup

Expanded timeline in Easy mode - Additional setup
Advanced Mode
In Advanced mode, the visibility of tracks is also adjustable:

Compressed timeline in Advanced mode
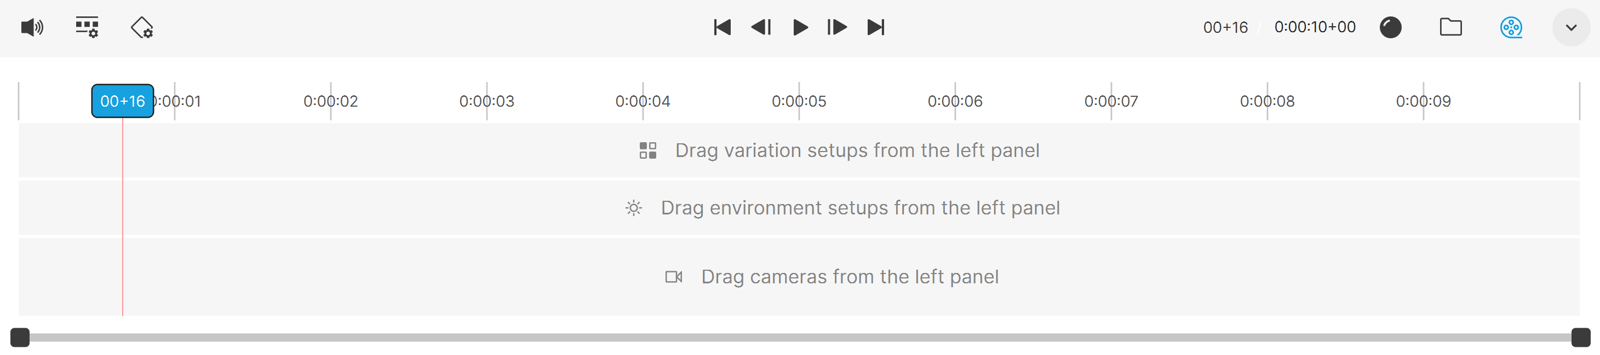
Expanded timeline in Advanced mode

Extended timeline in Advanced mode - Additional setup
Timeline Tracks
The Tieline setup menu provides options to enable different sets of tracks in the timeline.
- Walkthrough – Enables the cameras track. The cameras track is always visible.
- Time of day – Enables the environments track.
- Phasing – Enables the variations track.
- Audio – Enables the audio track.
The Camera Viewpoints track is always visible in Easy mode. It shows the camera keyframes, where each keyframe is represented as a small camera thumbnail.
Each track has its purpose:
Cameras – A camera track for adding camera views. You can control the length of the camera clips, and add keyframes.

Variations – A track for adding scene variations. The length and interpolation of scene variations in the animation are controllable. A transition indicator () appears in the Variations tab when the playhead is dragged over a transition element in the variations track.
Environments – A track for adding environment variations. The length and interpolation of environment variations in the animation are controllable. A transition indicator () appears in the Environments left-hand tab when the playhead is dragged over a transition element in the variations track.
Audio – A sound track for adding audio files. You can control the length and volume of the sound files, as well as their fade in and out effect.

Easy mode

Advanced mode
Actions in the Animation Timeline
Button | Description |
|---|
Button | Description |
|---|---|
Volume control for the audio track. | |
Jump to the first frame in the animation timeline. | |
Jump to the previous frame in the animation timeline. | |
Play the animation. | |
Pause the animation. | |
Jump to the next frame in the animation timeline. | |
Jump to the last frame in the animation timeline. | |
Cameras track indicator. Drag a camera clip from the Cameras left tab into the track. This track is always available. | |
Environments setup track indicator. Drag an environment setup from the Environments left tab into the track. In Easy mode, this track is available when the setup is Time of day. | |
Variations setup track indicator. Drag a variation setup from the Variations left tab into the track. In Easy mode, this track is available when the setup is Phasing. | |
Audio file adds a file with audio to the audio track. To display this track, enable it from the setup settings. | |
Camera Keyframe diamond-shaped indicator for constant speed. Drag a keyframe left or right. Right-click on a keyframe to open a menu with additional options. | |
Camera Keyframe forward-chevron indicator for slow-start speed. Right-click a keyframe and select Slow start. | |
Camera Keyframe backward-chevron indicator for slow-end speed. Right-click a keyframe and select Slow end. | |
Camera Keyframe hourglass indicator for slow-start-and-end speed. Right-click a keyframe and select Slow start & end. | |
Parameter Transition Keyframe indicator. Drag a keyframe left or right. Right-click on a keyframe to open a menu with additional options. | |
Add a keyframe button. | |
Isolate the selected clip. This option is also available when right-clicking on the camera clip. | |
Delete the selected clip. This option is also available when right-clicking on the camera clip. | |
Playhead indicating the current time and frame. To move the playhead, drag it along the timeline or click on a specific frame to position it directly. | |
Add Audio File to the music track. The supported audio file formats are .flac, .mp3, .oga, .ogg, .opus, .raw, and .wav. | |
Length shows the total length of the animation in the format Hours:Minutes:Seconds+Frames. Clicking a frame in the length timeline moves the playhead to the selected frame. | |
Export opens the Quick export window, allowing for a quick export of the animation directly from the Envision timeline. See the Quick Export section for more details. | |
Advanced Mode | |
Button | Description |
Open the Keyframe settings. Available only in Advanced mode. See the Keyframe Settings section for more details. | |
Opens the Timeline setup where visibility of individual tracks is controlled. You can toggle on and off the visibility of Cameras, Variations, Environments, and Audio tracks. |
Movement Menu

The following options are available when clicking a camera keyframe ():

Constant speed – The camera moves at constant speed between keyframes. Keyframes with constant speed are indicated by a diamond shape ().

Slow start – The camera starts moving slowly and then speeds up towards the next keyframe. Keyframes with a slow start are indicated by a forward chevron ().

Slow end – The camera moves quickly at the start and gradually slows down towards the next keyframe. Keyframes with a slow end are indicated by a backward chevron ().

Slow start & end – The camera starts slowly, accelerates through the middle of the motion, and then smoothly slows down as it approaches the next keyframe. Keframes with a slow start and end are indicated by an hourglass shape ().
Delete – Deletes the selected keyframe.

Parameter Transition Menu

The following options are available when clicking an Exposure, Aperture, or Focal Distance keyframe ():
Parameter Transition – The transition for Exposure, Aperture and Focal Distance is always set to Slow start & end.
Delete – Deletes the selected keyframe.

Clip Menu
The following options are available when clicking a clip:
Isolate clip – Isolates the selected clip by temporary disabling the other clips in the track.
Delete clip – Deletes the selected clip from the track. Shortcut: Del
Go to start of clip – Moves the slider to the start of the selected camera clip.
Go to end of clip – Moves the slider to the end of the selected camera clip.

Audio Menu
The following options are available when clicking a audio clip:
Duplicate clip – Duplicates the selected clip from the track.
Delete clip – Deletes the selected clip from the track. Shortcut: Del

Variation Transition Settings
The following options are available when clicking a variation in the track:
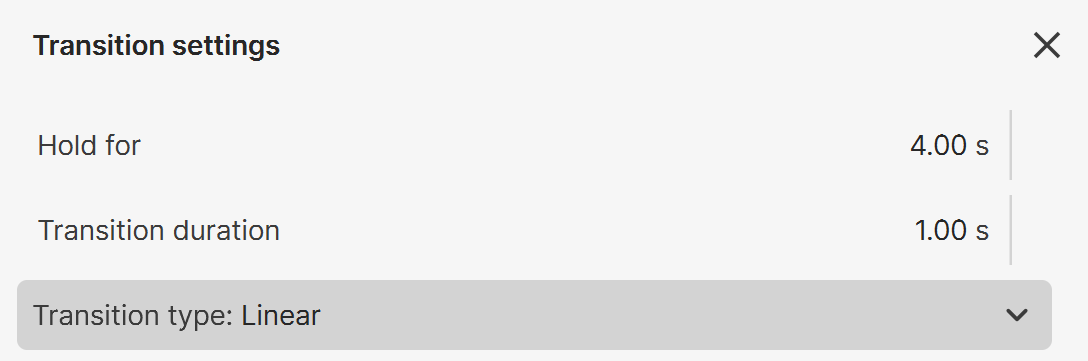
Hold for – Specifies how long the selected scene variation remains active before transitioning to the next keyframe. It is measured in seconds.
Transition duration – Specifies the time, in seconds, taken to transition between the current scene variation and the next one. A longer duration creates a slower, smoother transition, while a shorter duration results in a faster shift.
Transition type – Specifies the type of interpolation between scene variations. The transition type affects how smoothly or dynamically the change occurs.
Linear – Applies a straight-line transition with a constant speed, creating a uniform change between the variations without acceleration or deceleration.
Ease out – Starts the transition at full speed and then gradually slows down as it approaches the end point, creating a more natural finish to the animation.
Ease in – Starts the transition slowly, gradually accelerating to full speed.
Ease in and out – Combines the Ease in and Ease out types. The transition starts slowly, accelerates in the middle, and then slows down again toward the end. This is the smoothest and most natural-looking transition style.
Bouncy – Adds a bounce effect to the transition. The animation overshoots the target slightly and then oscillates before settling at the final value.
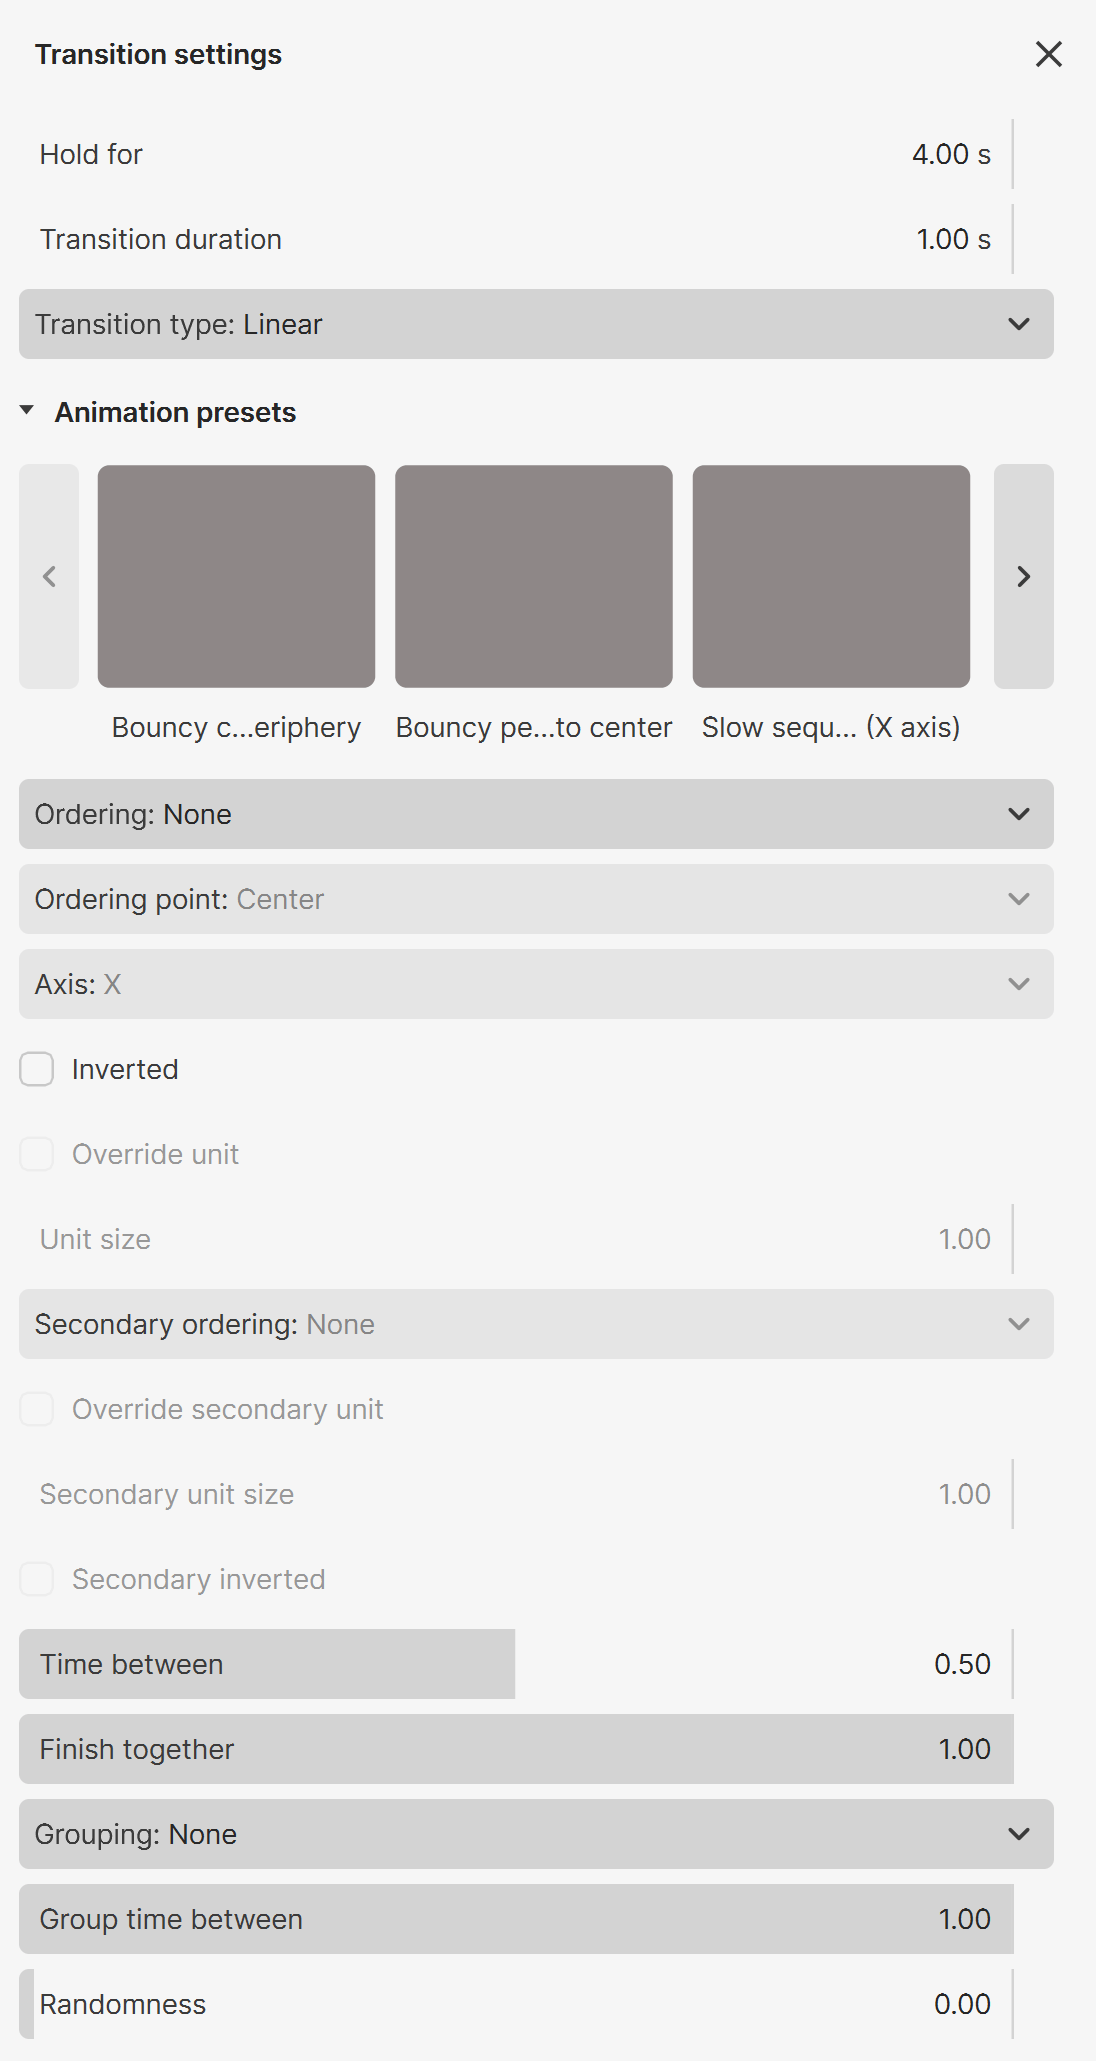
Animation presets – Predefined transitions that can be applied to variations on the timeline. Each preset defines how one variation transforms into the next.

Advanced mode
The following options are available when clicking a scene variation in the track:
Hold for – Specifies how long the selected scene variation remains active before transitioning to the next keyframe. It is measured in seconds.
Transition duration – Specifies the time, in seconds, taken to transition between the current scene variation and the next one. A longer duration creates a slower, smoother transition, while a shorter duration results in a faster shift.
Transition type – Specifies the type of interpolation between scene variations. The transition type affects how smoothly or dynamically the change occurs.
Linear – Applies a straight-line transition with a constant speed, creating a uniform change between the variations without acceleration or deceleration.
Ease out – Starts the transition at full speed and then gradually slows down as it approaches the end point, creating a more natural finish to the animation.
Ease in – Starts the transition slowly, gradually accelerating to full speed.
Ease in and out – Combines the Ease in and Ease out types. The transition starts slowly, accelerates in the middle, and then slows down again toward the end. This is the smoothest and most natural-looking transition style.
Bouncy – Adds a bounce effect to the transition. The animation overshoots the target slightly and then oscillates before settling at the final value.
Animation presets – Predefined transitions that can be applied to variations on the timeline. Each preset defines how one variation transforms into the next.
Ordering – Allows rule-based ordering of the objects to be animated in a transition.
None – Rule-based ordering is disabled.
Axis – Ordering along one of the World axes (X, Y or Z) with a control for positive or negative direction.
Radial – Ordering along one of the World axes (X, Y or Z) with a control for positive or negative direction.
Spherical – Bounding box centered 3D spherical ordering with a control for inwards or outwards direction.
Spiral – Bounding box centered spiral ordering, projected in the XY plane, with a control for clockwise or counter-clockwise direction.
Name – Name-based ordering with an ascending/descending control.
List – Opens a list with all the objects to be animated.
Ordering point – Applicable when Ordering is based on world space (Axis, Radial, Spherical, Spiral). Defines which part of the object's bounding box is used to initiate its transition. The order in which the objects start moving is based on the distance to the object bounding box
Center - Тhe center of the bounding box.
Closest - Тhe closest end of the bounding box.
Farthest - Тhe farthest end of the bounding box.
Axis – Specifies the World axis when Axis Ordering is selected.
Inverted – Reverses the order defined by the Ordering settings. This is useful for reversing the direction in which objects follow the Axis or Spiral ordering, or, in the case of Named ordering, for example, to start with objects named with "Z" and then move backward up the alphabetical order.
Override unit – World-space-based ordering uses a default granularity setting that determines how close objects must be to move sequentially. The Override unit option allows you to adjust this by specifying a custom Unit size below.
Unit size – Specifies how big the difference in distance between objects has to be, so that separate objects move sequentially.
Secondary ordering – Applicable only when a world-space ordering is selected. Since objects are positioned in 3D space, multiple objects can satisfy the Ordering criteria. Secondary ordering provides finer control over the transition effect. The following options are available:
X/Y/Z – Uses the same rule to sort objects along an axis as the Ordering parameter.
Size – Uses the object bounding box's size to define the order in which objects transition.
Example: Consider the following example selecting Axis ordering along the X axis starts moving objects with positions farthest from the world center in the negative X direction, then moves gradually toward objects farthest away in the positive X direction. If several objects share the same X coordinate value, specifying Secondary ordering Z transitions objects that are lower (with negative Z coordinates) first, followed by objects with higher Z coordinates, then continues down the X coordinate ordering.
Override secondary unit – Enables a custom Secondary unit size value below, overriding the default granularity setting that determines how close objects must be to move sequentially. Applicable when Secondary ordering is active.
Secondary unit size – Specifies how big the difference in distance between objects has to be, so that separate objects move sequentially. Used when there is a Secondary ordering.
Secondary inverted – Reverses the order defined by the Secondary ordering settings. This is useful for reversing the direction in which objects follow the Axis or Spiral ordering, or, in the case of Named ordering, for example, to start with objects named with "Z" and then move backward up the alphabetical order.
Time between – Specifies the time interval between the animation of each object.
Finish together – Specifies how close to the end of the transition each object's ending keyframe is.
Grouping – Groups objects based on set criteria. The order in which groups are animated respects the Transition order type based on the group bounding box’s center. The following grouping is available:
None – There is no grouping.
By material – Objects with similar materials are grouped.
By instance – Instanced objects form a group.
By name – Objects with similar names are grouped. Similar names mean matching the first part of the name using numerical suffixes as an index, where possible.
Group time between – Specifies the time interval between the animation of each group.
Randomness – Adds randomization to the selected ordering rule. At 100%, objects are selected completely at random. At 0%, objects are selected exactly according to the rule. Values in between produce a blend of randomized and rule-based ordering.
Environment Transition Settings
The following options are available when clicking an Environment variation in the track:
Hold for – Specifies how long the selected environment variation remains active before transitioning to the next keyframe. It is measured in seconds.
Transition duration – Specifies the time, in seconds, taken to transition between the current environment variation and the next one. A longer duration creates a slower, smoother transition, while a shorter duration results in a faster shift.
Transition type – Specifies the type of interpolation between environment variations. The transition type affects how smoothly or dynamically the change occurs.
Linear – Applies a straight-line transition with a constant speed, creating a uniform change between the variations without acceleration or deceleration.
Ease out – Starts the transition at full speed and then gradually slows down as it approaches the end point, creating a more natural finish to the animation.
Ease in – Starts the transition slowly, gradually accelerating to full speed.
Ease in and out – Combines the Ease in and Ease out types. The transition starts slowly, accelerates in the middle, and then slows down again toward the end. This is the smoothest and most natural-looking transition style.
Bouncy – Adds a bounce effect to the transition. The animation overshoots the target slightly and then oscillates before settling at the final value.
Keyframe Settings - Advanced mode

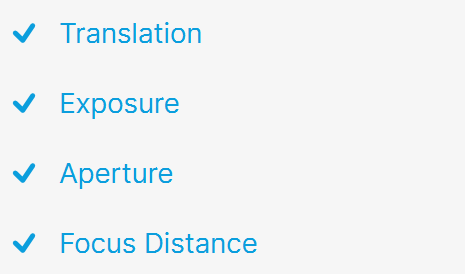
The Show Keys dialog is available from the Keyframe settings () button in Advanced mode only.
Translation – Toggles the keyframe controls for camera transition on and off.
Exposure – Toggles the keyframe controls for animated camera exposure on and off.
Aperture – Toggles the keyframe controls for animated camera aperture on and off.
Focal Distance – Toggles the keyframe controls for animated camera focal distance on and off.
Quick Export Window
Resolution & quality
X/Y – Sets the width and height of the rendered animation in pixels.
Aspect – Sets the aspect of the render resolution.
Quality – Sets the rendering quality based on 4 predefined presets: Low, Medium, High, Ultra.
FPS – Specifies the frames per second value for the animation.
Output
My device – Specifies the output video file path where the video file is saved.
File format – Specifies the video file type for the rendered sequence.
Cancel – Closes the Quick export window.
Export – Starts rendering using the specified render settings.

Toggle Timeline Preview Mode

The Toggle timeline preview mode () button forces the viewport to show the state of the scene at the current playhead position in the timeline, including the camera position, the active scene and environment variations, or any transition between the variations. This is useful when making animations with variations to toggle a preview between the desired variation and the resulting transition.
When the button is blue, the viewport displays the scene state at the current playhead time. When the button is gray, the viewport displays the currently selected variation or camera position, etc.
youtu.be
youtu.be
See also: