Enscape Envision
Anima Traffic Details
This page provides information about the Anima Traffic tool.
Last updated 1 September 2026
This page provides information about the Anima Traffic tool.
Overview
The Anima Traffic tool allows you to create complex traffic systems in your project with multiple animated vehicles and roads. You can control the behavior of the vehicles using the tool's parameters in the Details tab. The traffic flow is managed through two key sections: vehicle Generation parameters and Road parameters. Each plays a distinct role in defining how vehicles populate the roads, move, and interact with the environment.
While the Generation parameters define how individual cars behave and respond to their environment, the Road parameters dictate how those vehicles interact with specific road segments and intersections. For instance, if a road has a speed limit of 50km/h in the Road parameters, this will be the base speed applied to all vehicles travelling on it. Over that, a speed variation will be applied based on the parameters defined in the Generation parameters section.
By combining these two systems effectively, users can create a wide range of realistic traffic scenarios, from densely packed city streets with frequent lane changes to smooth-flowing highways with minimal intersections. Mastering these parameters will allow you to fine-tune your road networks and bring an extra layer of authenticity to your 3D projects.
For more information about anima traffic simulations, refer to Chaos Anima documentation.
Traffic System Creation

How to Create and Edit Anima Traffic Simulations
Creating an Anima Traffic Simulation
- Create an Anima traffic object using one of the creation options: either navigate to the Create menu > Anima traffic or click the Anima traffic toolbar button.
- Click in the viewport and start drawing the path for the vehicles to follow. When ready, click Done.
- Click the Asset library toolbar button to open the Cosmos Asset Library. Then drag some vehicle models into the Details tab > Models tab of the selected Anima traffic object to populate it.
- In the Anima traffic object properties, define the vehicle count and optional behavior parameters.
- Click Generate to initiate an auto-population of the path with vehicles from the Models tab.
- Play the timeline (or use Presentation mode) to preview the animated traffic in the project.
- Modify the parameters to artistically alter the simulation.
Creating an Anima Traffic Simulation on an Existing Path
- Create an Anima traffic object using one of the creation options: either navigate to the Create menu > Anima traffic or click the Anima traffic toolbar button.
- Click an existing path in the viewport to select it, and then click Done. This assigns the path for the vehicles to follow.
- Click the Asset library toolbar button to open the Cosmos Asset Library. Then drag some vehicle models into the Details tab > Models tab of the selected Anima traffic object to populate it.
- In the Anima traffic object properties, define the vehicle count and optional behavior parameters.
- Click Generate to initiate an auto-population of the path with vehicles from the Models tab.
- Play the timeline (or use Presentation mode) to preview the animated traffic in the project.
- Modify the parameters to artistically alter the simulation.
Modify Vehicles in an Anima Traffic Simulation
To change all instances of a vehicle:
- Select an Anima traffic object in the Objects tab > Anima Traffic filter subtab.
- Go to the Models tab in the Details panel on the right and click a vehicle model.
- Then click Select all instances of this model () to select all instances of this vehicle and display their properties.
- Adjust the Color variation parameter. This changes the color of all instances.
To change one instance of a vehicle:
- Select the vehicle model in the viewport. This displays its properties in the Details tab on the right.
- Adjust the Color variation parameter.
Anima Traffic Settings
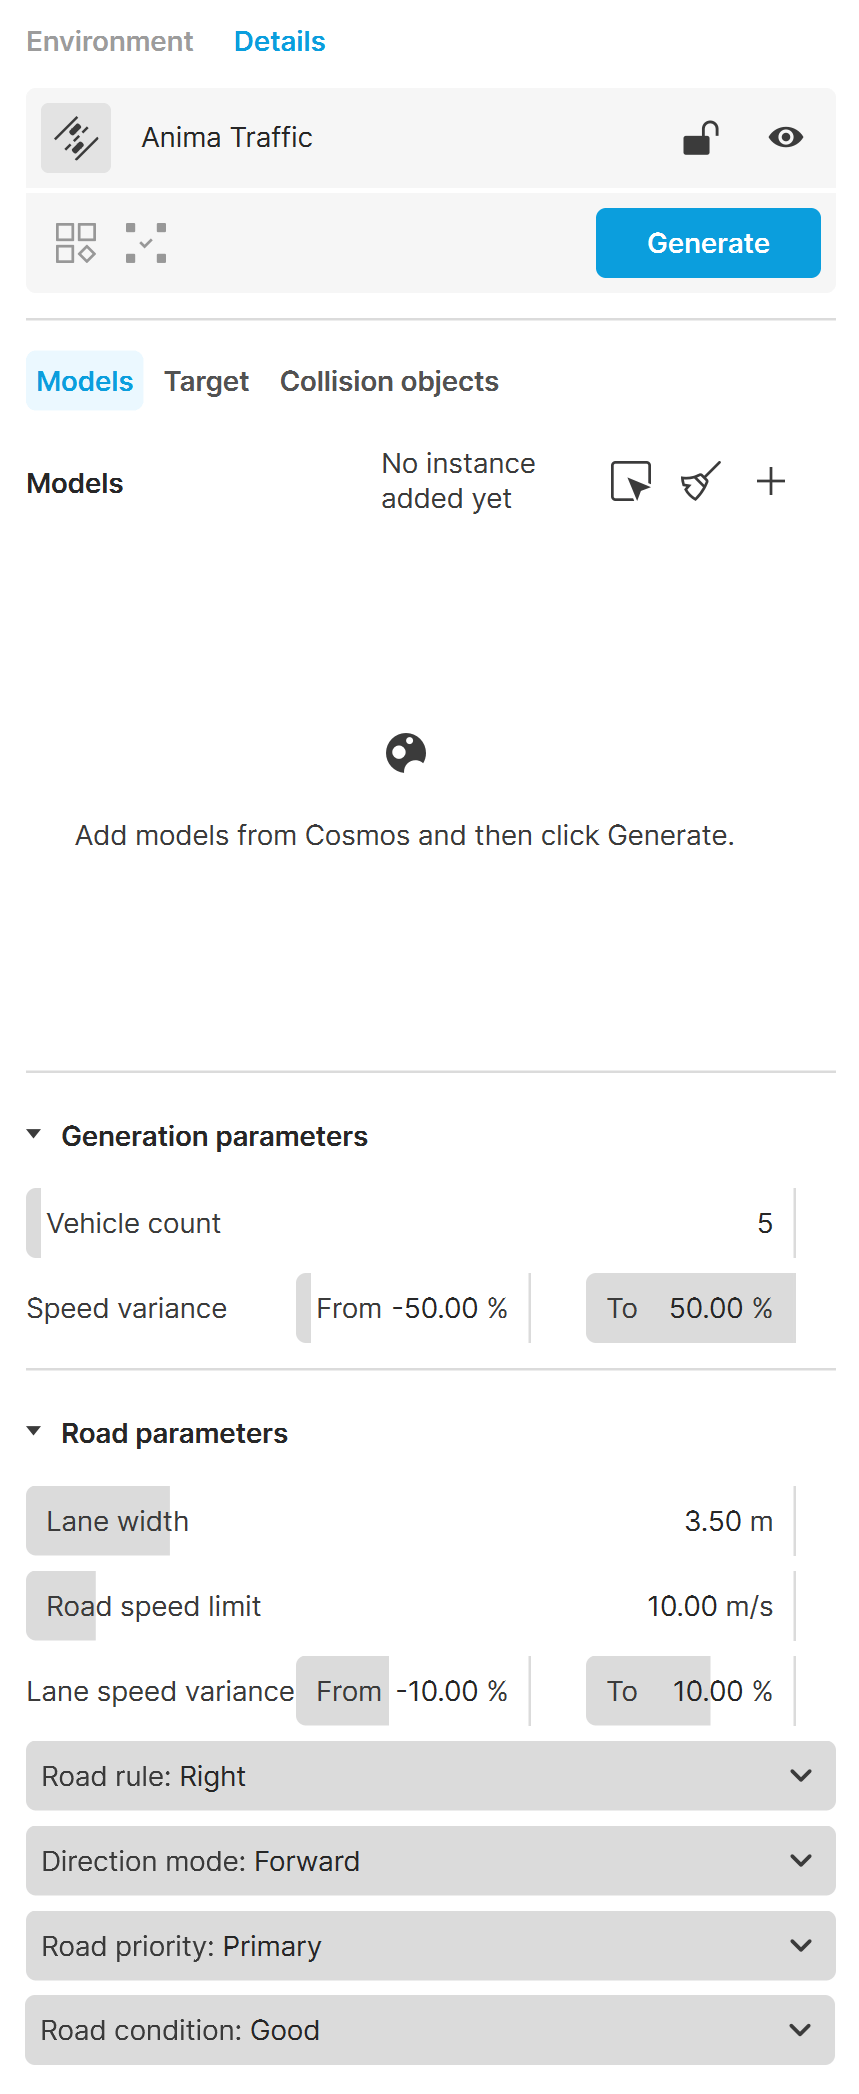
A field showing the name of the selected anima traffic object, allowing you also to rename it. The new name is automatically displayed in the All filter tab. |
A field showing the name of the selected anima traffic object, allowing you also to rename it. The new name is automatically displayed in the All filter tab. | |
Lock – Disables the position and transformations of the selected traffic simulation object. Click to enable the options for manipulation again. | |
Hide – Toggles the visibility of the element on and off. Invisible objects are indicated by and are not rendered. | |
Make instance unique – Excludes the selection from the rest of its instances and makes it unique. The action is disabled if the selection has no instances. | |
Select all instances – Selects all instances the selected object(s) has in the project. |
Generate – Generates a traffic system. The vehicle placement on the path is random. The types of vehicle models that will be generated can be defined by selecting them in the library and adding them to the vehicle models list.
Models
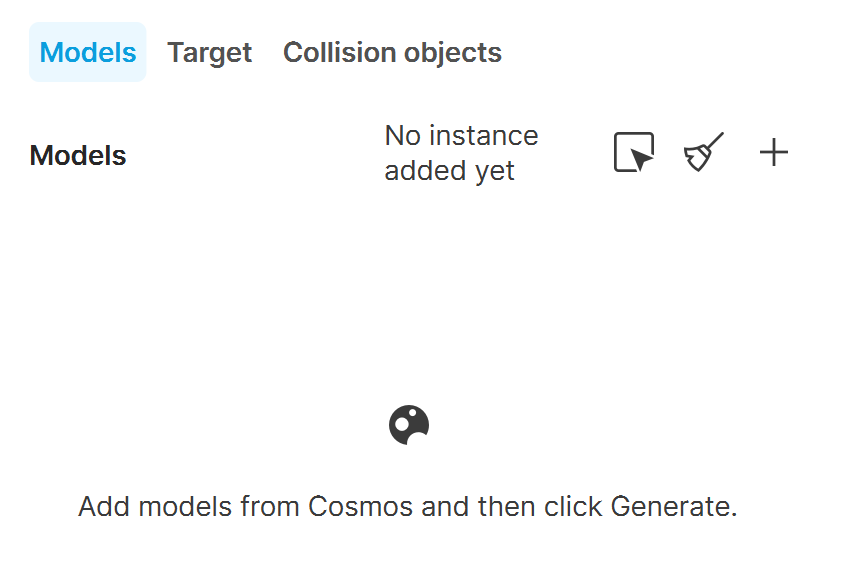
A field where you can drop models from the Cosmos Asset Library available in left panel. The models are used to populate the path when generating traffic.

Select all instances of this model () – Selects all instances (in the viewport) of the currently selected model from the Models list.

Remove () – Removes all models from the Models list.

Add models from asset panel () – Opens the Asset library in the left panel and allows you to add models into the Models list.
Target

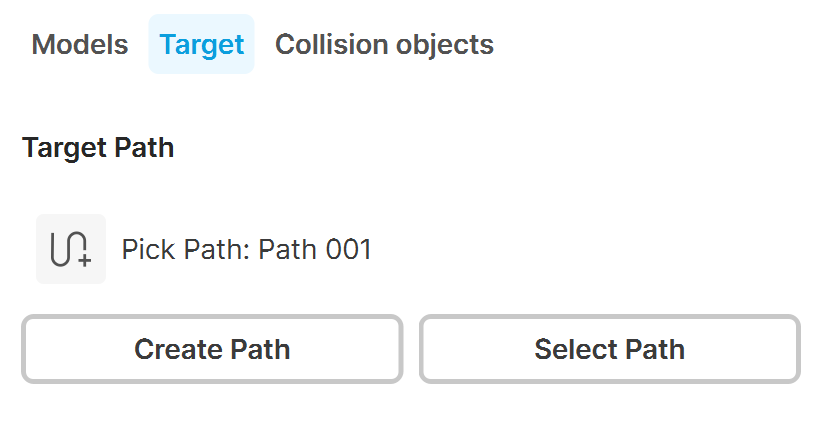
Pick Path () – Selects an existing path (a path object) onto which models can be added.
Create Path – Initiates a path object creation. Click in the viewport and drag to create the first segment of your path. Repeat as many time as needed, and click Done. The created path is located in the Objects tab > Path filter tab and is named Path by default.
Select Path – Opens the path object's parameters in the Details tab.
Collision Objects
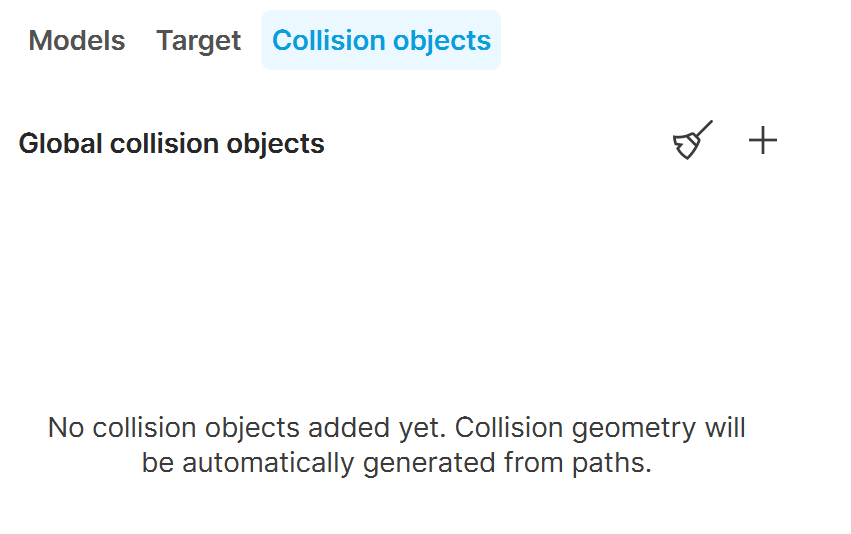
When no collision objects are selected, the collision geometry is automatically generated from paths.
Remove all collision objects – Clears the collision objects list.
Pick collision object – Picks an existing object and adds it to the collision objects list.
Generation Parameters
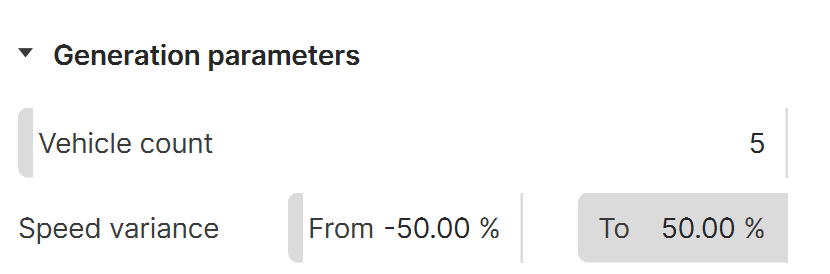
Vehicle count – Sets a limit for the vehicles when the Generate option is used.
Speed variance – Applies a random value to each vehicle inside the range specified. This random value is then used as a percentage of the road's max speed and added (or subtracted) to that same max speed value for that road.
Road Parameters
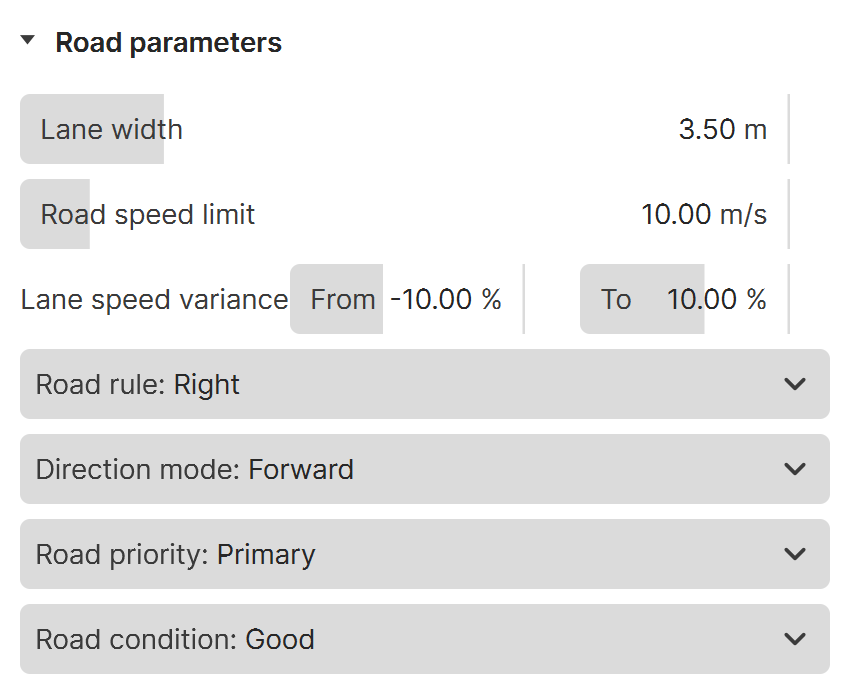
Lane width – Determines the width of each lane. This setting allows for precise control over lane dimensions, ensuring they meet the specific requirements of your project.
Road speed limit – Specifies a maximum allowed speed for the vehicles. For example, if a road has a speed limit of 50 km/h, this will be the base speed applied to all vehicles traveling on it.
Lane speed variance – This value is used only in roads with multiple lanes, distributing the speed range defined across all the lanes of the road, assigning the maximum to the outer lane and the minimum to the inner lane.
Road rule – Defines the priority of vehicles in an intersection when the roads have the same priority level. The available options are Right and Left.
Direction mode – Determines the direction in which vehicles move along the path.
Forward – Vehicles follow the path from the first point to the last (as the path was originally drawn).
Backward – Vehicles move along the path from its end point towards its first.
Road priority – Defines the priority of the vehicles on each road when they reach an intersection that is not managed with traffic lights. By default, a vehicle on a multilane road has priority over a vehicle on a single-lane road. To simplify the setup, the number of lanes is not considered, which means that all roads with more than one lane have the same priority. The options for road priority are Primary and Secondary.
Road condition – Defines the pavement quality of the road, which can be Good (Paved), Fair (Unpaved), or Poor (Gravel). Depending on the option selected, the vehicles will experience different levels of vibration and bumpiness, especially on the wheels. The differences are subtle, but may help add an extra layer or realism in some situations.
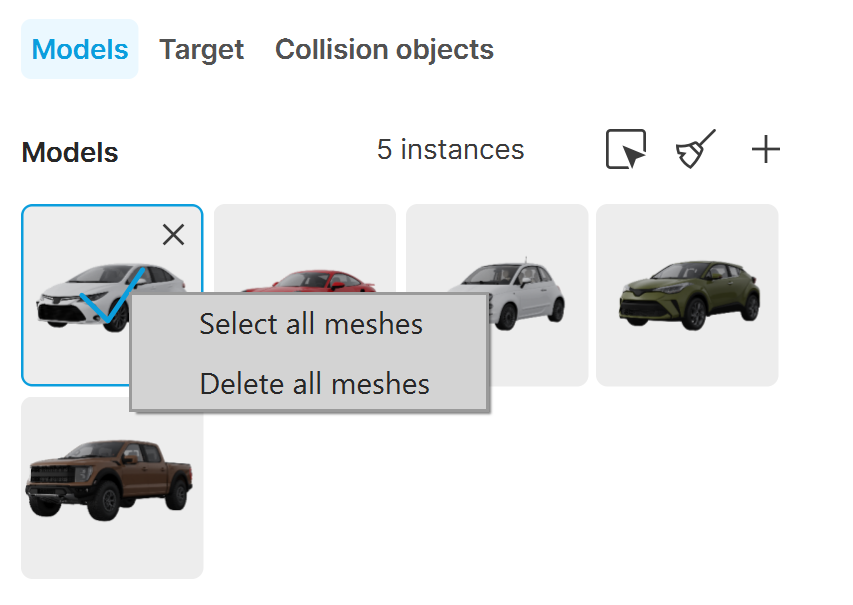
A dropdown menu appears when you right-click on a model in the Models section.
Select all meshes – Selects the model in the viewport and displays the its parameters in the Details tab.
Delete all meshes – Deletes the model from the viewport but not from the Models section.