Enscape Envision
Render Menu
This page provides information about the Render menu and its sub-menus in Enscape Envision.
Last updated 27 May 2026
This page provides information about the Render menu and its sub-menus in Enscape Envision.
Menu Options
Render Setup – Opens the Render Setup window, where you can manage rendering settings and add camera views and sequences for rendering. Shortcut: Shift+R
Screenshot – Saves a high-quality snapshot of the current view. The folder where the snapshot is saved is accessible from the notifications popup. Shortcut: F12

Render Setup Window
The Render Setup window allows you to add numerous cameras to a batch render queue for rendering as well as to specify render parameters for still image and sequence rendering. It also shows the history of rendered images and sequences.
Select – Opens the Select for rendering window, where you can add camera views and sequences for rendering.
Cancel – Terminates all actions and closes the Render Setup window.
Start rendering – Starts rendering all camera views and sequences in the queue.
Show sequences – Displays only camera sequences in the queue.

Show cameras – Displays only camera shots in the queue.

Clear all – Removes all camera views and sequences from the queue.


Search – Filters the cameras and shows only those that match the search. Click thebutton on the right to clear the search.

Select for rendering – Opens the Select for rendering dialog, where you can select camera shots and sequences for rendering.

Apply current render settings to all items – Applies the render settings of the currently selected camera to all other cameras in the queue. Available when you select a camera view or sequence.

Copy render settings – Copies the render settings of the selected camera to another. Available when you select a camera view or sequence.

Paste render settings – Pastes the previously copied render settings onto the selected camera. Available when you select a camera view or sequence.
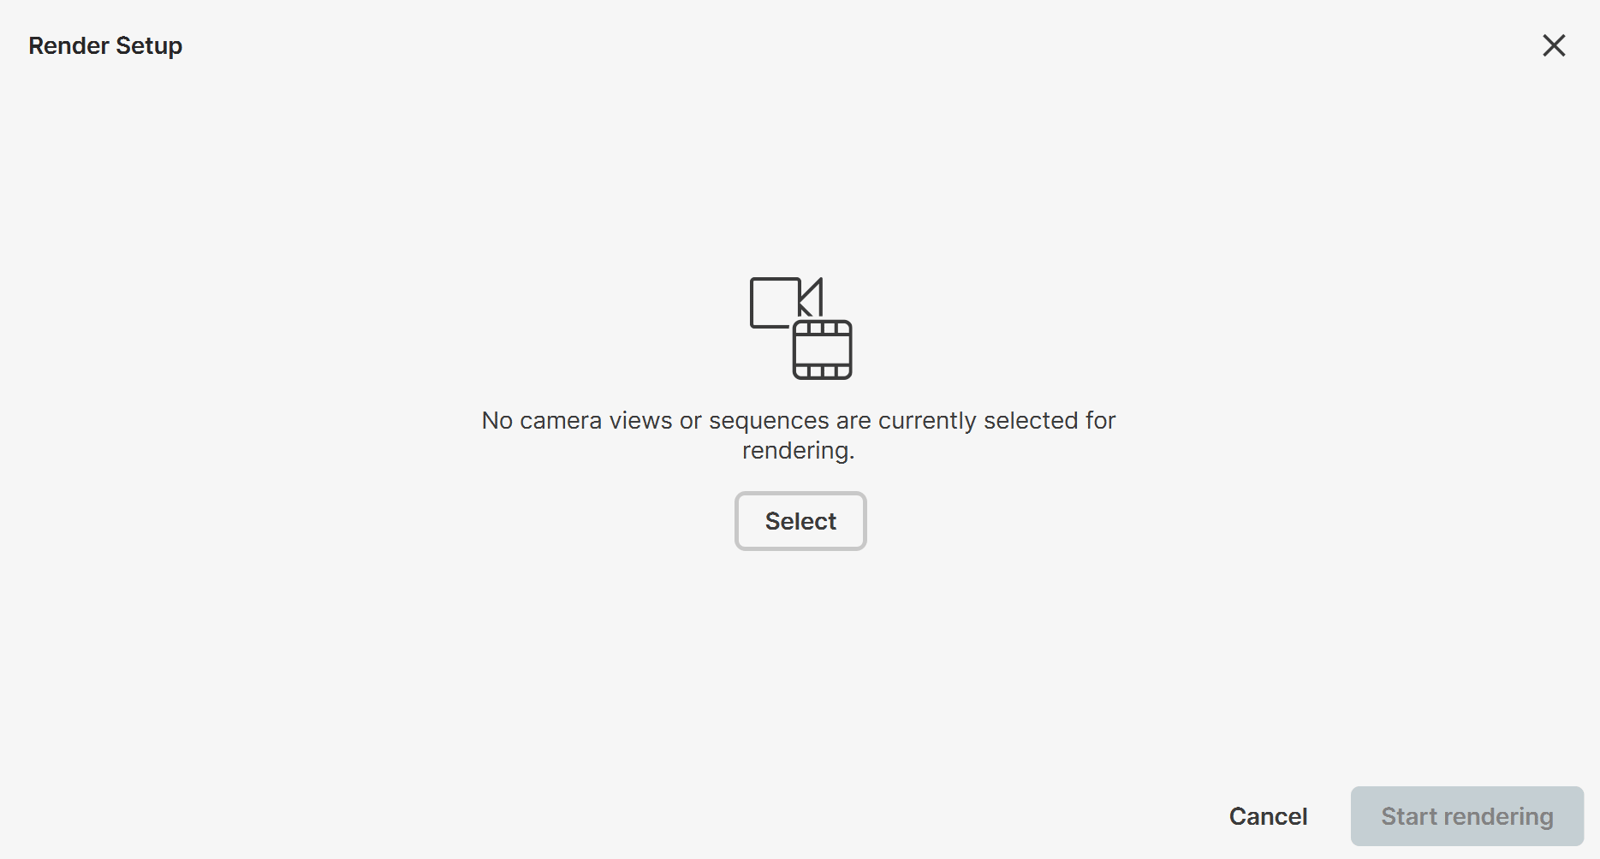
Empty state upon opening the Render Setup window

Selected for rendering tab

History tab
Select for Rendering
The select for rendering dialog displays all available camera views and sequences in the project and allows you to add them to a render queue for rendering.
You can select the cameras one by one or use the multi-select button. Once the cameras are selected, click the Add selected button to add them to the queue.

Still Image
Base properties
Variations – Specifies a scene variation for this camera view.
Environment variations – Specifies an environment variation for this camera view.
Camera Type – Specifies the type of the camera to be used when rendering a snapshot.
Default – Sets the current project camera to be used to render the snapshot.
Spherical – Sets the use of a spherical camera with independent horizontal (FOV X) and vertical (FOV Y) FOV selection that is useful for generating latlong images for spherical VR use.
Stereo spherical – Sets the use of a spherical Left/Right stereo camera with independent horizontal (FOV X) and vertical (FOV Y) FOV selection. It is useful for generating latlong images for spherical VR use. The stereo strength can be adjusted by modifying the Eye dist parameter.
Horiz. FOV – Specifies the horizontal field-of-view angle. Available only when Camera Type is set to Spherical or Stereo spherical.
Vert. FOV – Specifies the vertical field-of-view angle. Available only when Camera Type is set to Spherical or Stereo spherical.
Eye dist – Specifies the eye distance in mm for which the stereoscopic image is rendered.
Focus rotation – When enabled, the left and right views are rotated so that their focus points coincide at the distance specified by the Focus Distance parameter in the Camera tab. When disabled, the left and right view directions are parallel.
Top/Bottom – Specifies the eye distance in mm for which the stereoscopic image is rendered.
Resolution
Resolution X / Y – Sets the width and height of the rendered snapshot in pixels.
Aspect – Sets the aspect of the render resolution.
Preset – Sets the render resolution from several predefined resolutions:
720p – 1280x720
1080p – 1920x1080
1440p – 2560x1440
2160p – 3840x2160
Custom – Custom width and height.
Render
Quality – Sets the rendering quality based on 4 predefined presets: Low, Medium, High, Ultra.
Samples – Specifies the samples per pixel for refining the image. Increasing this value results in higher quality at the cost of rendering speed.
Denoiser – When enabled, applies denoising to the rendered image.

Channels – When enabled, outputs render channels for use in compositing software. Specific render channels can be set from the Select channels () button.
Select channels () – Opens the Channels (render elements) selection dialog.
Output
My device – Specifies the output file path where the still image is saved on your machine after rendering.
Cloud collaboration – Opens the Cloud collaboration window, where you can create or select a Cloud Collaboration project to upload the still image after rendering. For more information on how to enable the Cloud collaboration from inside Envision, see the Chaos Cloud Collaboration page. For more information on the Cloud Collaboration features, refer to the Chaos Cloud documentation.

Enable Cloud Collaboration as rendering destination () – When enabled, the render output (rendered image) is automatically sent to Cloud Collaboration after rendering is complete. For more information on how to enable the Cloud collaboration from inside Envision, see the Chaos Cloud Collaboration page. For more information on the Cloud Collaboration features, refer to the Chaos Cloud Collaboration documentation.
AI Enhancer – Selects a local destination folder where an AI Enhancer compatible .exr file is stored. For more information on the AI Enhancer tool, refer to the Chaos AI Enhancer page.

– When enabled and a destination has been set, the render output (rendered image) is automatically sent to Chaos AI Enhancer for enhancing after rendering is complete. If no destination is set, the files are saved locally, and you have to manually upload them to Cloud Collaboration. For more information on the AI Enhancer tool, refer to the Chaos AI Enhancer page.
File Format – Specifies the output file format.
Save Settings XML – Saves the current settings in an xml format.
Cancel – Closes the Render Setup window.
Start – Starts rendering from the selected Camera using the current render settings.

Sequence
Camera
Auto-exposure – Enables the automatic calculation of the exposure value for each frame. The exposure defined in the individual camera settings is ignored.
Motion blur – Enables the rendering of motion blur for the rendered image using the settings defined in the current Camera.
Base properties
Variations – Specifies a scene variation for this camera sequence.
Environment variations – Specifies an environment variation for this camera sequence.
Camera Type – Specifies the type of the camera to be used when rendering a sequence.
Default – Sets the current project camera to be used to render the sequence.
Spherical – Sets the use of a spherical camera with independent horizontal (FOV X) and vertical (FOV Y) FOV selection that is useful for generating latlong images for spherical VR use.
Stereo spherical – Sets the use of a spherical Left/Right stereo camera with independent horizontal (FOV X) and vertical (FOV Y) FOV selection. It is useful for generating latlong images for spherical VR use. The stereo strength can be adjusted by modifying the Eye dist parameter.
Horiz. FOV – Specifies the horizontal field-of-view angle. Available only when Camera Type is set to Spherical or Stereo spherical.
Vert. FOV – Specifies the vertical field-of-view angle. Available only when Camera Type is set to Spherical or Stereo spherical.
Eye dist – Specifies the eye distance in mm for which the stereoscopic image is rendered.
Focus rotation – When enabled, the left and right views are rotated so that their focus points coincide at the distance specified by the Focus Distance parameter in the Camera tab. When disabled, the left and right view directions are parallel.
Top/Bottom – Specifies the eye distance in mm for which the stereoscopic image is rendered.
Resolution
Resolution X/Y – Sets the width and height of the rendered snapshot in pixels.
Aspect – Sets the aspect ratio of the render resolution.
Preset – Sets the render resolution from several predefined resolutions:
720p – 1280x720
1080p – 1920x1080
1440p – 2560x1440
2160p – 3840x2160
Custom – Custom height and width.
Render
Quality – Sets the rendering quality based on 4 predefined presets: Low, Medium, High, Ultra.
Samples – Specifies the samples per pixel for refining the image. Increasing this value results in higher quality at the cost of rendering speed.
Denoiser – When enabled, applies denoising to the rendered image.
Channels – When enabled, outputs render channels for use in compositing software. Specific render channels can be set from the Select channels () button.
Select channels () – Opens the Channels (render elements) selection dialog.
Output
First frame – Specifies the first frame of the animation sequence.
Last frame – Specifies the last frame of the animation sequence.
FPS – Specifies the frames per second value for the animation.

– Enables/disables saving the entire sequence as a single video file.
File format – Specifies the video file type for the rendered sequence.
Output file name – Specifies the output video file path where the video file is saved.

– Enables/disables saving each frame as an individual image file.
File format – Specifies the file type for the rendered frames.
Output file name – Specifies the output file path where the still image is saved.
Save Settings XML – Saves the current settings in an xml format.
Cancel – Closes the Render Setup window.
Start – Starts rendering from the selected Camera using the current render settings.

See also: