Enscape
Lighting for SketchUp
This page provides information about lighting in Enscape for SketchUp.
Last updated 28 May 2026
This page provides information about lighting in Enscape for SketchUp.
Overview
As SketchUp has no native lights, Enscape provides lights that are accessed via the Enscape Objects window, either using the Extensions menu option in SketchUp or via the Enscape ribbon.
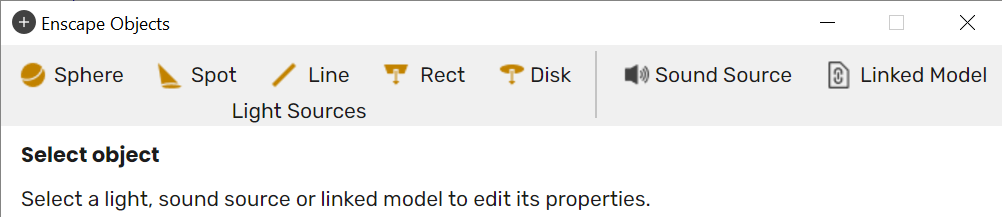
Enscape Objects window
There are five light sources to choose from:
These can be easily placed with two to four clicks, as described on this page.
Light Types
Sphere Light
A sphere light is essentially an omni, or point light, which means that the light sends out light rays from a single point equally in all directions, resulting in a gentle fall-off in all directions.
The placement of a sphere light only takes two clicks: the first click selects the surface or axis from which the light source's placement will be based off of, and the second click places the light.
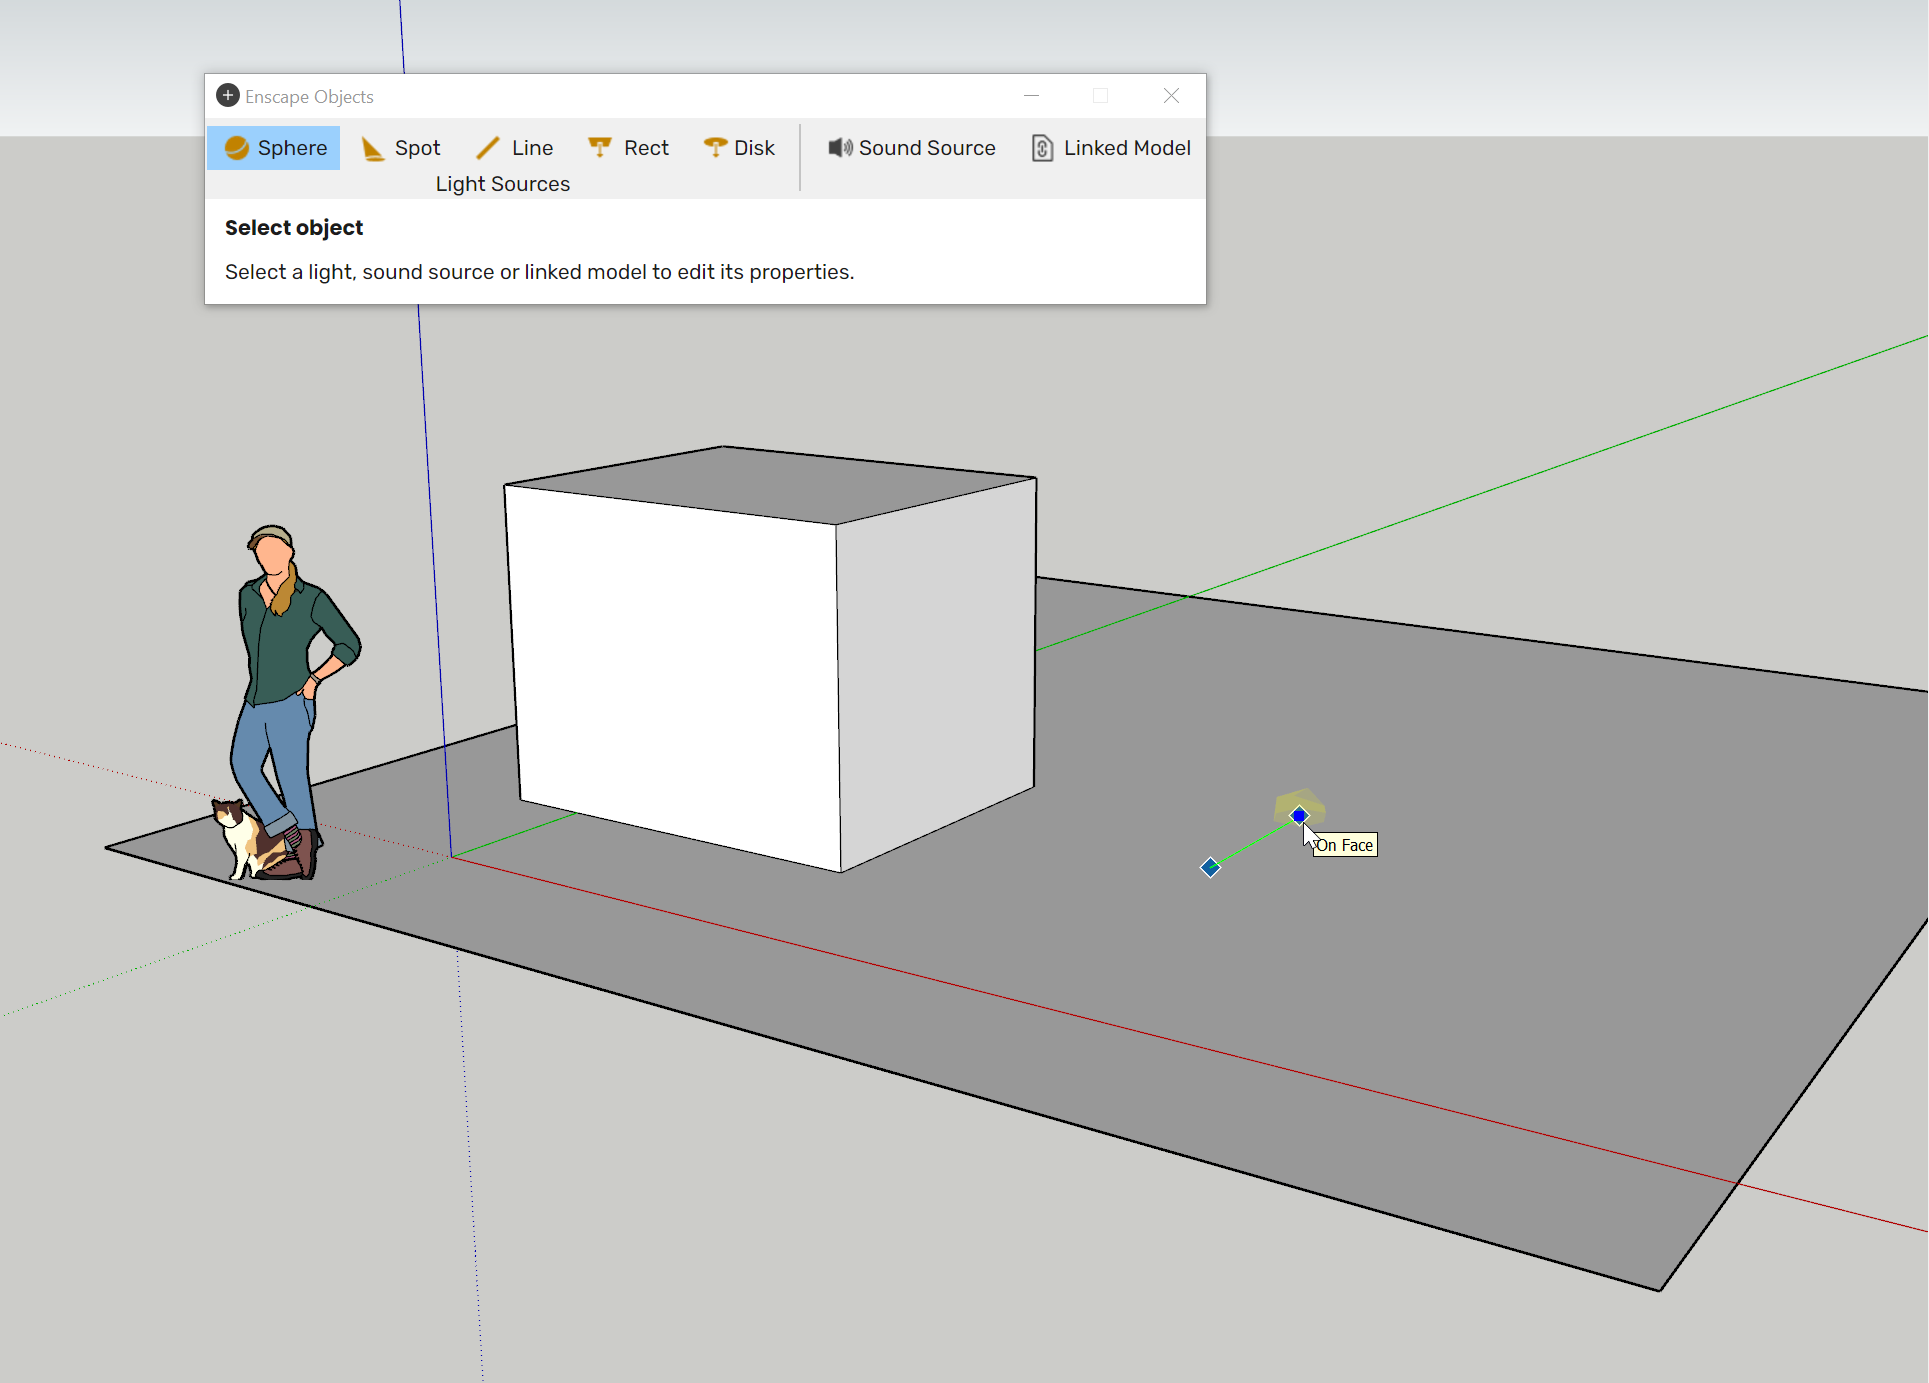
Select the surface/axis the placement of the light source is based off
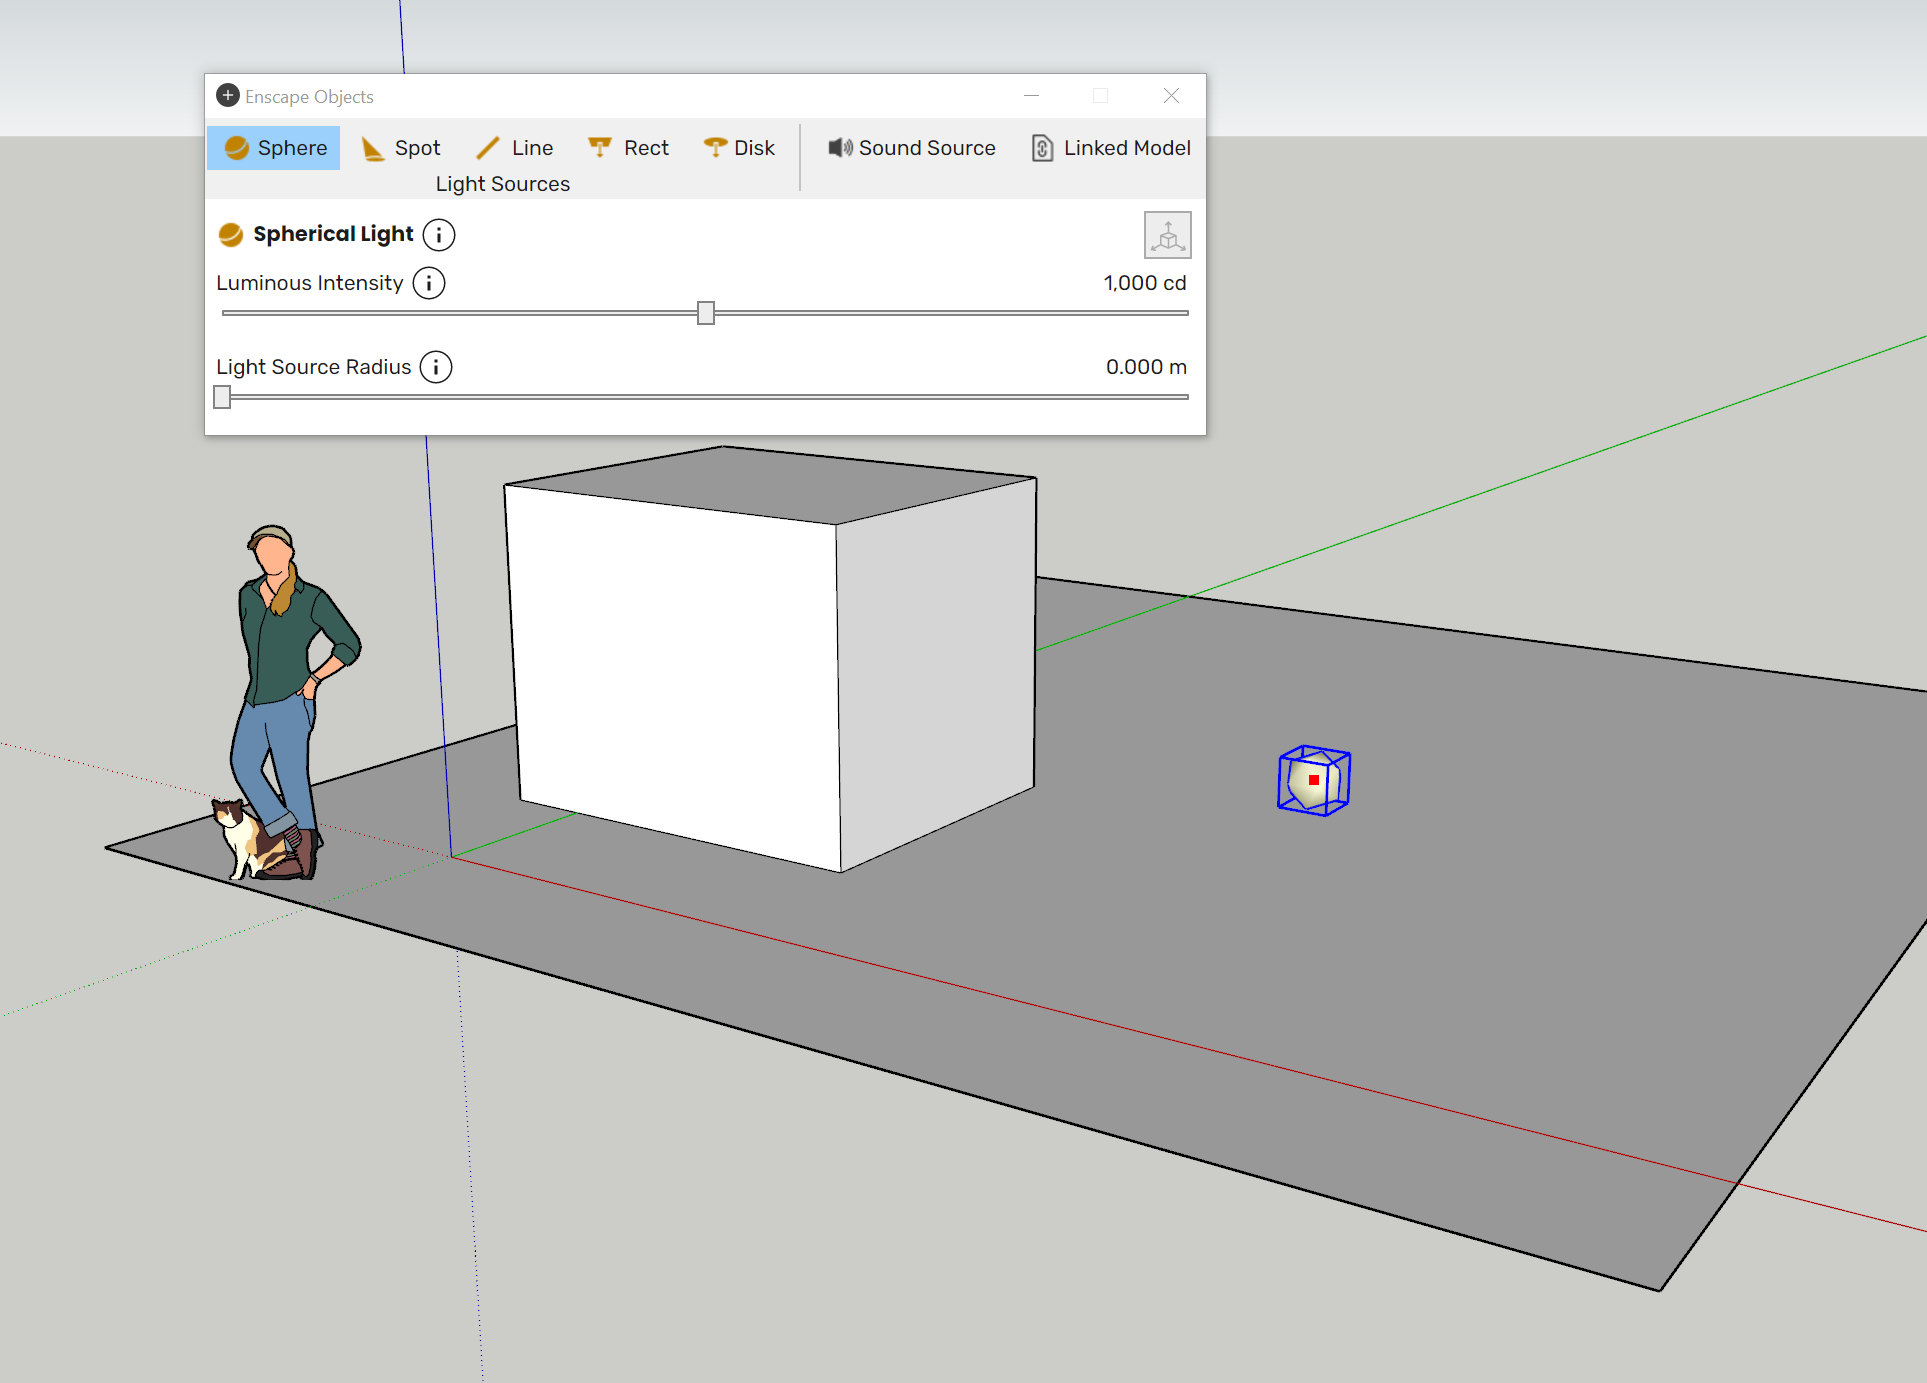
Second click places the sphere light
Adjust the intensity of the light using the Luminous Intensity slider. This is displayed in SketchUp by the size of the light object increasing or decreasing, respectively.
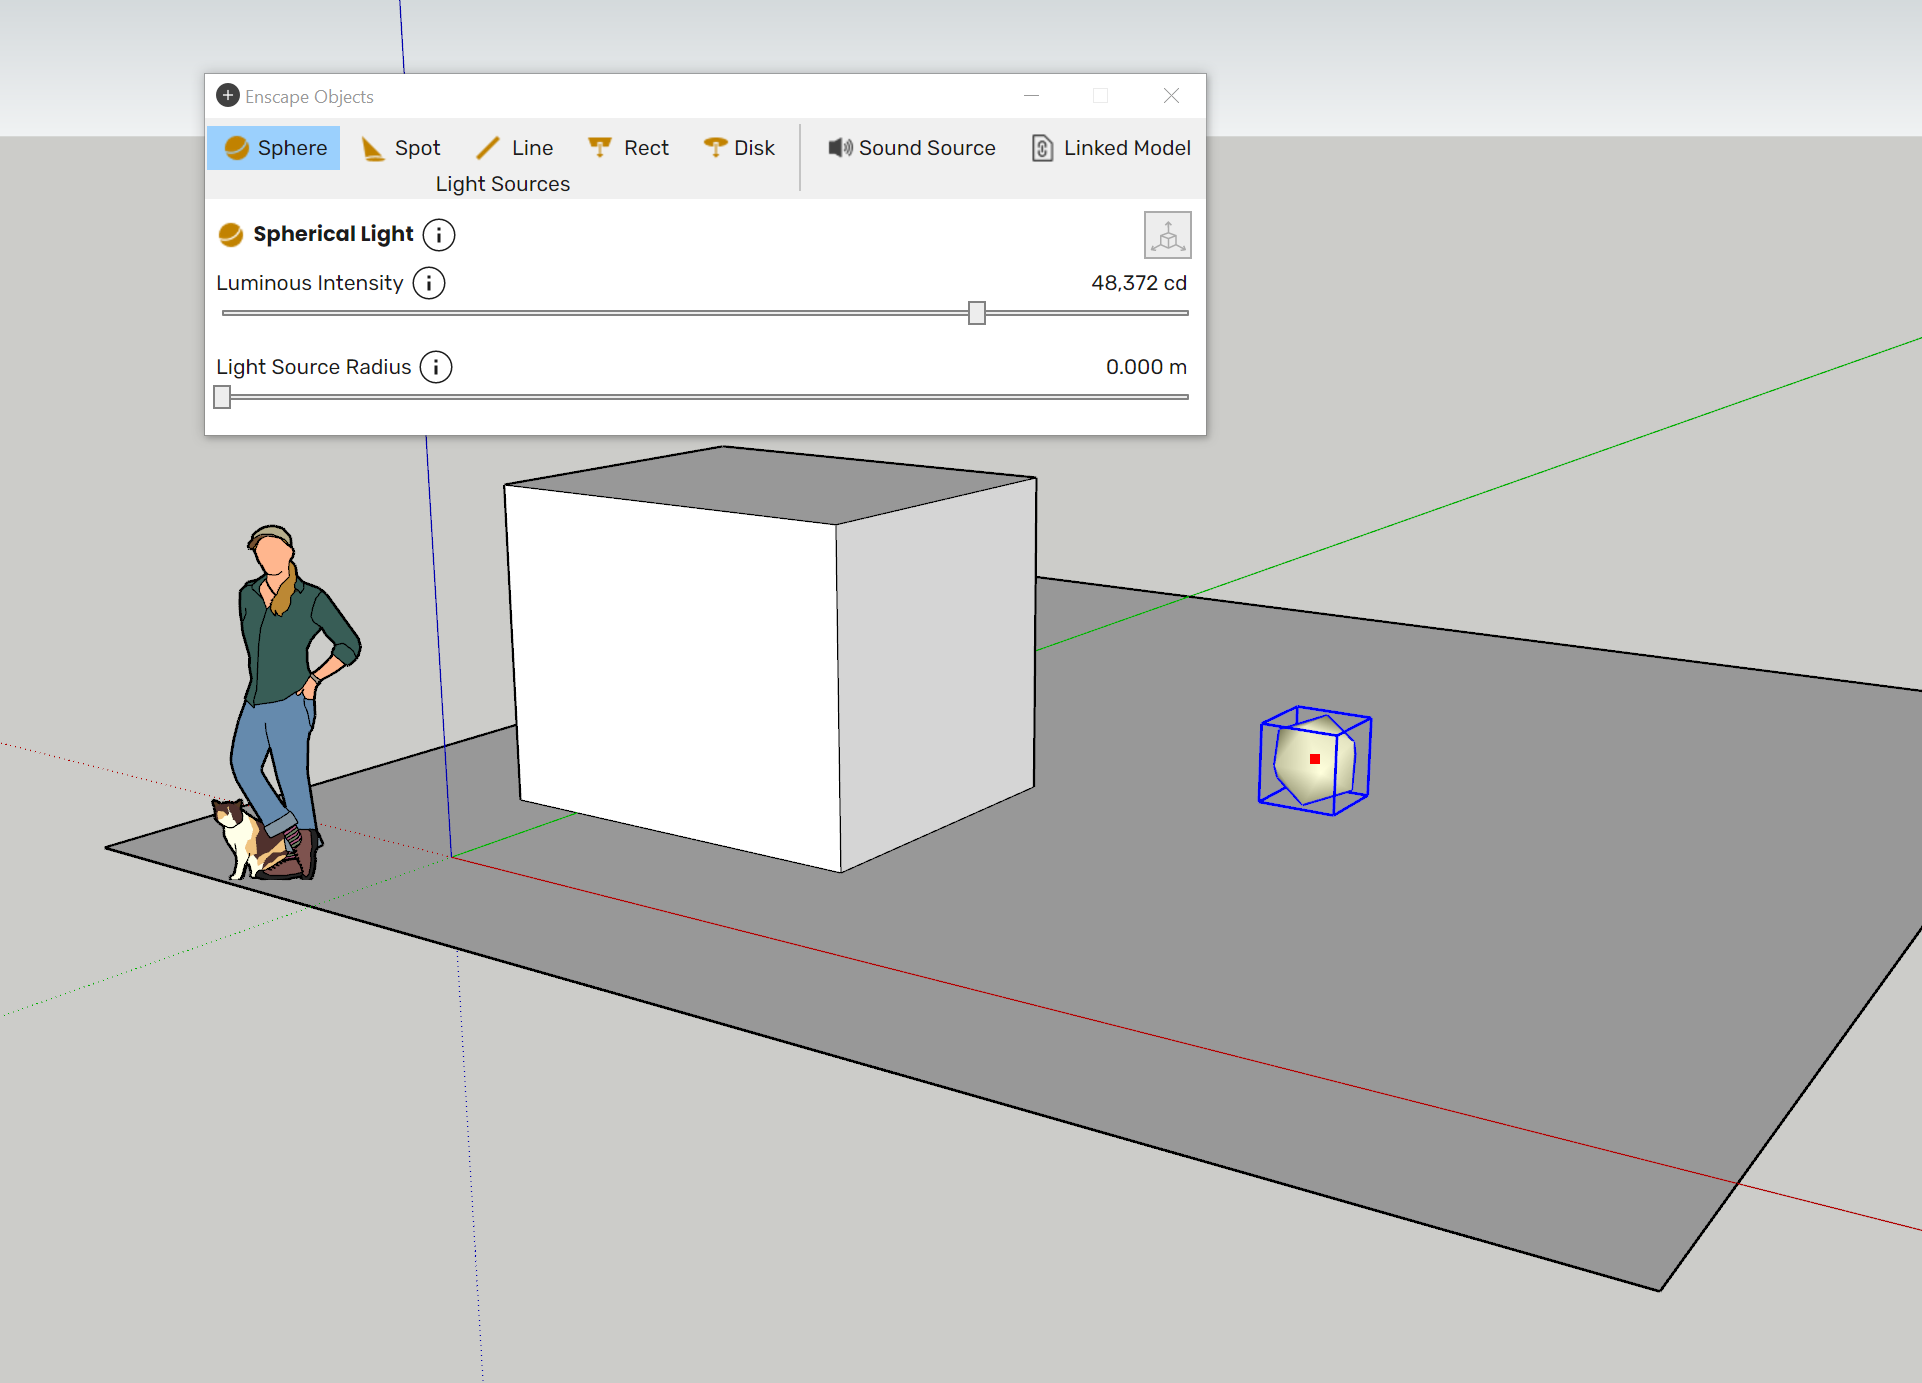
Adjust the intensity of the sphere light
The changes are displayed in the Enscape window. In the example image, we have created a simple white cube in the scene so the light has something to cast onto.
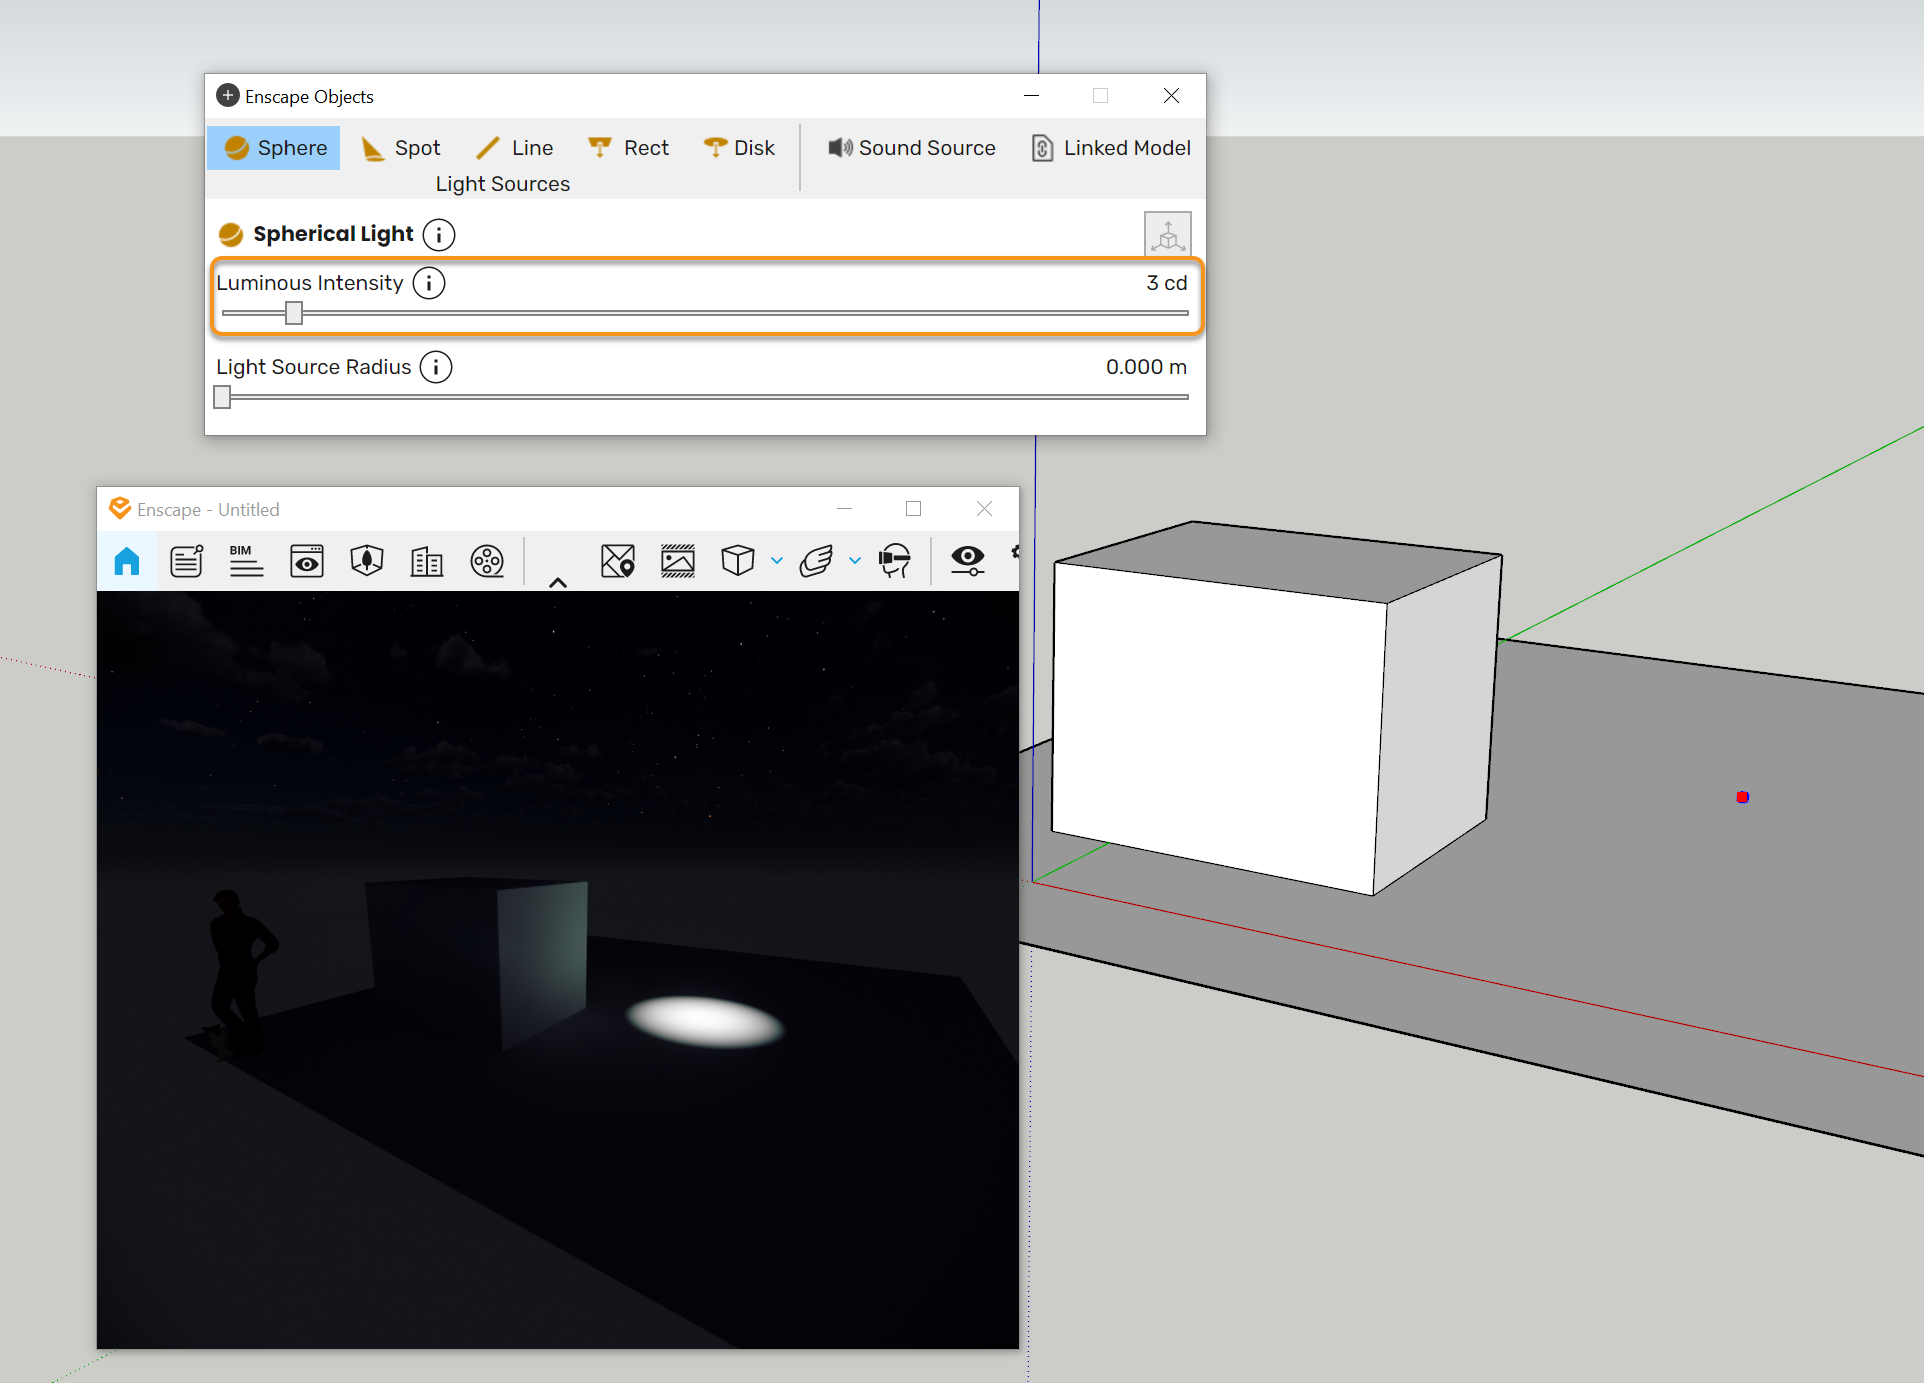
Intensity of the sphere light viewed in Enscape
Adjusting the radius of the light (in meters) makes the central area brighter. The light falls off, stretching across a wider area. This adjustment is only visible in the Enscape window.
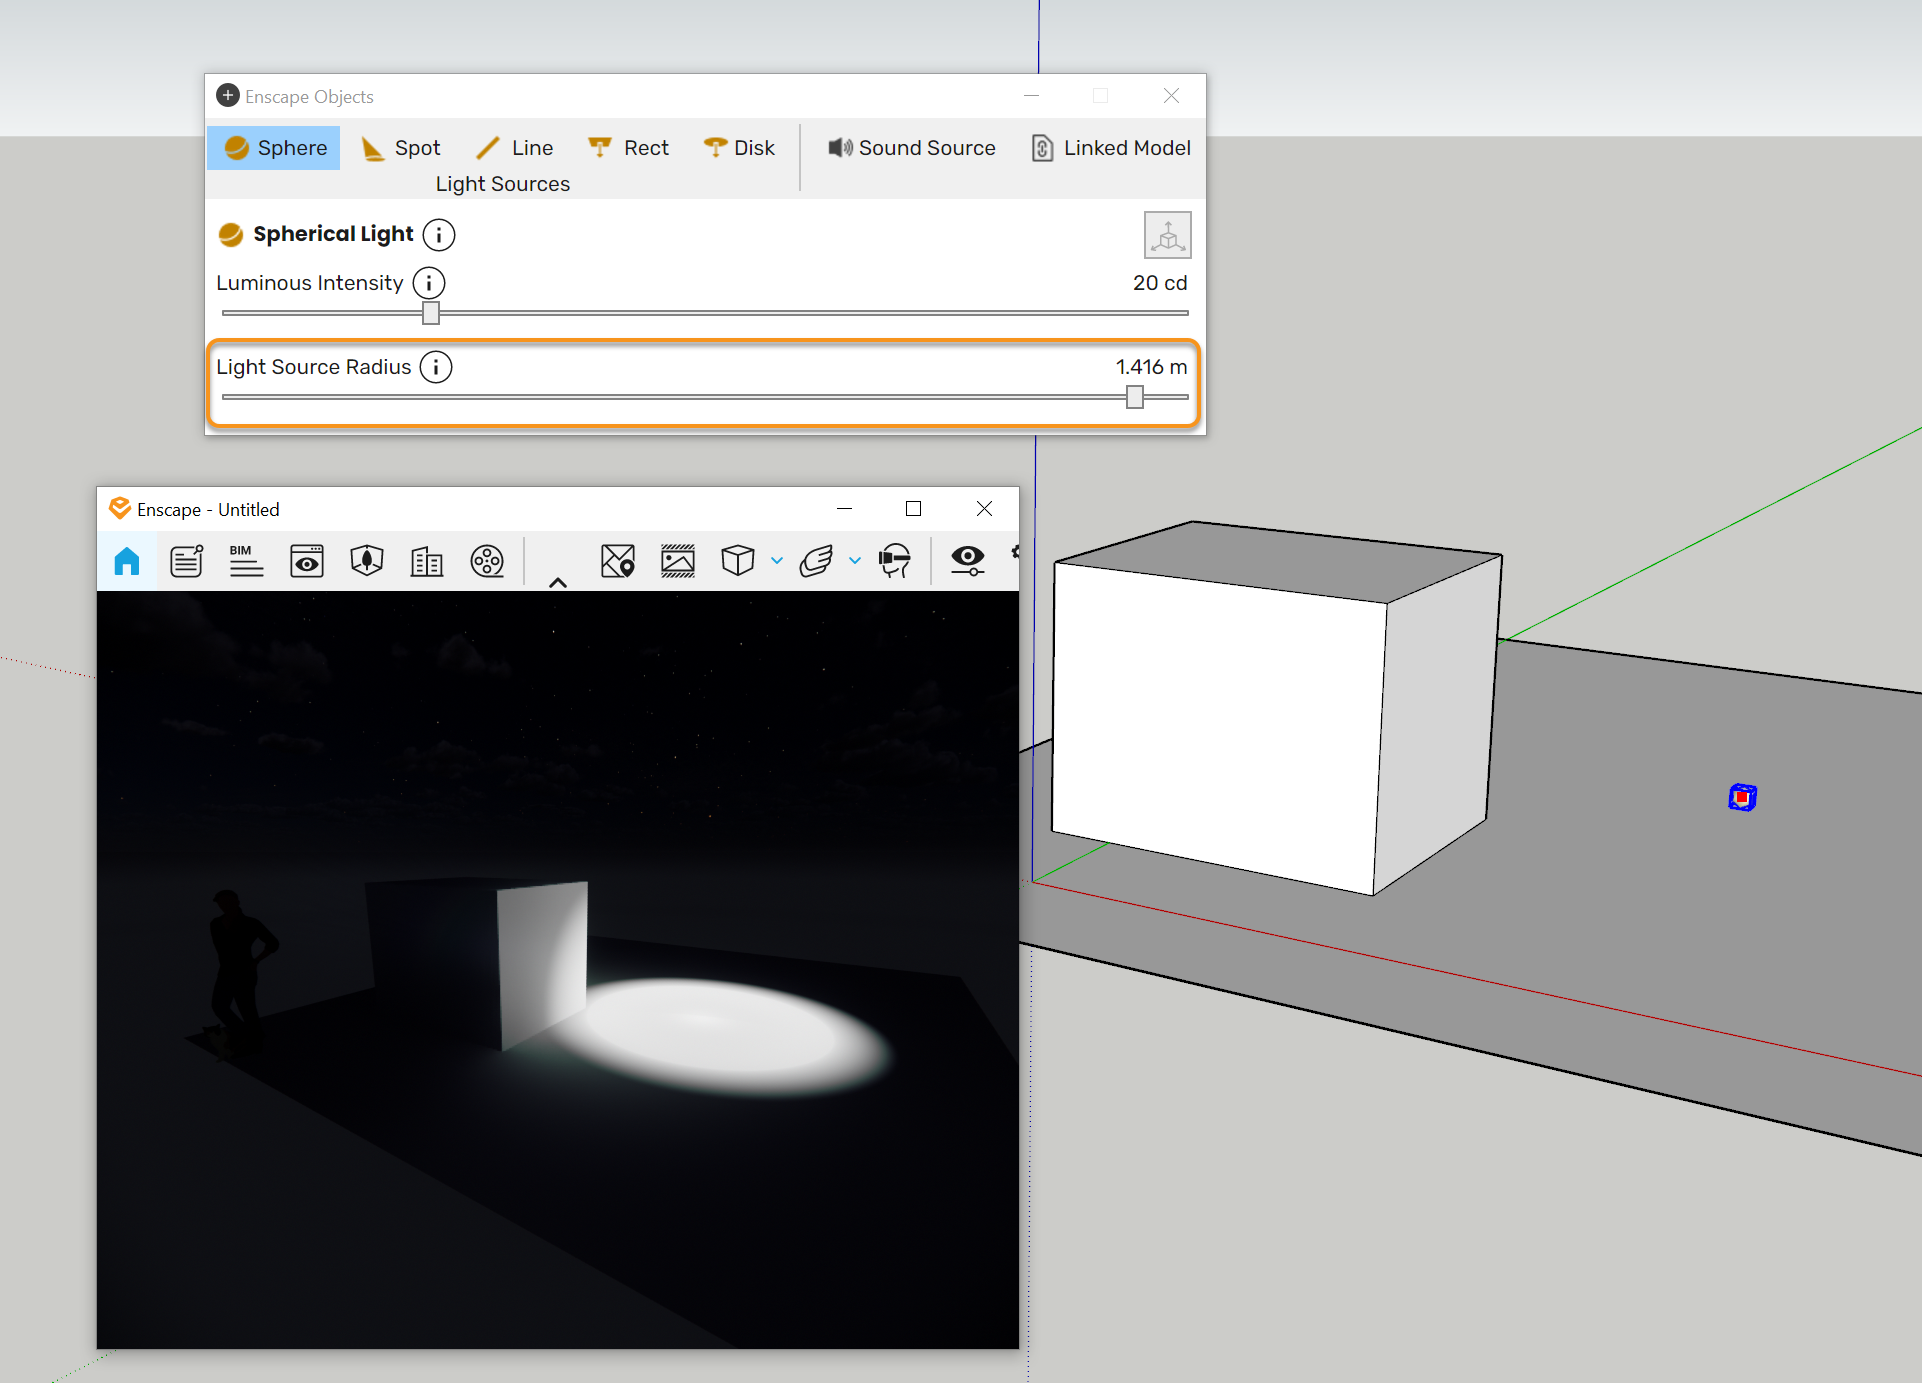
Adjust the radius of the sphere light
The following shows an Enscape Sphere light being placed into a project.
light_skp7_win-4-0
mp4
20 MB
Spot Light
A spot light is placed with four clicks. The first two clicks determine the end point, and the second two clicks determine the direction of the light cone. It is sometimes easier to place the light first and adjust it afterward.
So, to place a spot light, click once to select the surface or axis on which to place the light source.
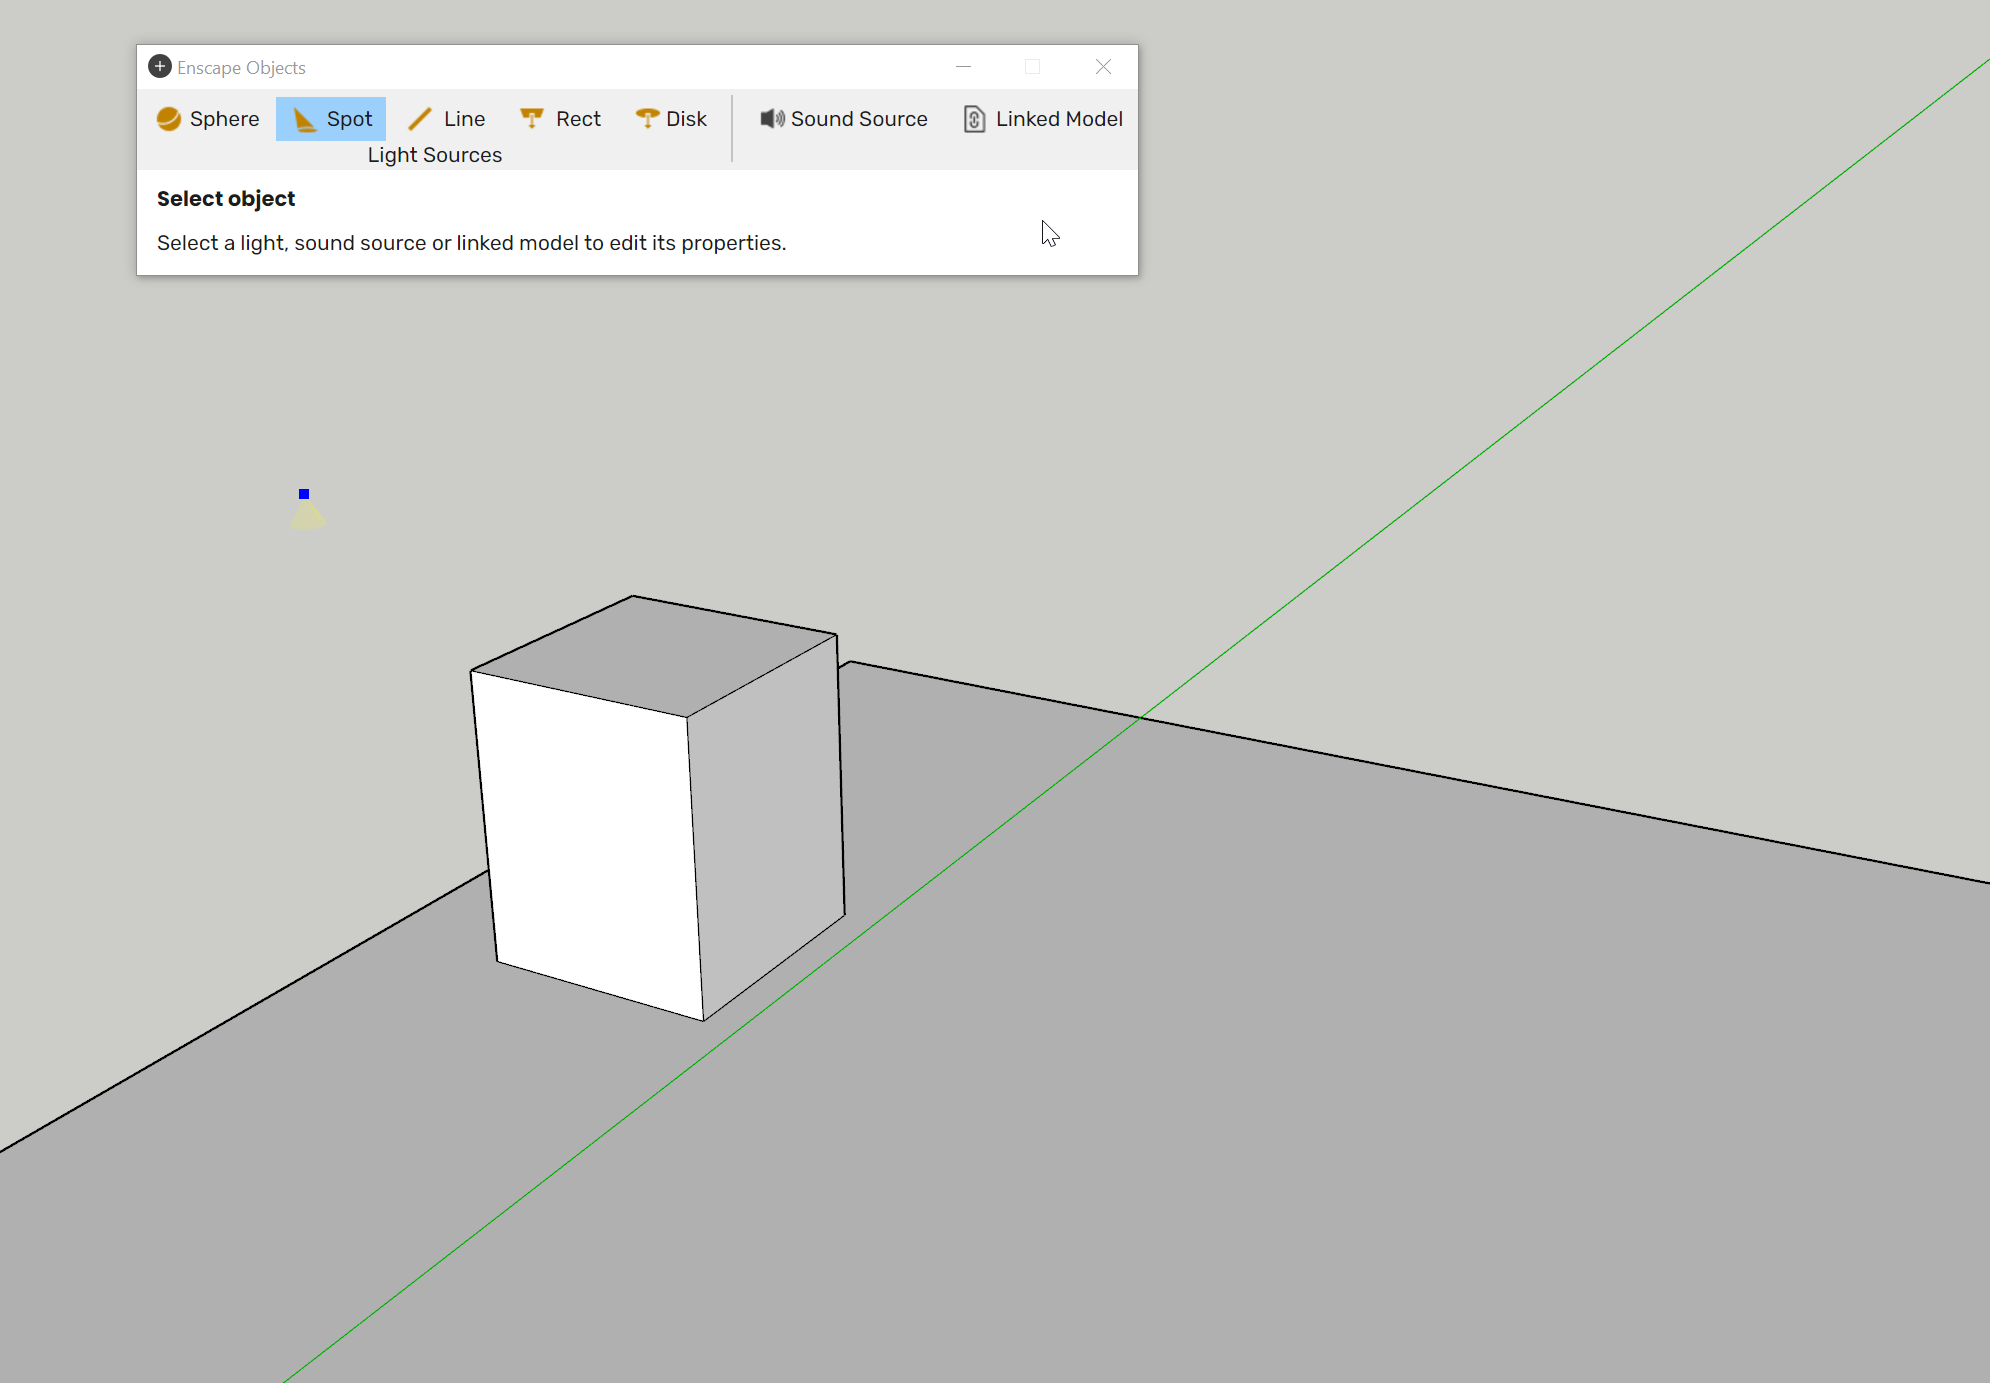
Click 1: Pick Spot light source placement surface / axis
Move the mouse to define the axis or face that you wish the light to run along or be placed.
Once decided, make the second click to define the light source.
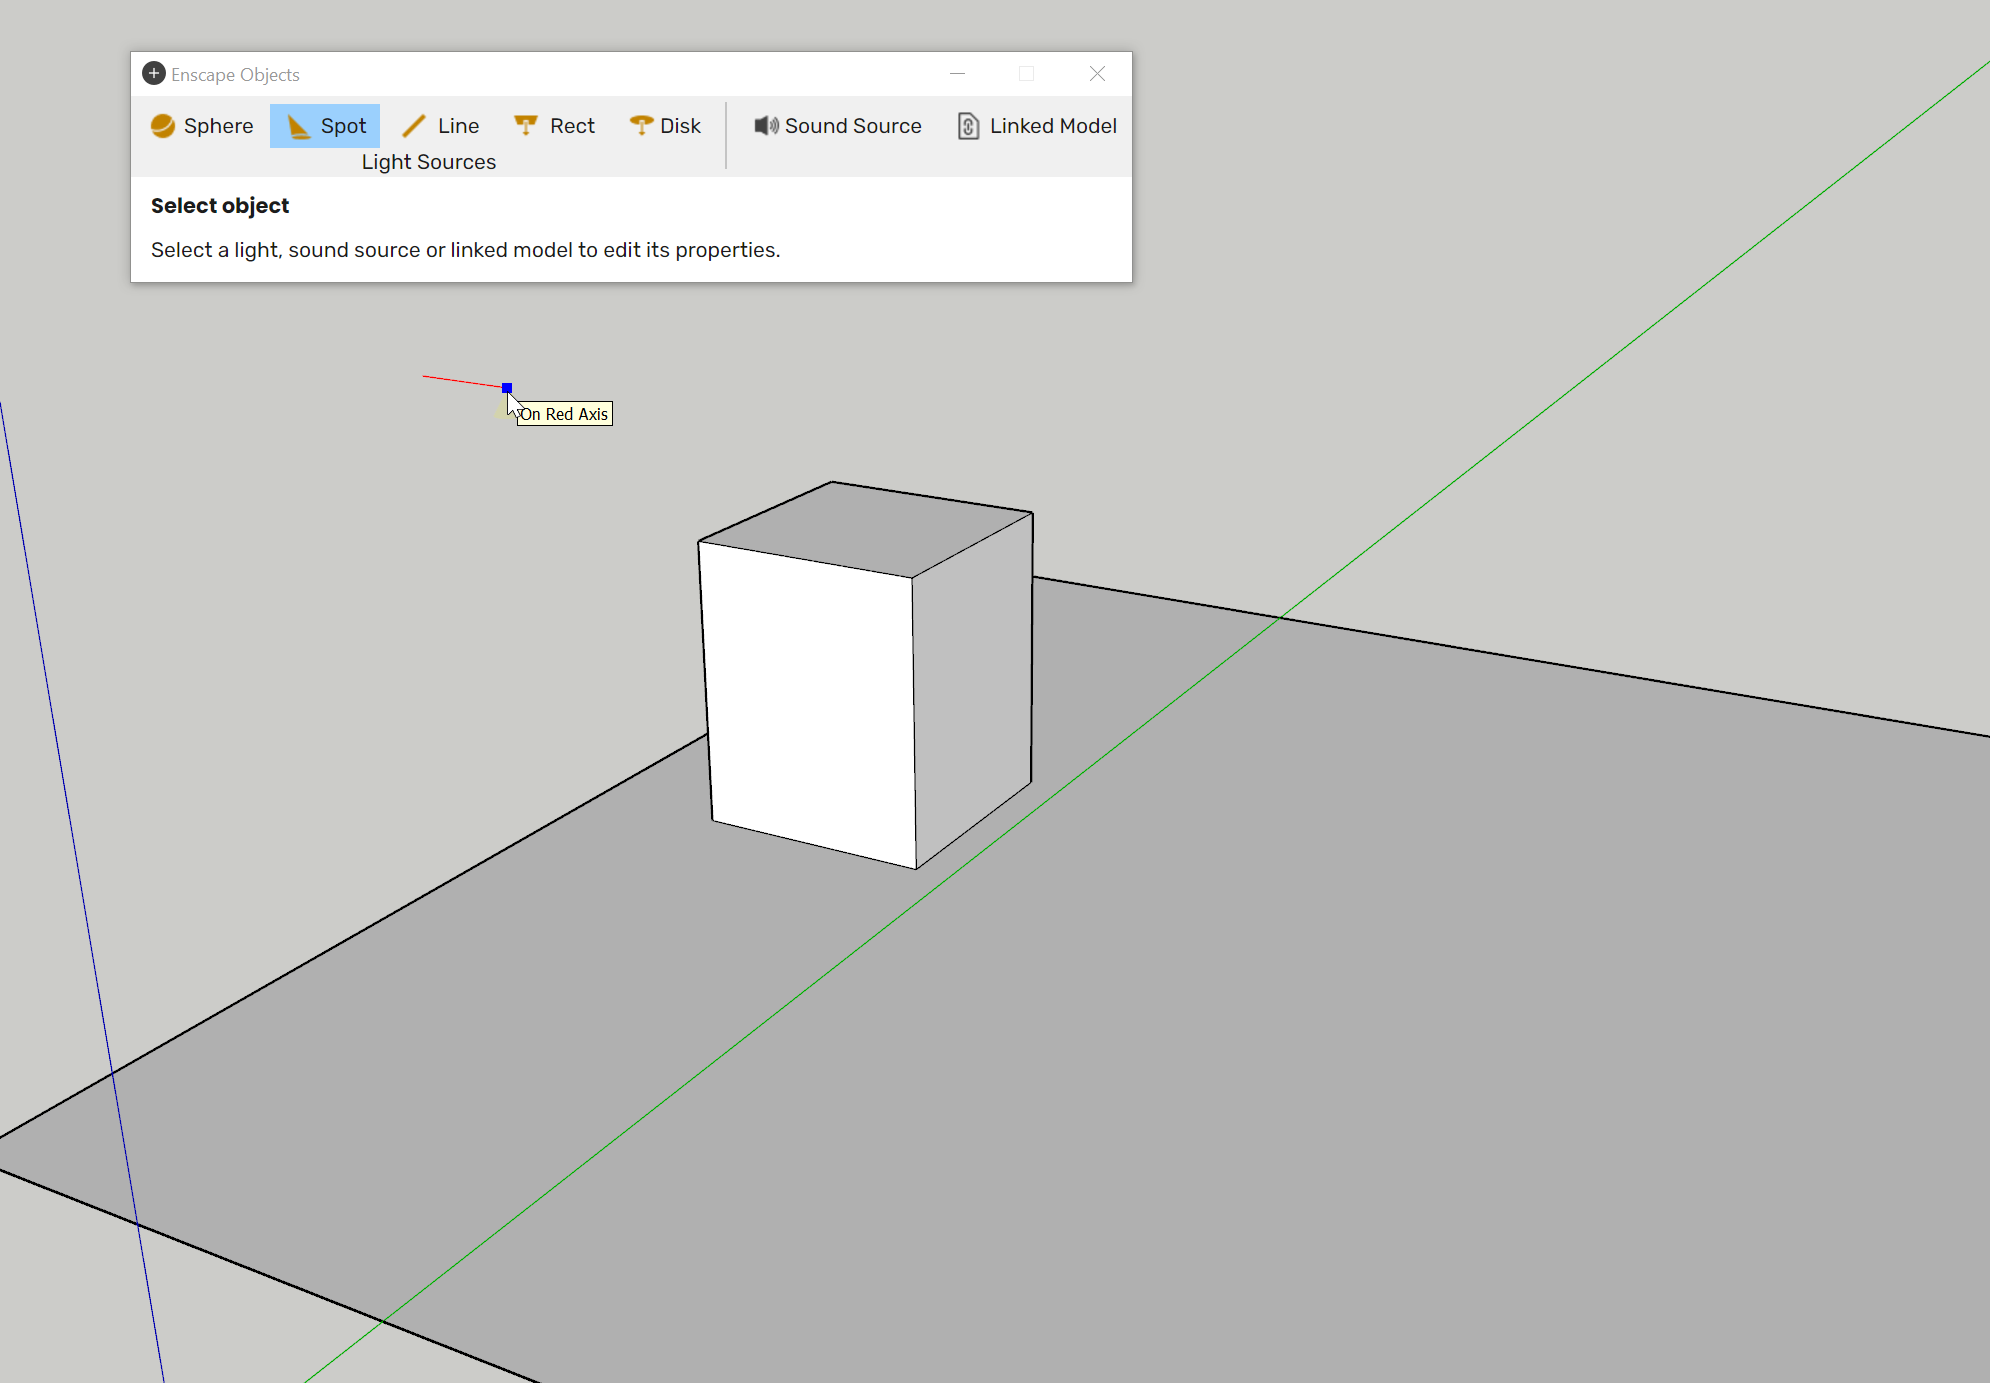
Click 2: Place the light source
Move the mouse again to select the surface or axis on which to place the light target.
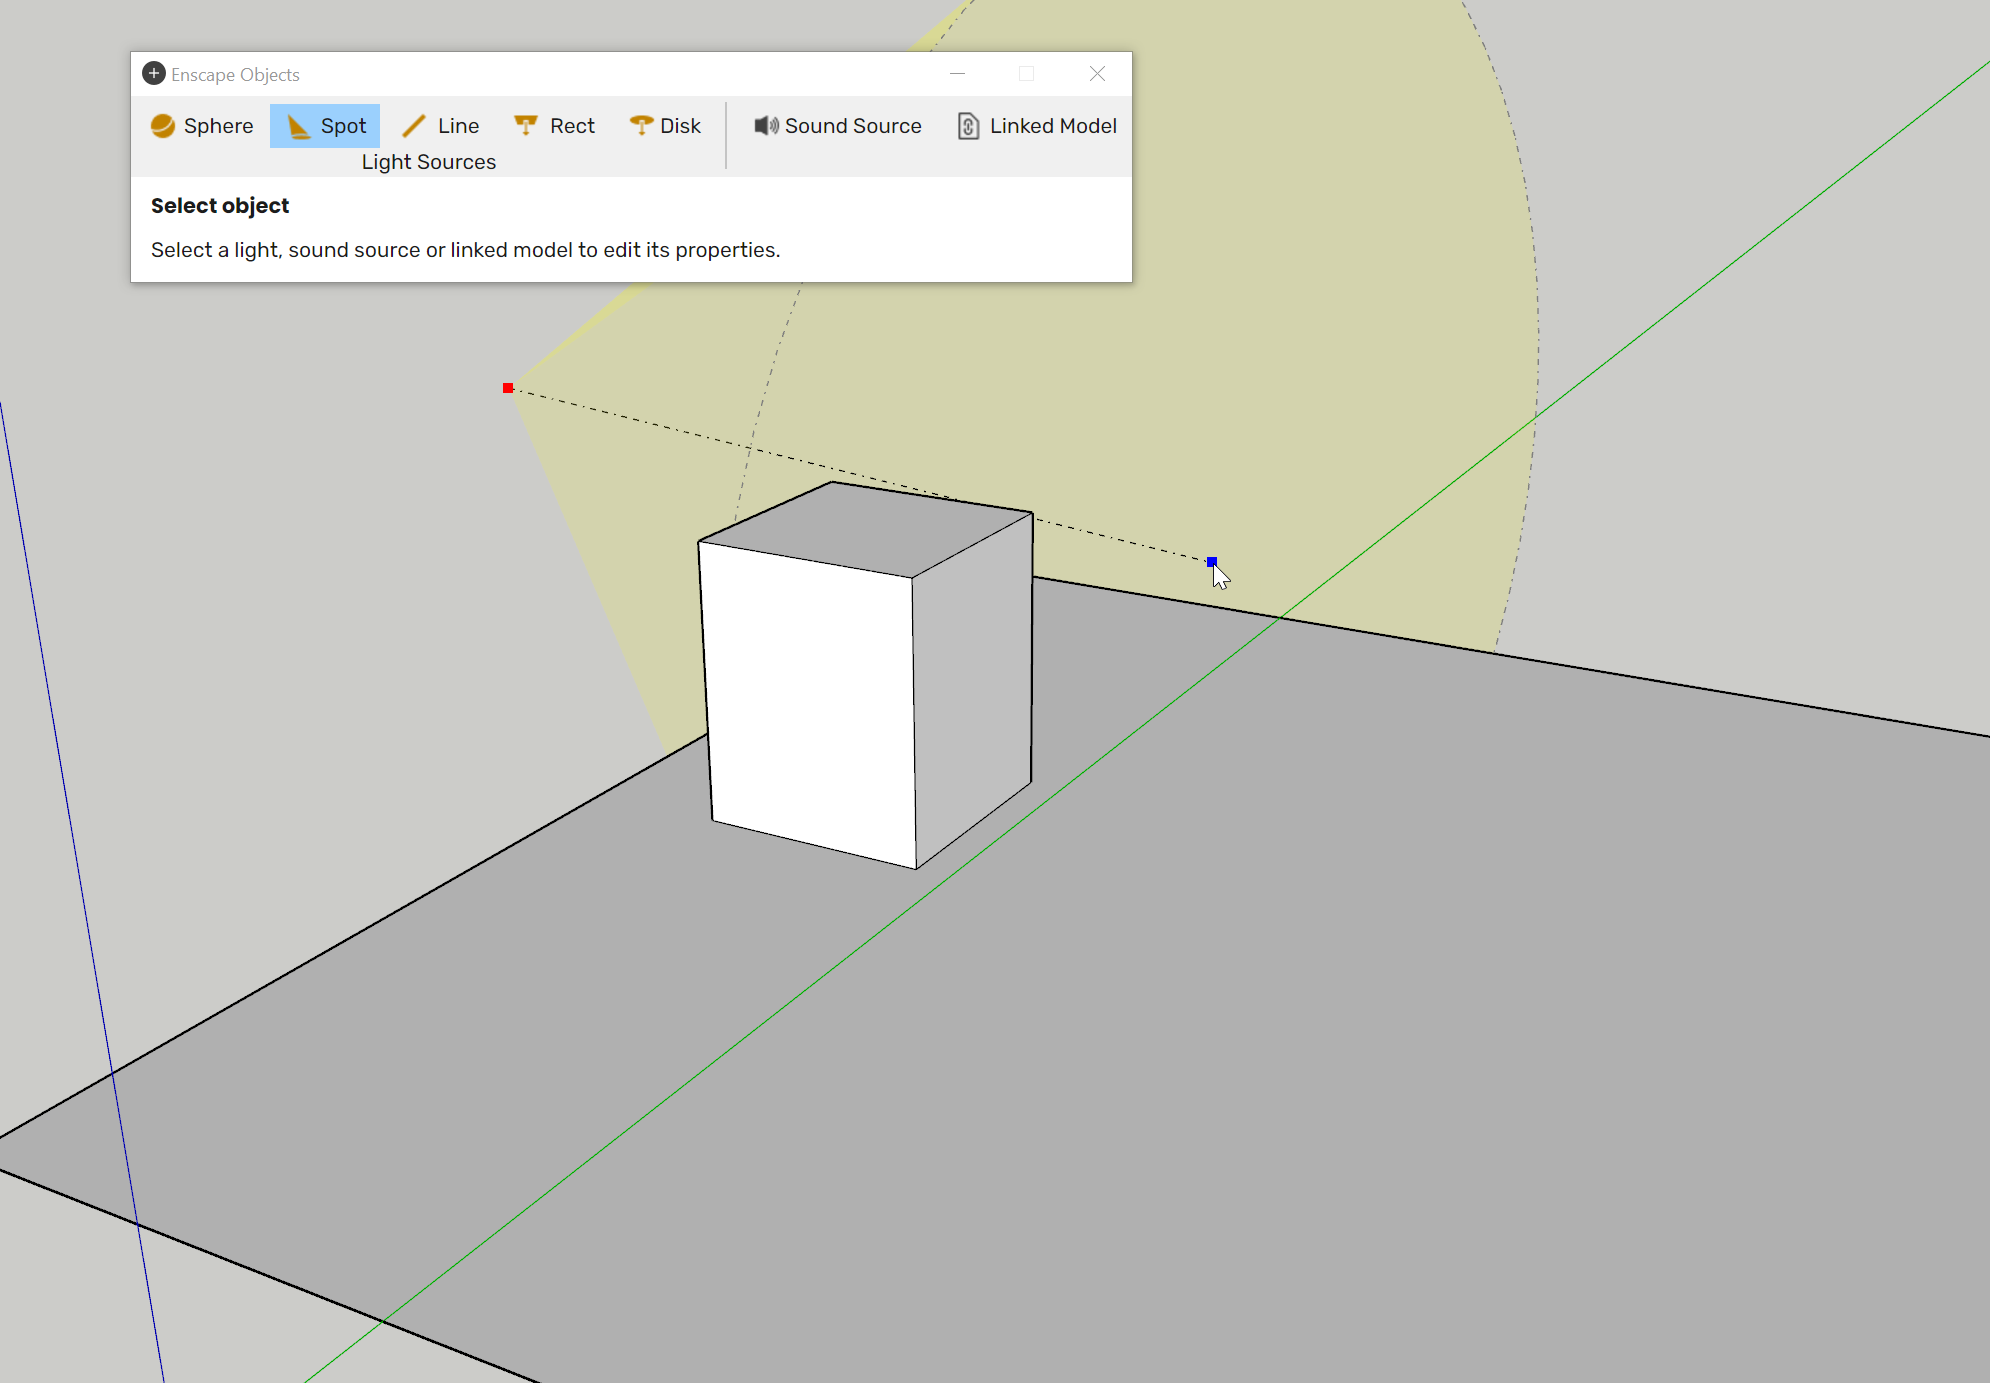
Click 3: Pick Spot light target placement surface / axis
Once you have selected the light target, move your mouse to finally select the light target.
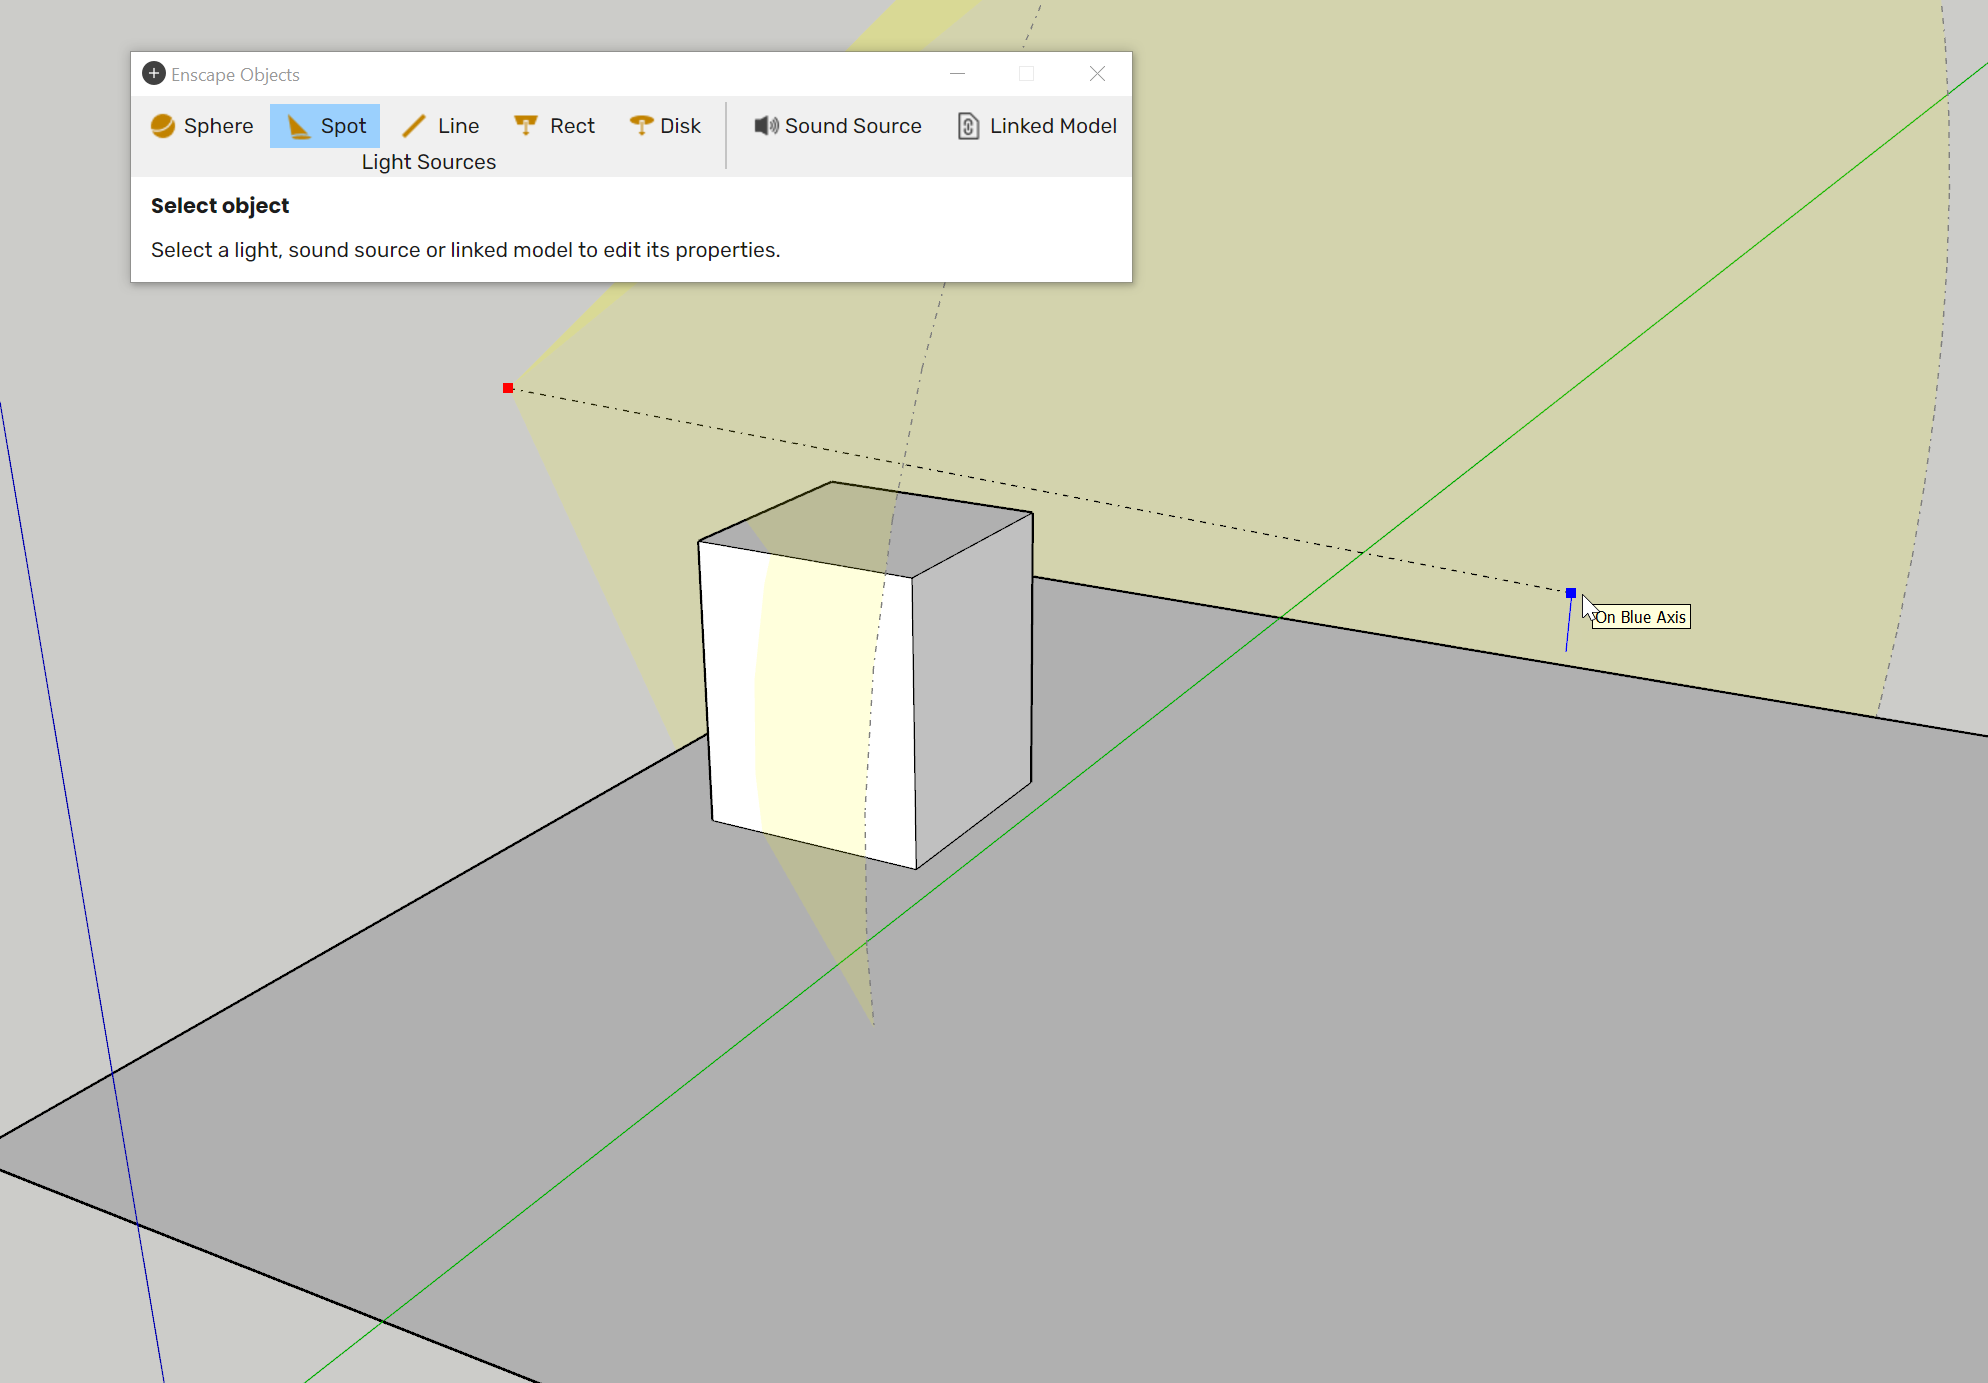
Click 4: Place light target
After placing the light, use the red dots in the viewport to alter its From Point, Target, and Beam Angle. More light options become available in the Enscape Objects window.
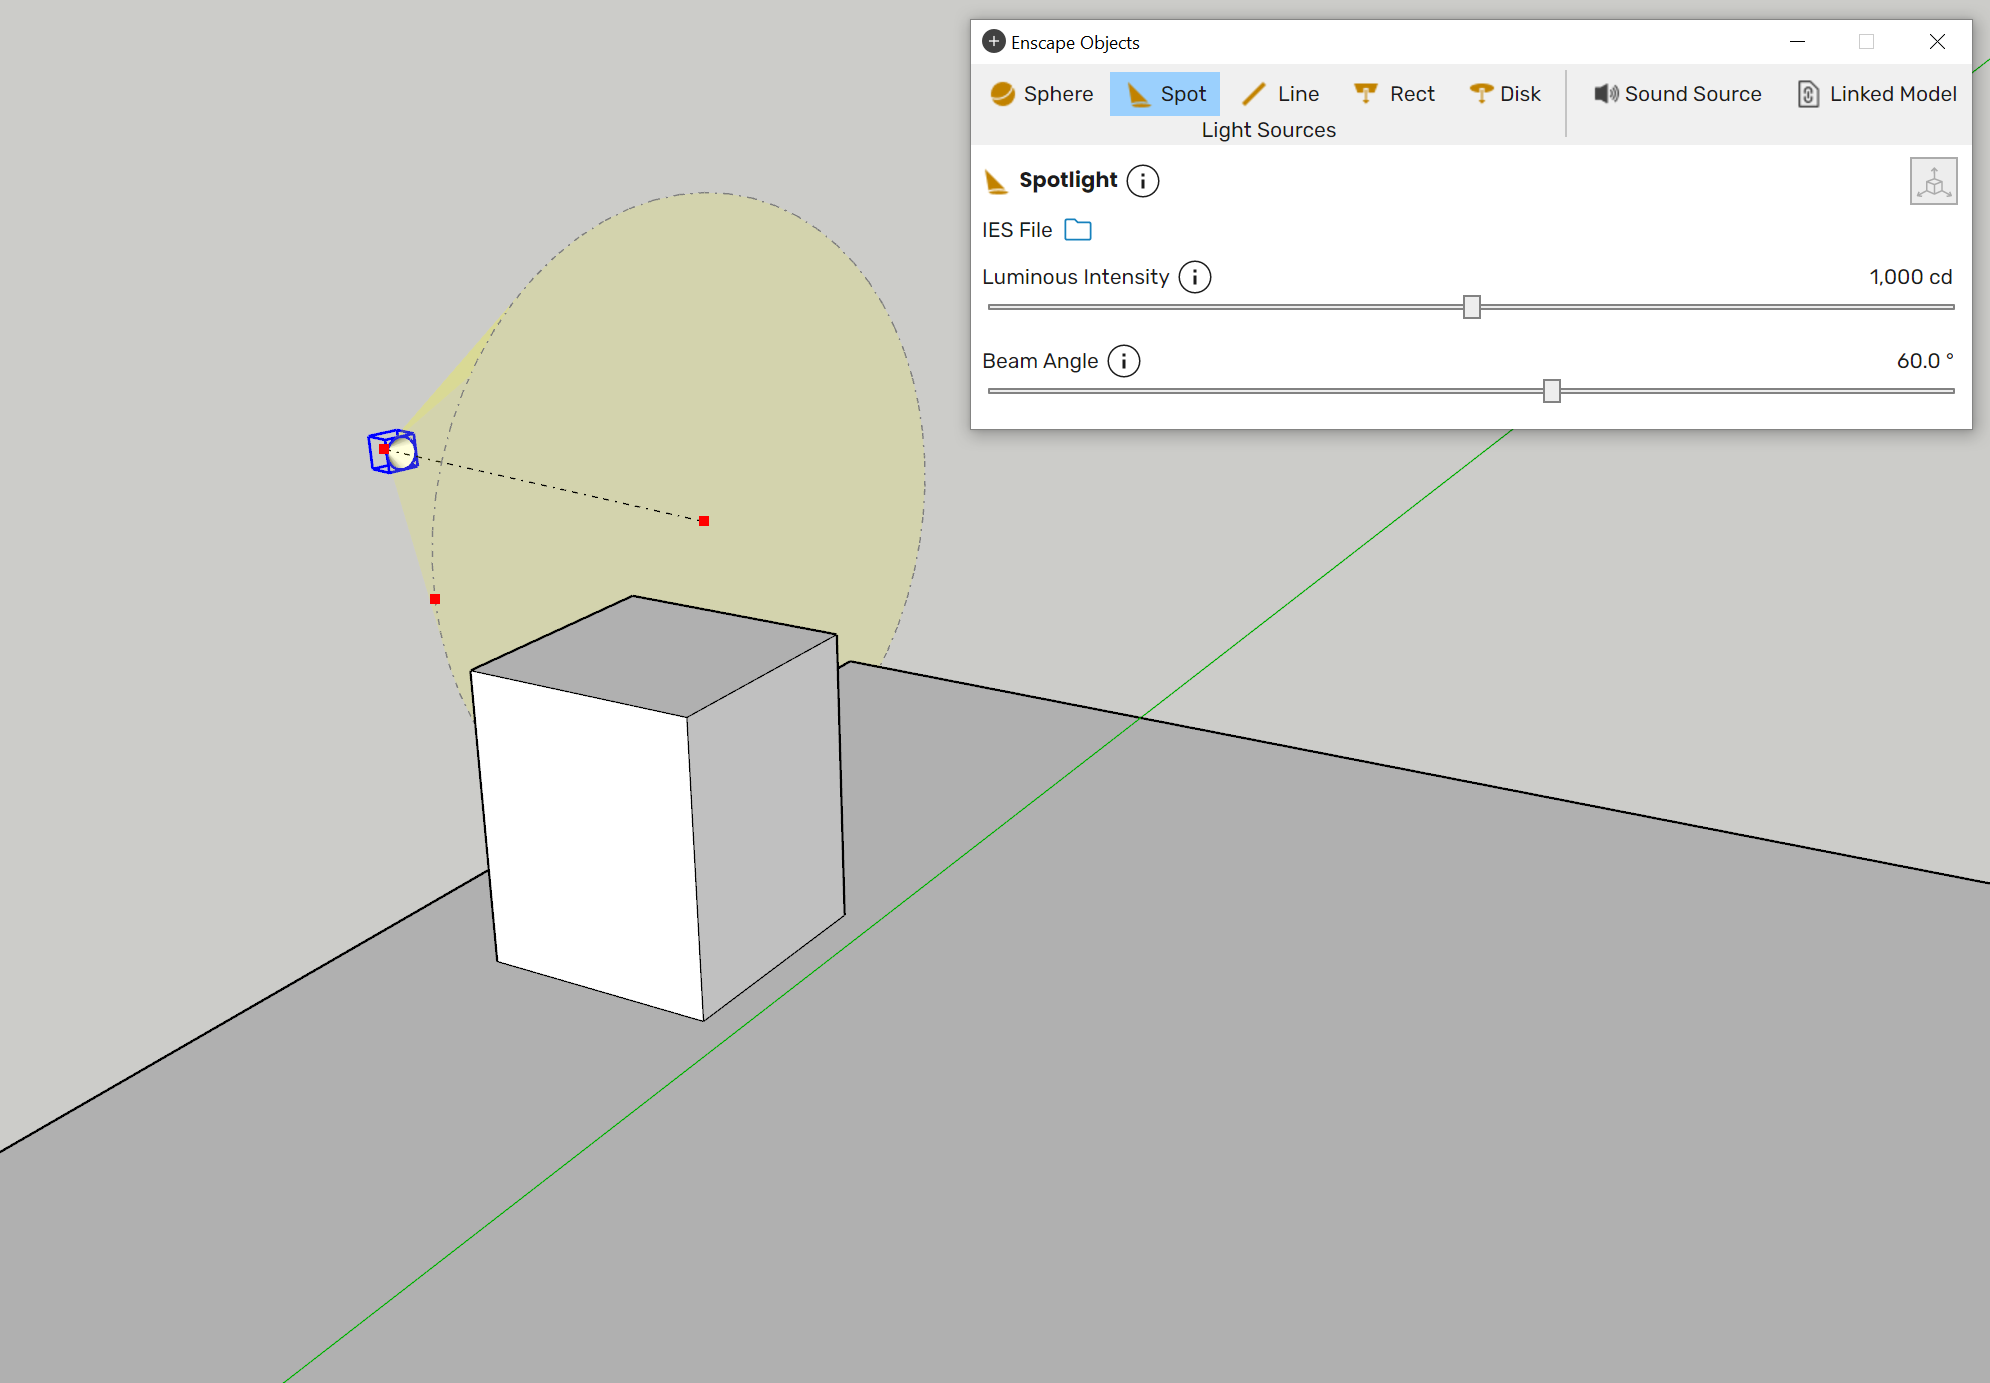
The Spot light is now placed
Click the SketchUp Select button or the ESC key to hide the Light’s control points. Double-click the light to unhide them.
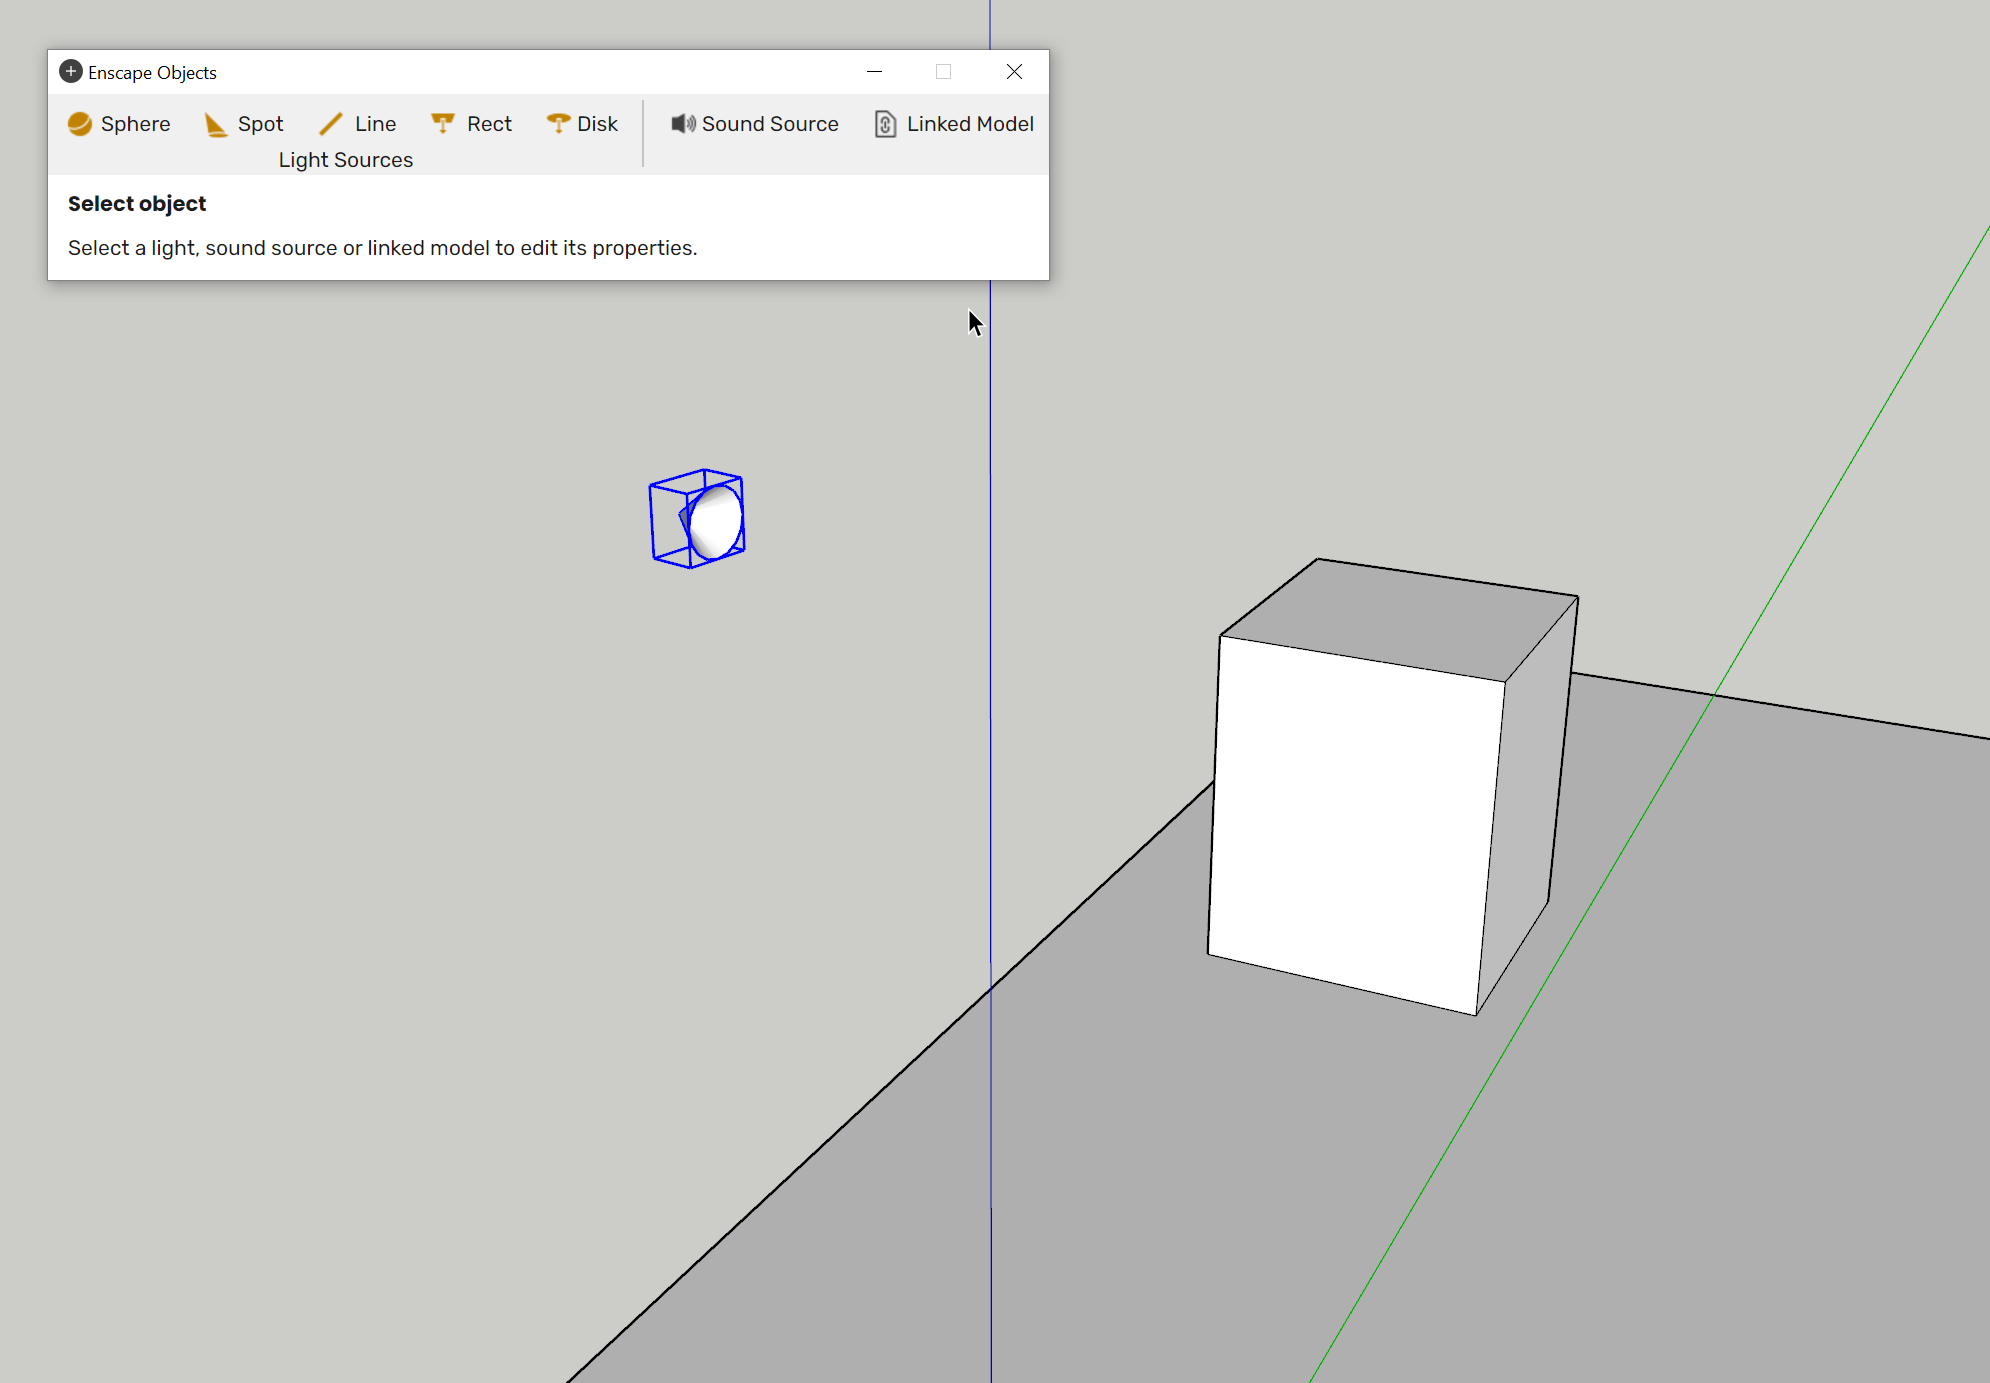
The Spot light with its control points hidden
IES File – Loads and IES Profile file.
Luminous Intensity – Defines the brightness and range of the light (measured in Candelas).
Beam Angle – Controls the width of the light’s beam.
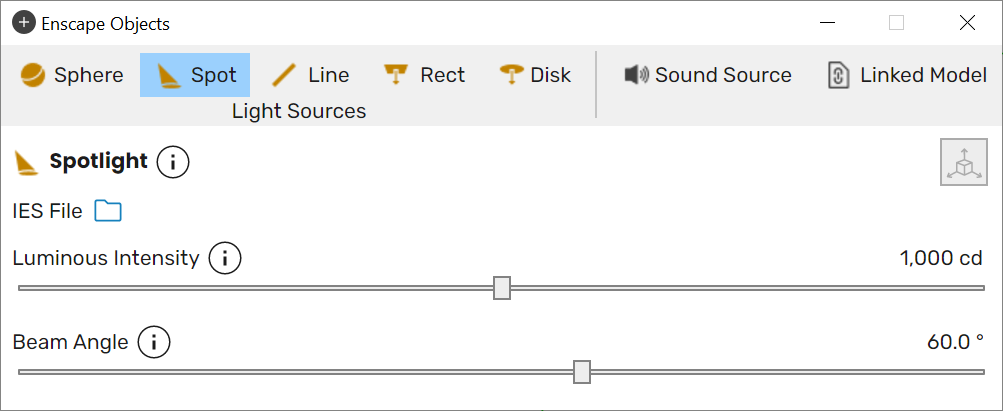
Spot light controls
Here, the light is shown in the Enscape window when a low Luminous Intensity and Beam Angle is set.
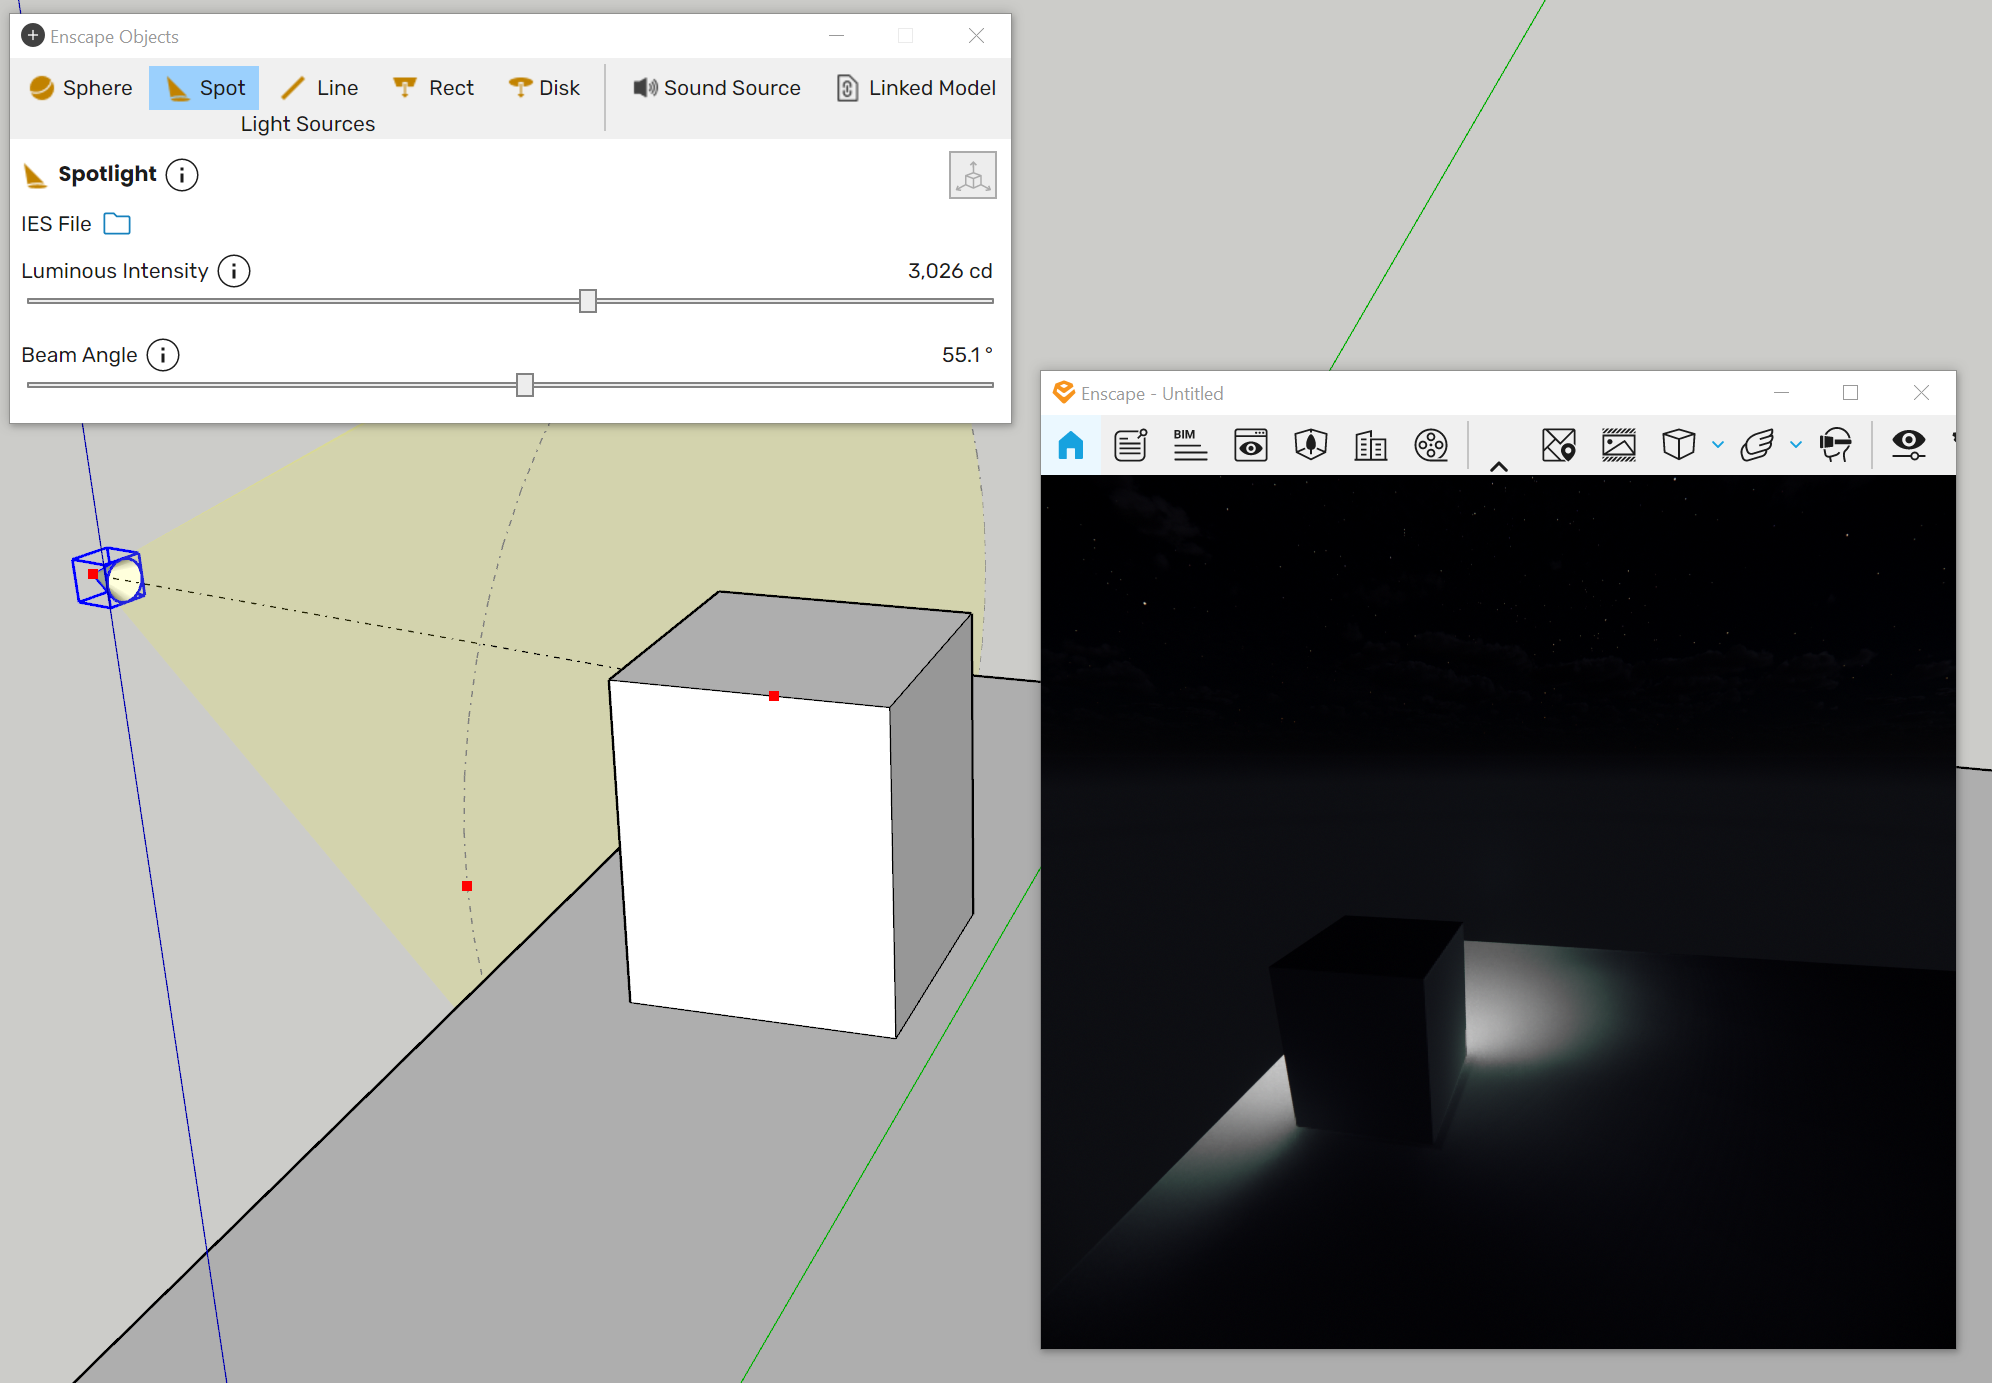
Low Luminous Intensity and Beam Angle setting
Now shown with a high Luminous Intensity and Beam Angle being set for the light.
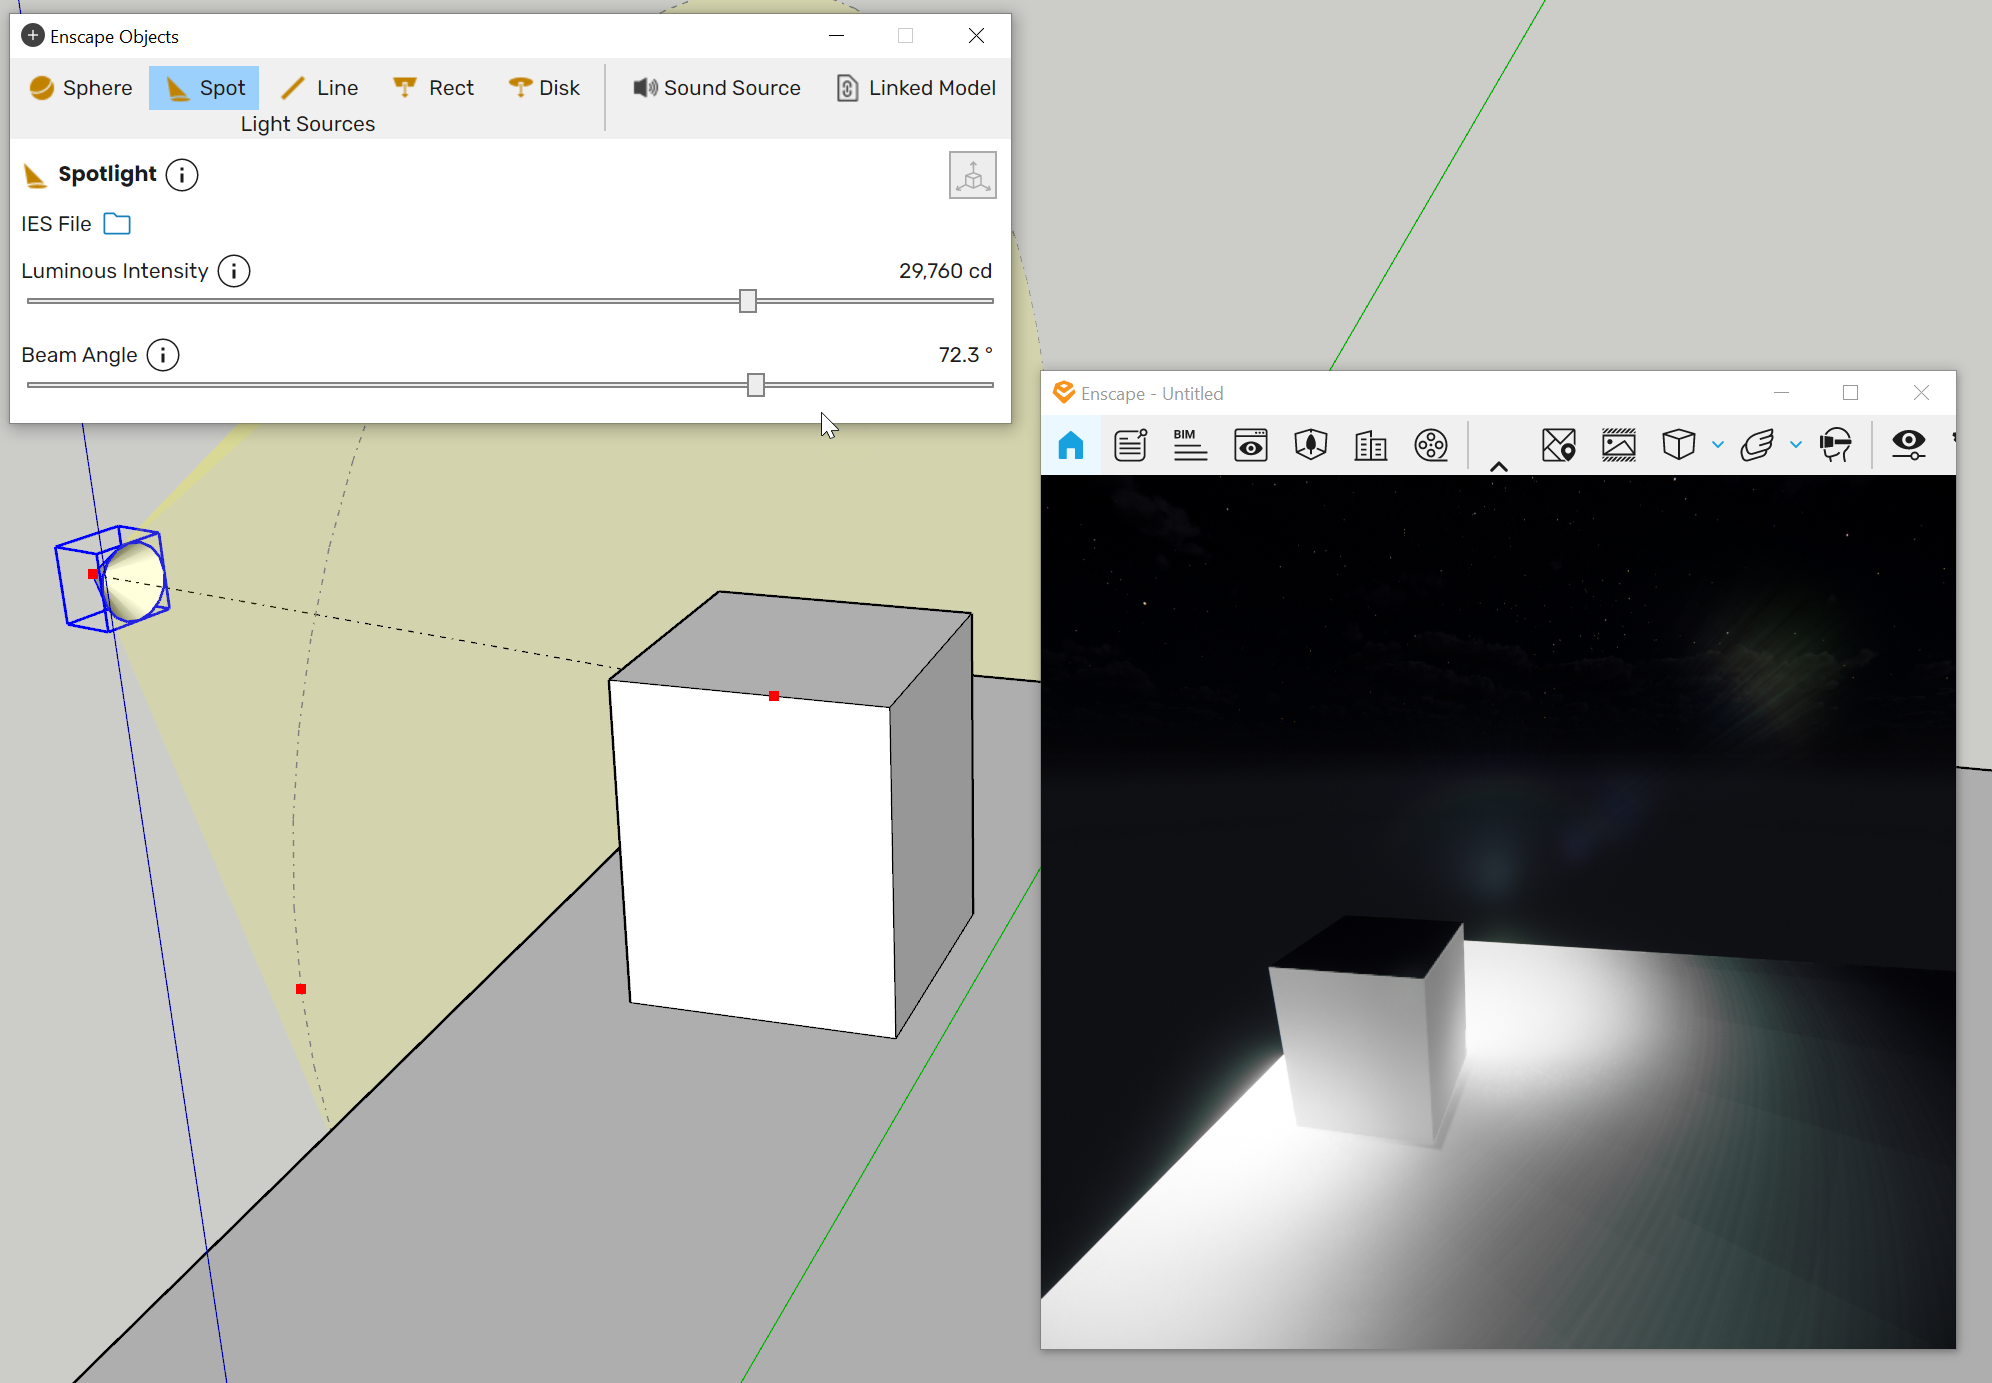
High Luminous Intensity and Beam Angle setting
Rect (Rectangular) Light and Disk Light
These two lights behave in almost the same way, the only difference being the shape of the beam.
Placing either is done in the same way as is done with the Spot Light, using the four-click system.
There are some slight differences between the two lights, however.
Once a Rect light has been placed, several control points allow you to adjust the length and width of the beam.
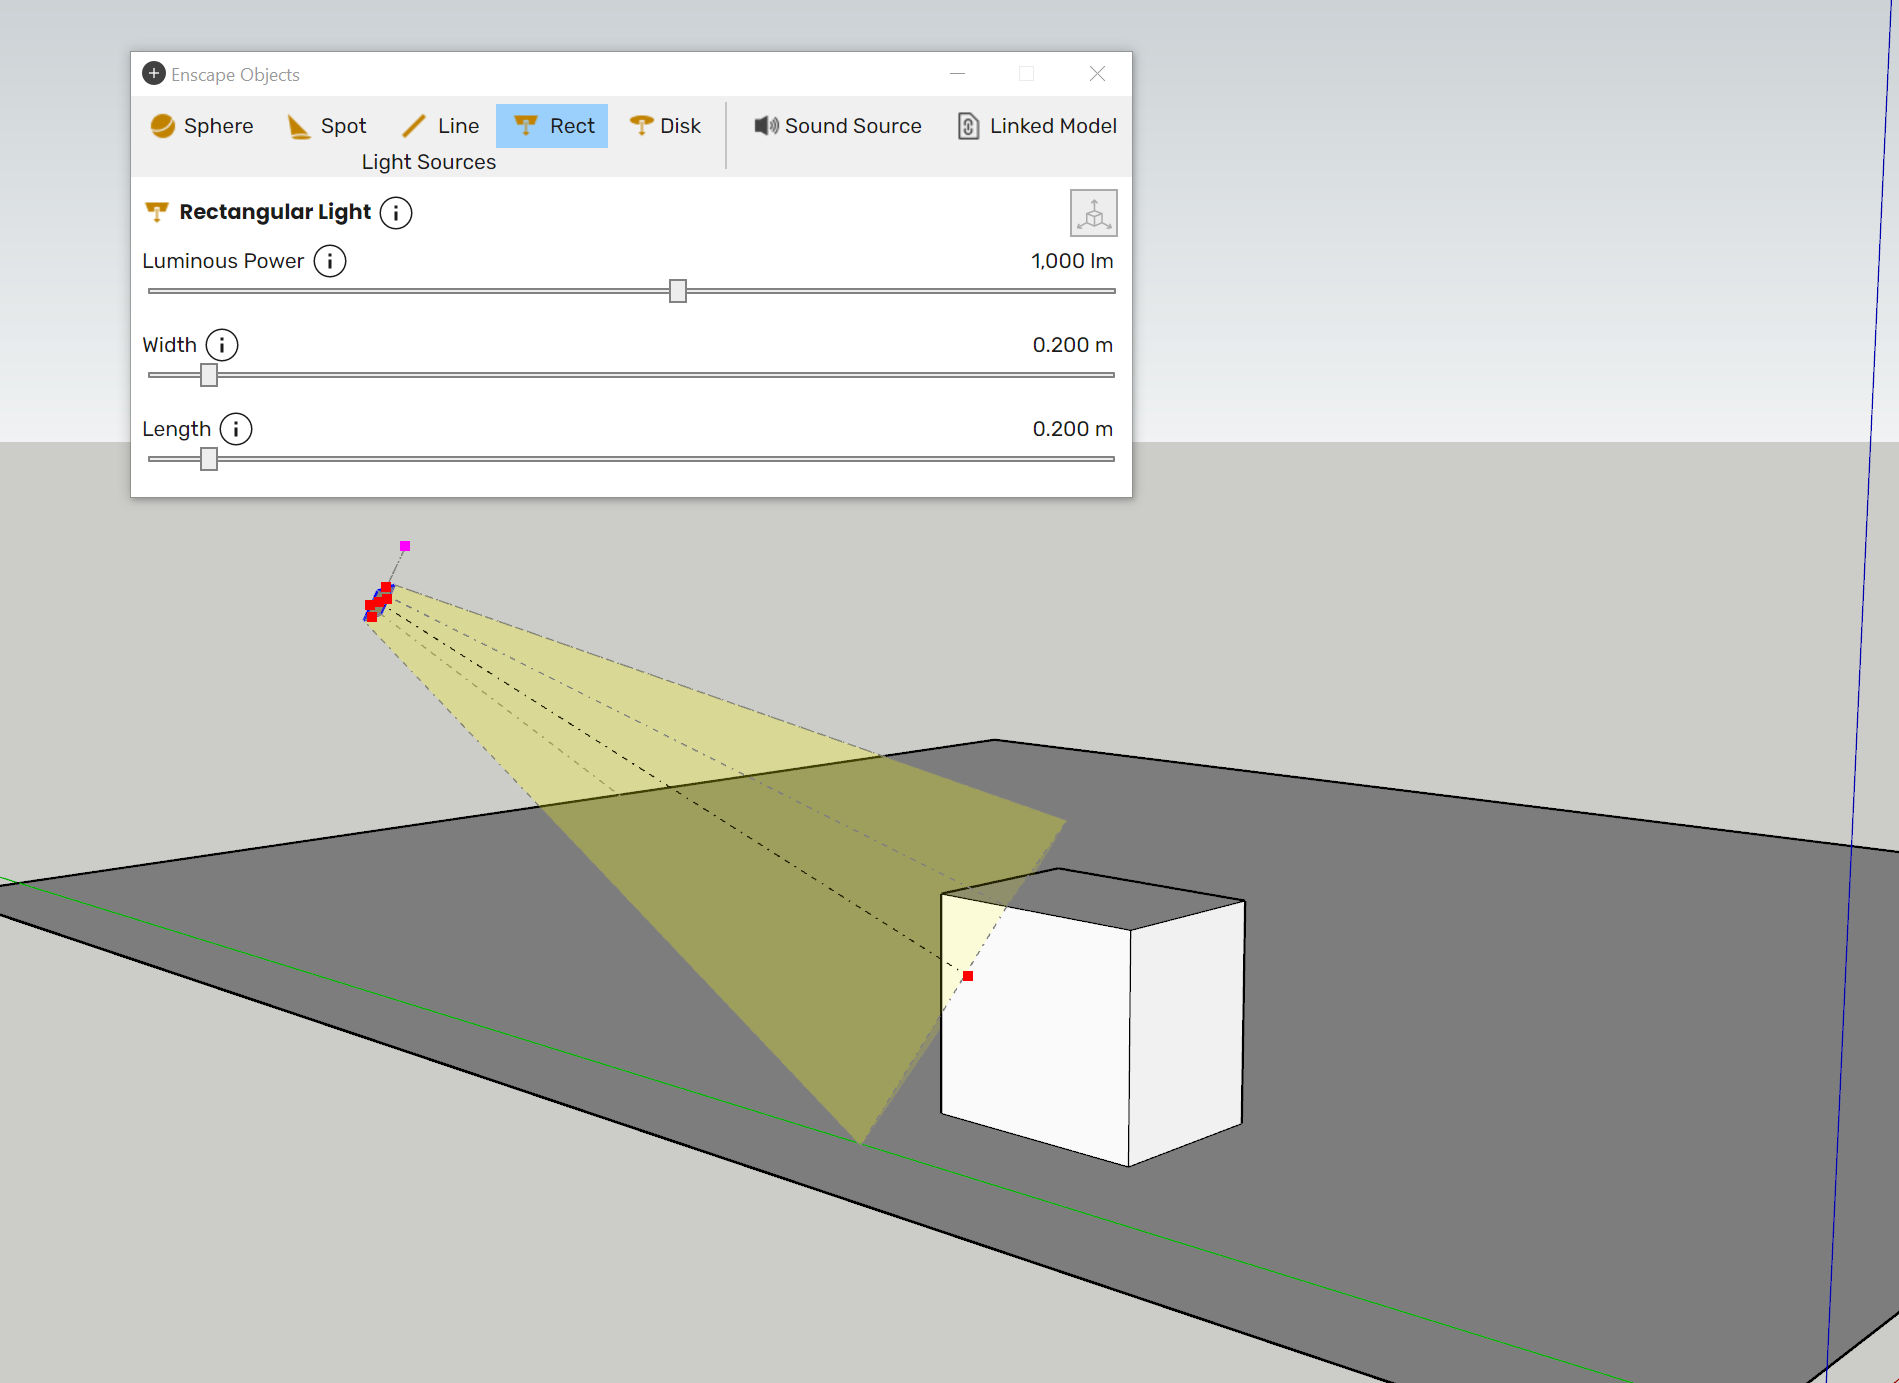
Rect light control points
One specificity of the Rect light is that it has one control point, colored pink.
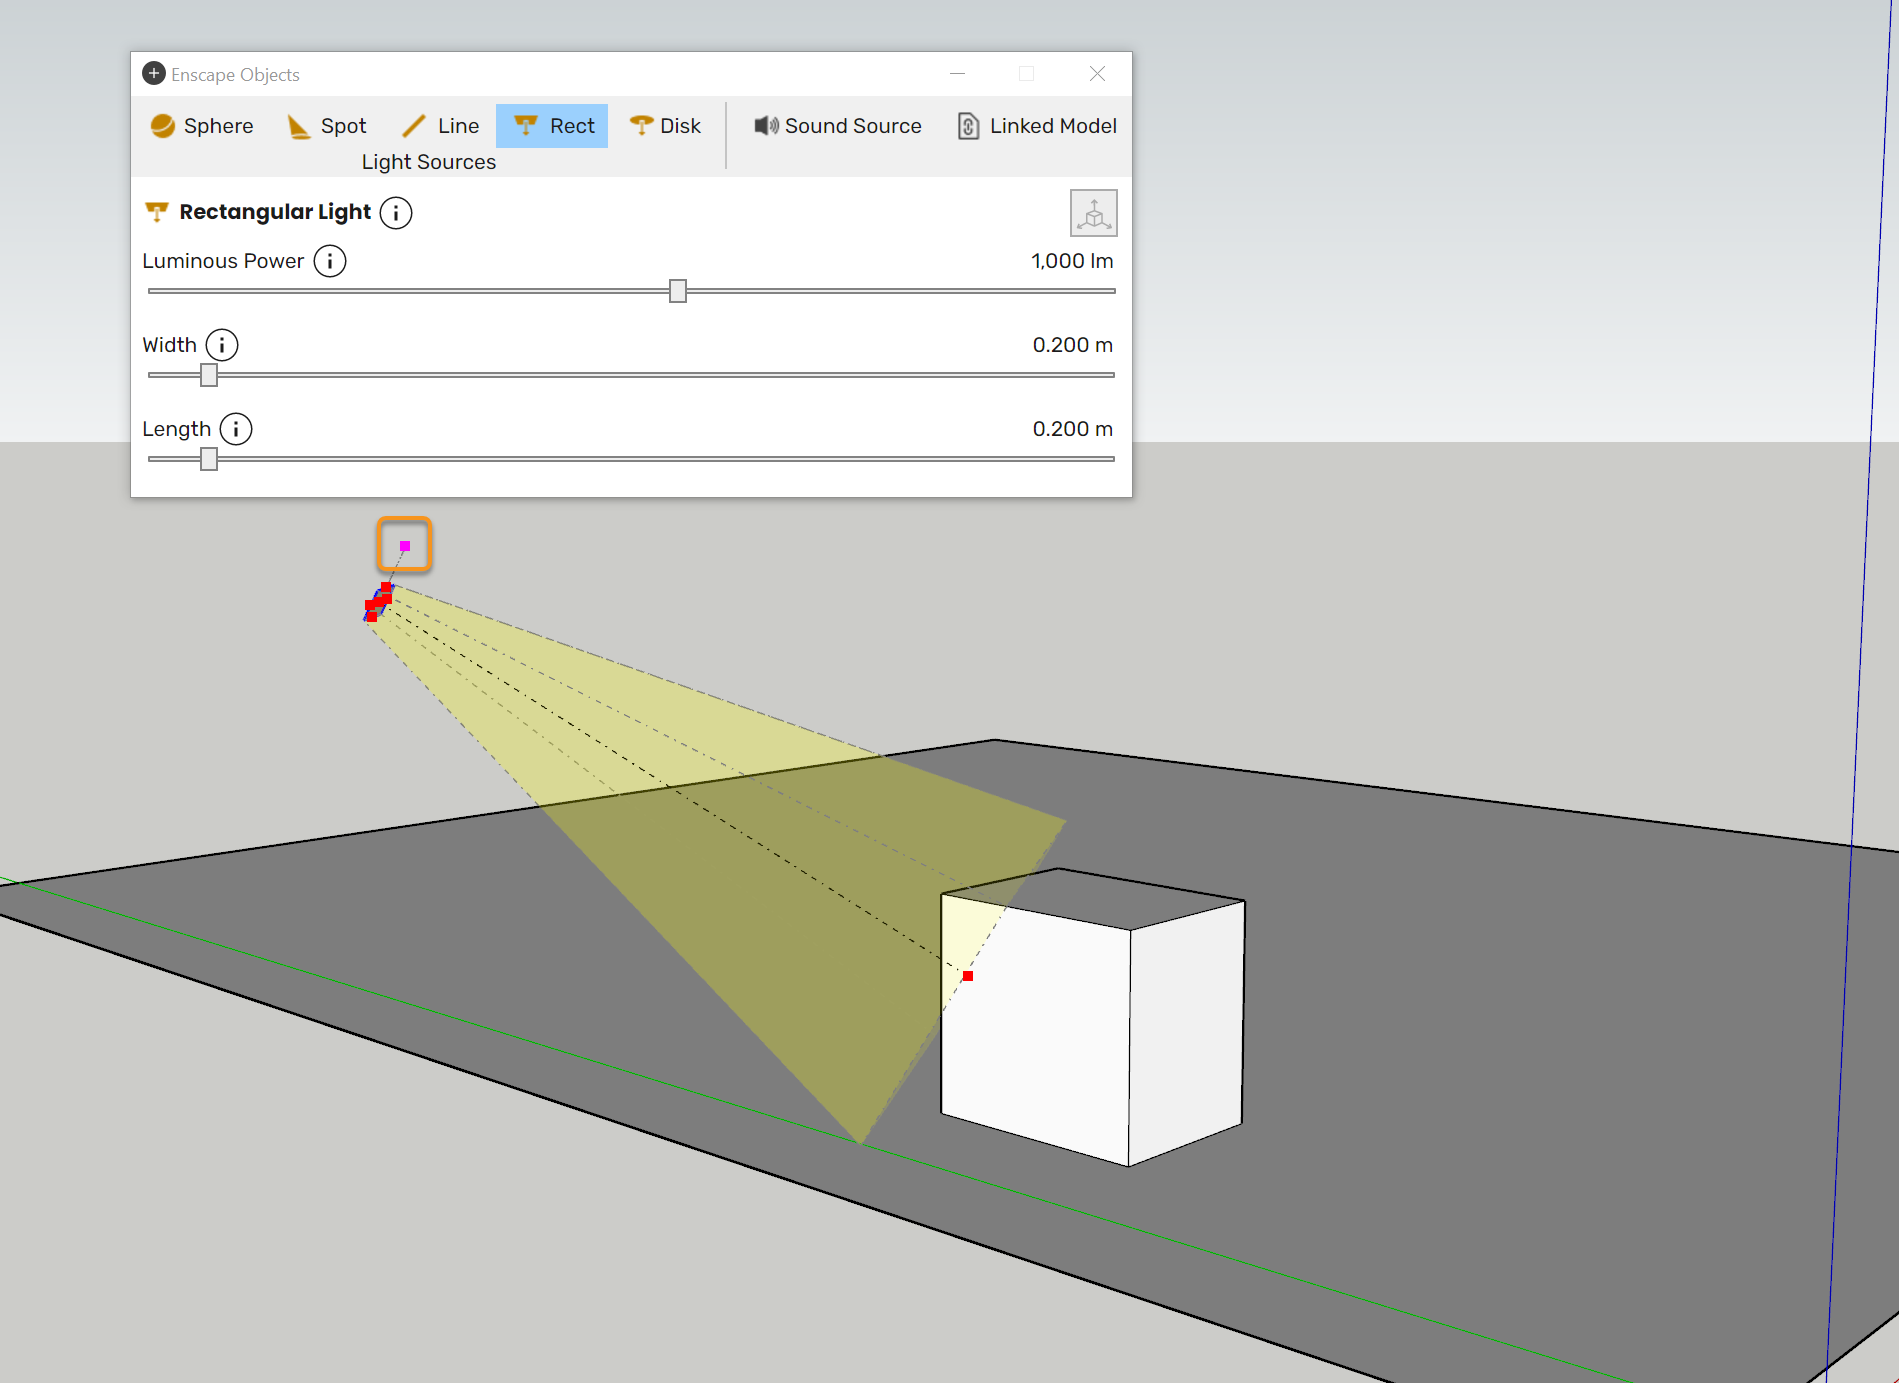
Rect light rotate control point
Clicking that point turns it blue and displays two blue arrows. Drag the mouse horizontally to rotate the light around the light direction’s axis. This rotation is based on the local co-ordinates of the light.
lights_win3_4-0
mp4
781 KB
Adjust the initial size of the Rect lights source by adjusting the four control points, as shown here.
lights_win4_4-0
mp4
735 KB
Achieve the same result using the sliders in the Enscape Objects window.
lights_win5_4-0
mp4
703 KB
The same applies for the Disc light, although there are less parameters to control.
objects23-mac-2-0-sketchup_4-0
mp4
7 MB
Adjust the intensity of both lights via the Luminous Power slide, which is measured in Lumens.
lights_win7_4-0
mp4
562 KB
Line Lights
Line lights are linear lights that can be used to represent fluorescent lights that are tubular in shape. Only the light's length can be adjusted, up to 3 meters in length.
The placement is done using the 2 click method, and the light, once placed, can be further defined and rotated to fit your scene.
Here you can see the initial placement, and then through the use of the lights control points, length adjustment and the two possible rotational options available.
Rotation of the light is only available via the control points, or the native SketchUp controls for rotation.
object25
mp4
5 MB
Adjust the Luminous Intensity of the light using the slider in the Enscape Objects window. This is measured in Candelas.
object26
mp4
2 MB
Coloring lights
Coloring lights is done via the use of the SketchUp Paint Bucket tool. Pick a color from the SketchUp Material Editor and apply it by clicking on the light object in the SketchUp window. After a color is applied, you can adjust the color directly in the Enscape window.
color-lights
mp4
5 MB
Self-Illumination
The lighting option unavailable in the Enscape Objects window is the Self-illuminated materials.
This feature can be implemented either by adding the keyword Emissive to the material name, or through the Material Editor, which gives more control over the materials. You can change your object material type to Self-illuminated.