Enscape
Rendering Styles
This page provides information on the Rendering Styles in Enscape.
Last updated 27 May 2026
This page provides information on the Rendering Styles in Enscape.
Overview
Rendering Styles are located in the Style section of the Main tab of the Visual Settings menu.
Тhese features offer creative control over your presentation.
There are five distinct Rendering Modes available, which can be paired with the Outlines tool to highlight geometric forms and achieve a variety of interesting visual styles in your Enscape project.
Visual Settings
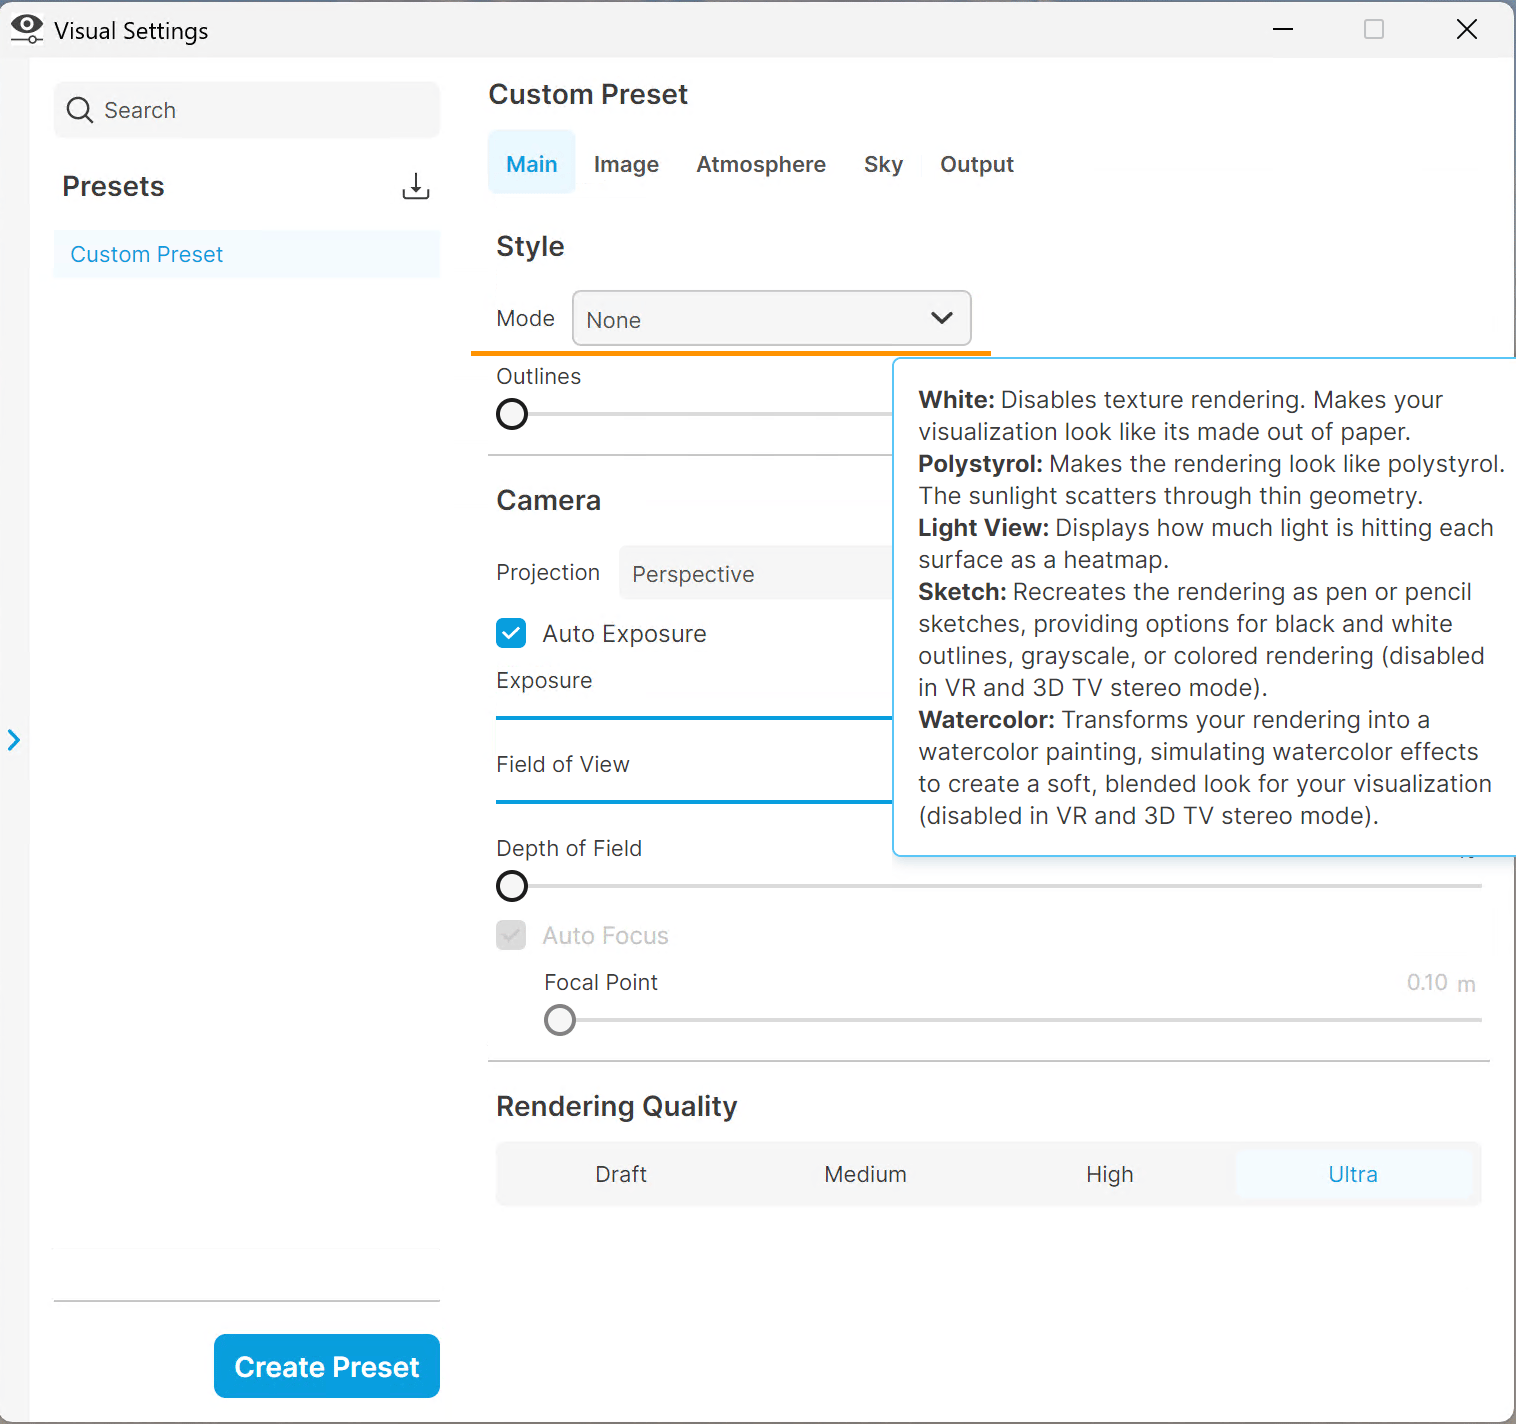
Style Mode
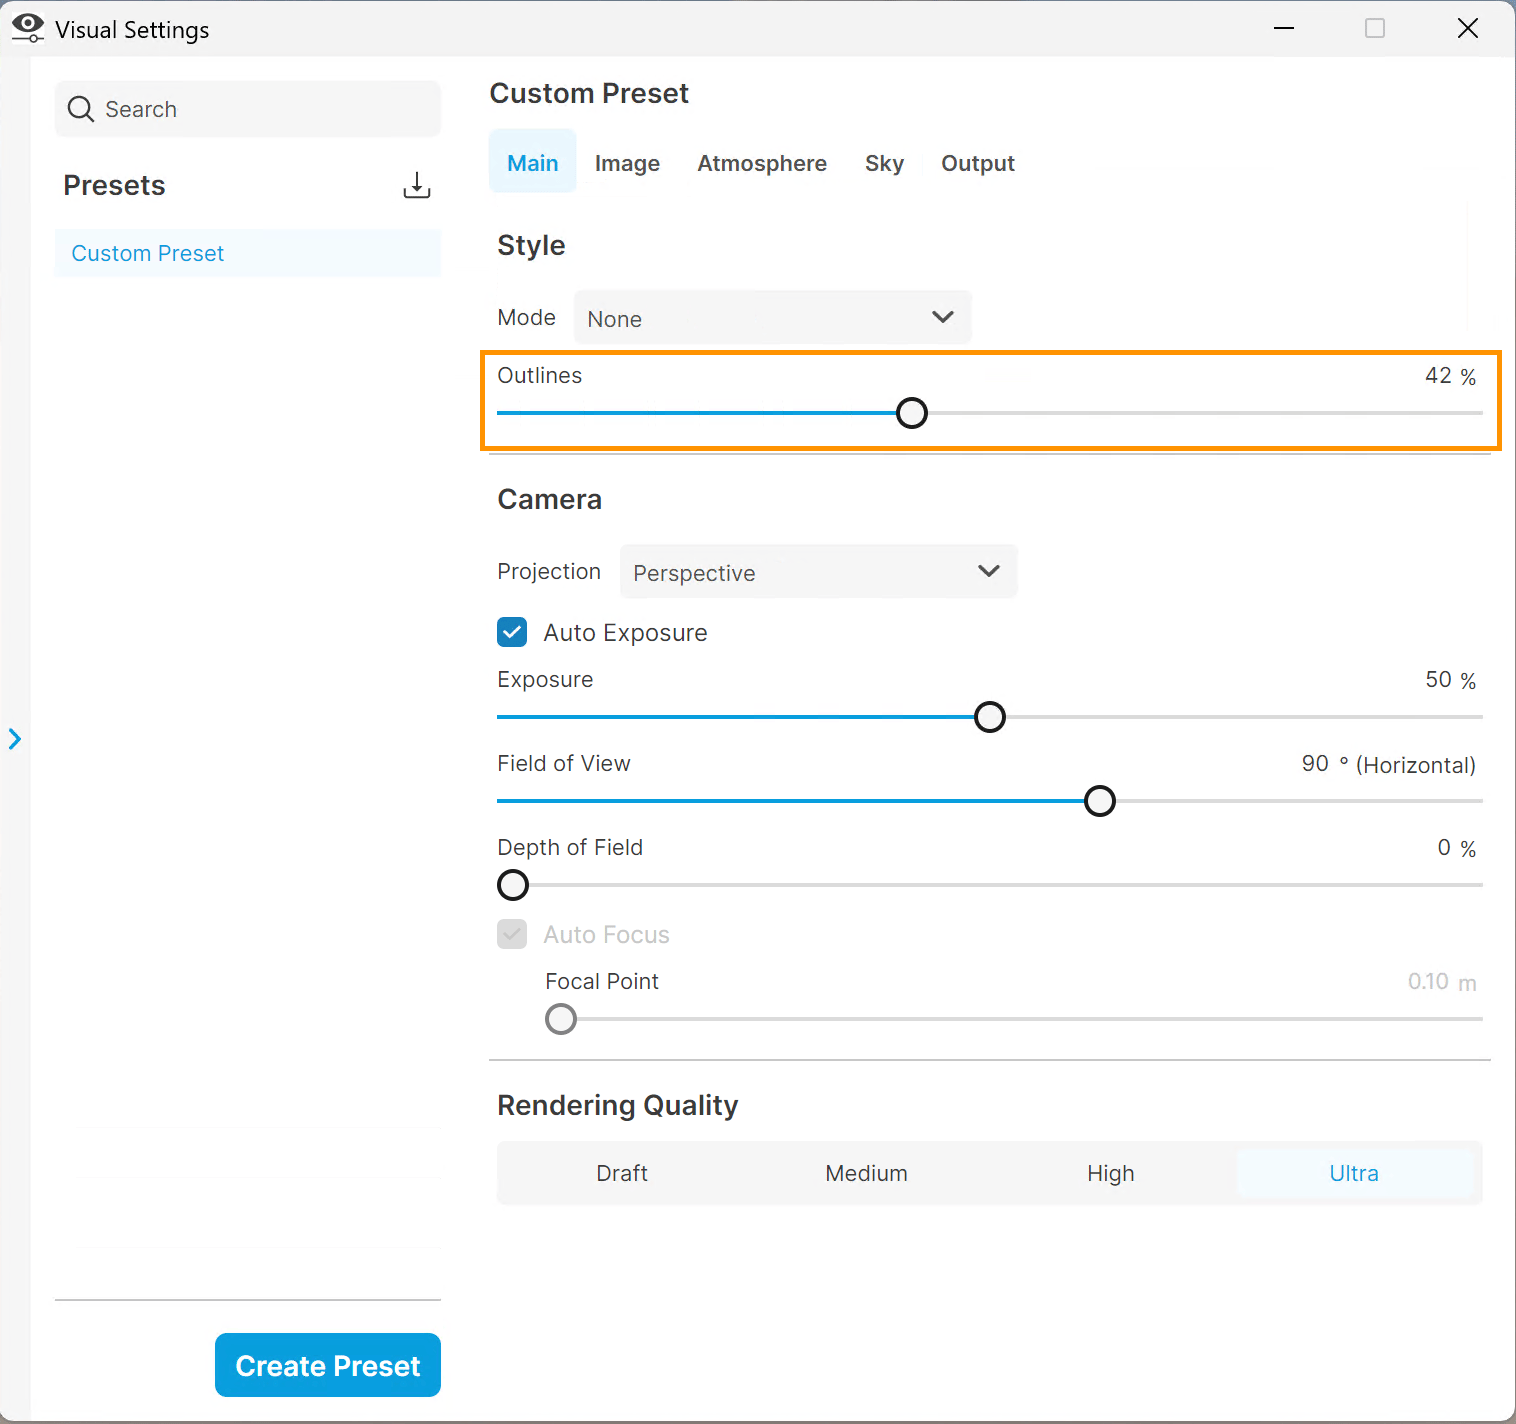
Style Outlines
White Mode
When White Mode is enabled all materials, except transparent ones, are then displayed in white color. It is a great way to emphasize forms and volumes in a project. This style of representation is commonly used for conceptual and schematic design and provides a clear overview of the interaction among spatial elements.
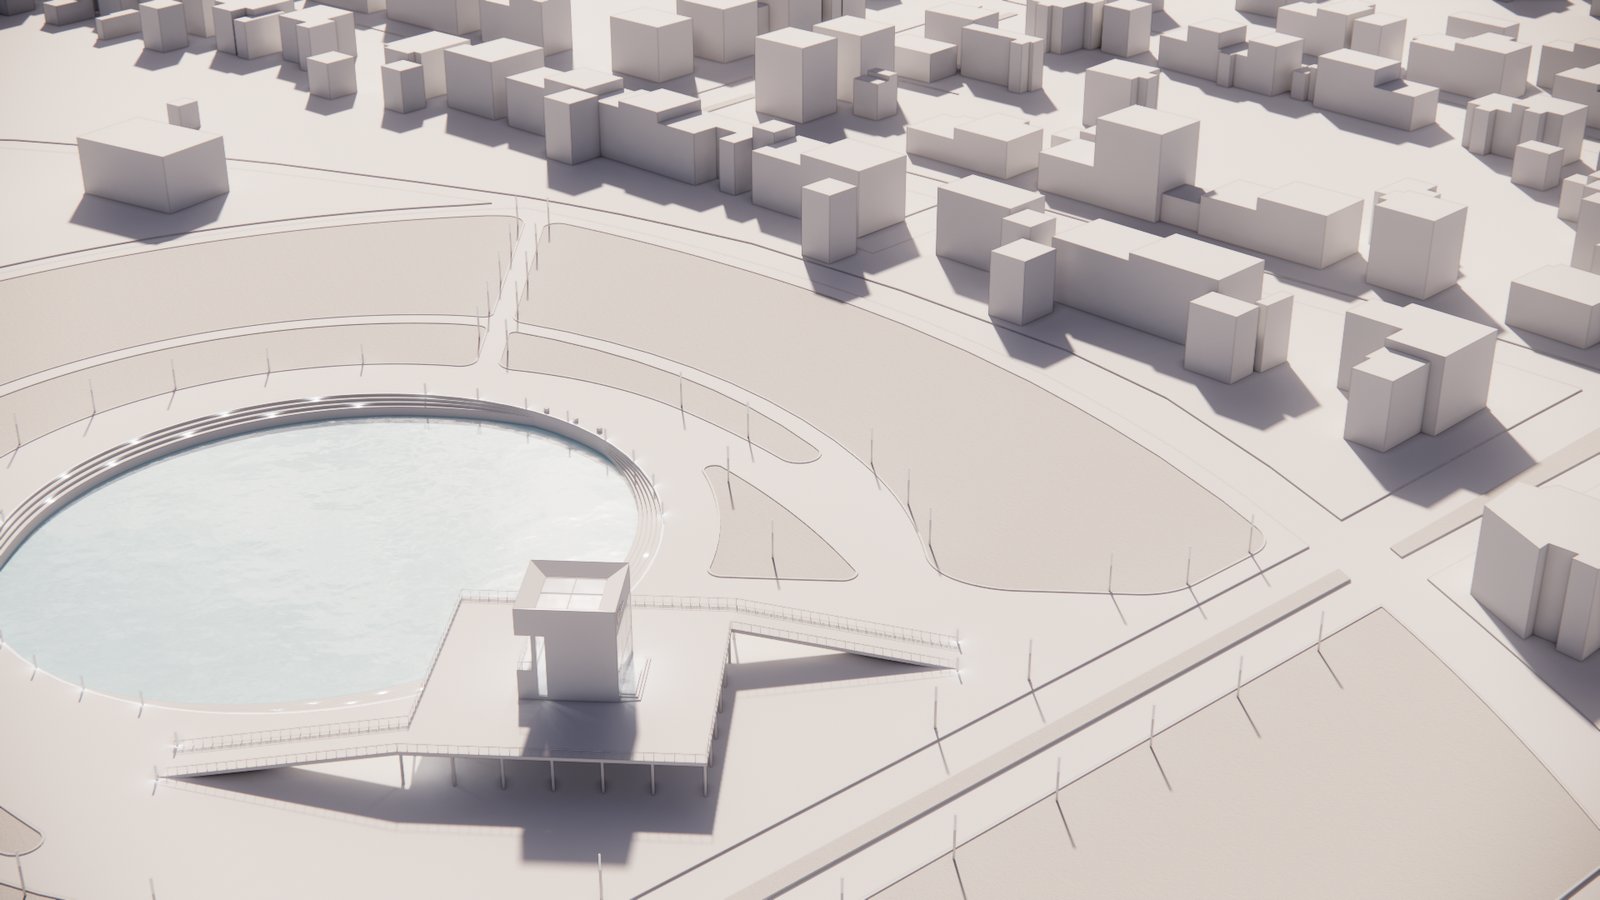
White Mode
Outlines can be used to highlight individual forms, achieving a more illustrative look. The thickness of the outlines can be controlled using the outline slider. Here is a quick comparison of outlines varying from 0 to 75 percent.
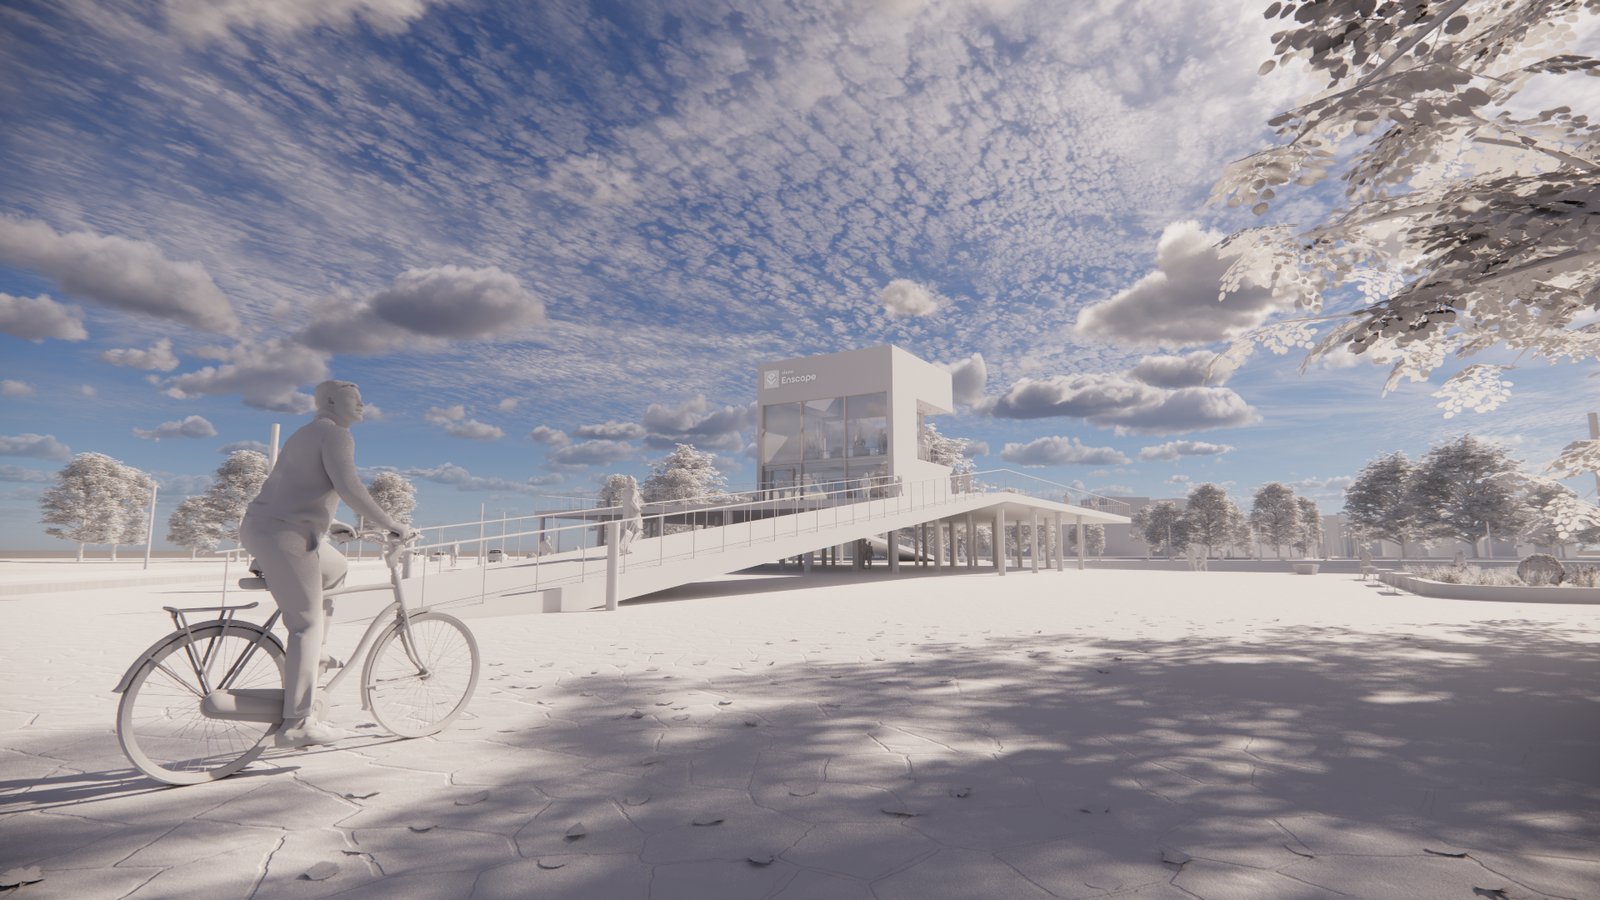
White mode with Outline set to 0%
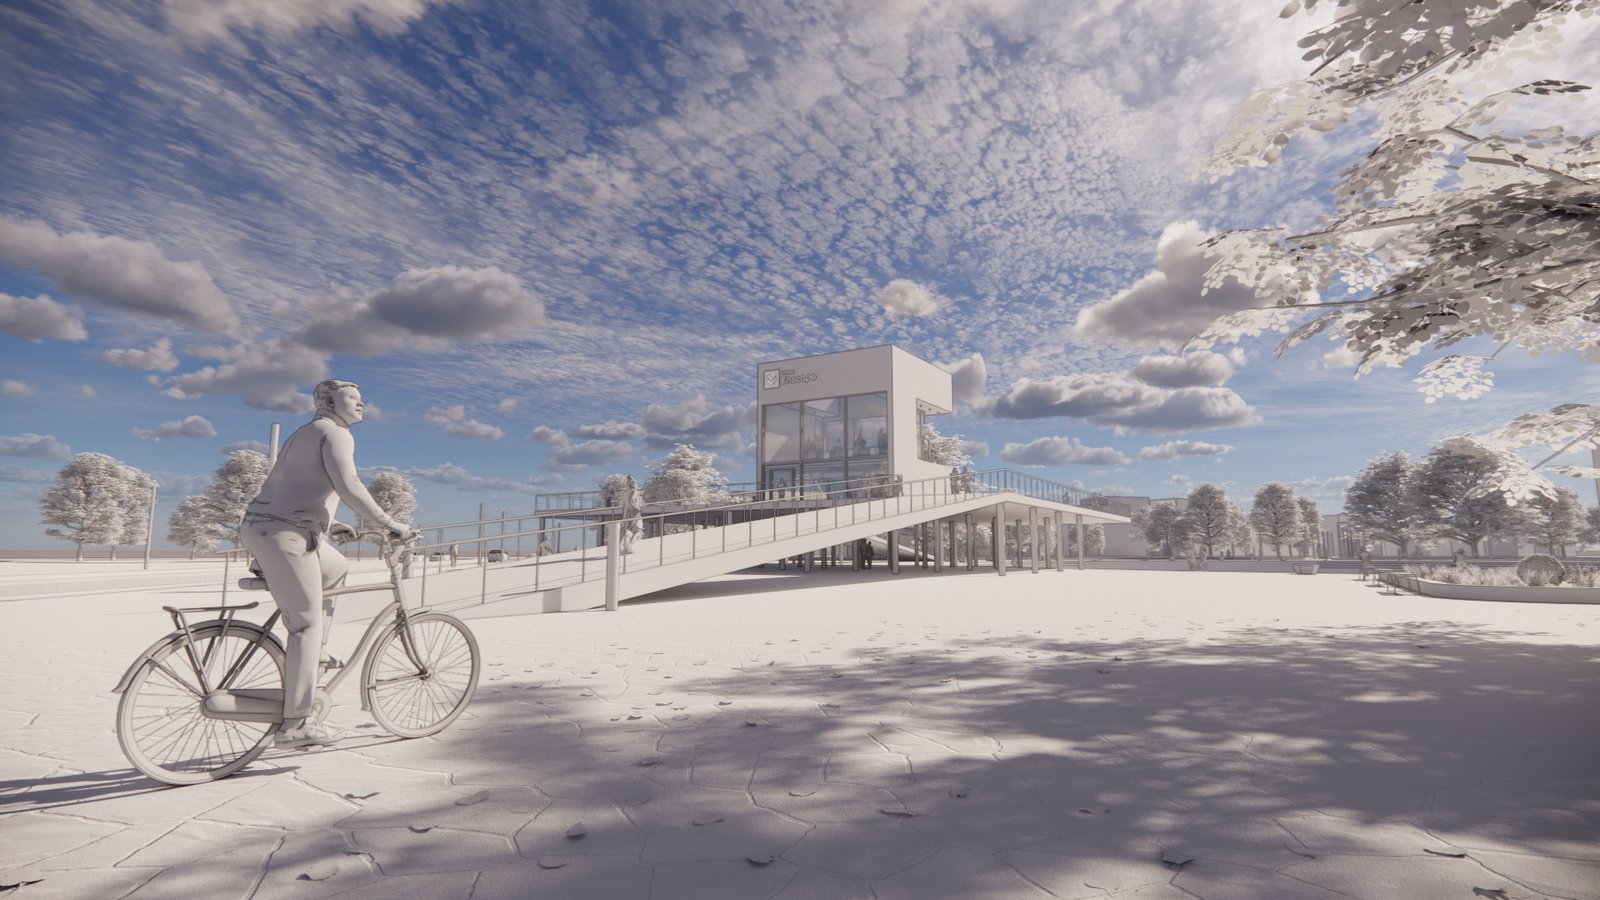
White Mode with Outline to set 25%
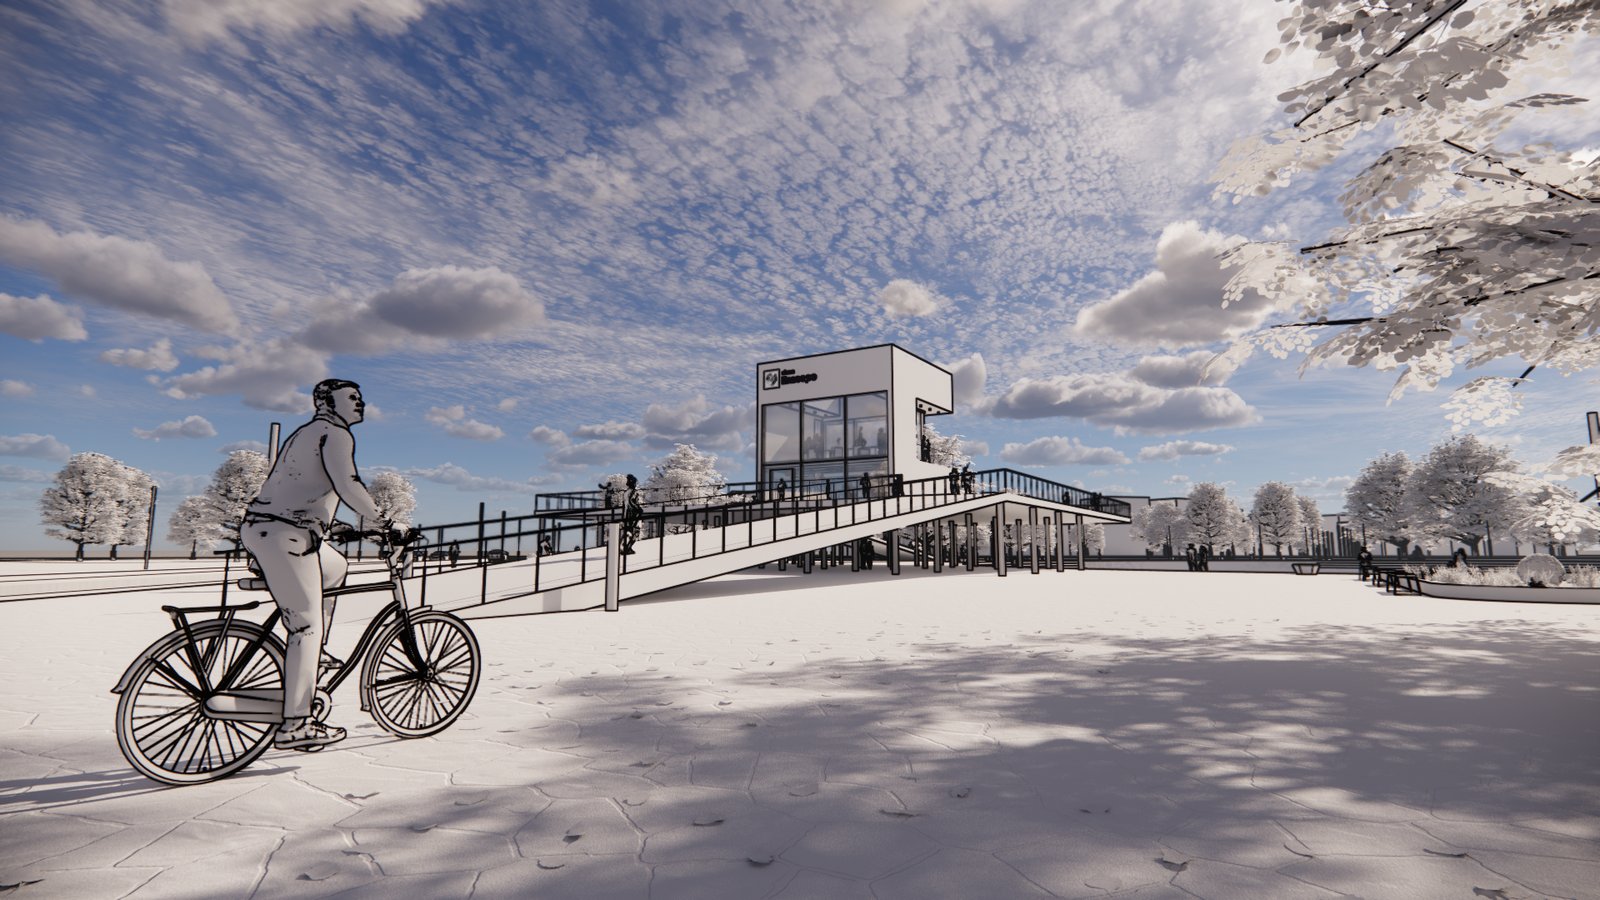
White mode with Outline set to 75%
White Mode Overrides
Enabling White Mode also unlocks Selective White Mode functionality. This feature allows you to exclude individual Enscape assets or entire categories from the white rendering effect. It is an excellent tool for directing visual focus toward important geometry or materials while maintaining a simplified, white aesthetic for the rest of the scene.
The following categories are available to include/exclude:
- Vegetation
- People
- Vehicles
- Furniture
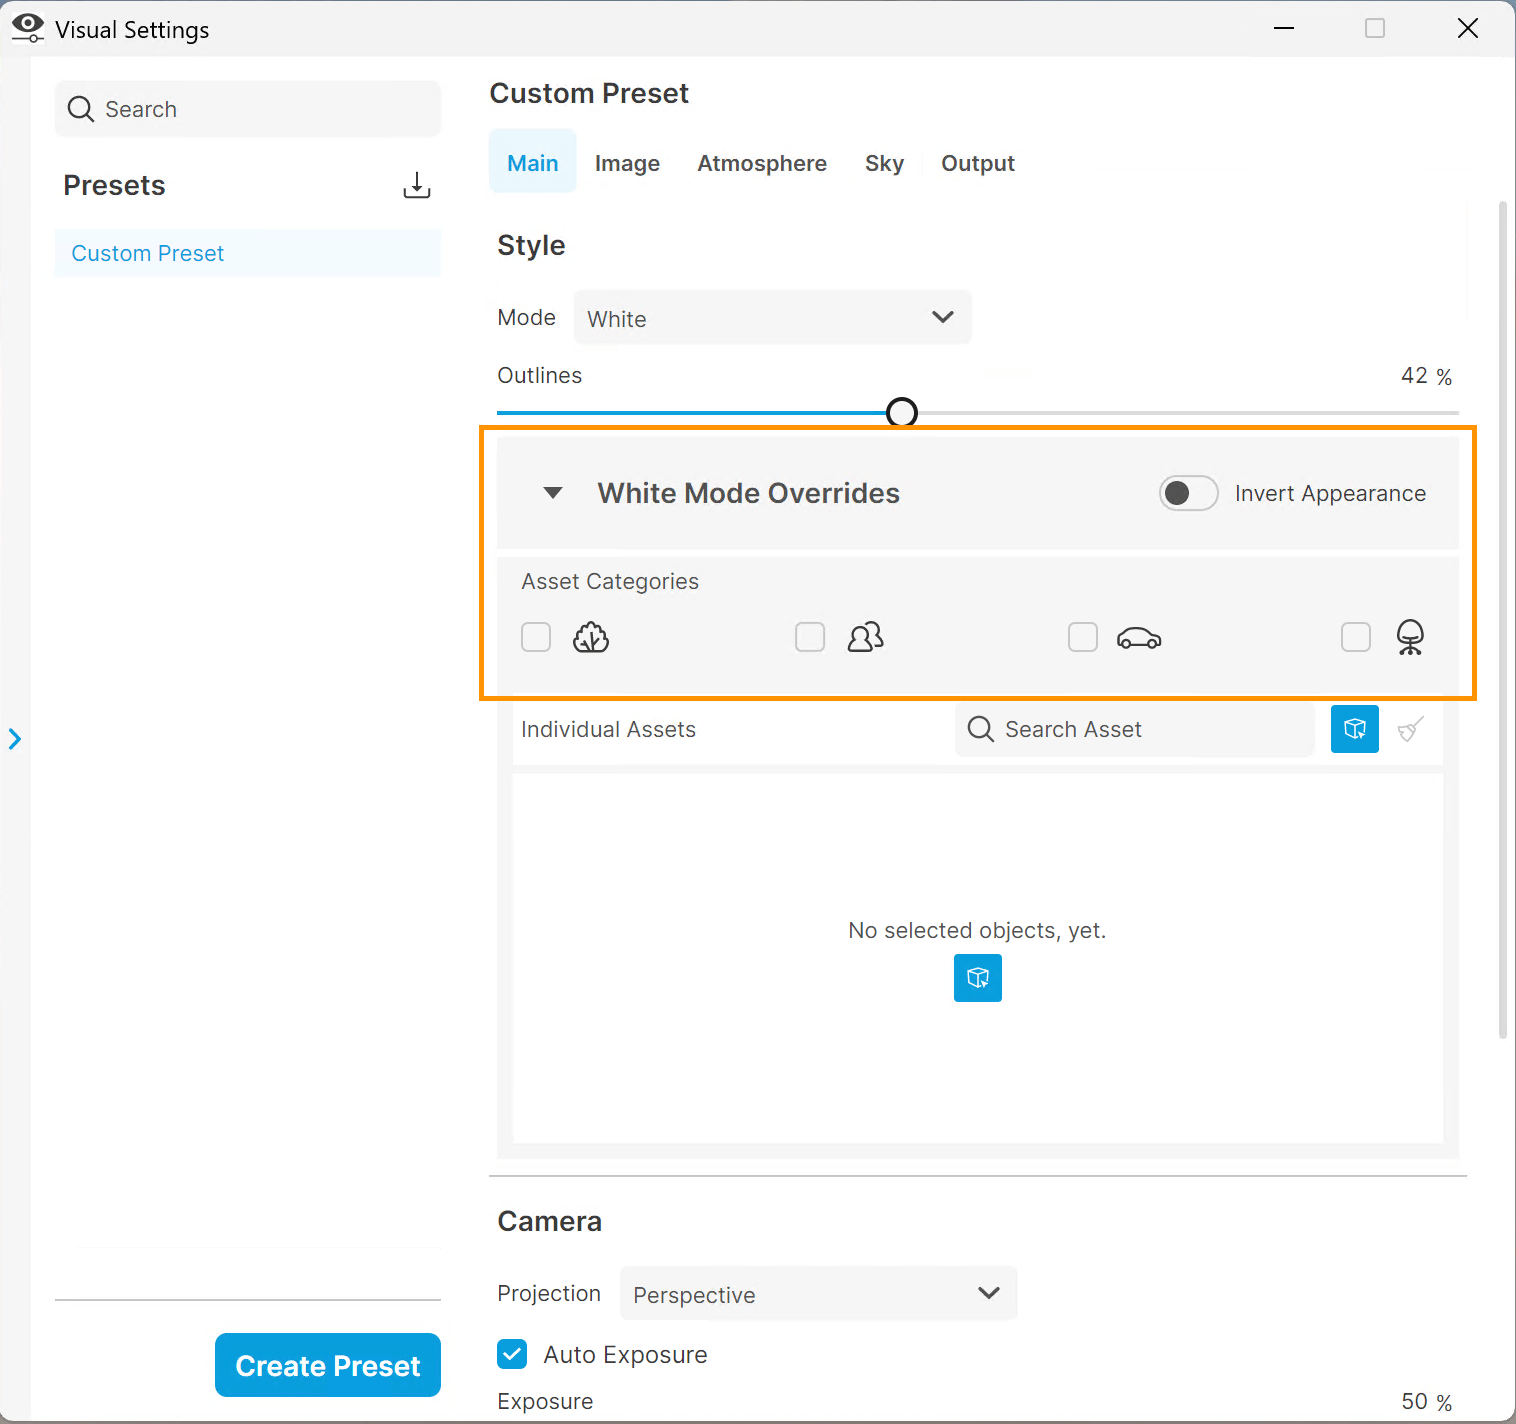
White Mode Overrides
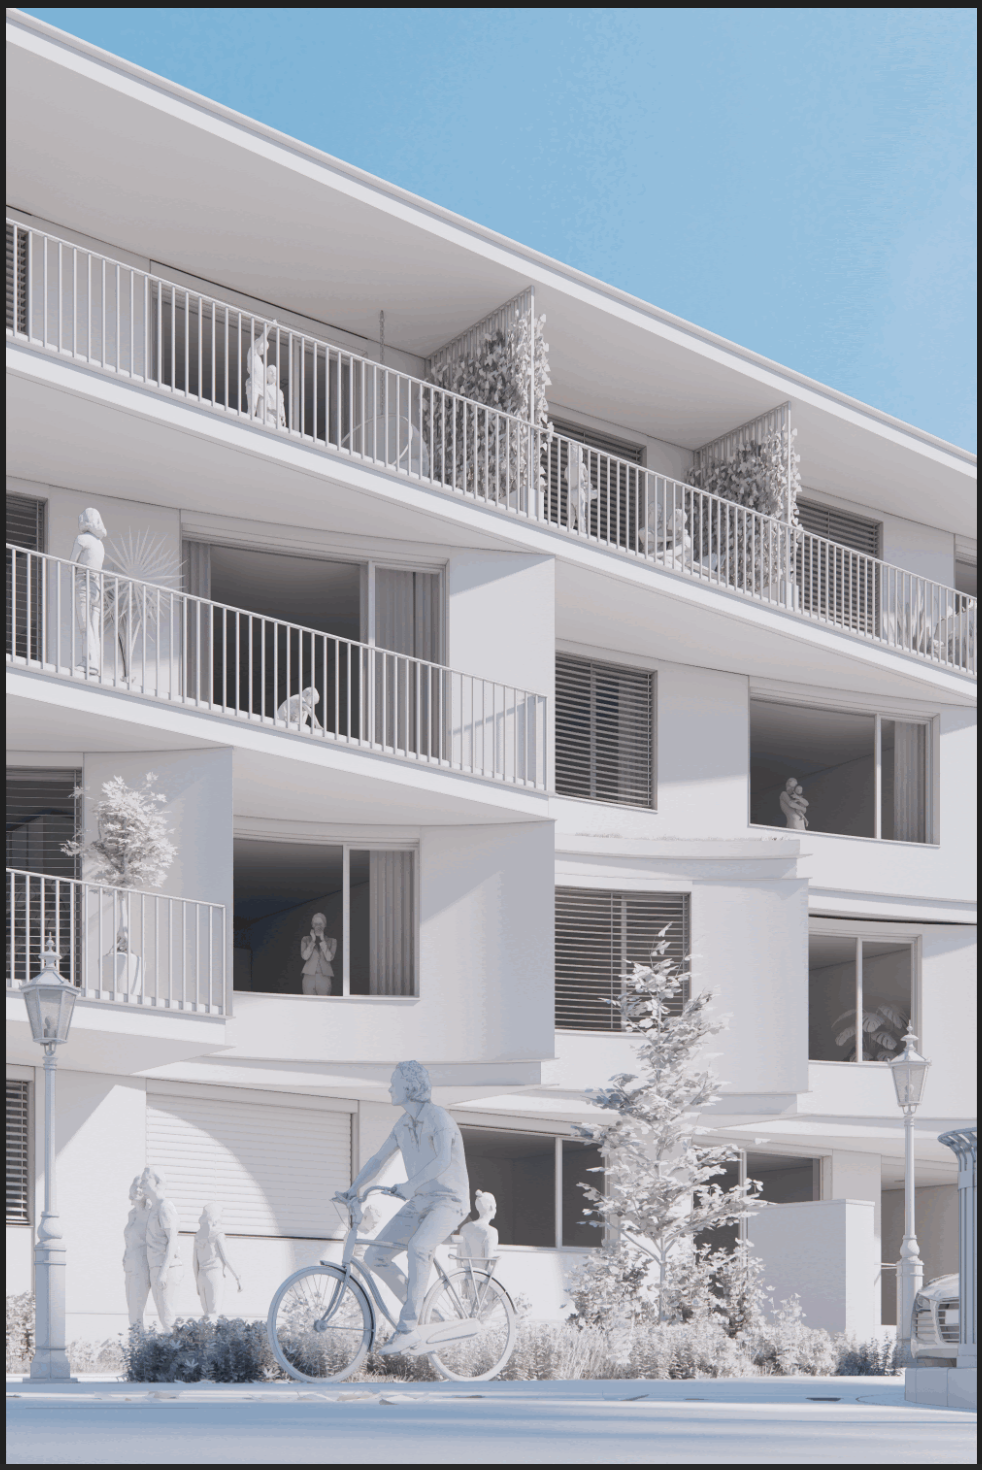
No assets excluded
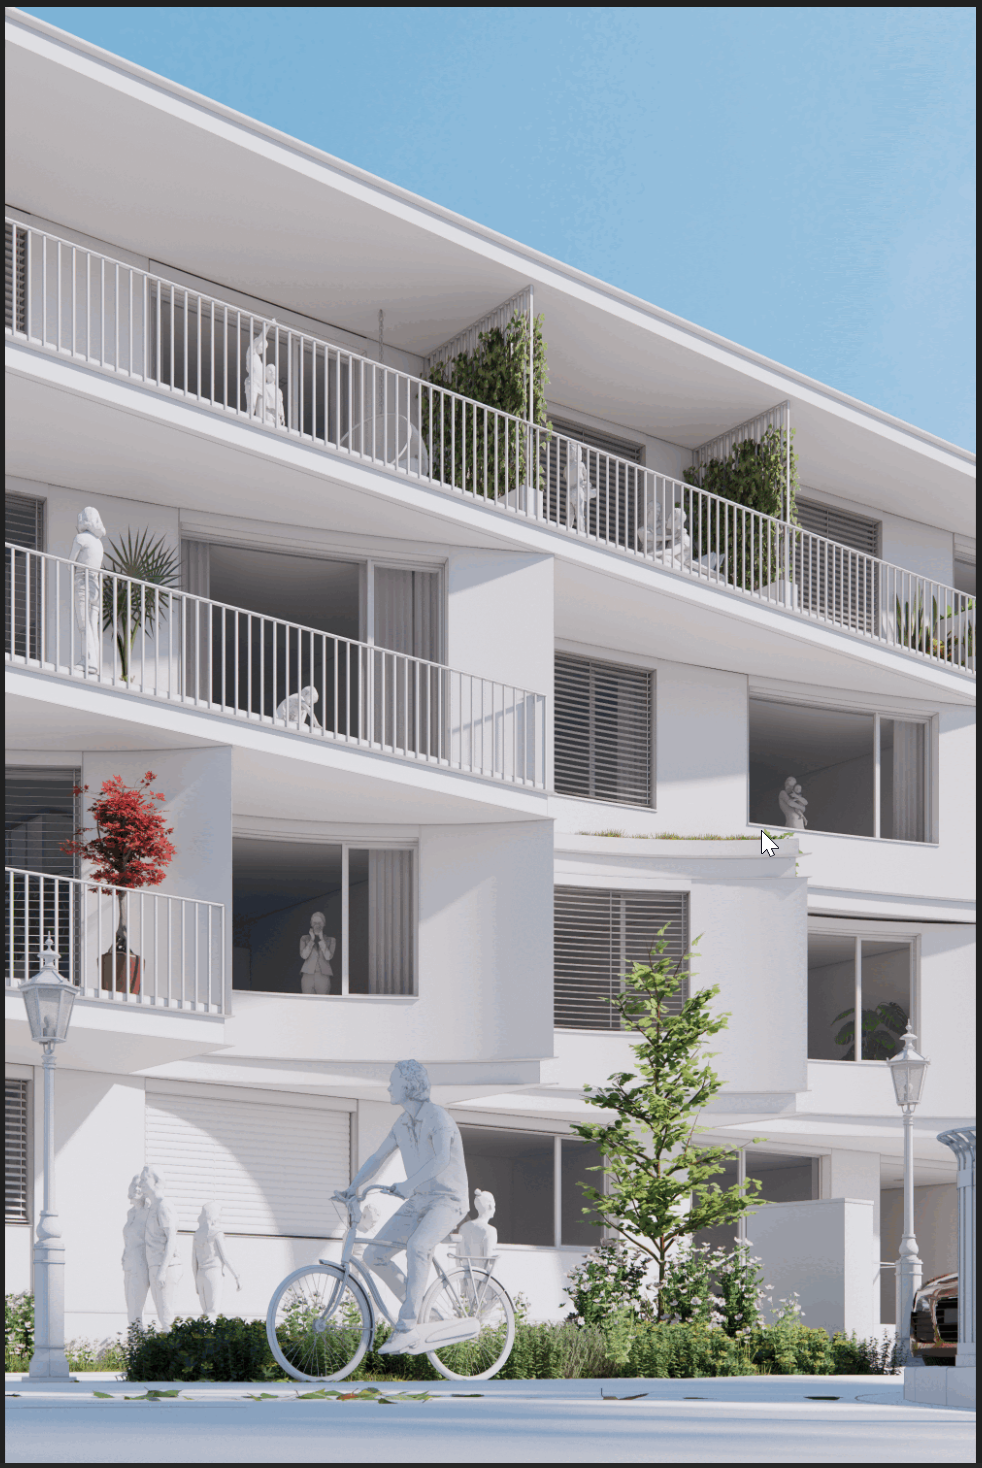
Vegetation excluded
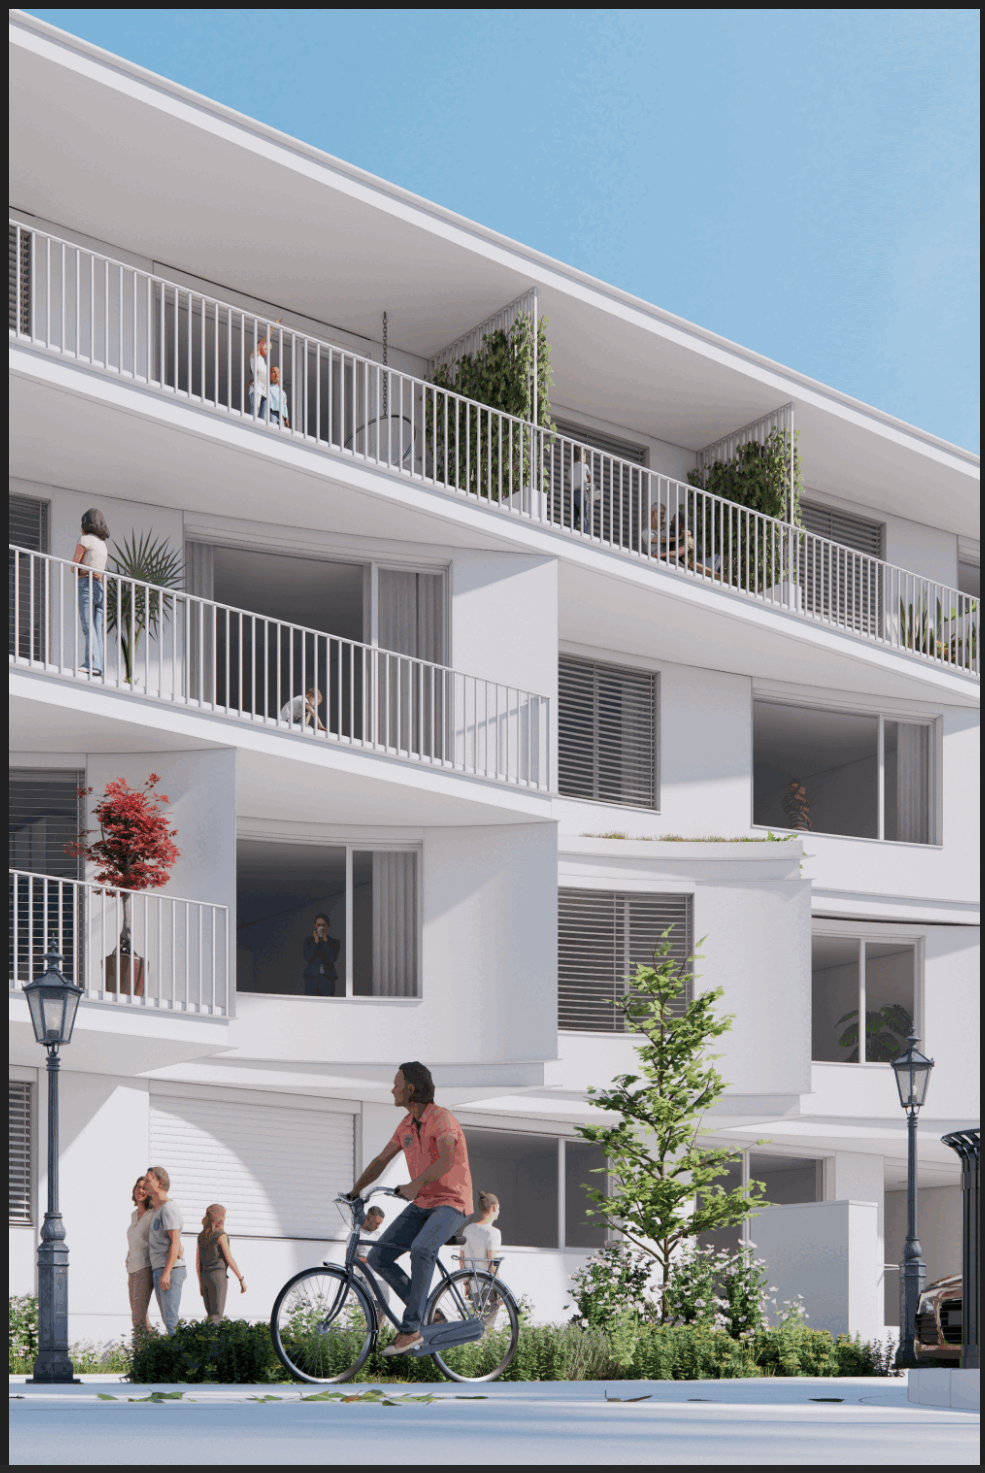
Vegetation and People excluded
You can choose to exclude all instances of an asset at once using the search bar.
swhite-1
mp4
4 MB
Or you can manually select assets to exclude from White Mode using the Select in scene option.
swhite-2
mp4
5 MB
Additionally, the Invert Appearance option allows selected assets to appear inverted, i.e. in white, while everything else retains its original colors and materials.
swhite-3
mp4
4 MB
The Selective White Mode functionality applies only to Enscape assets and Custom assets under the Enscape Asset Library.
selective_wm
mp4
12 MB
Polystyrol Mode
Renders all surfaces like a real Polystyrol material, whereby the sunlight is scattered through the thinned geometry.
When this mode is selected, an additional setting named Transmission appears that determines how much light is transmitted through geometry.
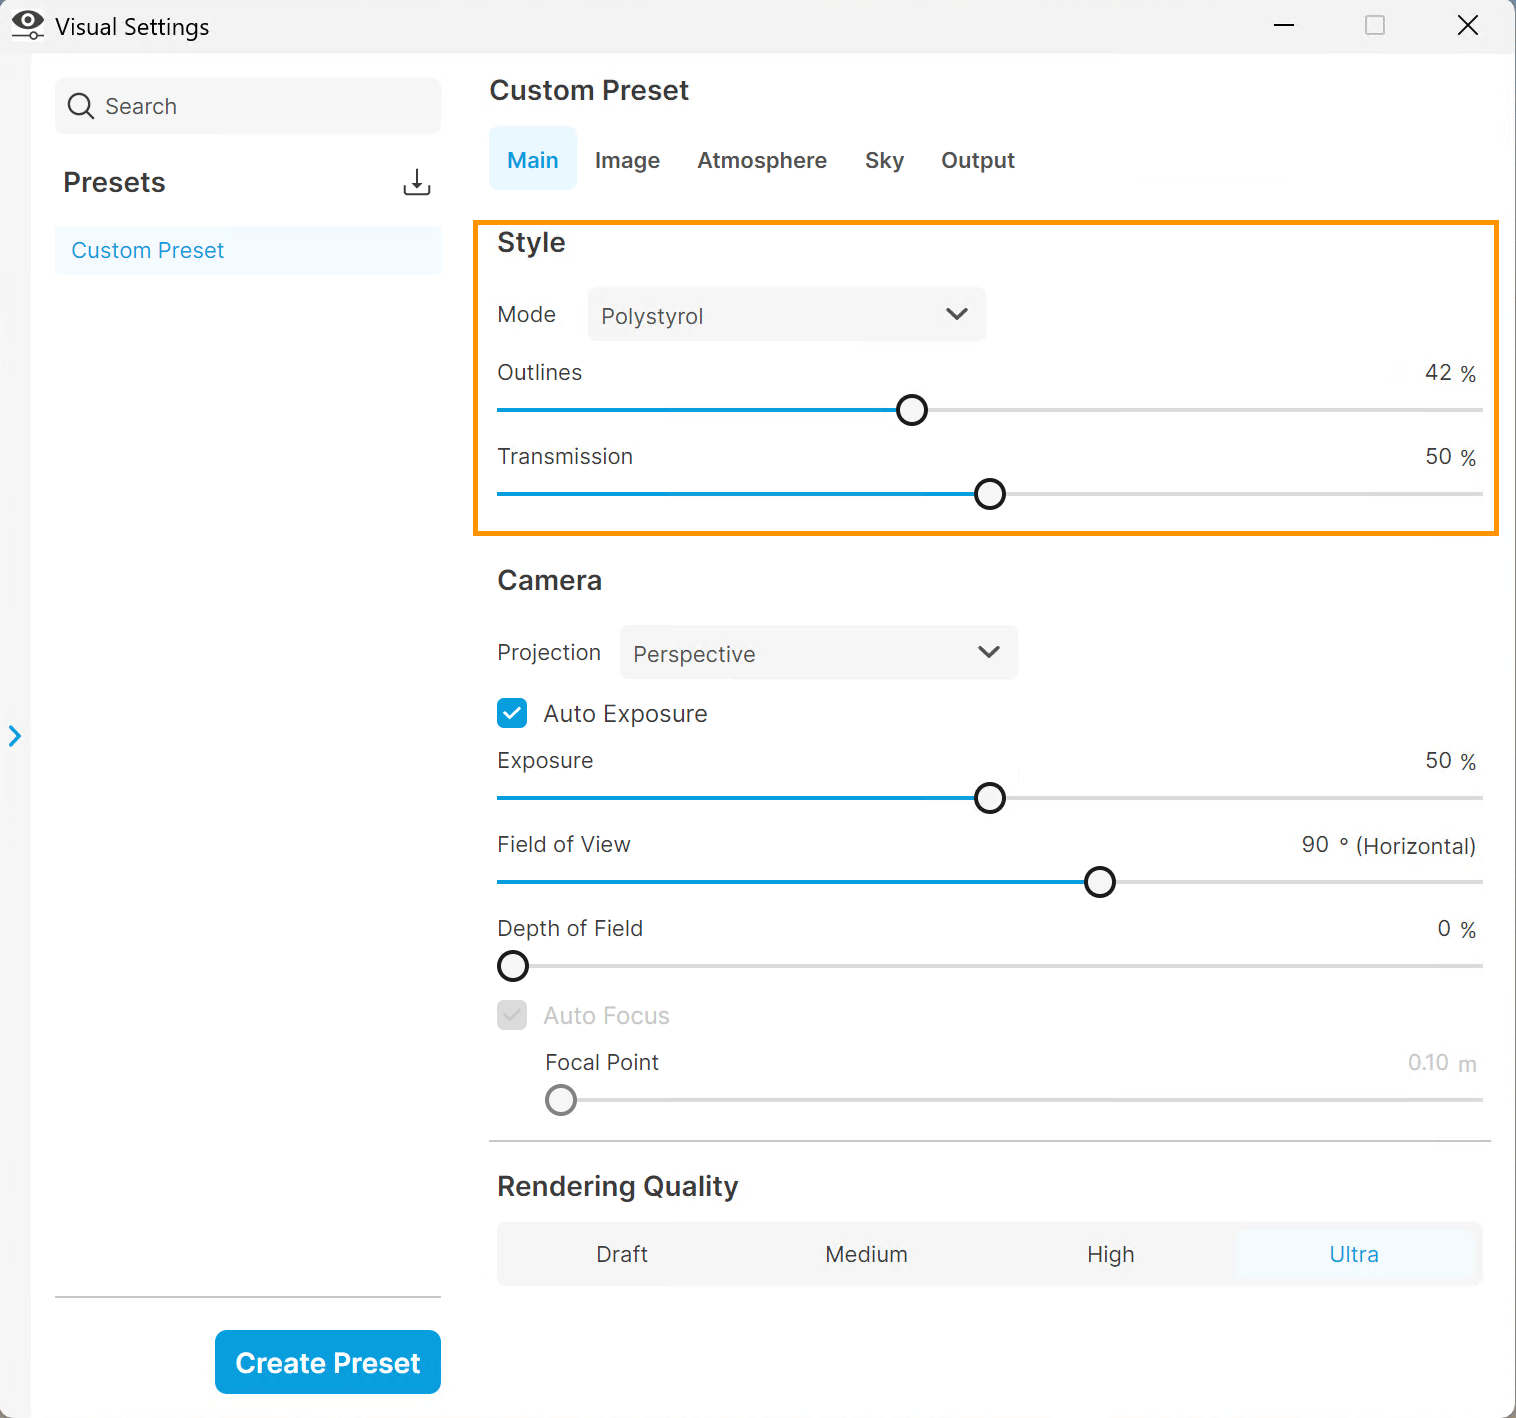
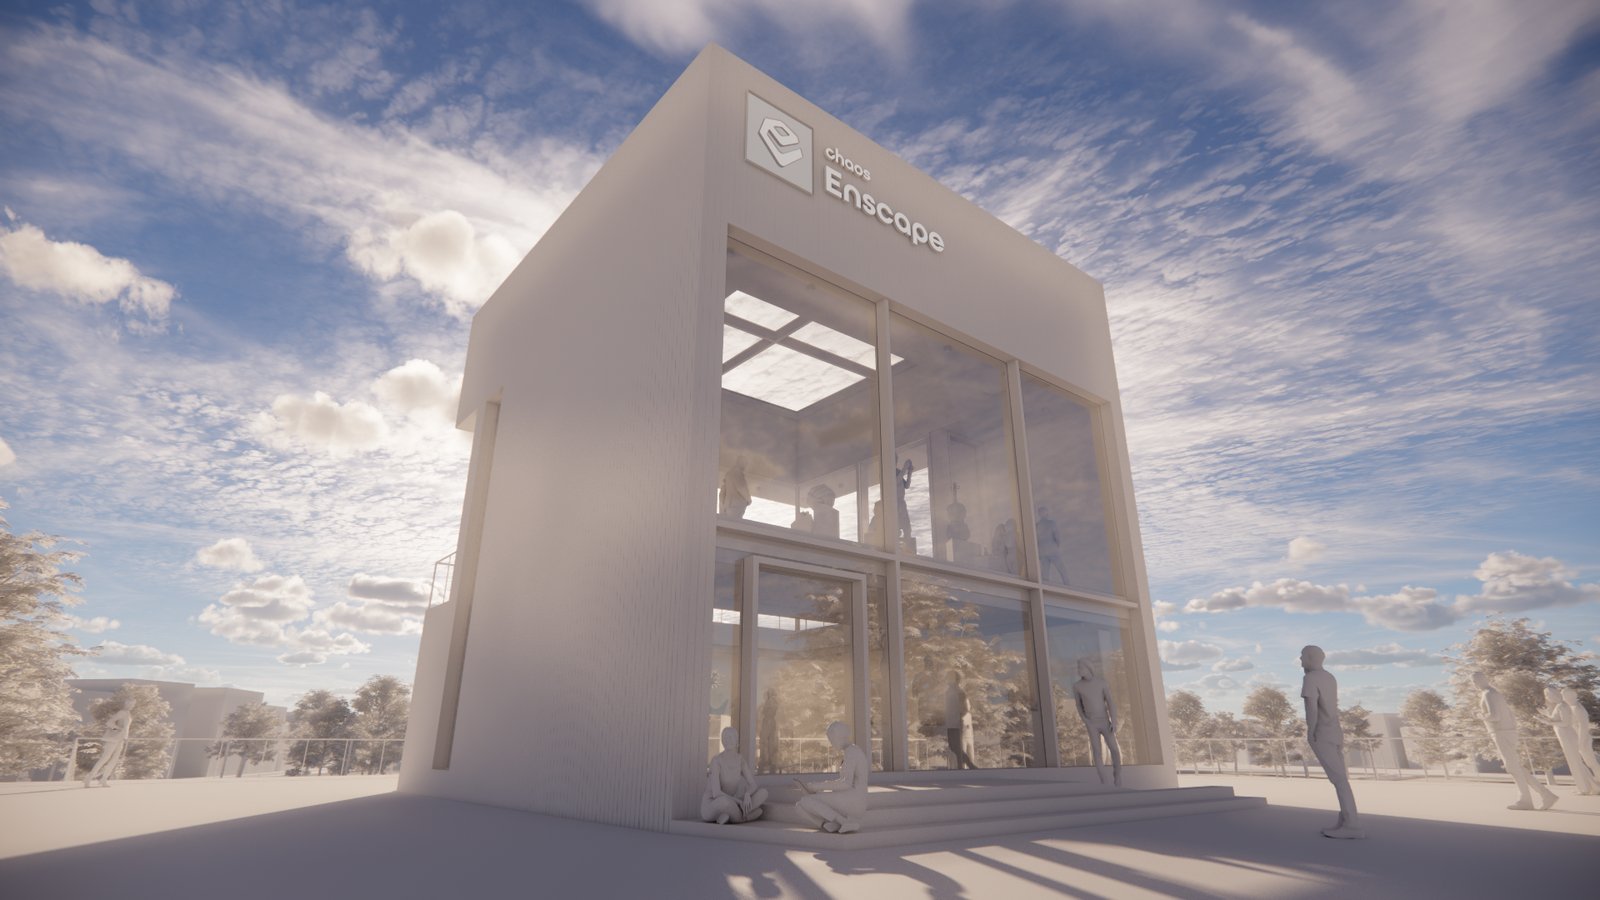
Polystyrol mode with Transmission set to 0%
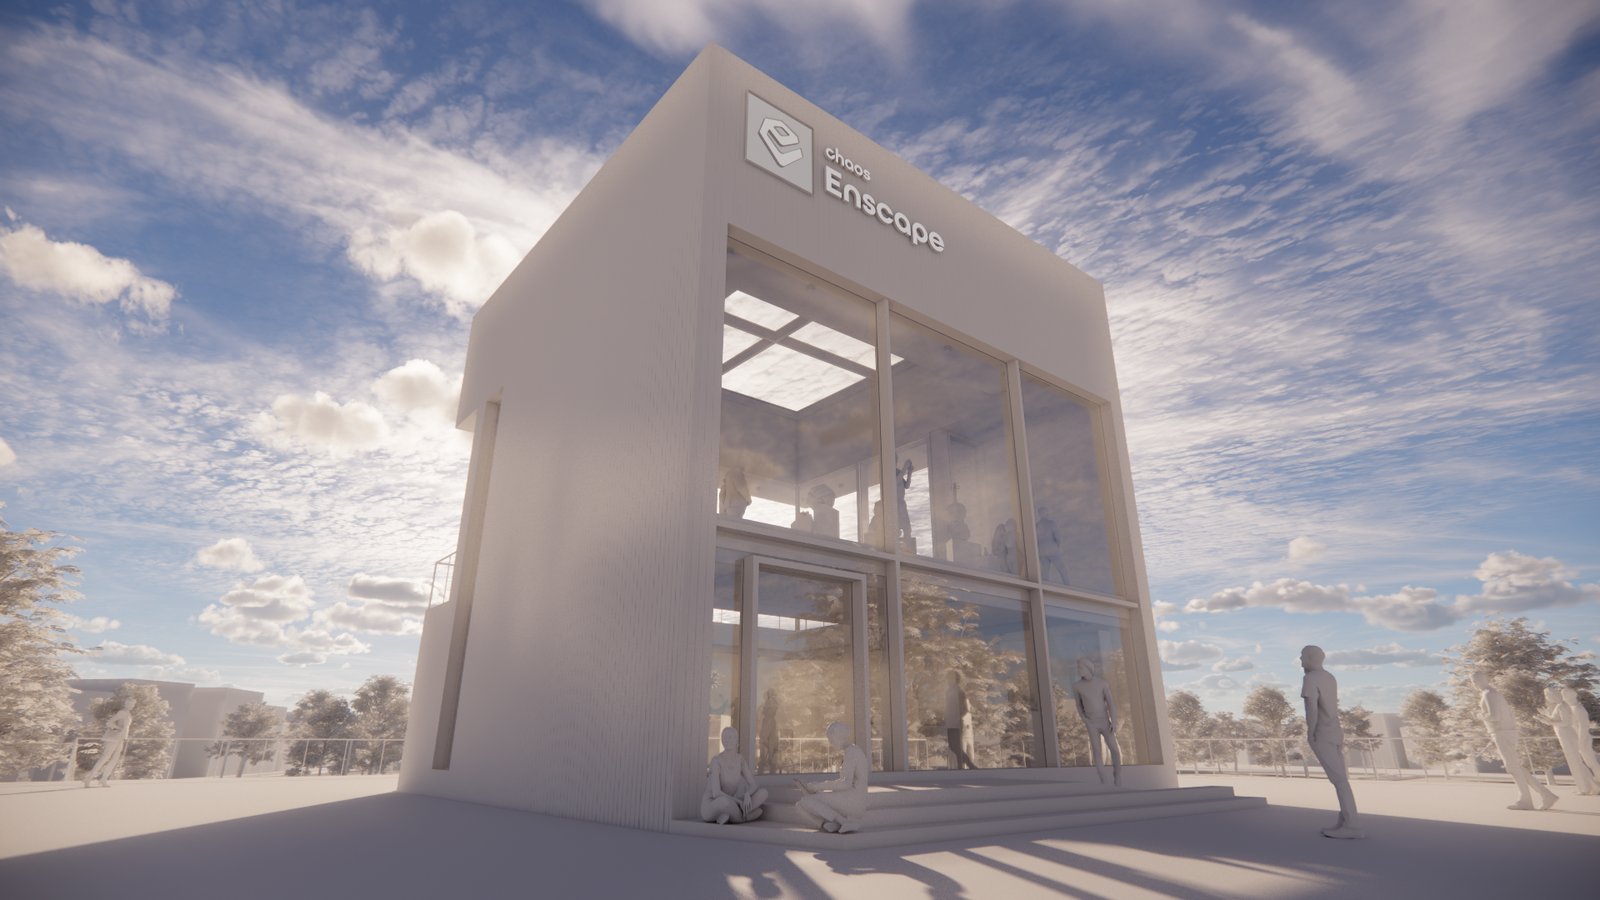
Polystyrol Mode with Transmission to set 50%
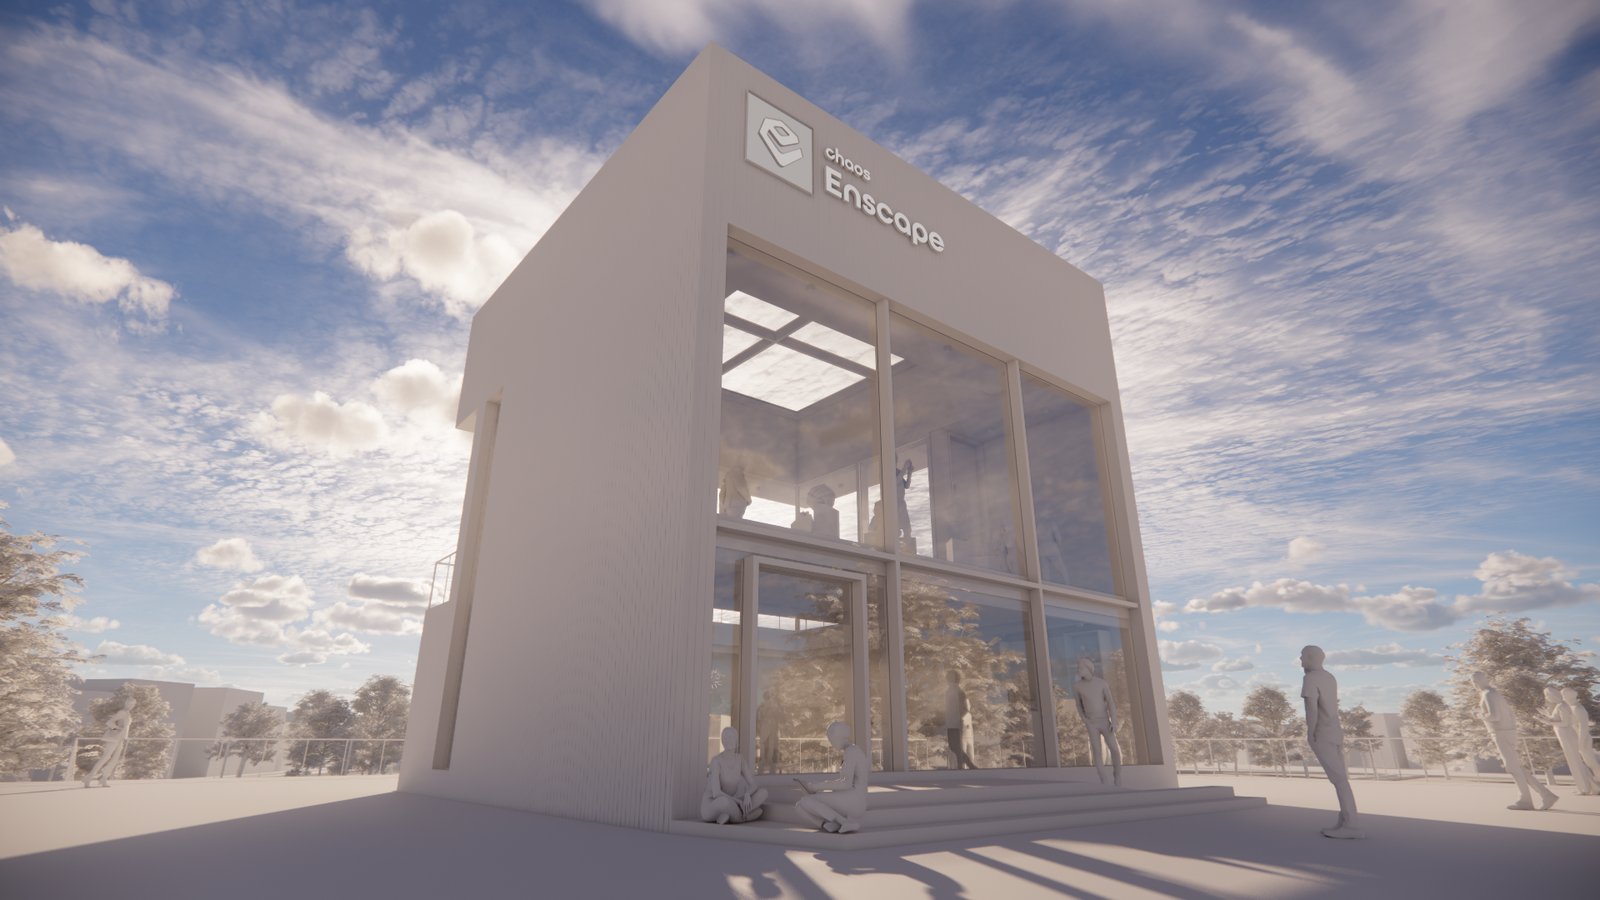
Polystyrol Mode with Transmission to set 100%
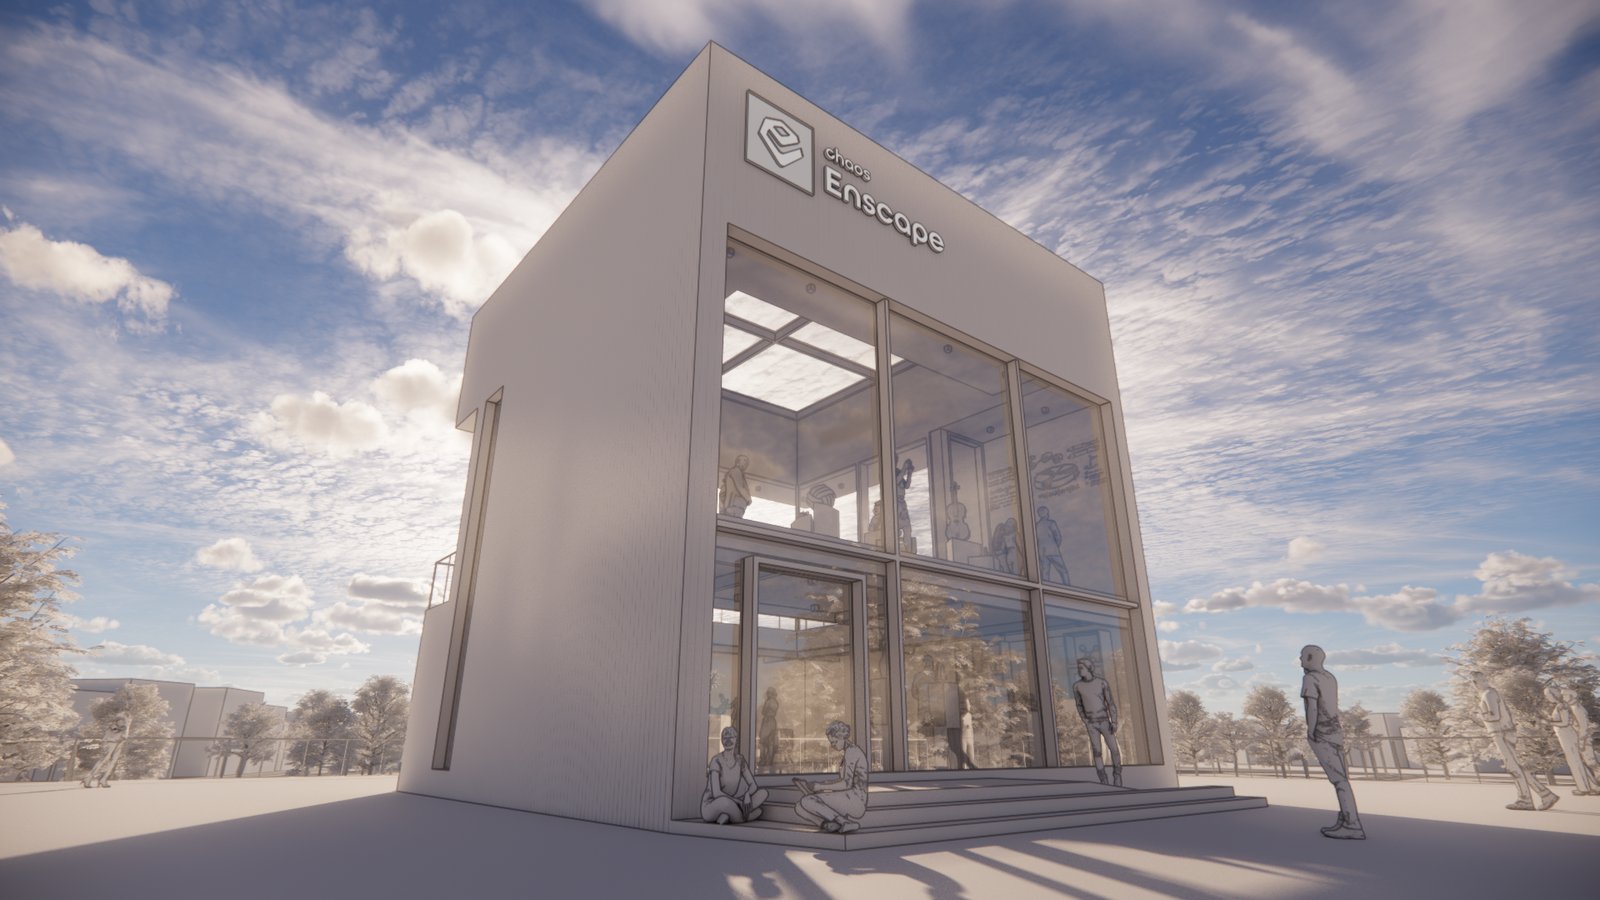
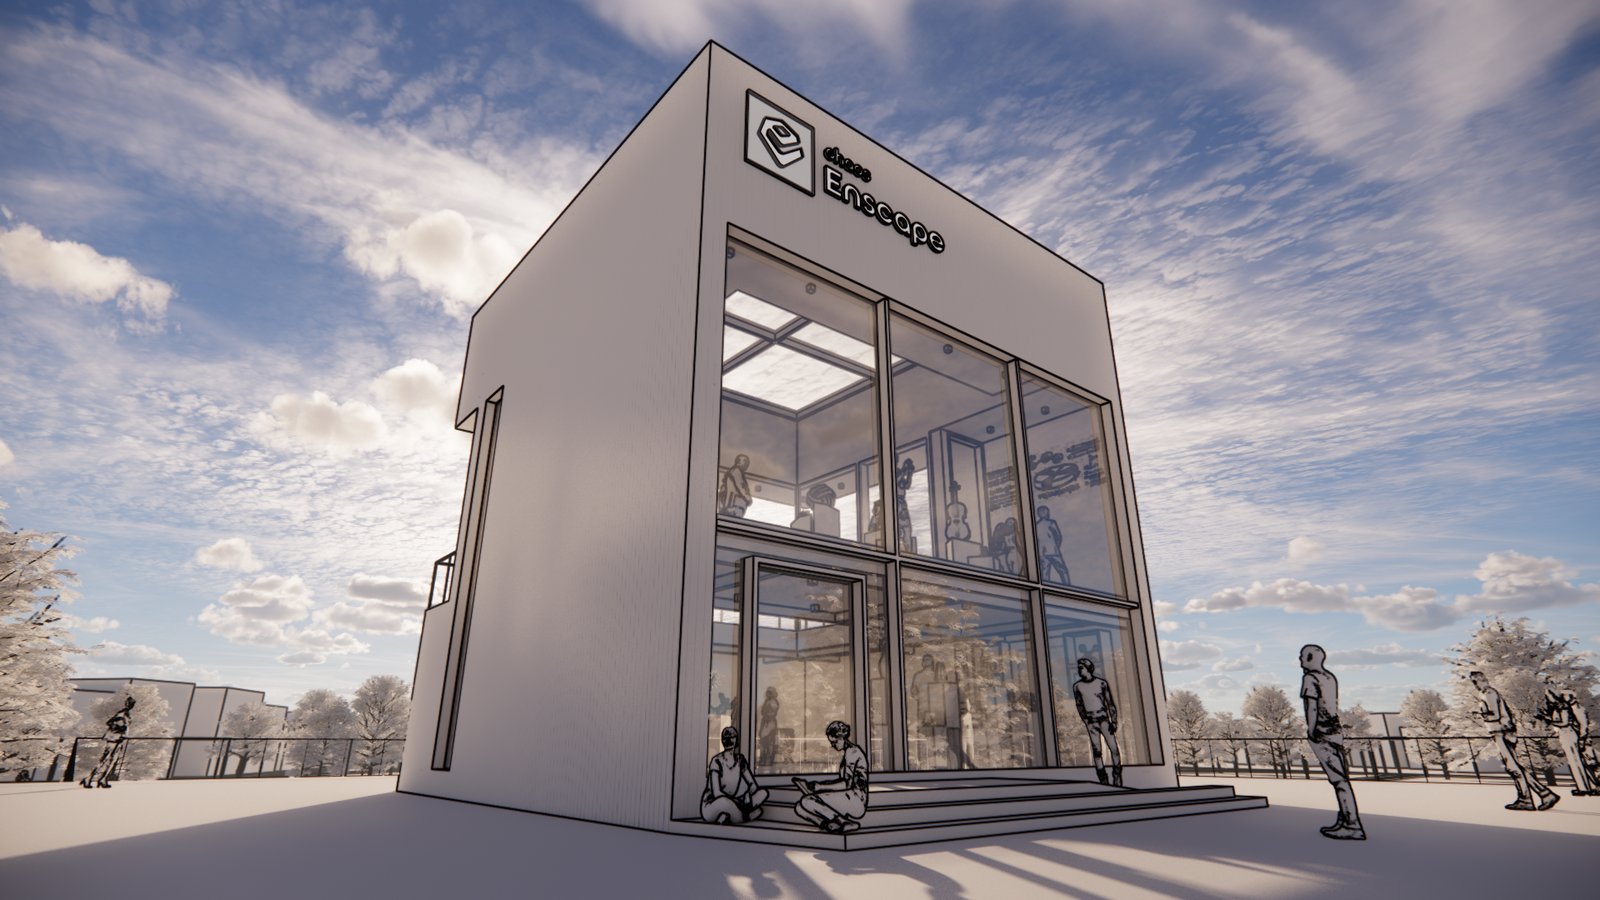
You can see the effect of 0% Transmission in the following screenshots with 25% and 75% outlines applied.
Bump Maps
Bump maps continue to be displayed when using White/Polystyrol Mode.
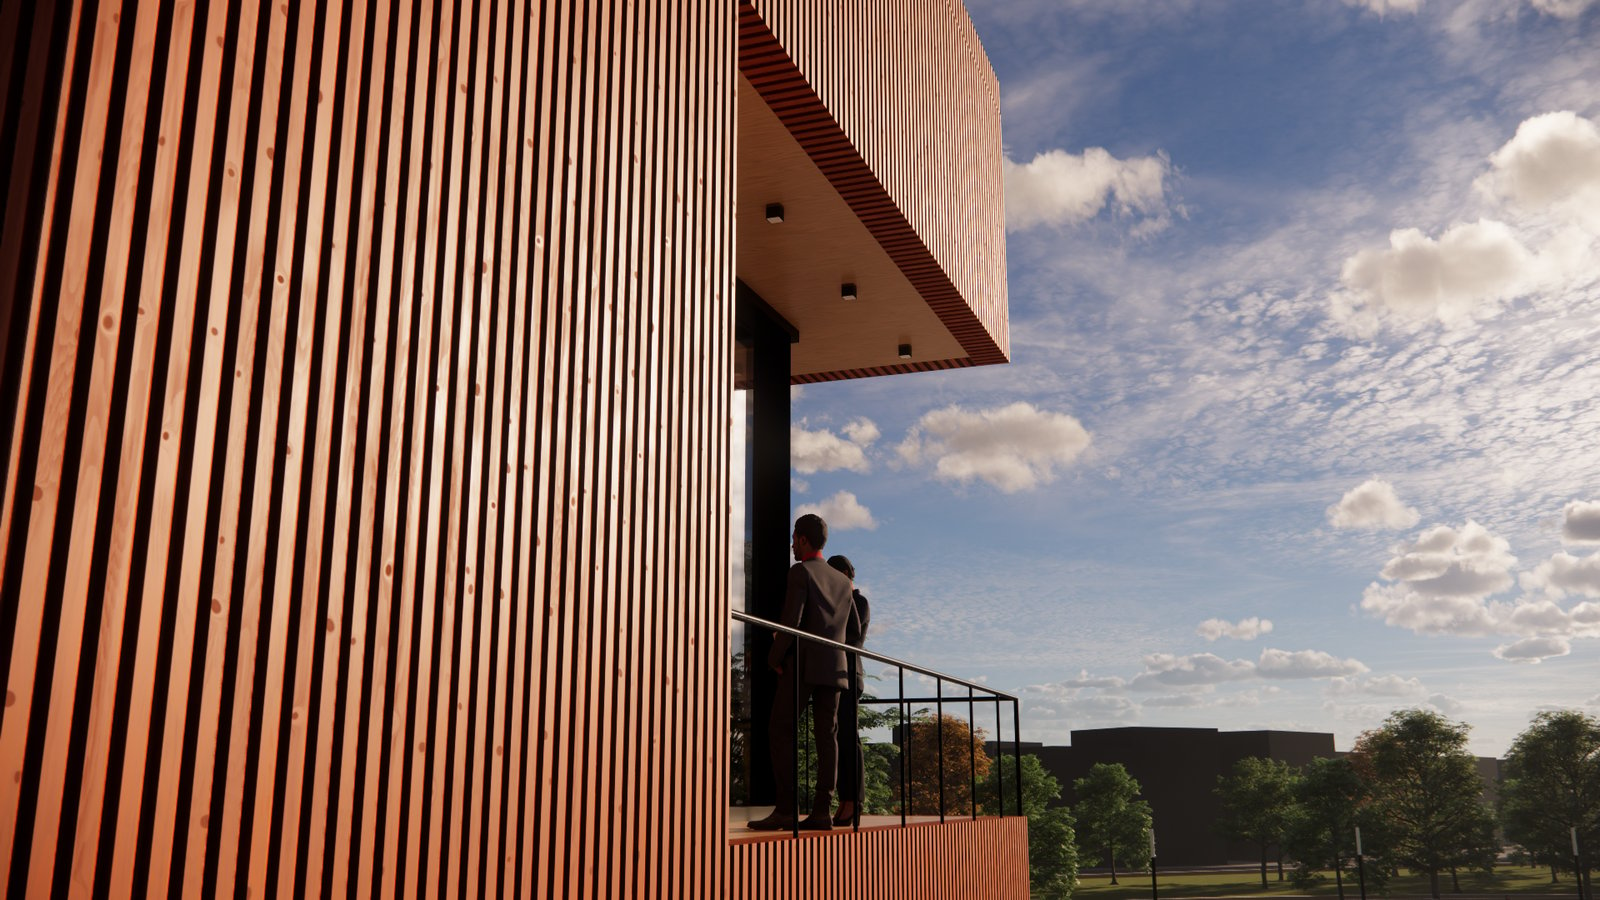
Bump Map with no Mode enabled.
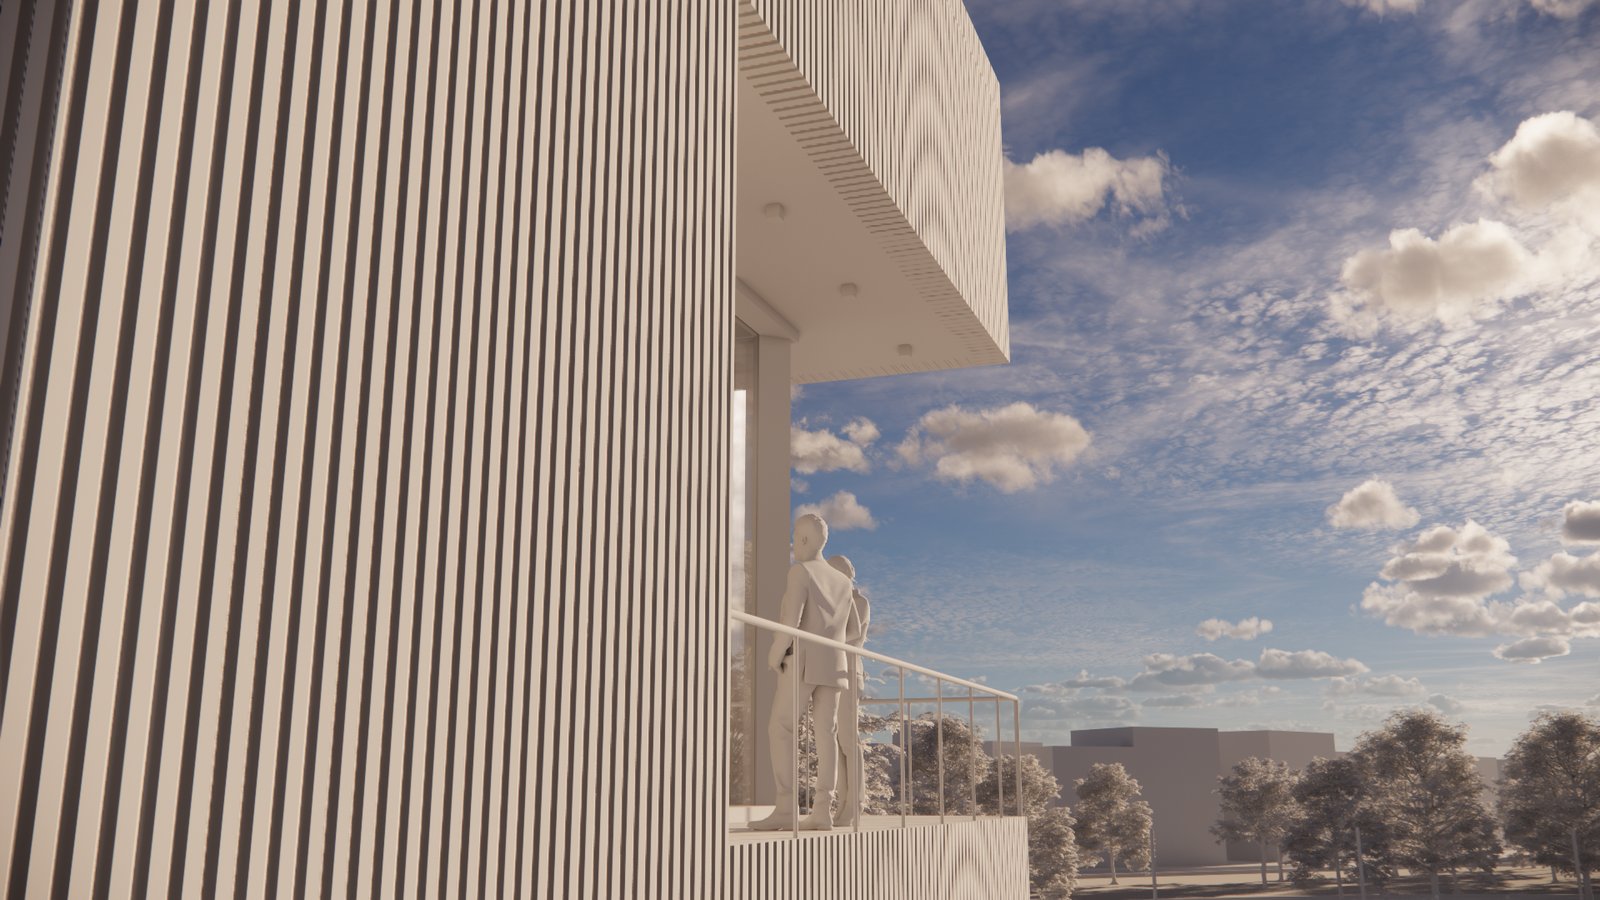
Bump Map with White Mode enabled.
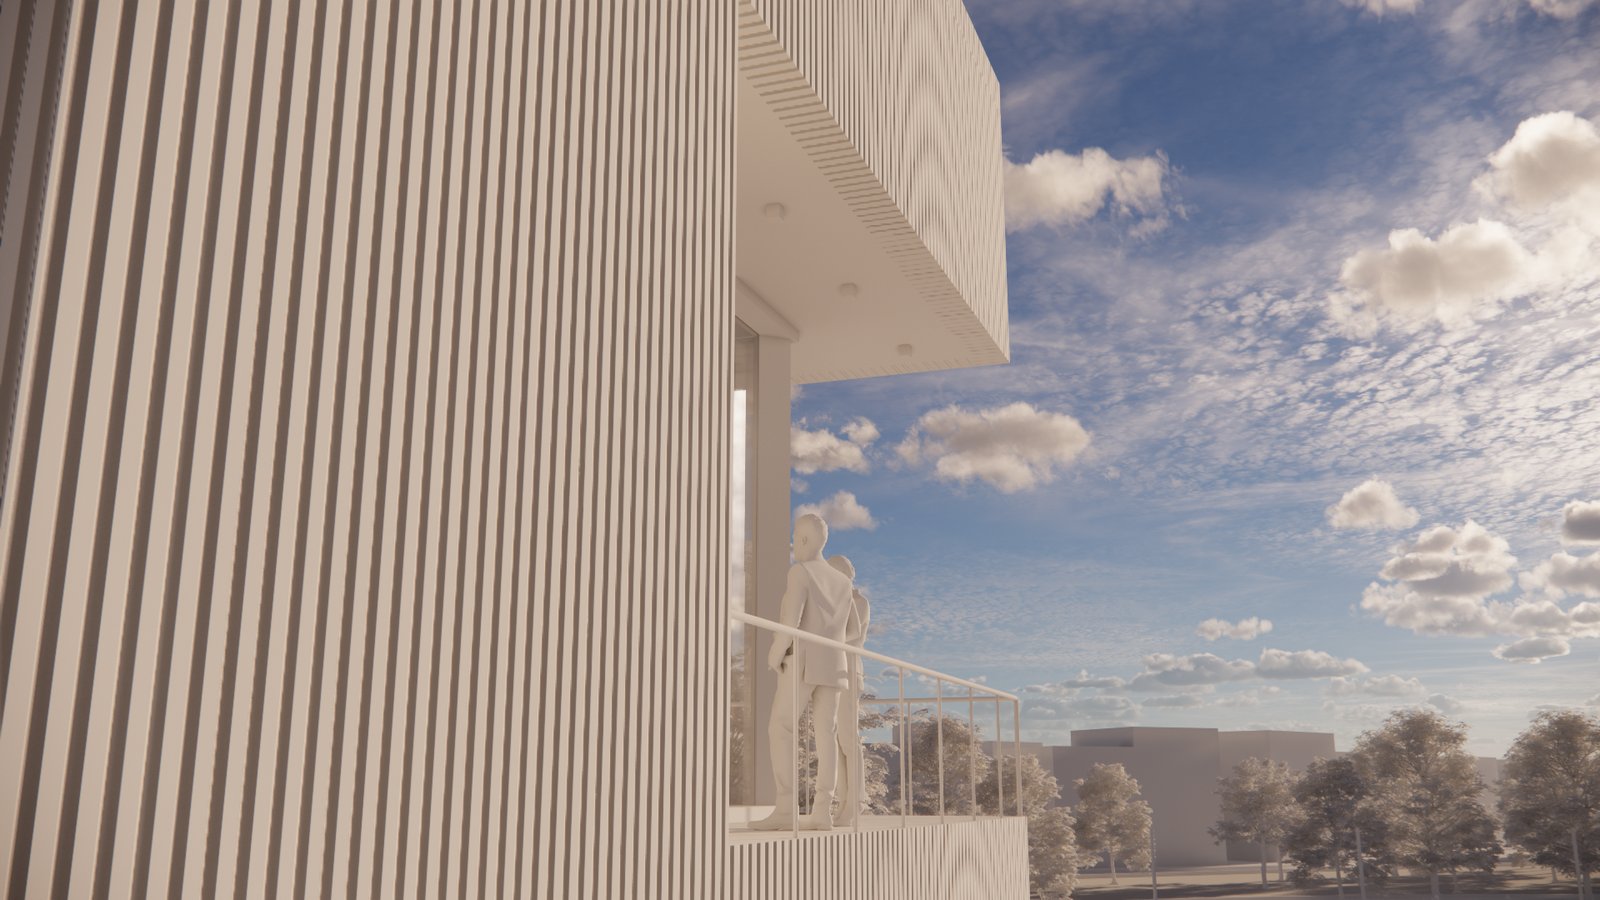
Bump Map with Polystyrol Mode enabled.
Light View Mode
The Light View mode informs how much light is hitting a surface, and this is displayed as a heat map.
There is also the Automatic Scale option, which can be disabled. When disabled, the minimum and maximum Lux scale can be set manually.
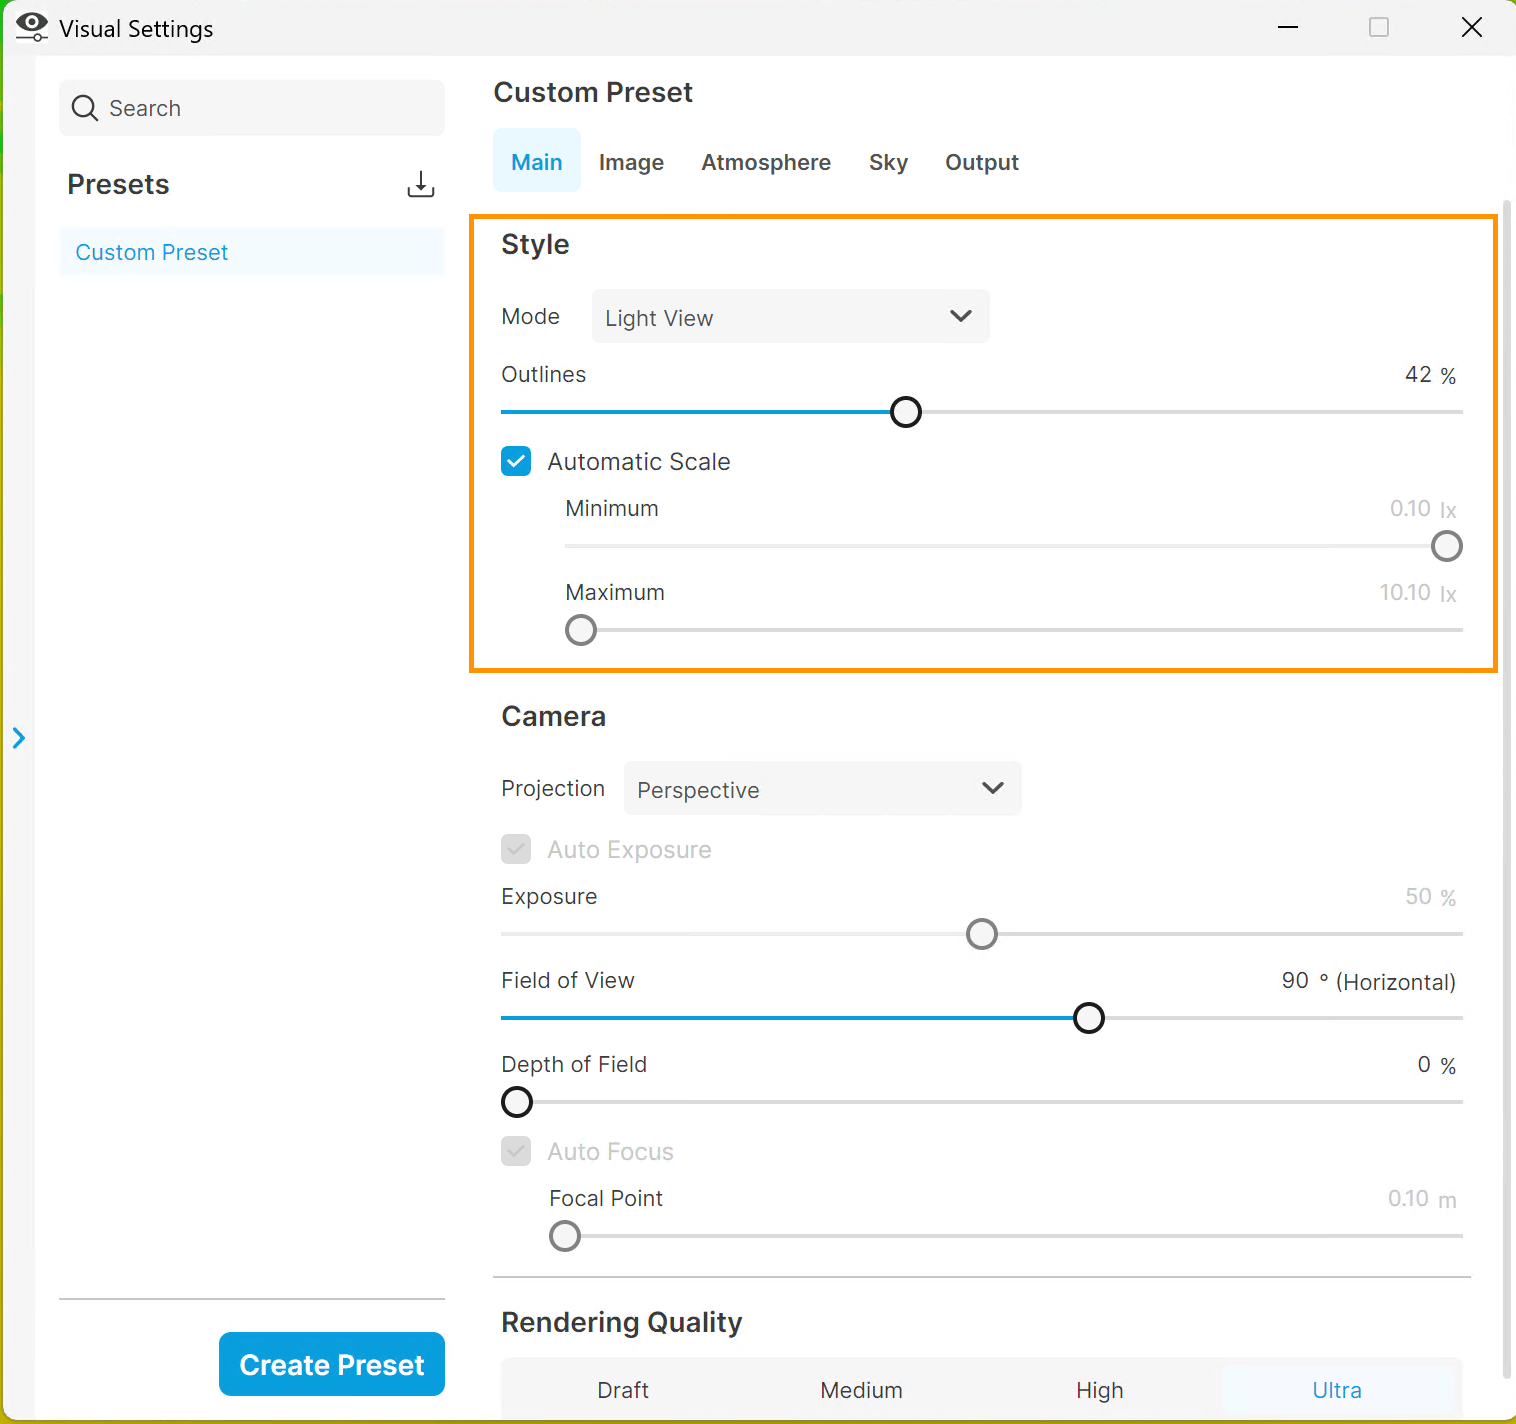
Light View Mode with Automatic Scale enabled
In the Enscape Viewport, when Light View Mode is activated, a temp range indicator becomes available:

Light View Temperature Gauge
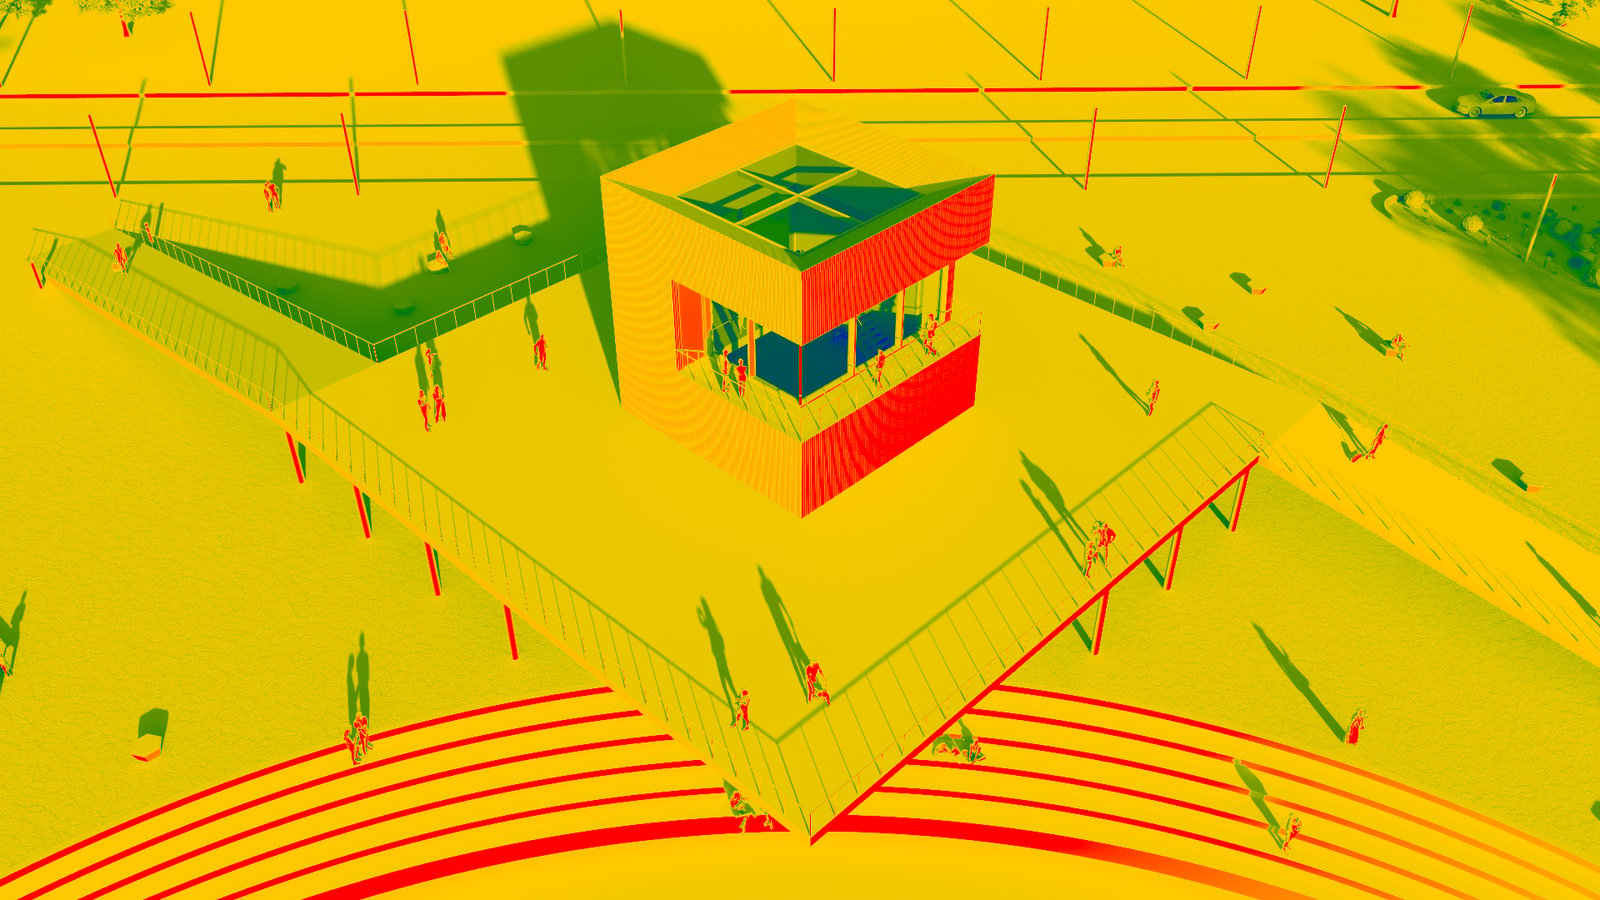
Autoscale Daylight
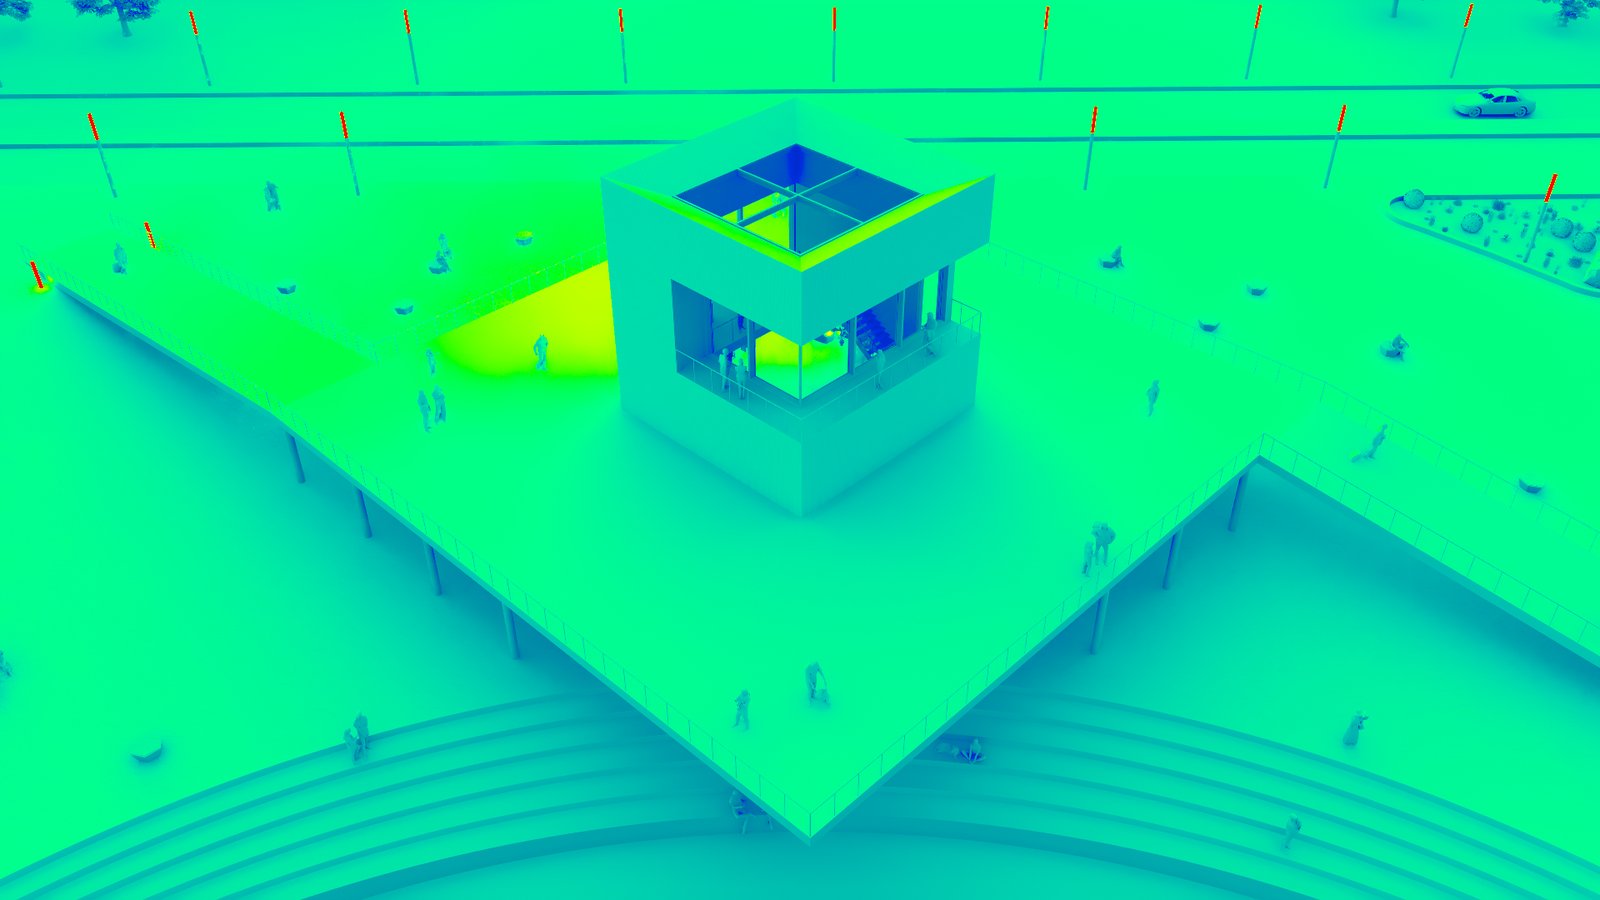
Autoscale Night
You can also combine Light View mode with Outlines. In the example, the outlines are set to different % values.
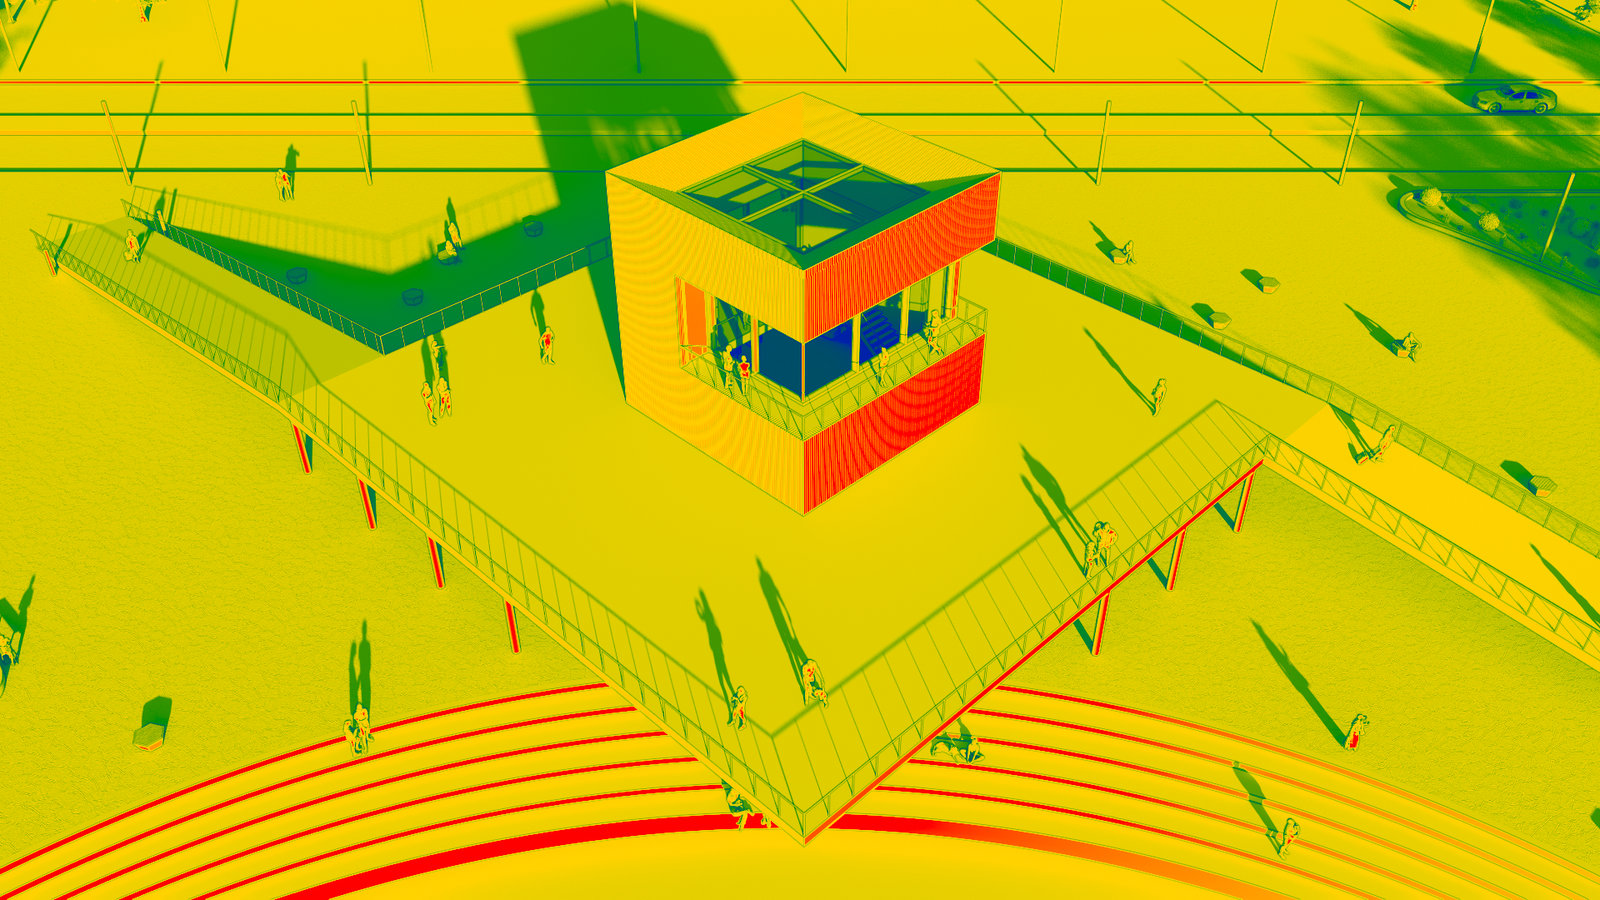
25%
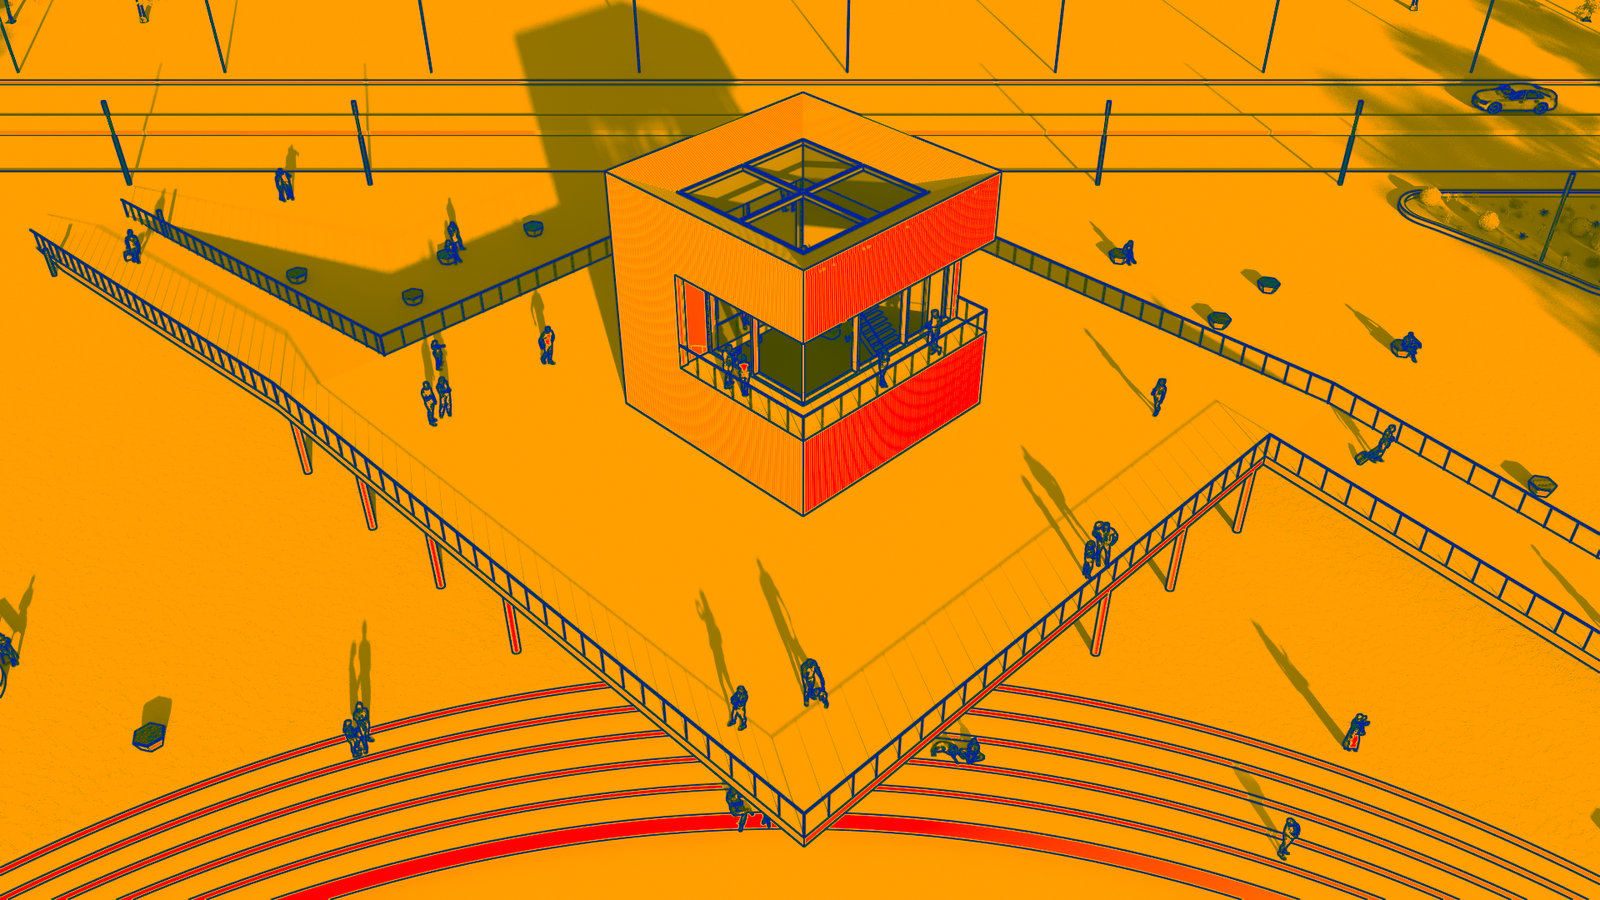
75%
Sketch Mode
This artistic visual mode recreates the rendering as pen or pencil sketches. This mode can be adjusted as black and white outlines, grayscale or as colored rendering.
Outlines – Adjusts the thickness of lines.
Jitter – Modulates the distortion of lines within the sketch composition.
Extended Lines – Controls the length and prominence of extended lines in your drawing.
Transparent Glass – Enables rendering objects behind glass with lighter colors.
Hatched Shadows – Enhances the drawing by creating depth and form through hatched shadows.
Pen – This is the default sketch style, using a black-and-white pen.
Pencil – Transforms your sketch style to a grayscale pencil.
Colored Pencil – Customizes the style of the sketch by applying colors.
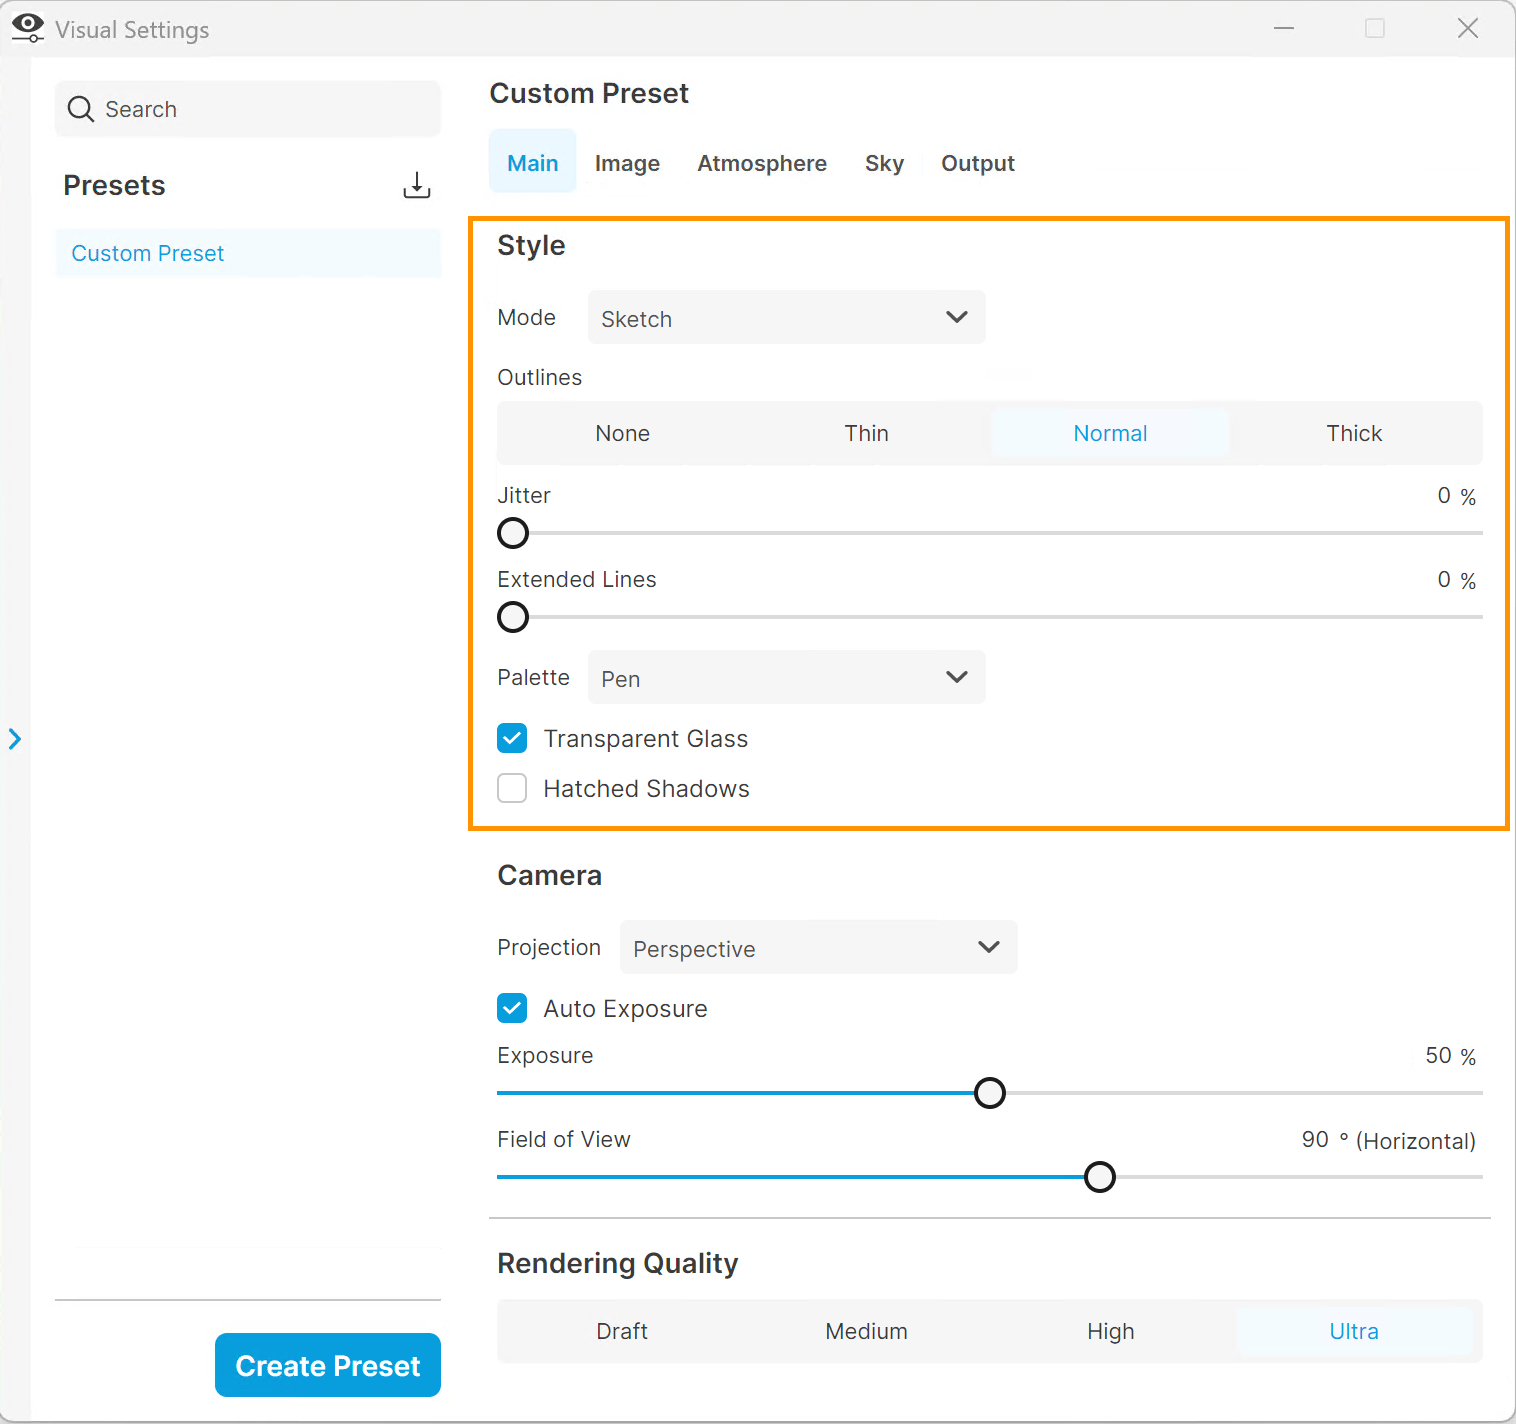
Sketch Mode Settings
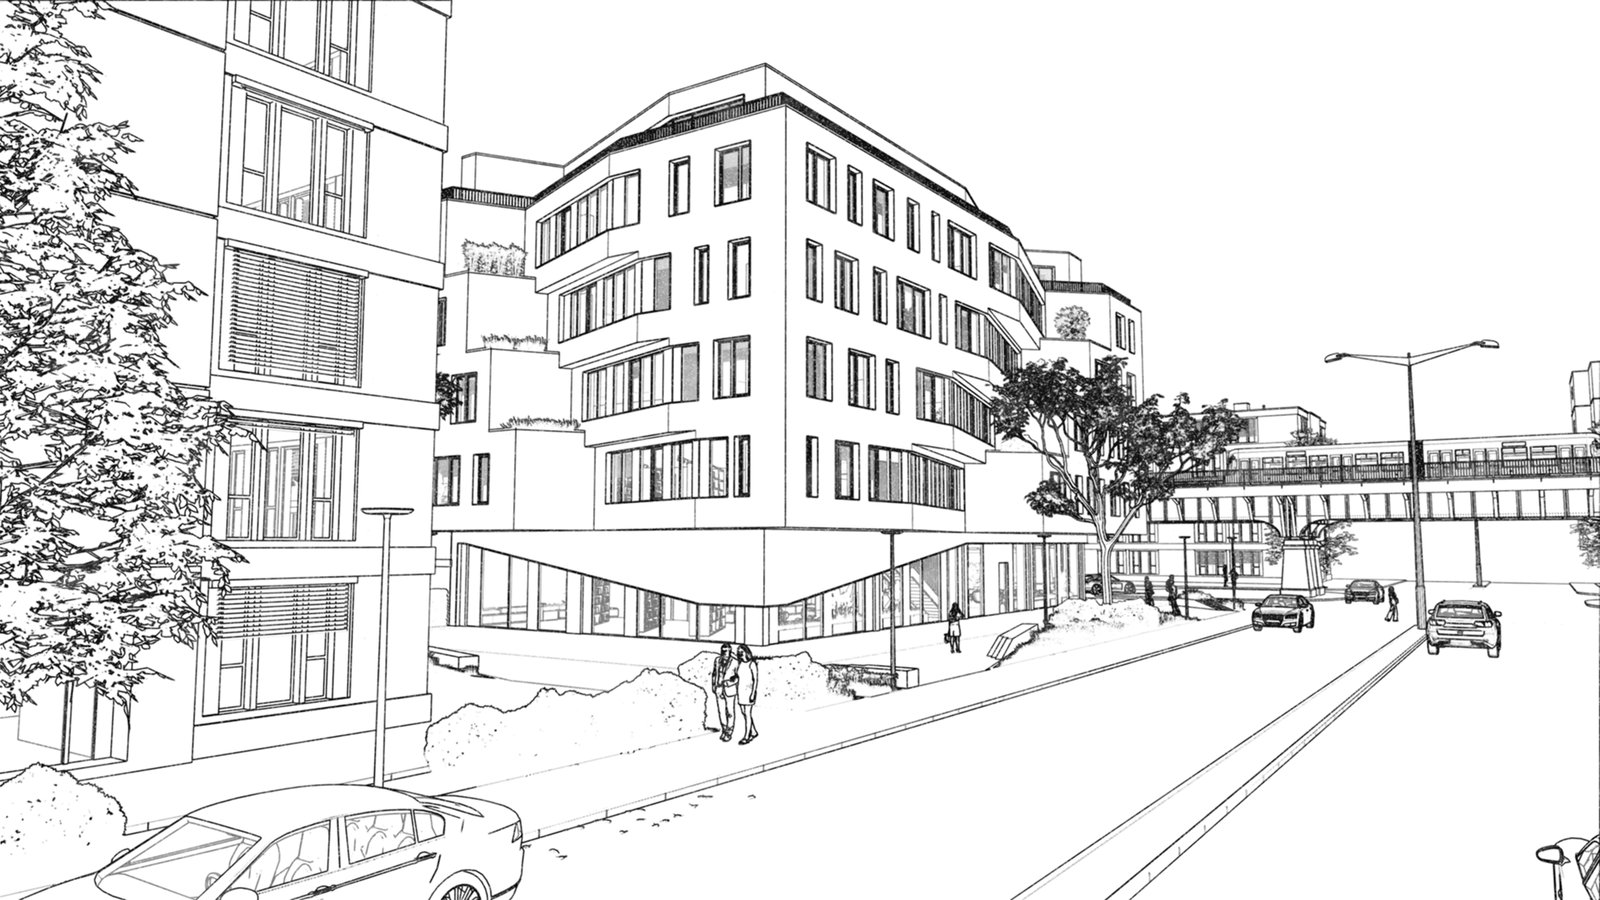
Pen in Sketch Mode without Hatched Shadows
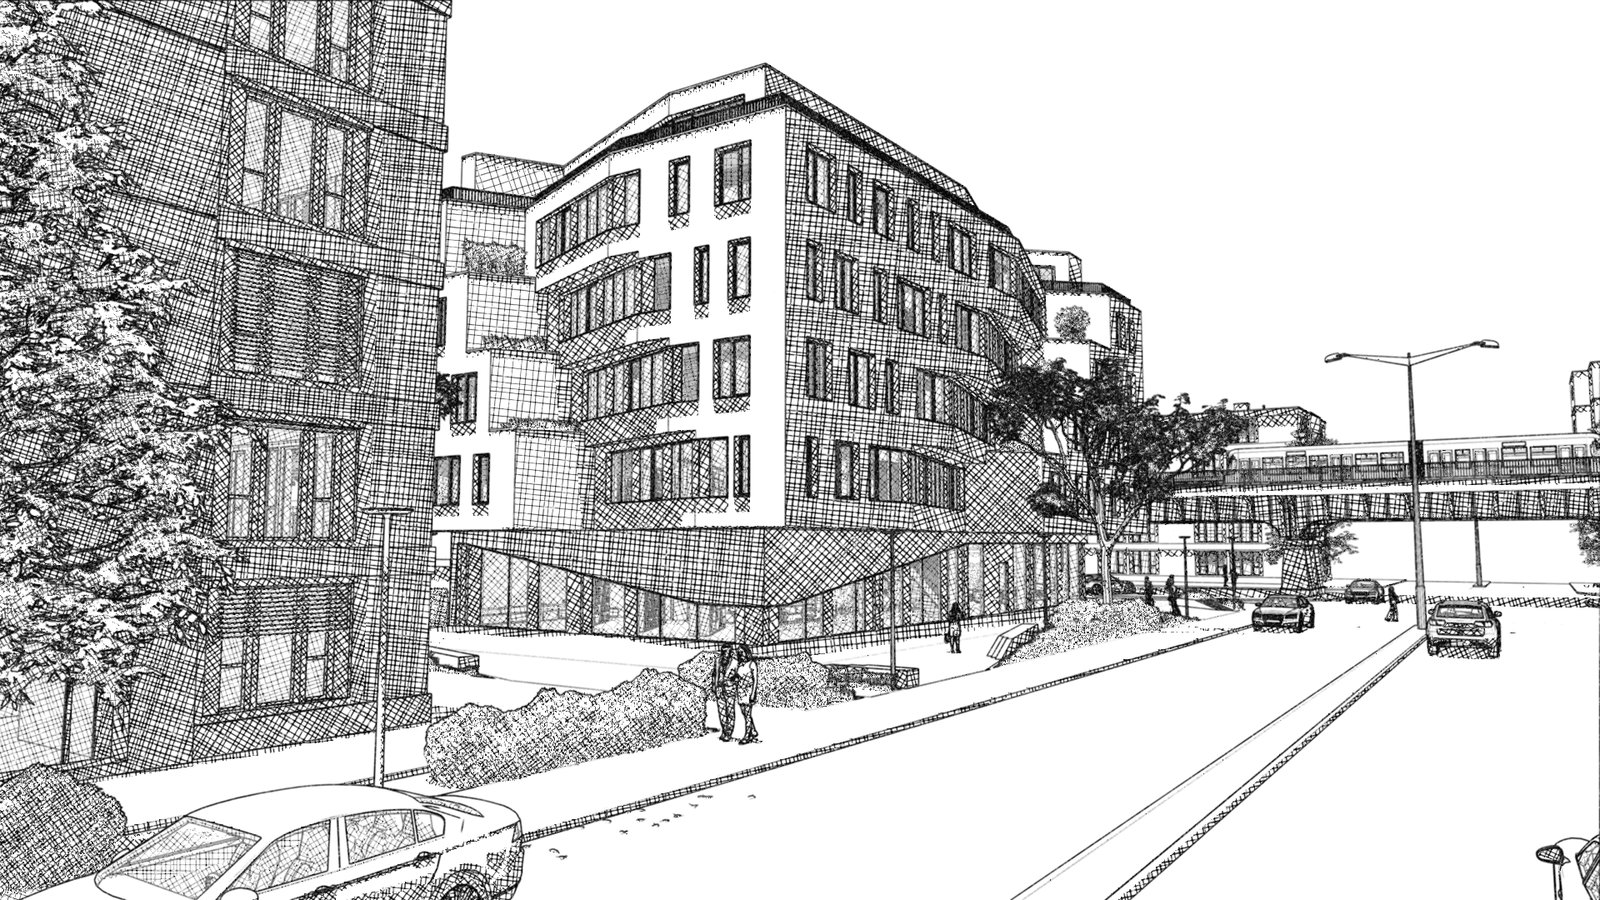
Pen in Sketch Mode with Hatched Shadows
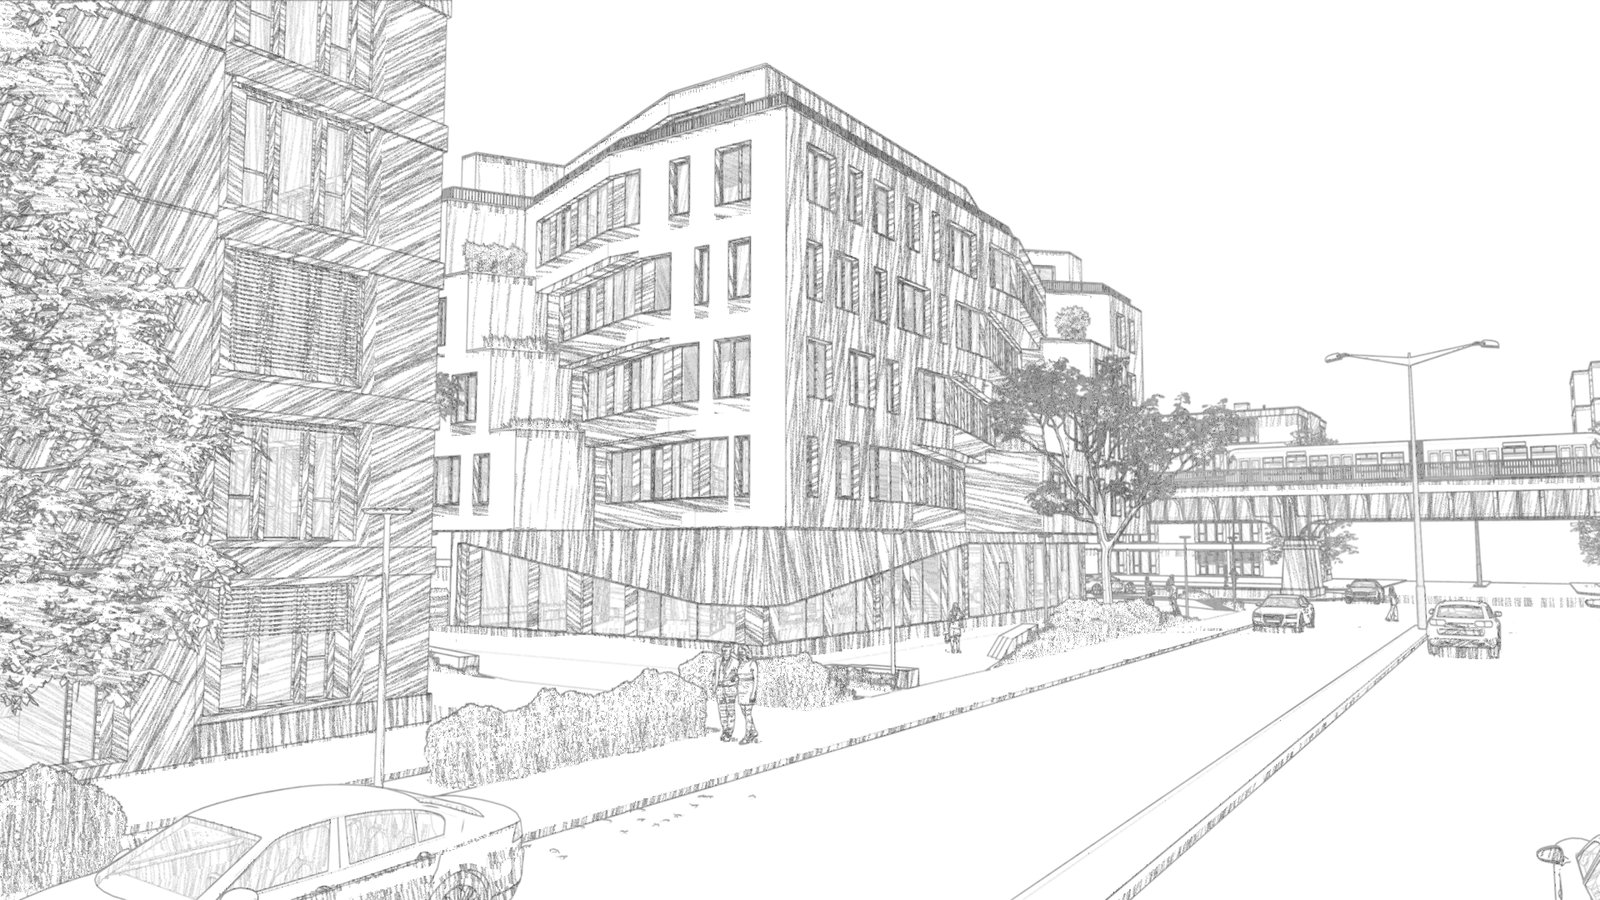
Pencil
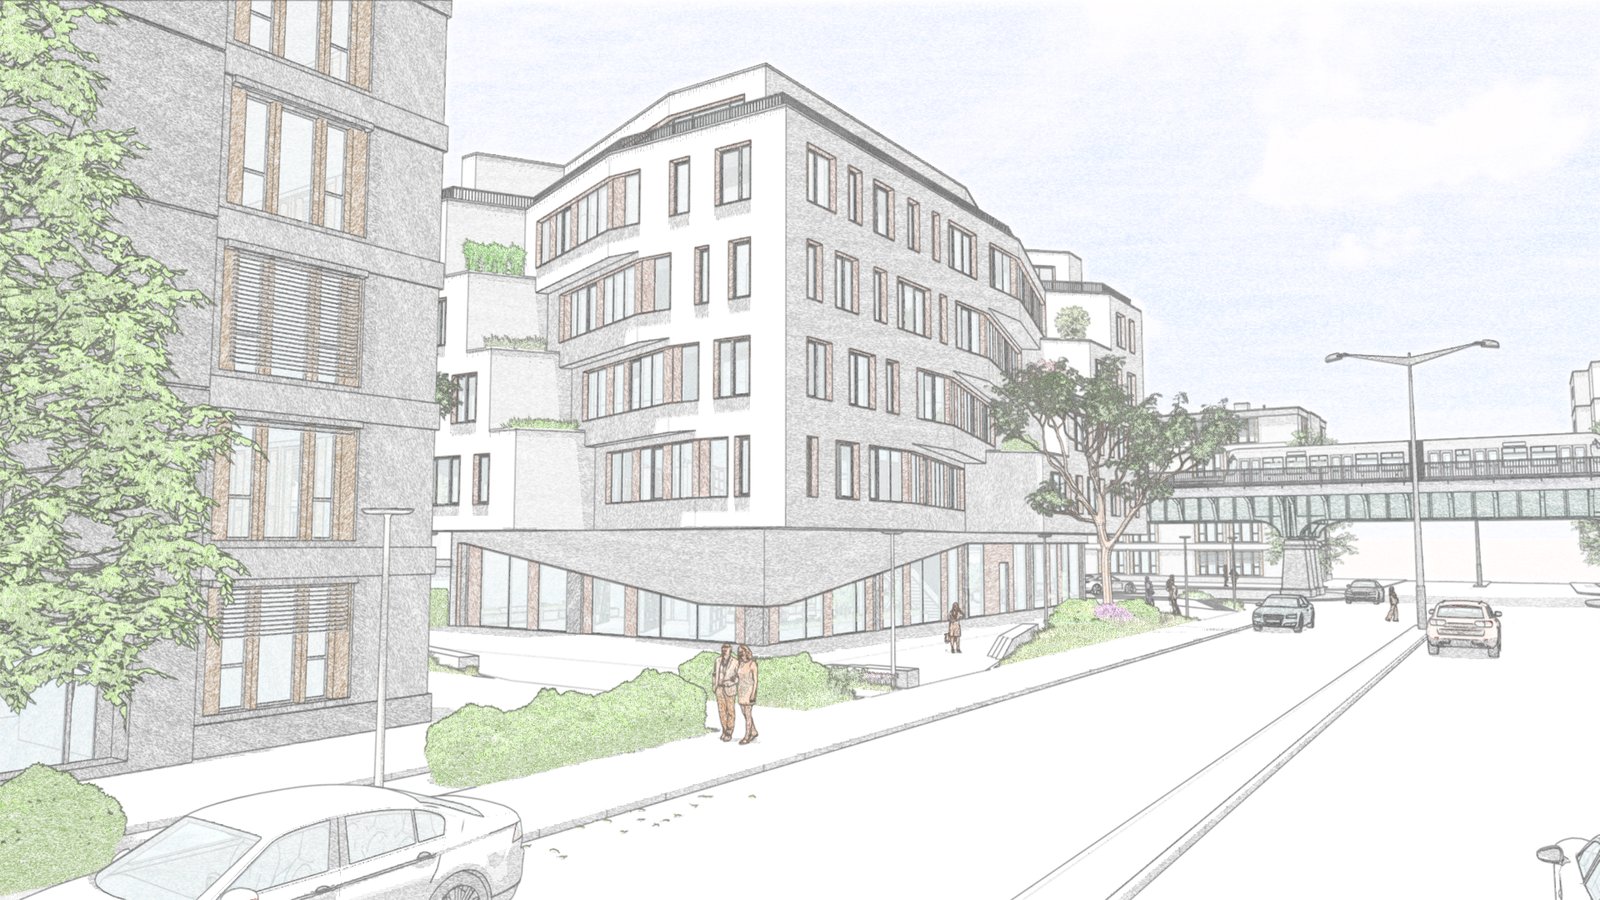
Colored Pencil
It is recommended to use this style for still renders to achieve the best results:
- Mode: Sketch
- Outlines: Normal
- Transparent Glass enabled
- Hatched Shadows enabled
- Exposure at 50%
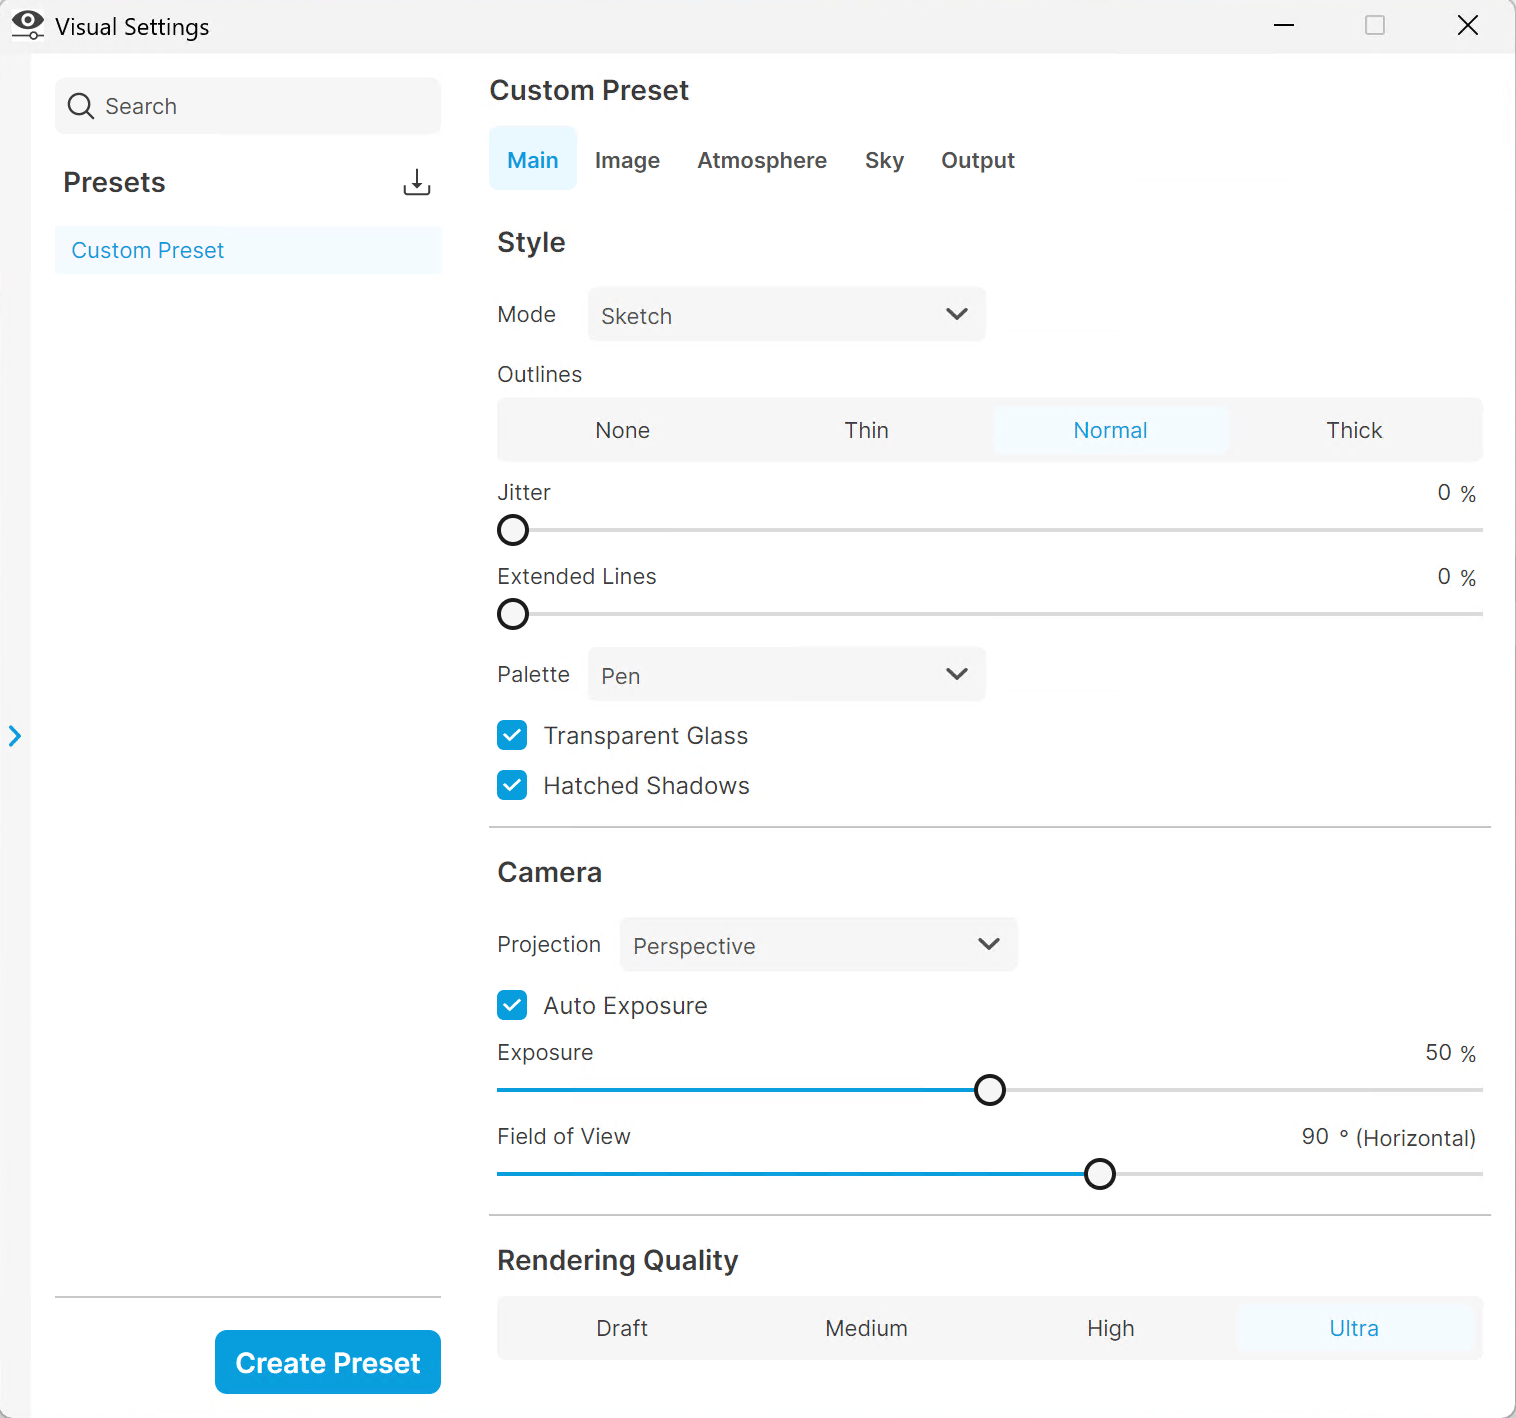
When you have Sketch Mode with hatching enabled, you can change the Exposure setting to affect the amount of shadows that are shown.
You can also change the saturation and color temperature to affect your results.
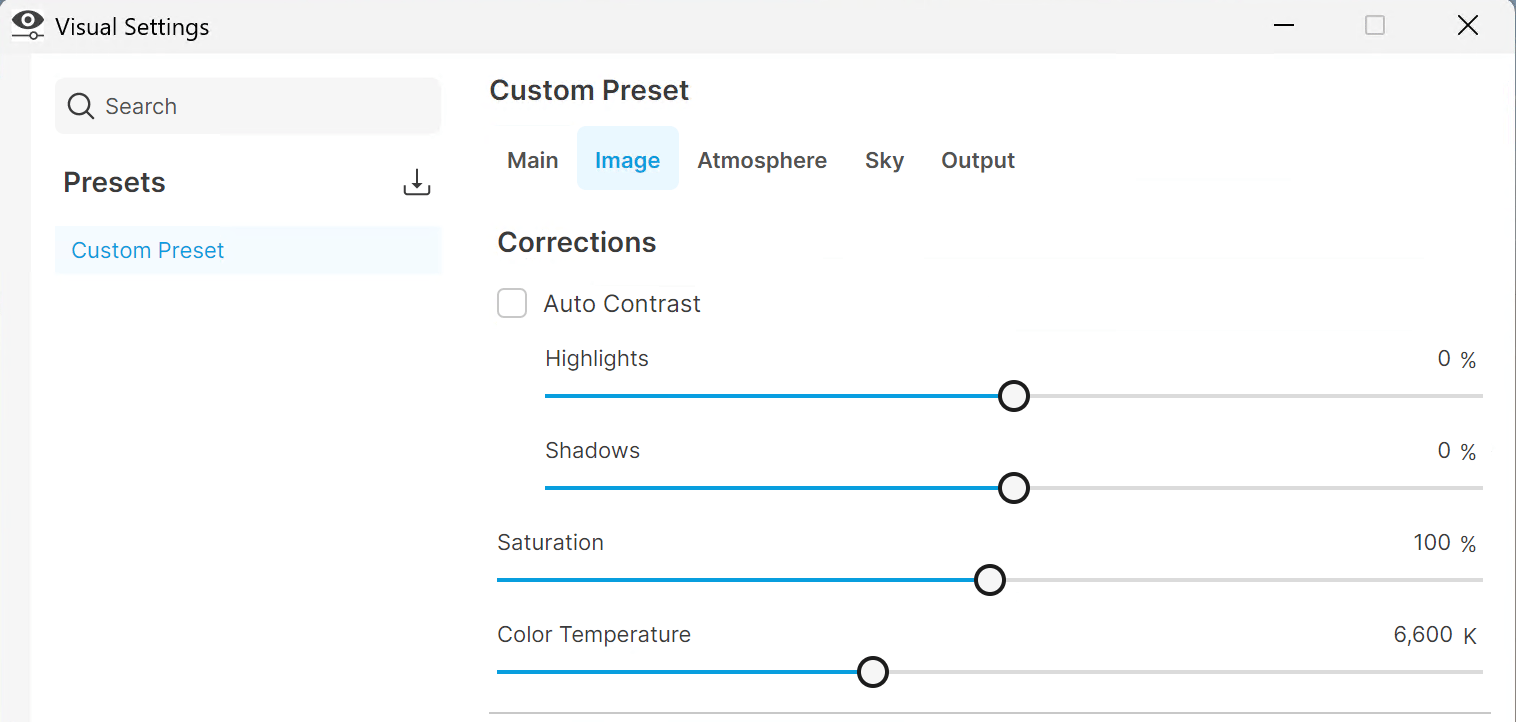
Saturation & Color Temperature
Watercolor Mode
Watercolor Mode transforms your viewport into a real-time painting, providing a soft, blended aesthetic for your visualizations. This feature includes its own dedicated settings, allowing you to fine-tune the color output to perfectly suit your project.
Color Gradient – Affects the number of colors and hues.
Surface Detail – Adjusts the level of texture detail on surfaces.
Bleeding Effect – Controls color overlap between surfaces.
Transparent Glass – Enable rendering objects behind glass with lighter colors.
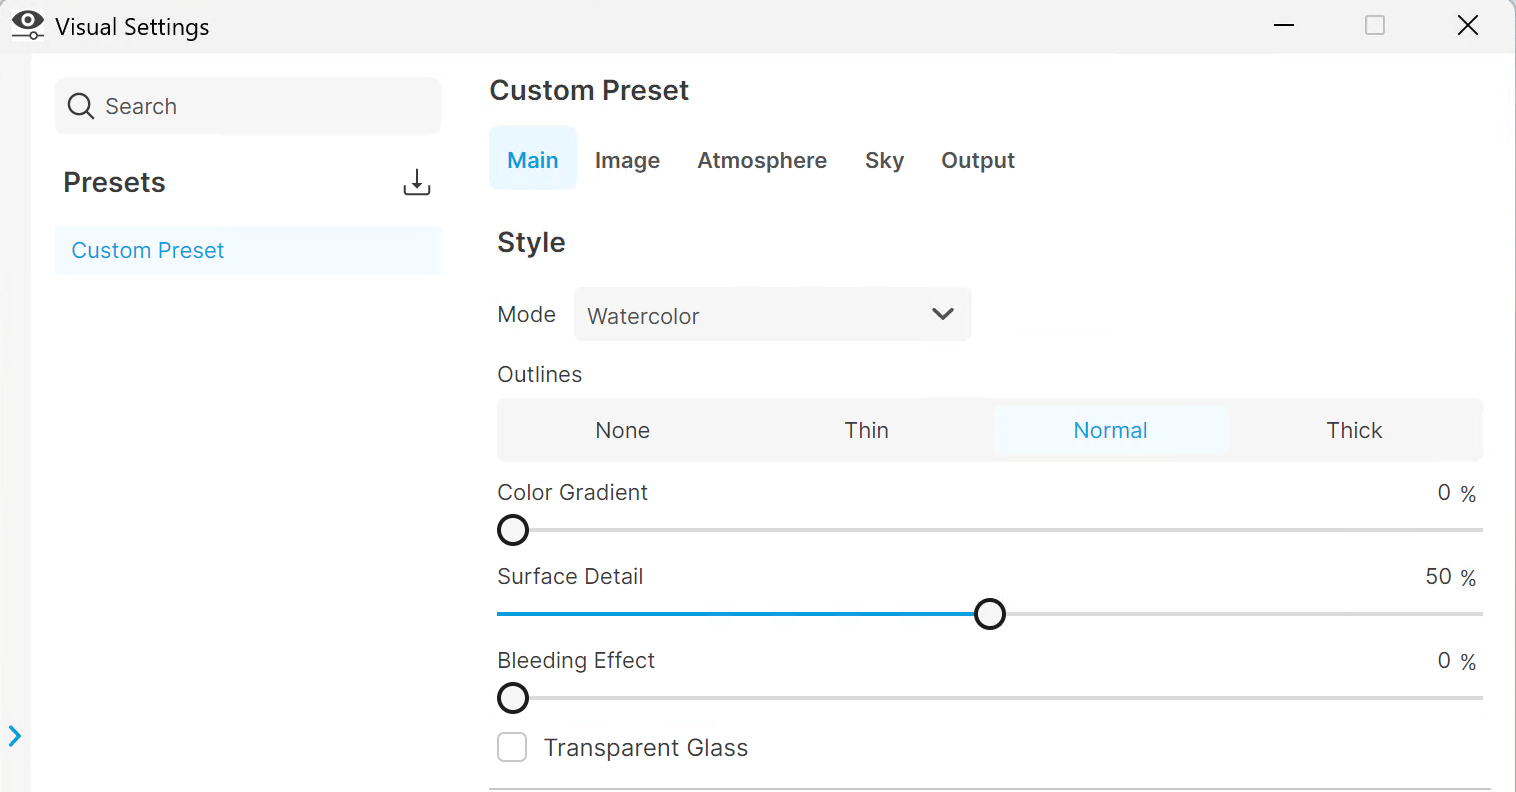
Watercolor
It is recommended to use this artistic visual mode for still renders to achieve the best results.
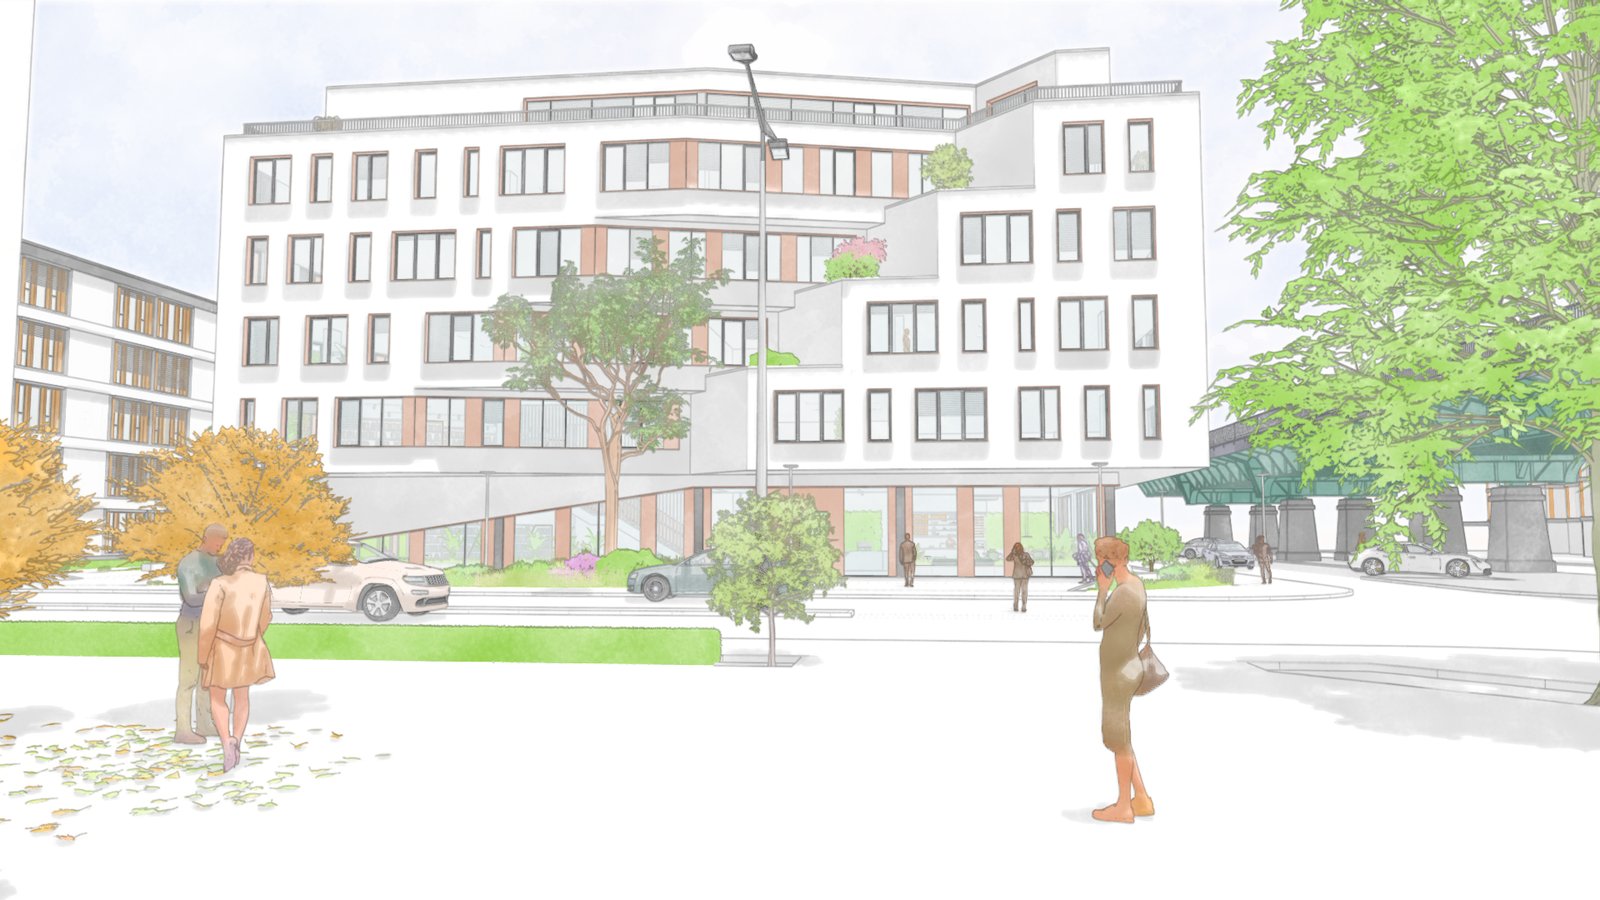
Default Settings
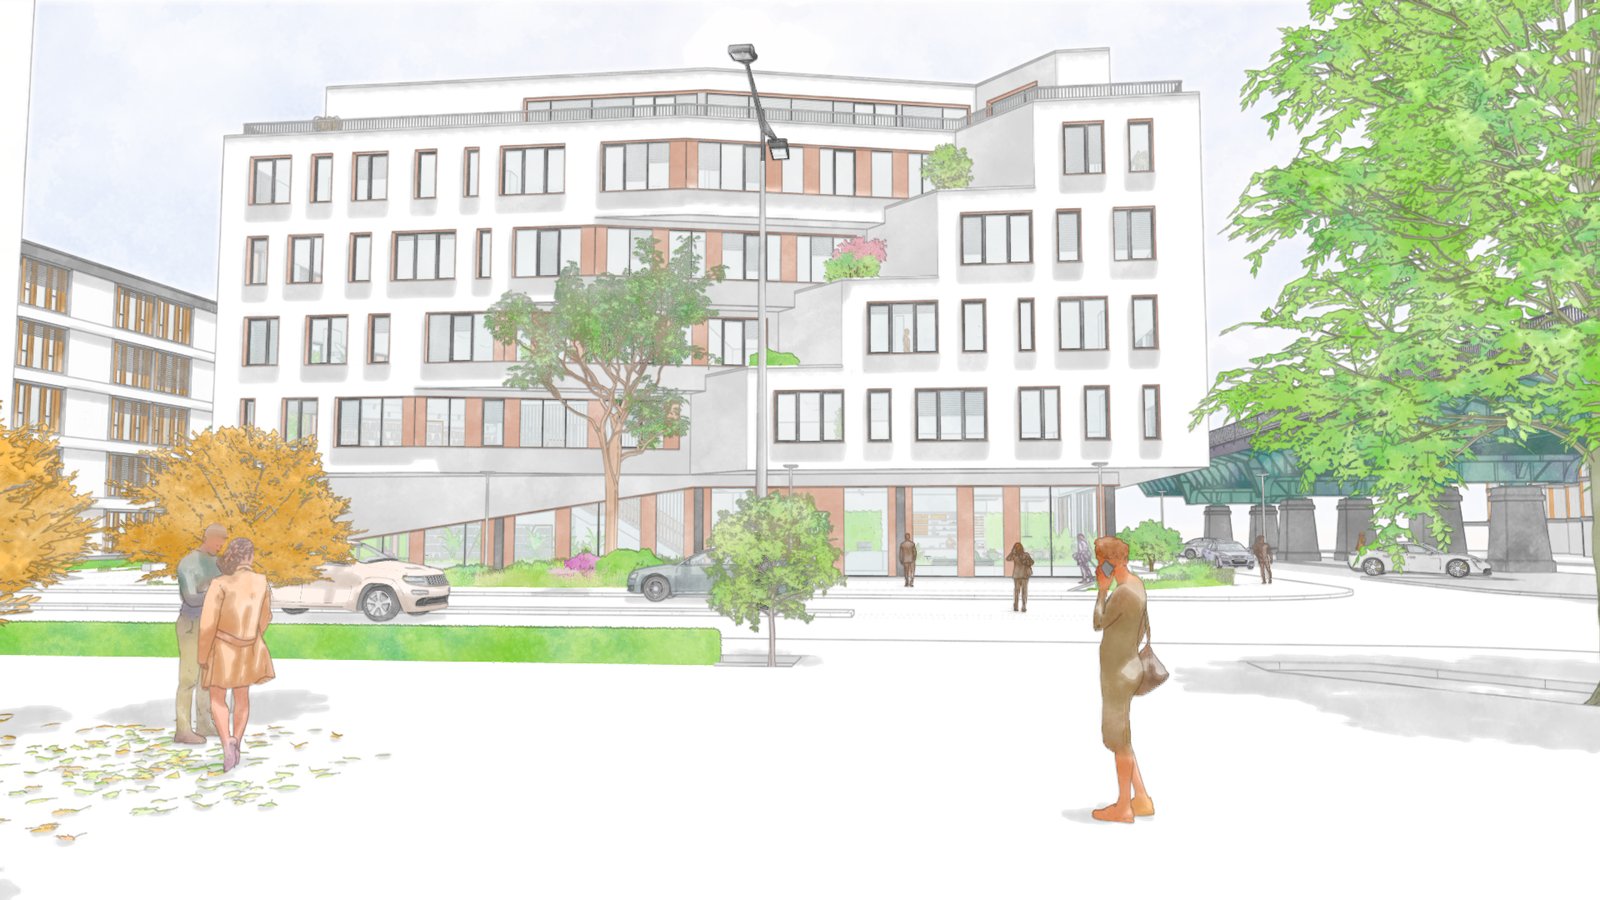
Increased Color Gradient
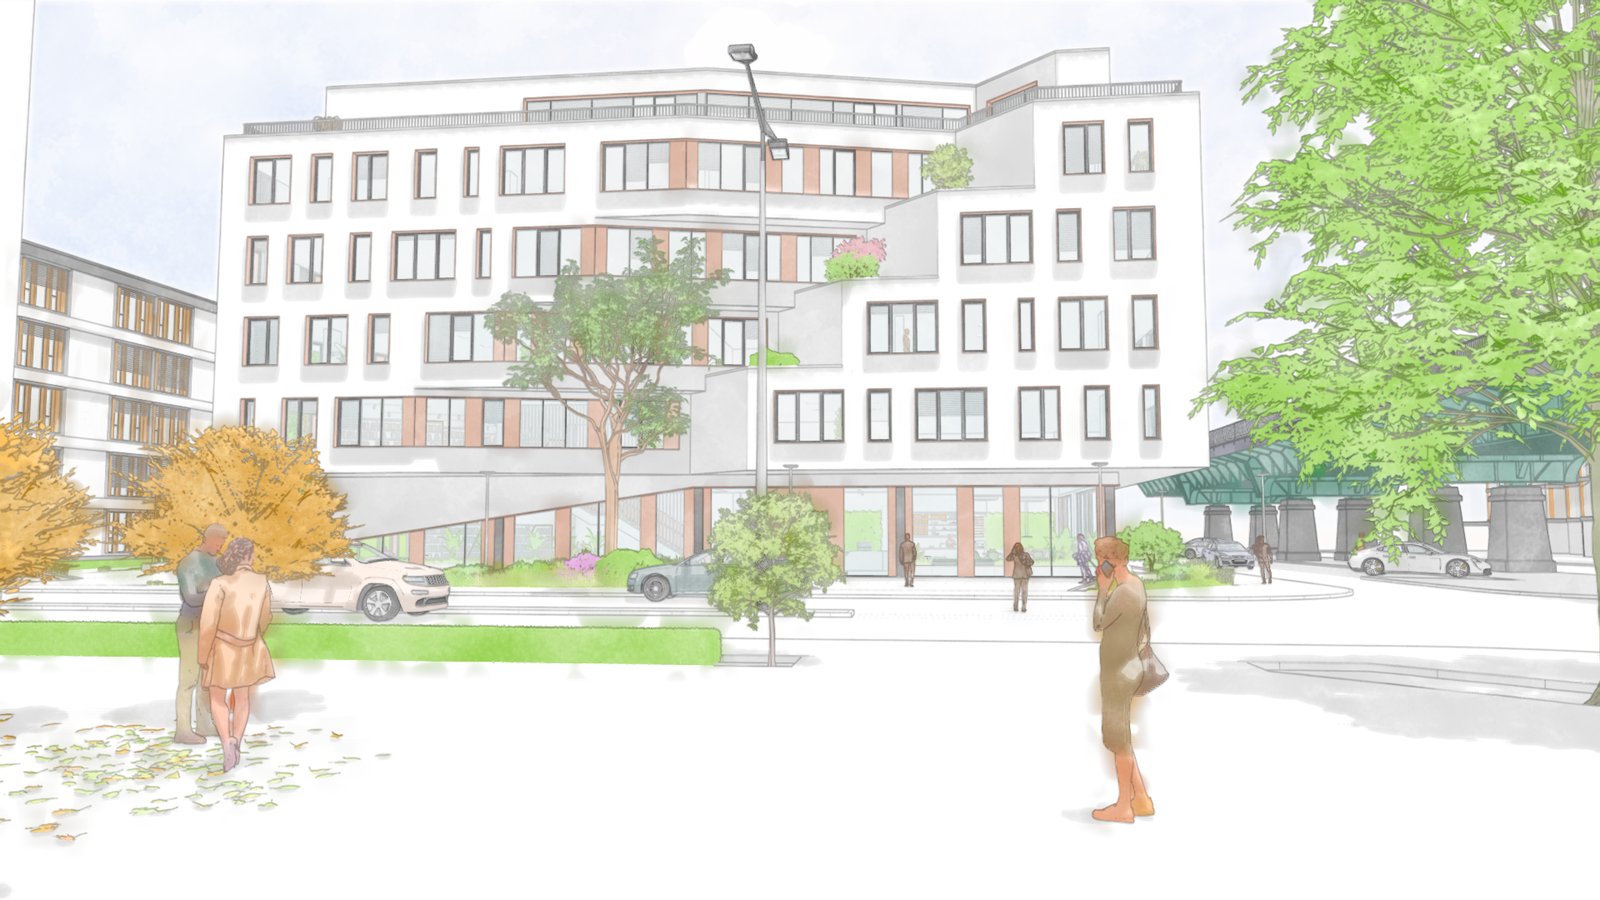
Increased Bleeding Effect
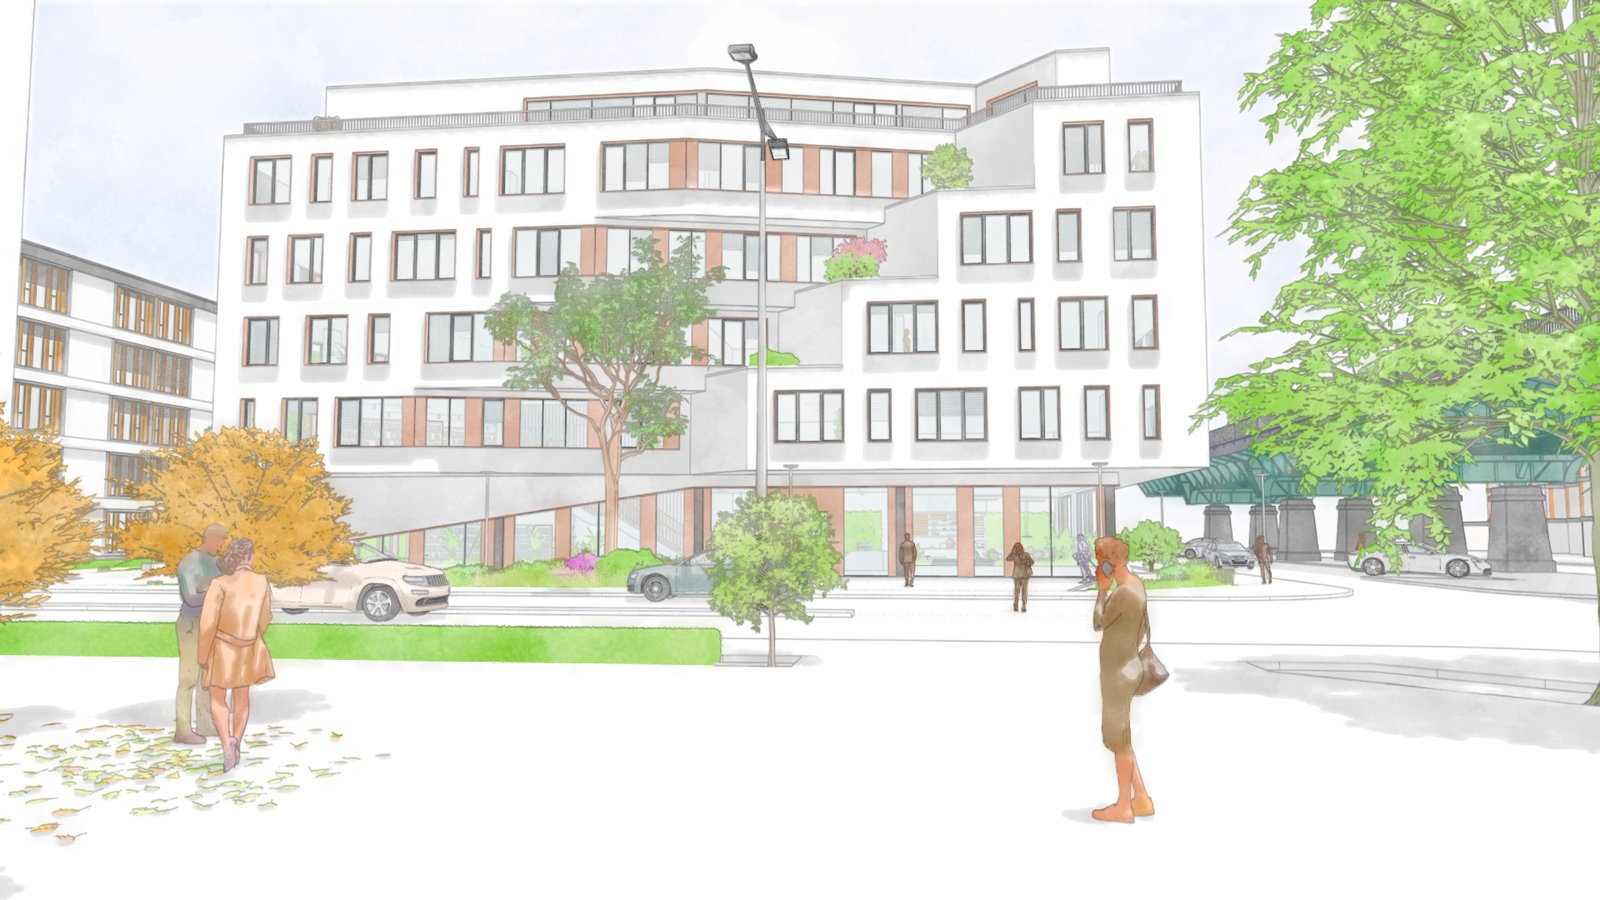
Both Color Gradient and Bleeding Effect applied
With Watercolor Mode enabled, change the Exposure level to adjust the amount of shadow shown.
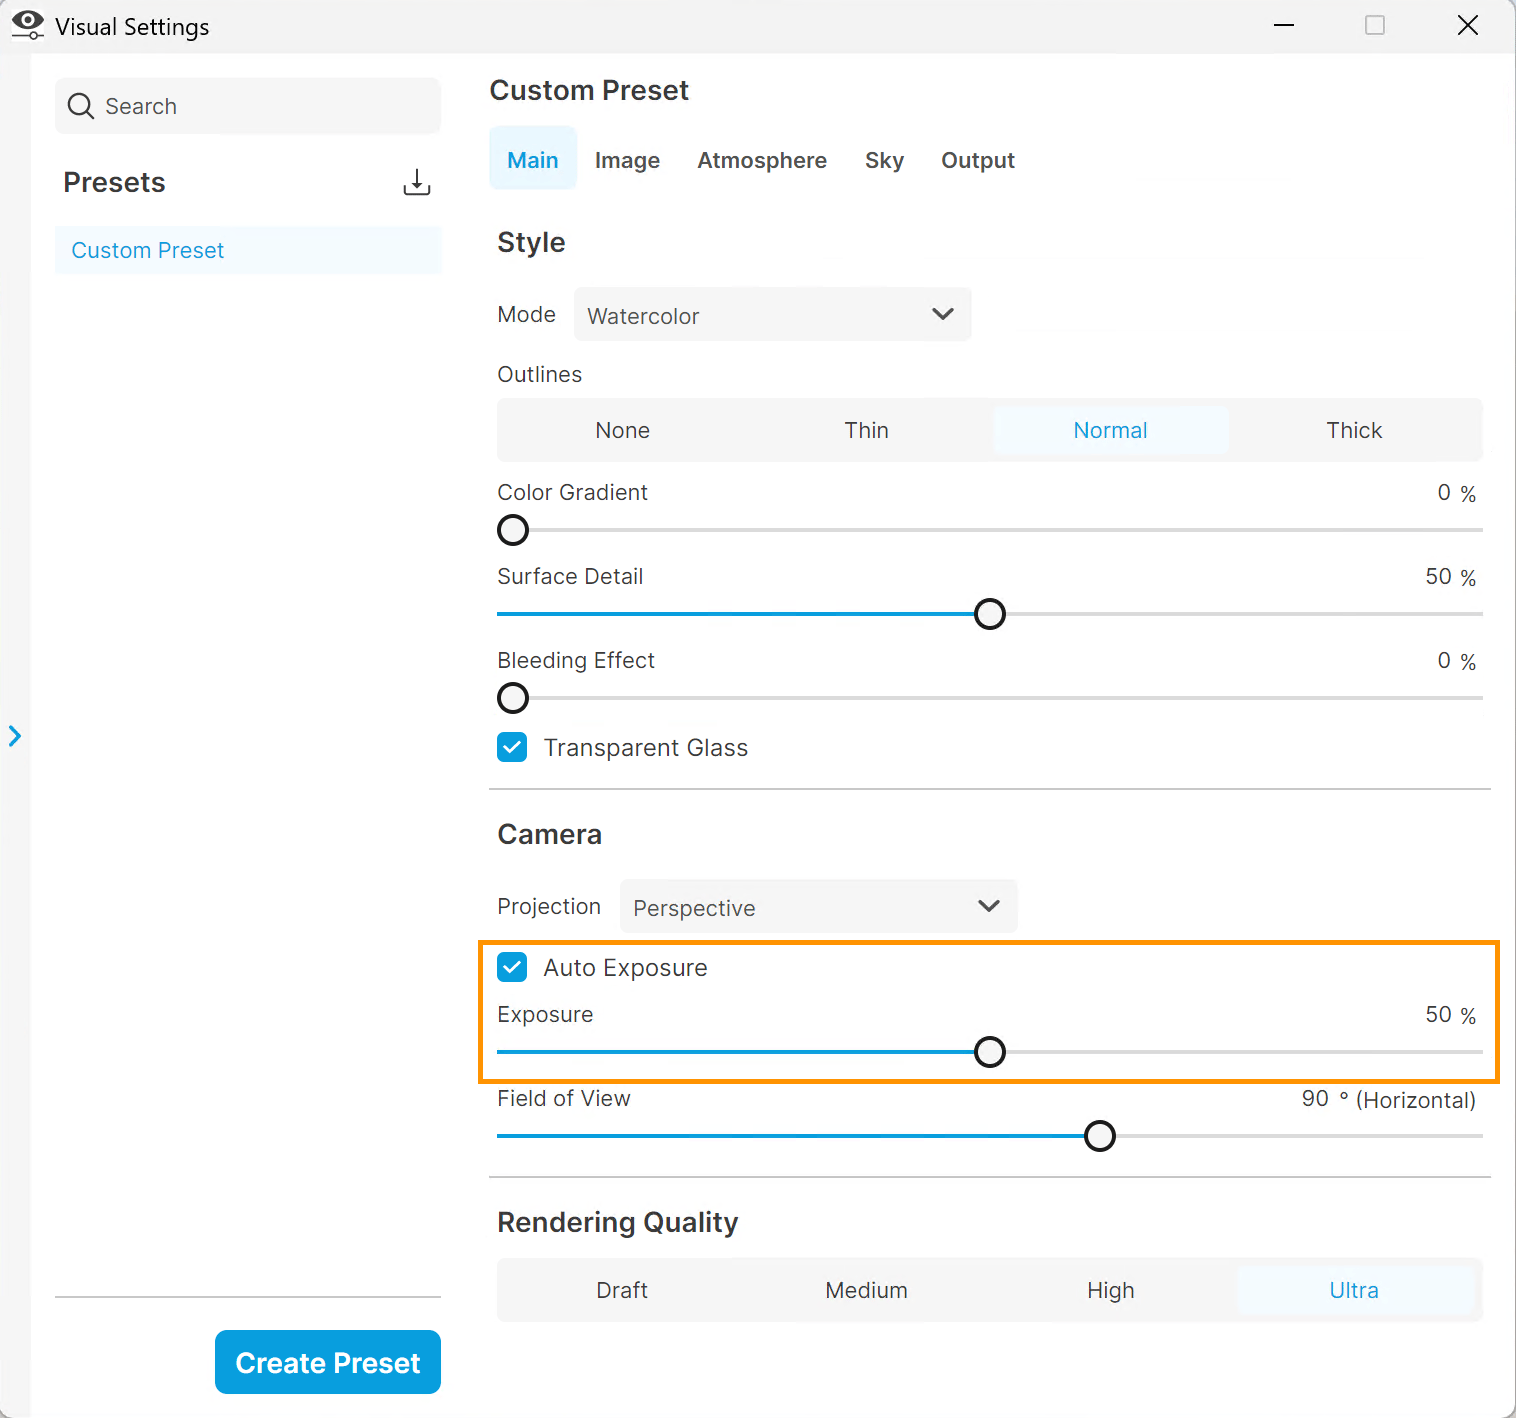
Exposure
Change the Saturation and Color Temperature to affect your results in a creative way.
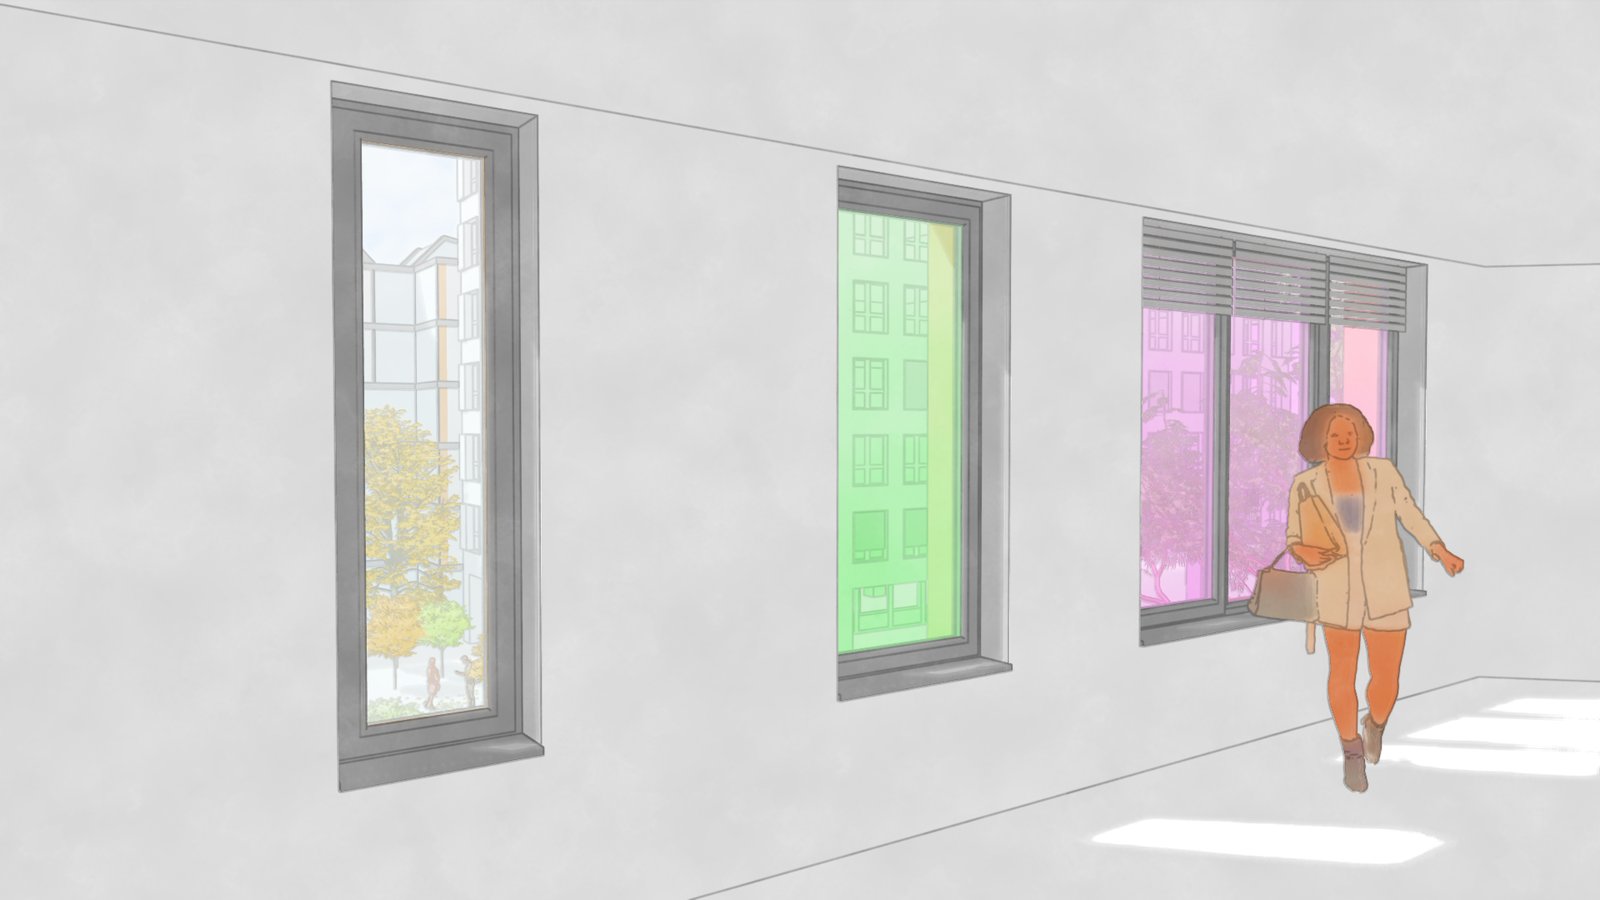
Glass Tints in the Watercolor Mode