Enscape
Video in Enscape
This page provides information on how to use the Video Editor in Enscape.
Last updated 27 May 2026
This page provides information on how to use the Video Editor in Enscape.
Overview
Enscape has a built-in video editor, which allows for simple video creation directly in the Enscape viewport, which can then be used for project presentation, for example.
To access the Enscape Video Editor, you must have Enscape running, as the button to enable it is in the Enscape viewport User Interface (UI).

Enscape Video Editor button
Alternatively, use the [V] key to open the Enscape Video Editor.
Once clicked, Enscape displays the Video Editor UI directly in the Enscape viewport, and the viewport area is resized to accommodate it.
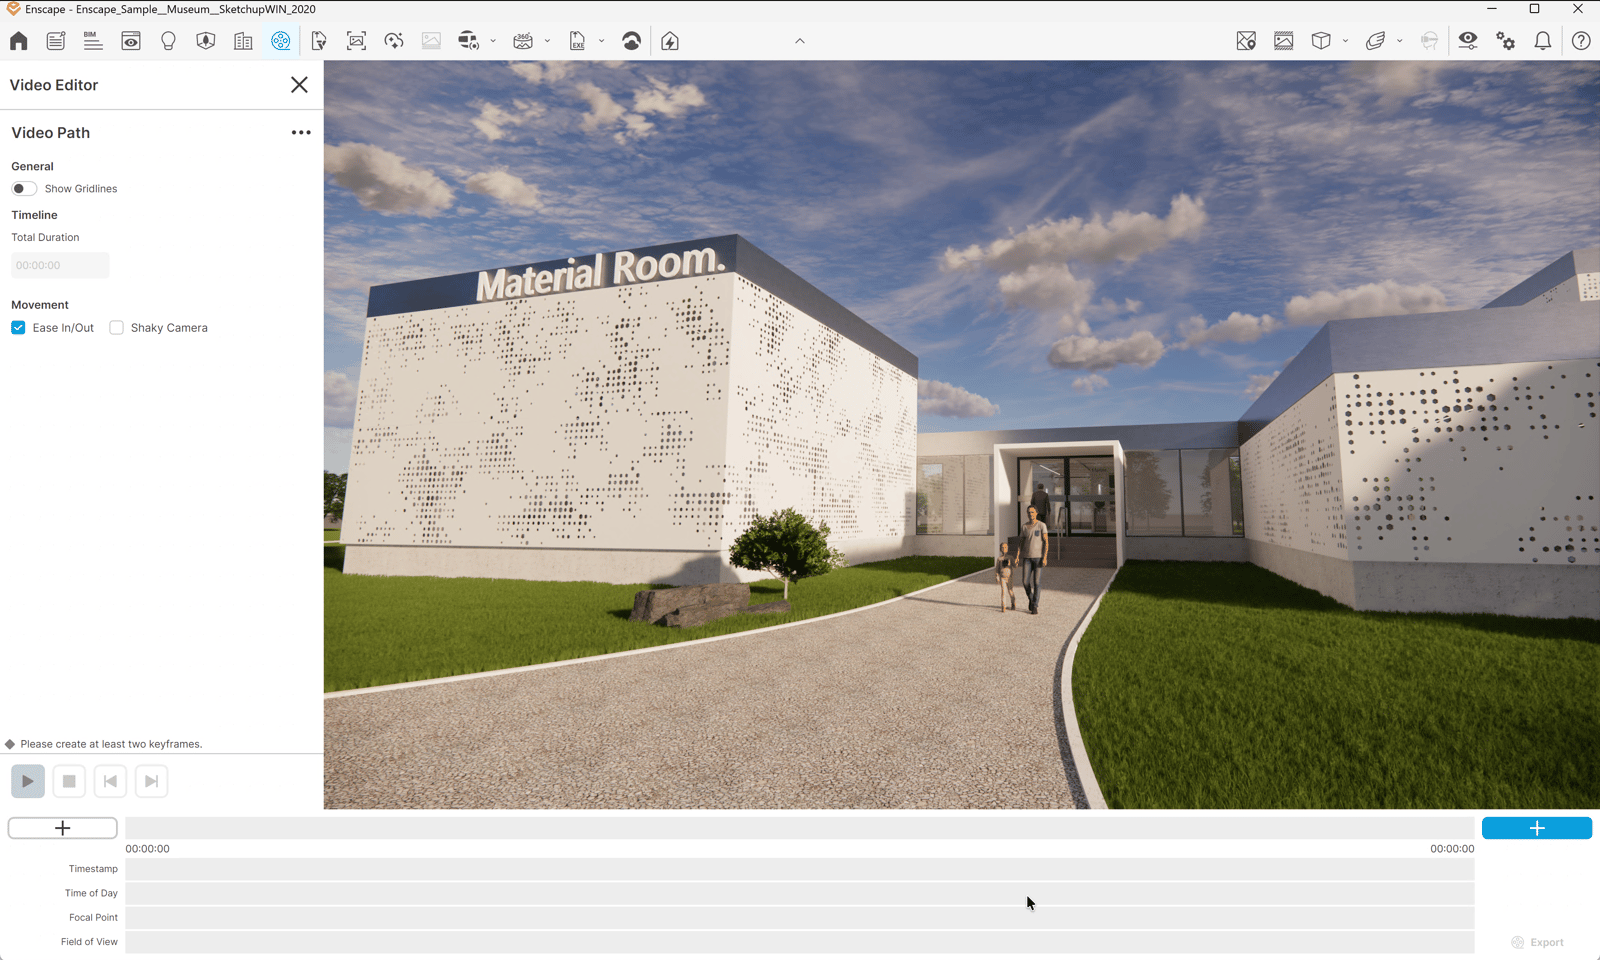
The Enscape Video Editor UI
General Options
The Video Editor’s options located to the left side of the Enscape viewport are, from the top down, as follows:
Video Editor
- X – Closes the Video Editor’s UI.
Video Path – Clicking on the 3 line icon adjacent reveals 3 options:
- New video path – If a video path exists in a project, then you will be prompted if you would like to delete it, so that a new camera path can be created. If no camera path exists this option is redundant.
- Save path to file… – Opens a ‘Save Path’ dialog to allow the current camera path to be saved for re-use in the same or in other projects.
- Load path from file… – Opens the ‘Load Path’ dialog to allow a previously created camera path to be loaded into the project. Any camera path can be loaded into any project, although you may need to re-edit the keyframes.
General
- Show Gridlines – Displays a 3×3 grid over the viewport to help framing, camera position, and composition.
Timeline
- Total Duration – Adjusts the total length of a video. This only becomes available once 2 or more keyframes have been created.
Movement
- Ease In/Out – When enabled, the speed the camera travels in to / out of a keyframe is slowed down / sped up, respectively. This is globally applied and is enabled by default.
- Shaky Camera – When enabled, applies a jittering movement to the camera along its path, as if the camera is being carried, rather than mounted on a camera dolly.
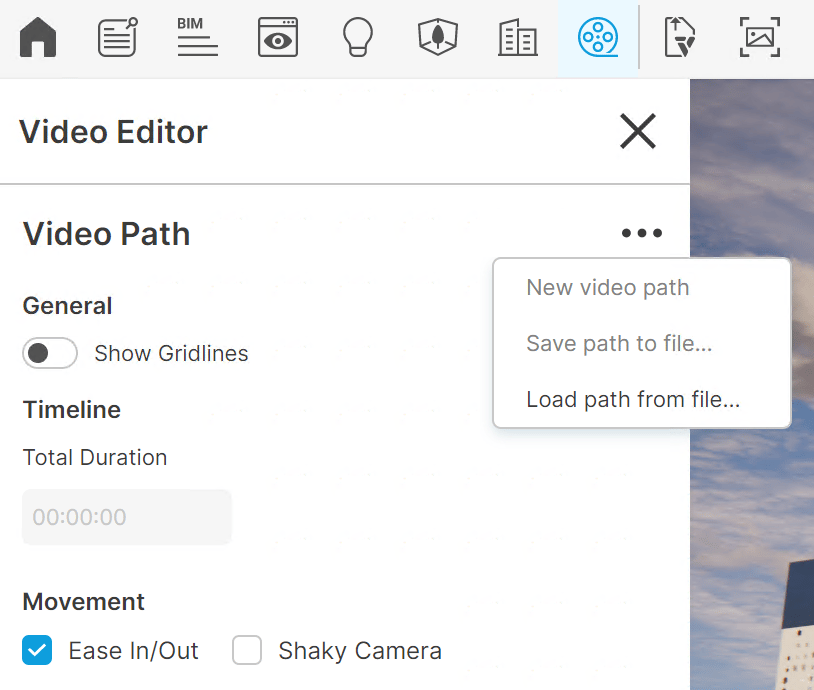
Video Editor options
Keyframe Creation
At the bottom of the Video Editor UI, there is a basic ‘dope sheet’. This area provides a visual overview of the created keyframes and if a Keyframe Override is applied. The area also provides some functions for keyframe creation and selection and these are in addition to being able to use the [K] key to insert a keyframe, although the [K] key only allows for appending subsequent keyframes and not prepending them. For this purpose the gray and orange + buttons at either end of the the timeline allow for this.

Keyframe
This video shows the creation of a video path and the addition of additional keyframes before the first keyframe by using the left-side Add keyframe (+) button.
vie_keyframecreation_32_4-0
mp4
41 MB
There are a couple of ways to add additional keyframes to an already created camera path.
The first method is to hover the mouse over the camera path, whereby a camera appears next to the mouse pointer. Left click to place the camera, upon which the viewport displays the view from that newly placed camera, as well as highlights its associated keyframe in the dope sheet.
Then enable a Keyframe Override or click the Exit Keyframe button to jump out from the camera and see the entire camera path again.
vie_kf_add_extra_001_32_4-0
mp4
22 MB
The second method to add additional keyframes is to click between keyframes in the dope sheet itself. This adds the keyframe at the last position the camera was located ‘outside’ of the video path (in other words, your current position in the Enscape viewport). Enscape places you at the newly created keyframe camera position, and you can then move the camera to where you want it using the navigation controls, remembering to click the Update button to apply the change to the camera path.
This method interpolates the newly added keyframe to allow the transition between keyframes, which subsequently adjusts the Timestamp accordingly.
vie_kf_add_extra_002_32_4-0
mp4
21 MB
It is possible to insert more than one keyframe at the same Timestamp and you can see this indicated in the dope sheet as a double diamond. If this is done and you would like to set a different Timestamp for one of the keyframes, use the Next / Previous Keyframe buttons to select the keyframe you want to move and then adjust the Timestamp Keyframe Override value.
Keyframe Override
Under the Keyframe section, you are asked to create at least two keyframes by default. Once two keyframes are created, clicking any keyframe opens that keyframe's options for editing.
For the sake of illustration, we will set only 3 keyframes, and we have clicked the first keyframe.
An orange arrow represents the first keyframe in the timeline. The start and end keyframes are always arrows. In between keyframes, always use a diamond shape to represent the keyframe. When a keyframe is selected, it is highlighted in orange.
From the top down, we can see:
Keyframe – For example, if we have set 3 keyframes, this will additionally provide the information (1/3) indicating we are currently editing keyframe 1 of a set of 3 keyframes. If (2/3) was shown, we would be editing keyframe 2. Hovering over the two adjacent icons will turn them orange, and these icons represent the following actions:
- Arrow icon – Exit Keyframe Override options.
- Bin icon – Delete the current keyframe.
Camera
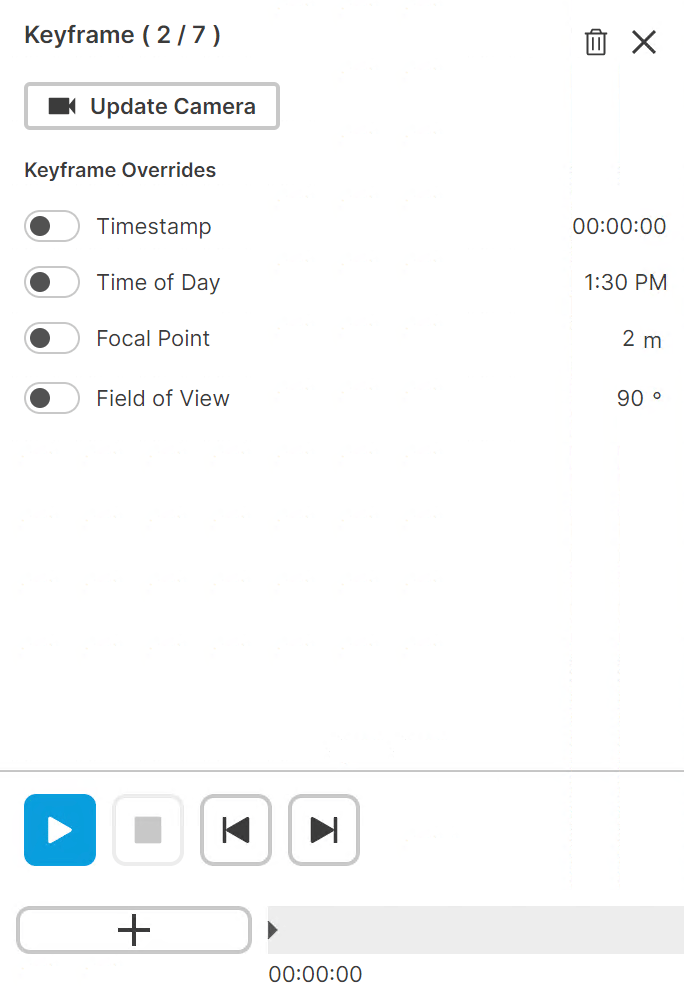
Keyframe Override Options
Keyframe Overrides
- Timestamp – When enabled, overrides the selected keyframe’s position in the timeline. Format is hours:minutes:seconds. The option is not available for the first keyframe of a video path.
- Time of Day – When enabled, overrides the time of day for that keyframe to create, for example, sun studies. Format is hour:minutes:seconds.
- Focal Point – When enabled, the keyframe’s camera focal point can be overridden via a slider or numerical input. Format is meters.
- Field of View – When enabled, the keyframe’s camera field of view can be overridden via a slider or numerical input. Format is degrees.
The four icons below these options are, from left to right:
- Play from the currently selected keyframe
- Stop playback and return to selected keyframe
- Skip to previous keyframe
- Skip to next keyframe
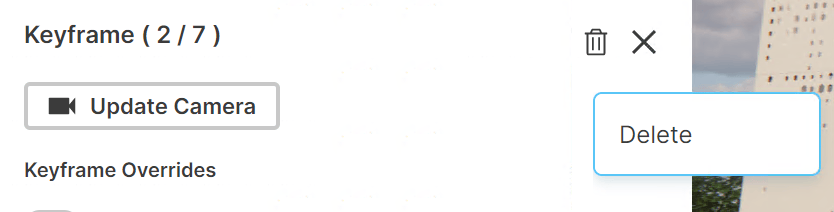
Delete Keyframe button
The following screenshot illustrates how you can use the Time of Day Override and how an applied override is indicated in the dope sheet.
vie_kf_override_001_32_4-0
mp4
17 MB
Export Video
Once you have finished setting up your camera and keyframes and the various options available to you, it can be exported as either MP4 or a series of PNG still image files, depending on the Compression Quality set in Enscape’s Visual Settings Output tab, or in the dialog that opens when you click the Export button at the bottom right of the Video Editor UI. It is not possible to pause the export process once it has begun, but you can press [ESC] to stop the export.
The Export dialog allows you to override the settings on the Enscape Visual Settings – Output tab.
The dialog allows overriding the Resolution, including the Aspect Ratio, when Resolution is set to Custom.
Compression Quality settings Email, Web, Bluray, Maximum, will export MP4 (MPEG-4 (mp4v)) encoded files. Lossless will export a series of uncompressed .png files, and this can end up taking a lot of space, so wherever you choose to store such an export, check you have enough space beforehand.
Frames per Second is also defined in both the Visual Settings Output tab as well as the Export dialog, under the FPS drop-down menu, where you can choose from 24fps, 25fps, 30fps, 60fps and 120fps.

Video Export button and options