Veras
Edit Tab
This page provides information about the Edit Tab in Veras.
Last updated 1 September 2026
This page provides information about the Edit Tab in Veras.
Edit by Selection only
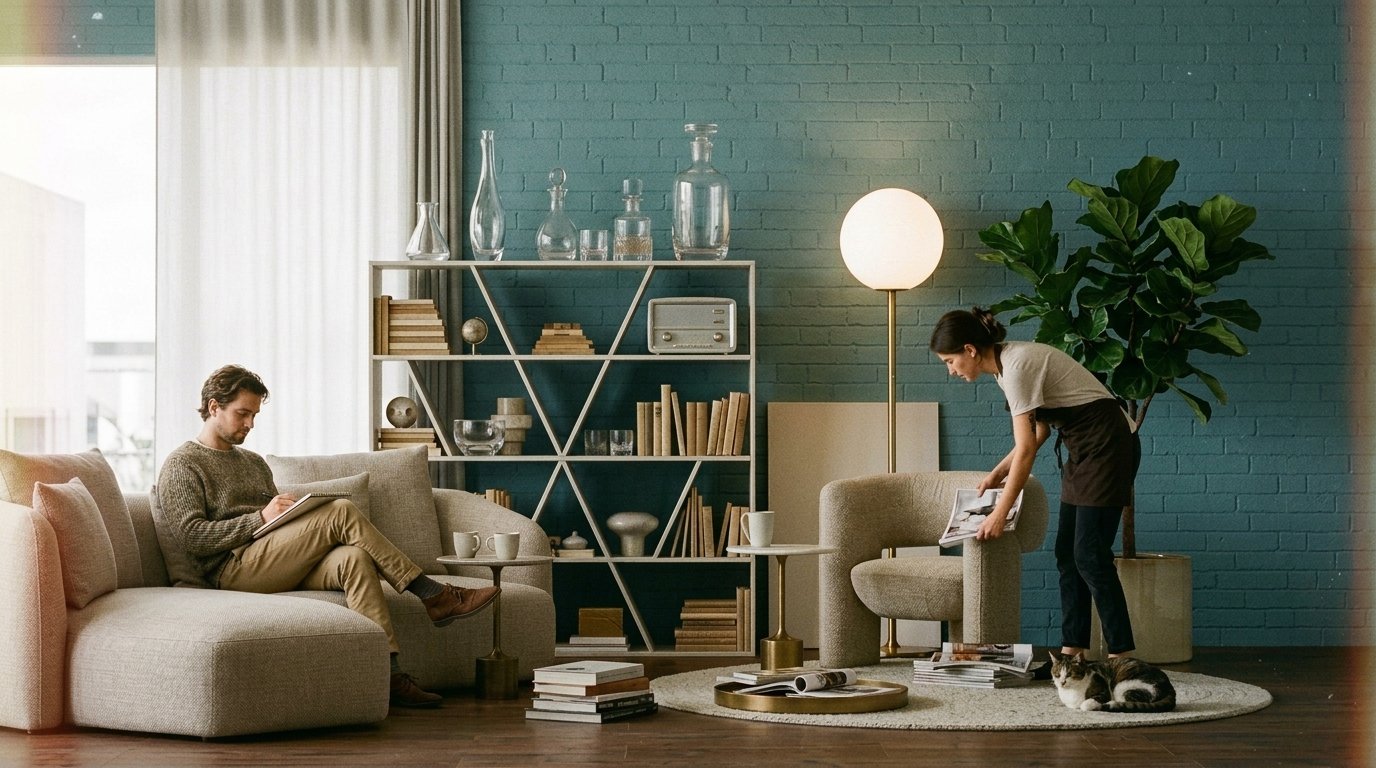
Image rendered in Veras
01_Selections
mp4
6 MB
Usage of different Selection options
Variations of the initial image with Selection only edits
Rotate - show another angle of your design
Rotate_UI
mp4
6 MB
Process
Result
Overview
The Edit Tab enables more detailed editing of the generated image.
After rendering, all icons are enabled and ready for use. Provided are tools to sketch directly on the image, creating input for the render engine. You can also make selections manually by drawing shapes, use AI-powered selection options (Category, Object, Material, or Prompt), or utilize Replace Mode.
Once you define a Render Selection, you can use the prompt to generate changes to that selected area.
The Render Selection Blend slider helps blend your selection better with the rest of the image.
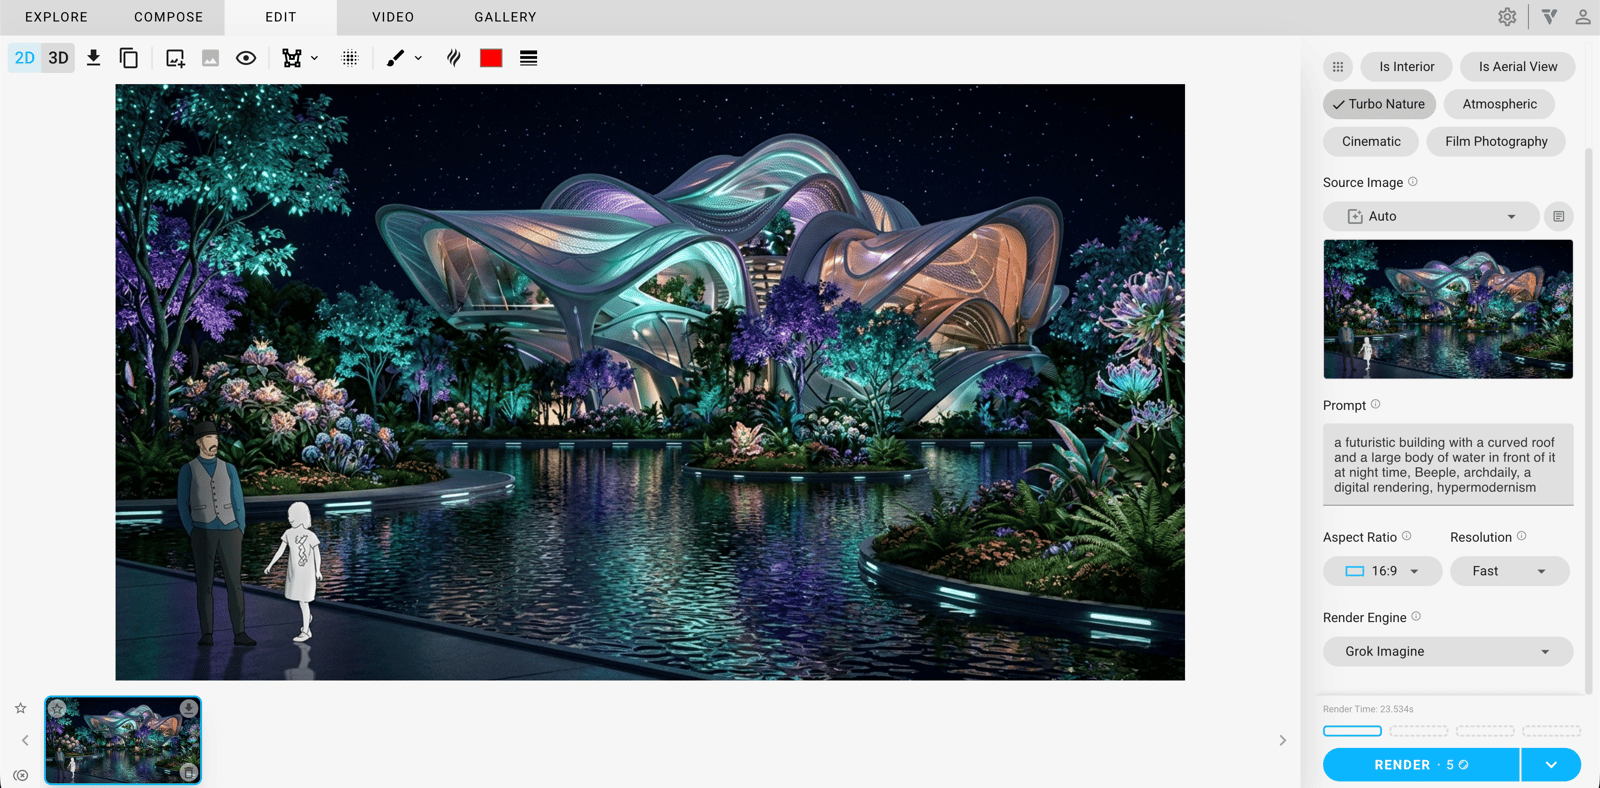
UI

2D Mode

3D Mode
Icon per mode | Action | Icon per mode | Action |
|---|
Icon per mode | Action | Icon per mode | Action |
|---|---|---|---|
2D Mode enabled | 3D Mode enabled | ||
Download - Saves the render result locally on your machine. | |||
Copy To Clipboard | |||
Image Upload | 3D Model Upload | ||
Orient 3D Model - Choose between Y-up or Z-up. | |||
Zoom camera to model extents | |||
Adjust the Field of View (FoV) | |||
Adjust the Sun controls - Sun Elevation, Sun Position, Sun Intensity. | |||
Display style - Choose between Shaded, Arctic Clay, Textures Clay. | |||
Show/Hide Sketches and inserted images on the canvas | |||
Show Preview | |||
Show/Hide Original Image | |||
Render selection dropdown - Choose between Draw Shapes, Select by Material, AI: Select by Category, Object, Material, or Prompt. | |||
Render Selection Blend - Use the slider from 0 to 100. | |||
Sketch Tool dropdown - Choose between Freehand, Straight line, and Curve line. | |||
Show/Hide sketches on the canvas | |||
Color - The chosen line color for the manual Render selection. | |||
Thickness - The chosen line thickness for the manual Render selection. |
Style Chips
Style Chips – Append predefined text to the user prompt when rendering. Click the 9-dot icon to open the Style Chips panel.
- My Style Chips – Your custom style chips. Click a chip to add it to your prompt, or use the pencil icon to edit.
- Veras Style Chips – Built-in style chips curated by Veras for common rendering styles.
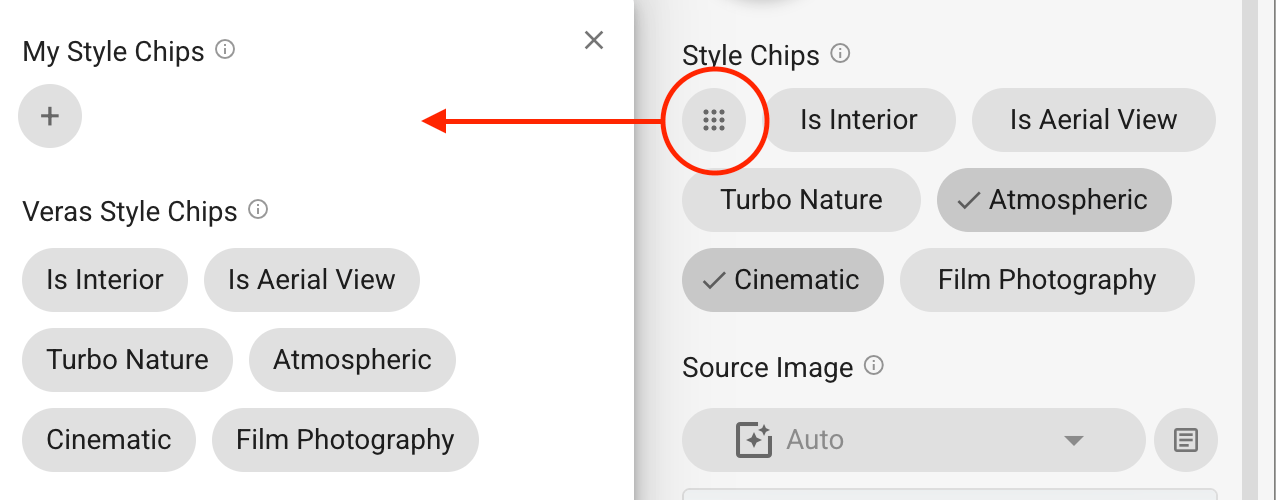
Style Chips
Source Image
Source Image – This image will guide the starting point for your rendering. Choose:
- Auto
- Host platform Image
- Rendered Image
- Manual Upload
- 3D Viewer
- None
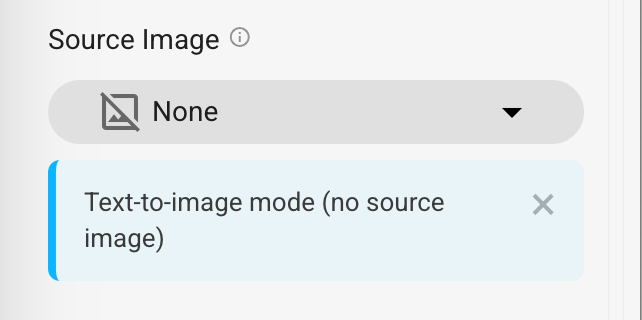
None Source Image
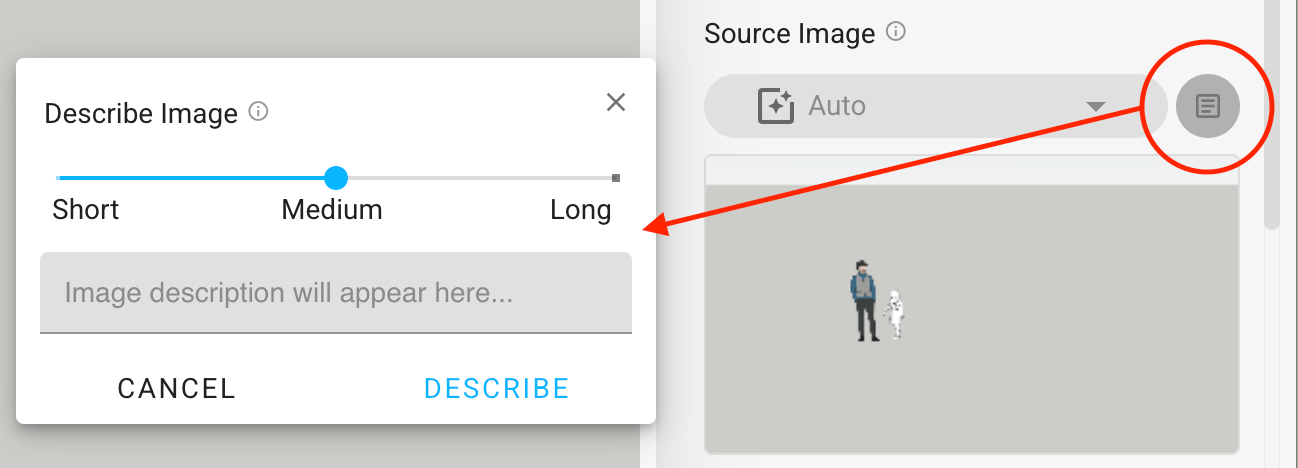
Describe Image
Describe Image - powered by a new AI model, Florence 2, it generates a written description of your source image at the detail level you choose: Short, Medium, or Long.
This image-to-prompt functionality may be used when you struggle to find the right words, creating rich, descriptive content from visual inputs, enhancing the creative process by providing contextually relevant text that can be used for further artistic exploration or documentation
Use it as a starting point for your prompt, copy the description to the clipboard with one click, or cancel mid-request if you change your mind. Changing the source image automatically clears the prior description to always know what is being described.
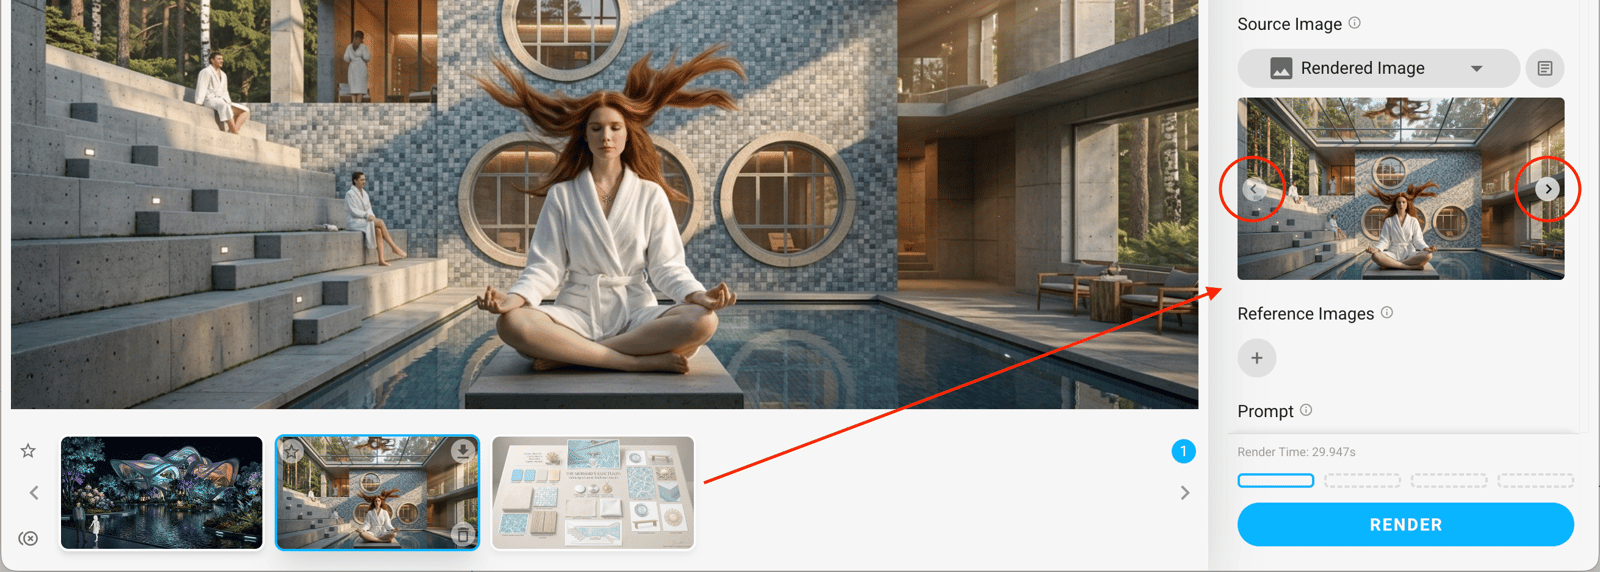
Multiple images upload
Reference Image
Reference Images - Add images to guide the AI.
The specific function of the image(s) is defined as:
- Style Reference - uses the image’s artistic style, rendering technique, and visual treatment to guide the output.
- Material Reference - replicates the exact colors, textures, patterns, and surface characteristics from the image. Perfect for specifying a particular stone, wood grain, fabric, or finish — just provide a close-up sample and the AI applies it to your scene.
- Color Reference - analyzes and isolates the color palette, lighting mood, color temperature, and atmospheric characteristics.
- Object Reference - identifies and incorporates objects — furniture, fixtures, casework, and design elements — from the image into the output. Have a specific chair, light fixture, or planter in mind? Drop in a photo and the AI will place it into your render.
- Design Lock - extracts the architectural design language from a reference image and applies it to your render. It replicates detailing, trim profiles, railing patterns, molding proportions, and panel layouts without altering your model’s primary structure. For more information, see this article.
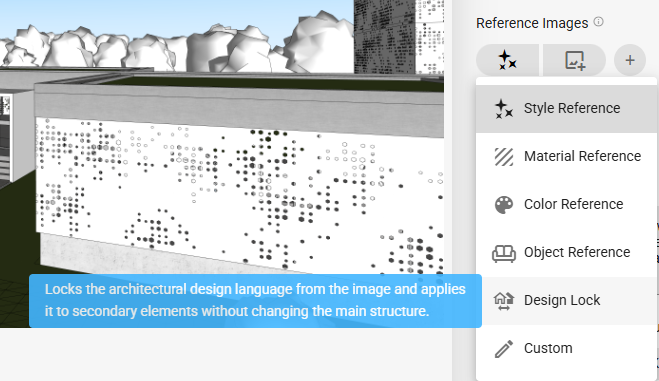
Design Lock
- Custom - Describe your vision for any attached reference image. Be as bold and creative as you like.
The type of the Reference image can be:
- Manual Upload
- Host platform (here SketchUp is shown)
- Rendered Image
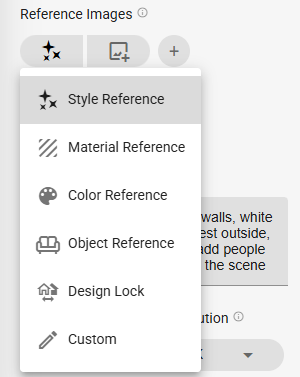
Reference Images function
Design Lock example
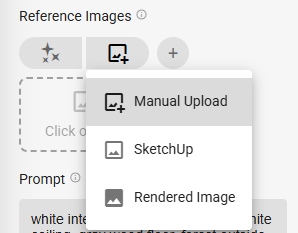
Reference Images type
Prompt
Prompt is the text description given to Veras that tells it what to create, including the subject, style, mood, and details.
Render Engine
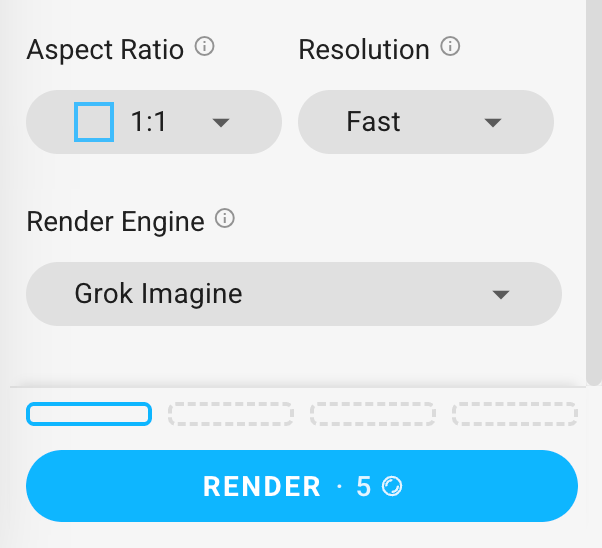
Aspect Ratio - Select the Aspect Ratio for renders.
Resolution - Select the Output Resolution.
Render Engine - Choose between the available choices.
For more information, see the Render Engines page.
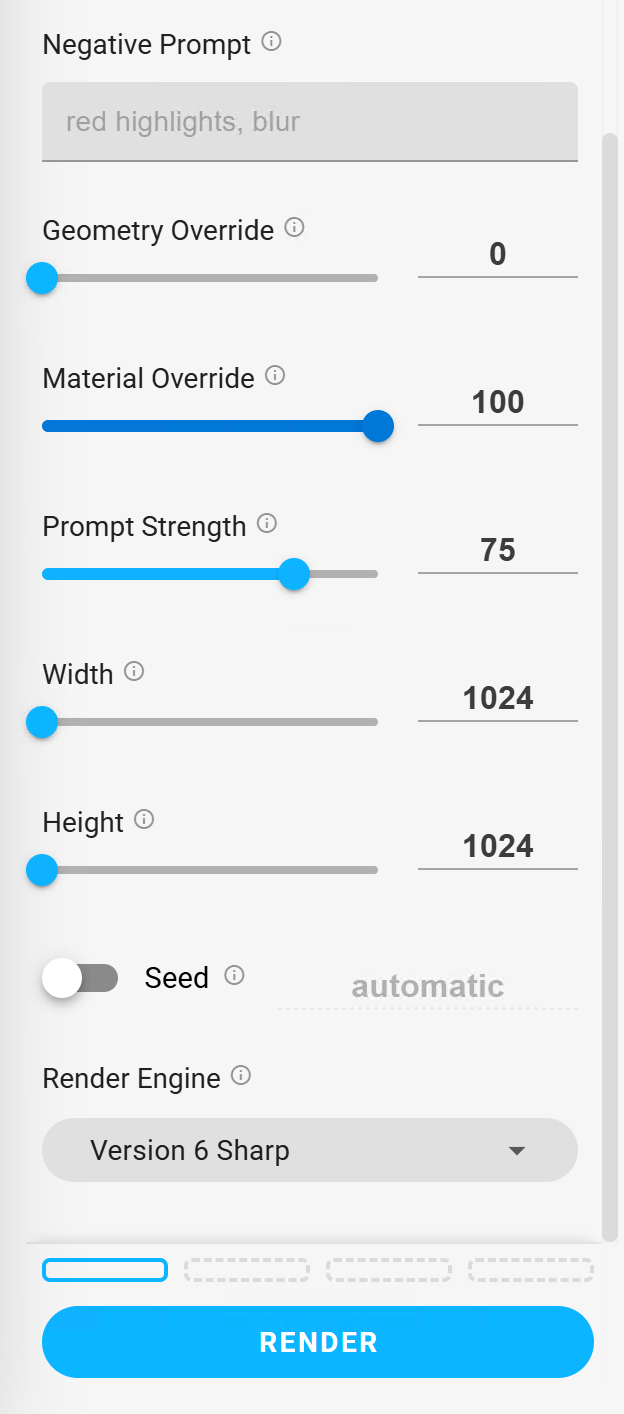
Negative Prompt – Is used for reducing and removing specific content, aesthetic, or style in the generated rendering, and is linked to Prompt Strength.
Geometry Override – The amount the geometry will change from the original model. Low values promote the retention of geometric detail, while high values can generate more creative results.
Material Override – Low values stay closer to the original aesthetic, while high values alter it, producing more dynamic colors.
Prompt Strength – Low values produce muted results, while high values produce more dramatic results.
Width – The rendering resolution's width.
Height – The rendering resolution's height.
Seed – The render seed is used to reproduce previous render results, even with different geometry. When enabled, select a past rendering to use its seed, or enter one manually.
Render dropdown options
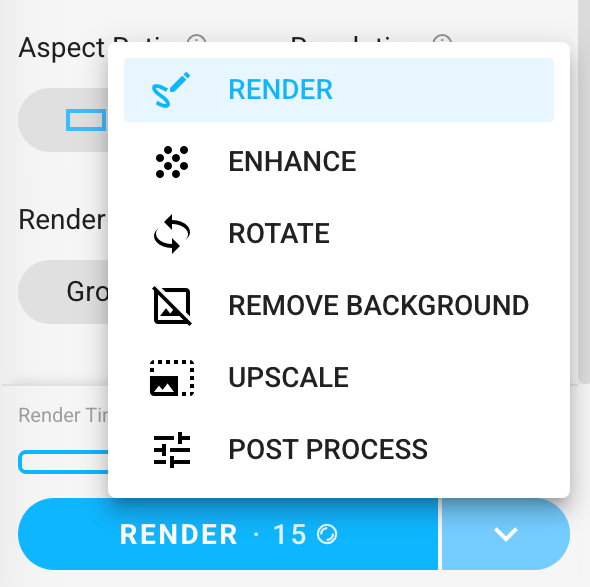
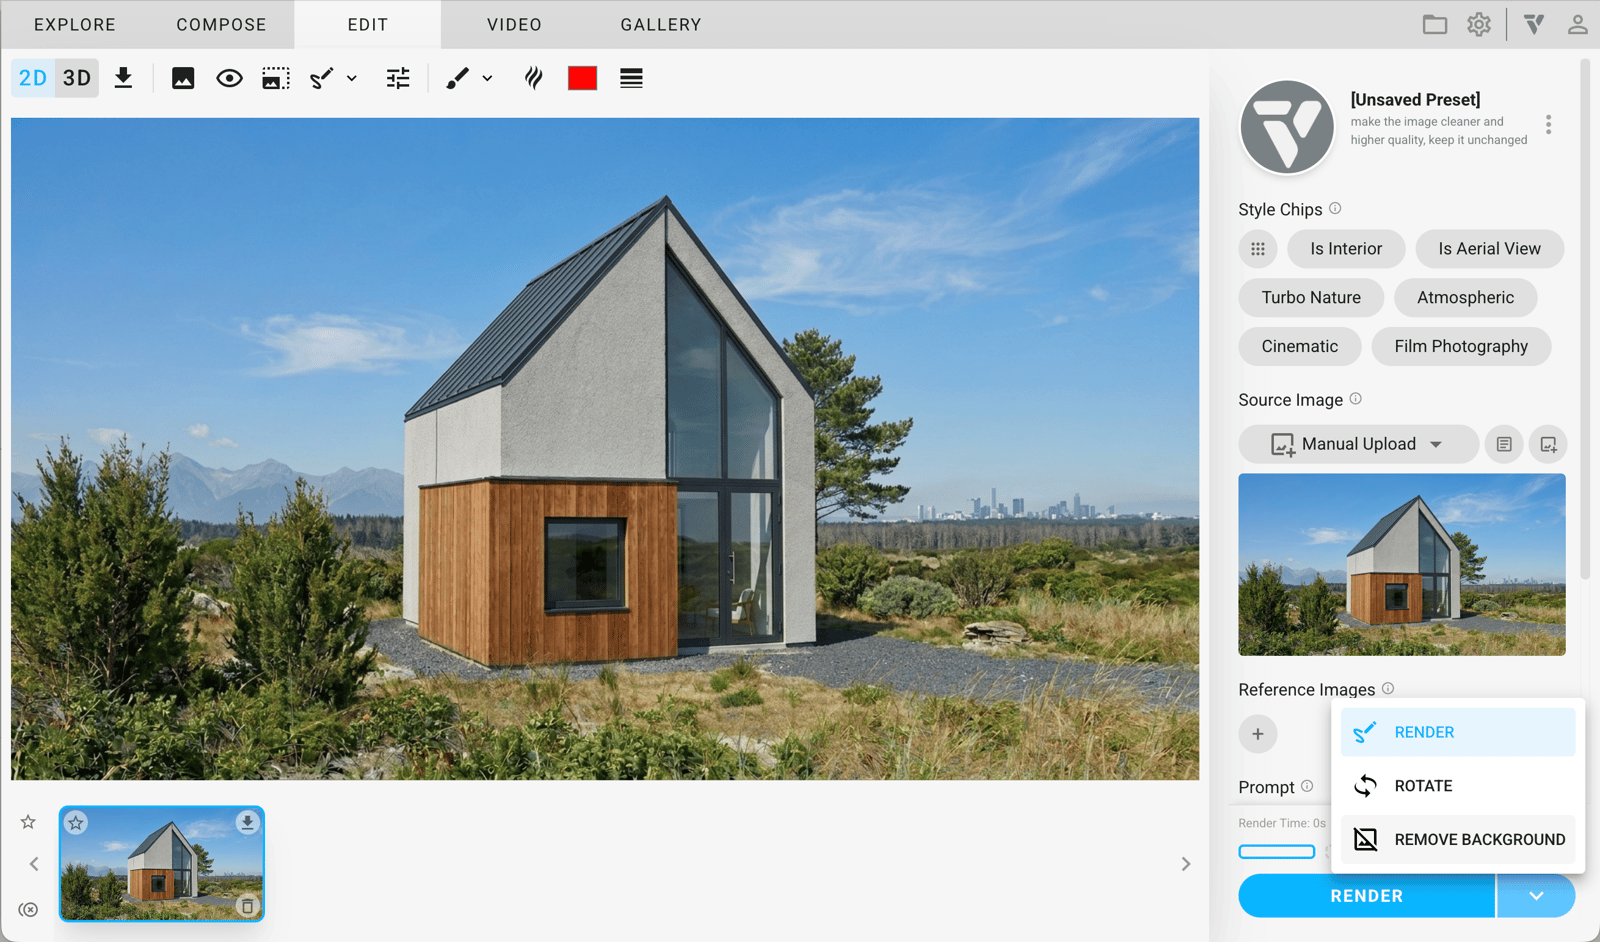
Along with the standard Render options based on the parameters explained above, in the Edit Tab, you can choose between other functions as well.
Click the arrow on the right side of the button to open the additional options.
Render
Render - Generates a new image based on the chosen settings.
The system supports rendering up to four images simultaneously. Select the desired quantity by clicking the corresponding dotted rectangles.
Render_
mov
288 KB
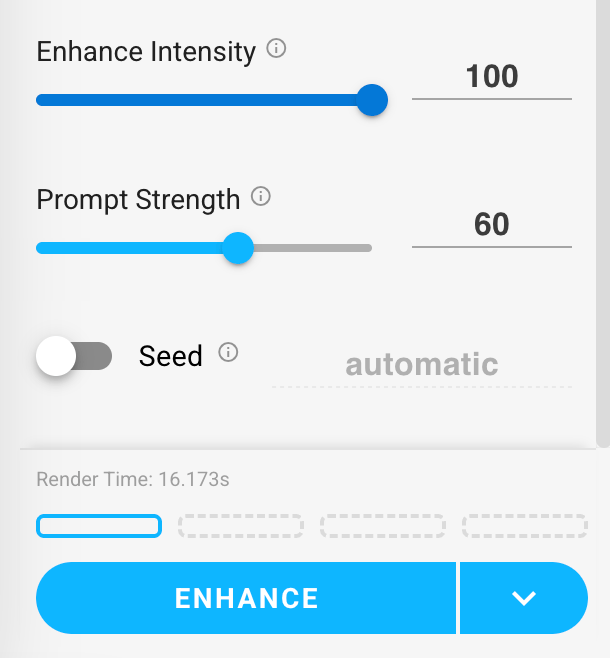
Enhance
Enhance Intensity - Controls the enhancement. Low values enhance the image less. High values change the image more dramatically.
Prompt Strength - Controls how strongly the added Prompt affects the enhancement.
Rotate
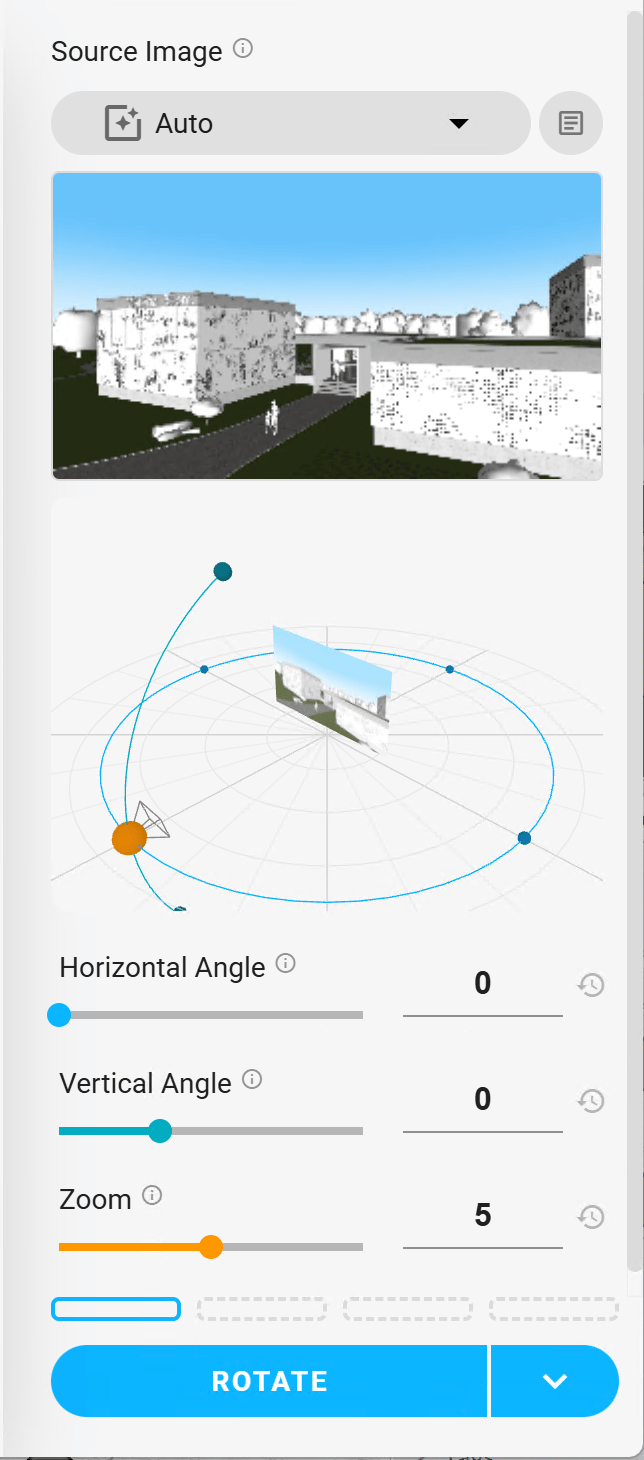
Rotate - Renders a different angle from a 2D Source Image.
See examples here.
Rotate menu
Remove Background
Remove Background - Keeps only the Foreground of the image and lets you change the Background later, as desired.
Process
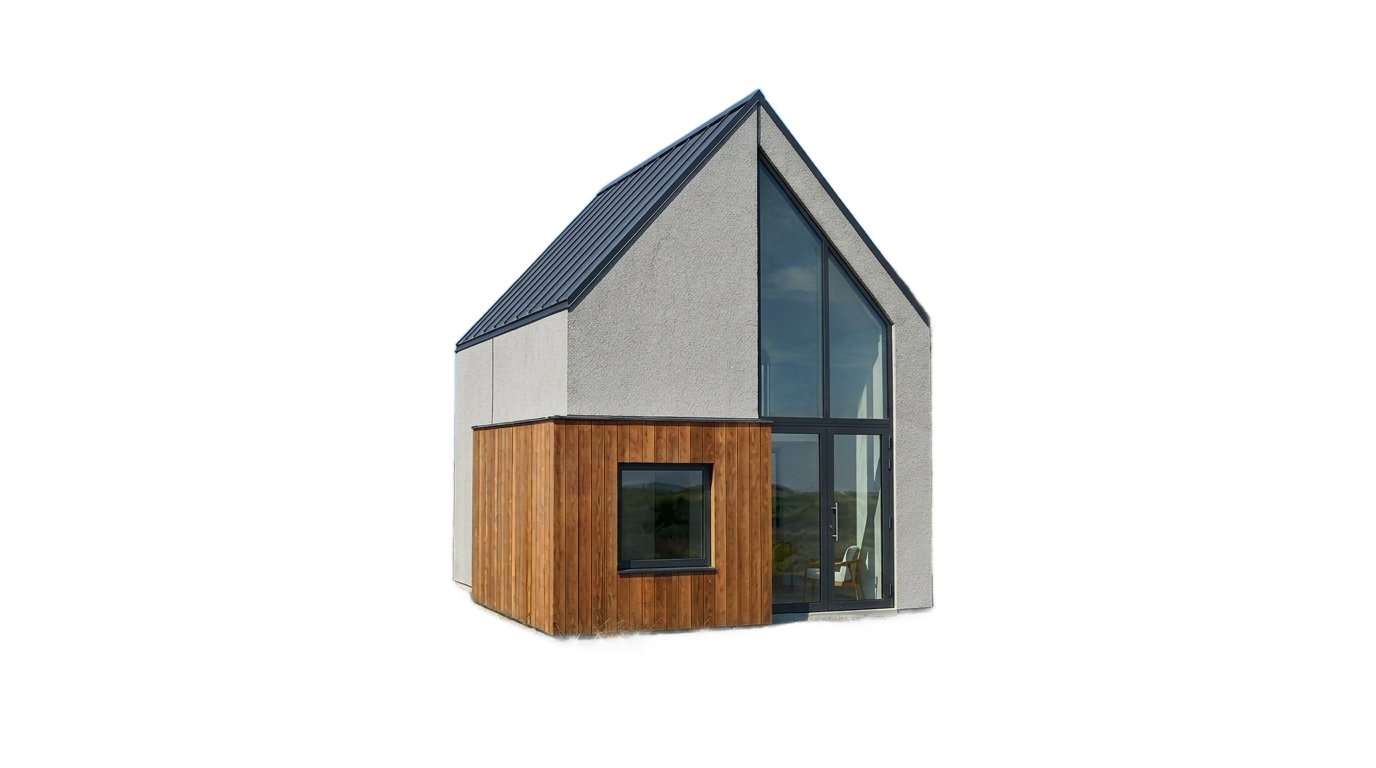
Result
Upscale
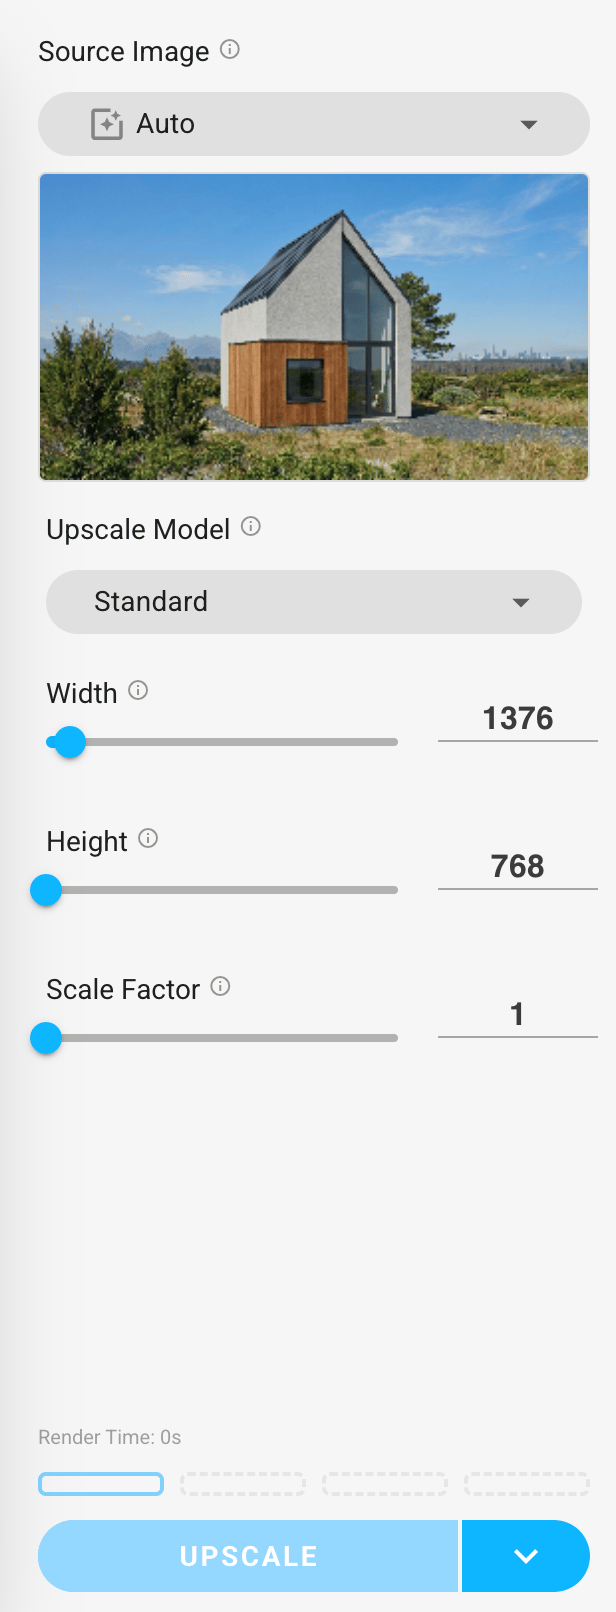
Upscale - Allows upscaling images by defining:
- Source Image - choose between Auto, Rendered Image, Manual Upload
- Upscale Model - now only Standard is available
- Width
- Height
- Scale Factor
Post Process
Control over:
- Brightness
- Contrast
- Saturation
- Vibrance
- Hue
- Blur
- Noise
- Gamma Red
- Gamma Green
- Gamma Blue
Depth of Field - Choose between Lotus and Vision Banana to set the Focus. Click anywhere on the image to set the focus point, then drag the marker to refocus.
Blur amount - How strong the bokeh blur gets away from the focus plane. Applies both in front of and behind the focus point.
Depth range - The depth band around the focus point that stays sharp. Larger values keep more things in focus.
DepthOfField
mov
54 MB
Reset All - Brings all values to their default state.
Click Done when you're ready to finish editing.