Veras
Explore Tab
This page provides information about the Explore Tab in Veras.
Last updated 27 May 2026
This page provides information about the Explore Tab in Veras.
Overview
This is the default workspace for beginners. It consists of:
- 2D / 3D switch
- 2D loads the current viewport
- 3D allows you to rotate the model within Veras
- Download icon
- Hide Preview (Show Rendering) icon (Keyboard shortcut: L)
- Show Original Image icon
- Refresh icon (unavailable in the Web Version)
- a quick Preset menu on the right side of Veras window

Explore Icons
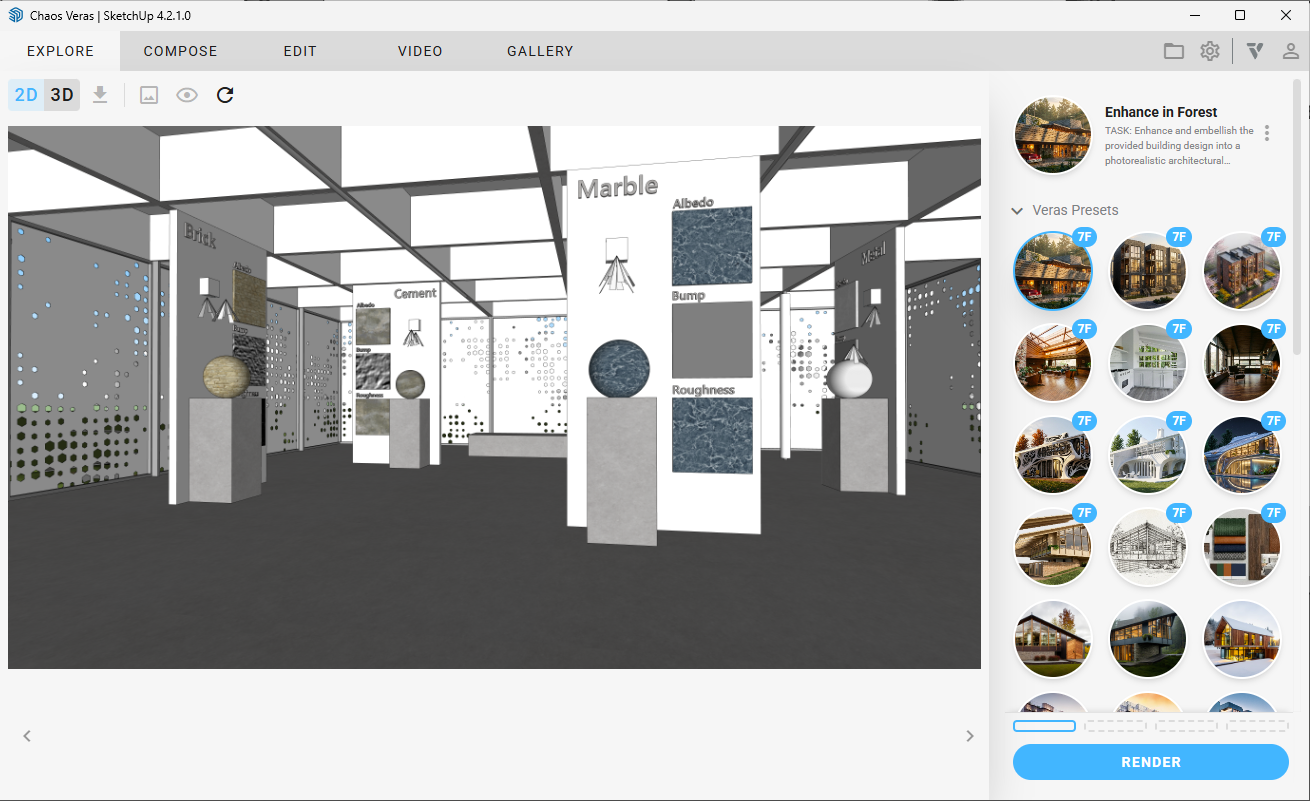
Explore Tab
Veras Presets
Veras Presets provides a number of ready-to-use presets that can be used to immediately start testing ideas on the base image. These include interior styles, exterior shots, seasonal changes, physical models, design styles, and more.
The Preset at the top is the one currently selected. It has a three-dot menu to save the settings applied to this preset as a new copy with a new name.
These will be saved under the My Presets area.
Presets can also be shared and imported.
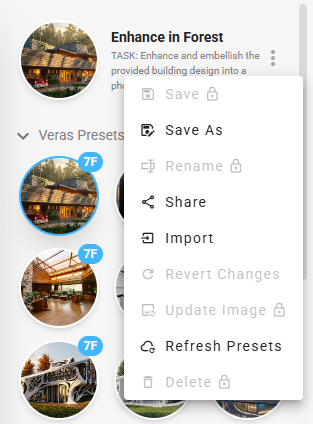
Three-dot menu
Aspect Ratio and Resolution
Once a Preset is selected, change the Aspect Ratio and the Resolution, if needed.
Aspect Ratio – Select the aspect ratio for renders.
Resolution – Select the output resolution size (1K, 2K or 4K).
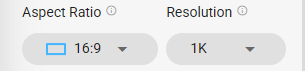
Available for Nano Banana 2 Presets
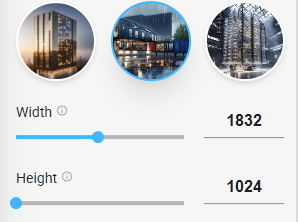
Available for old Stable Diffusion Presets
Render
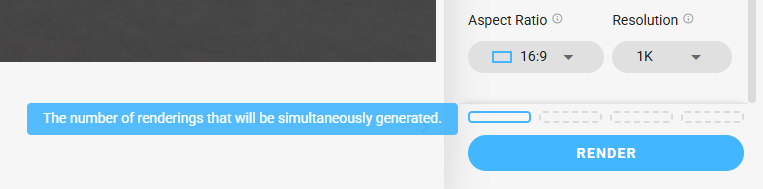
Click the Render button at the bottom to generate a new image based on those Preset settings. The system supports rendering up to four images simultaneously. Select the desired quantity by clicking the corresponding dotted rectangles.
Number of renderings