Veras
Video Tab
This page provides information about the Video Tab in Veras.
Last updated 1 September 2026
This page provides information about the Video Tab in Veras.
Image-to-Video
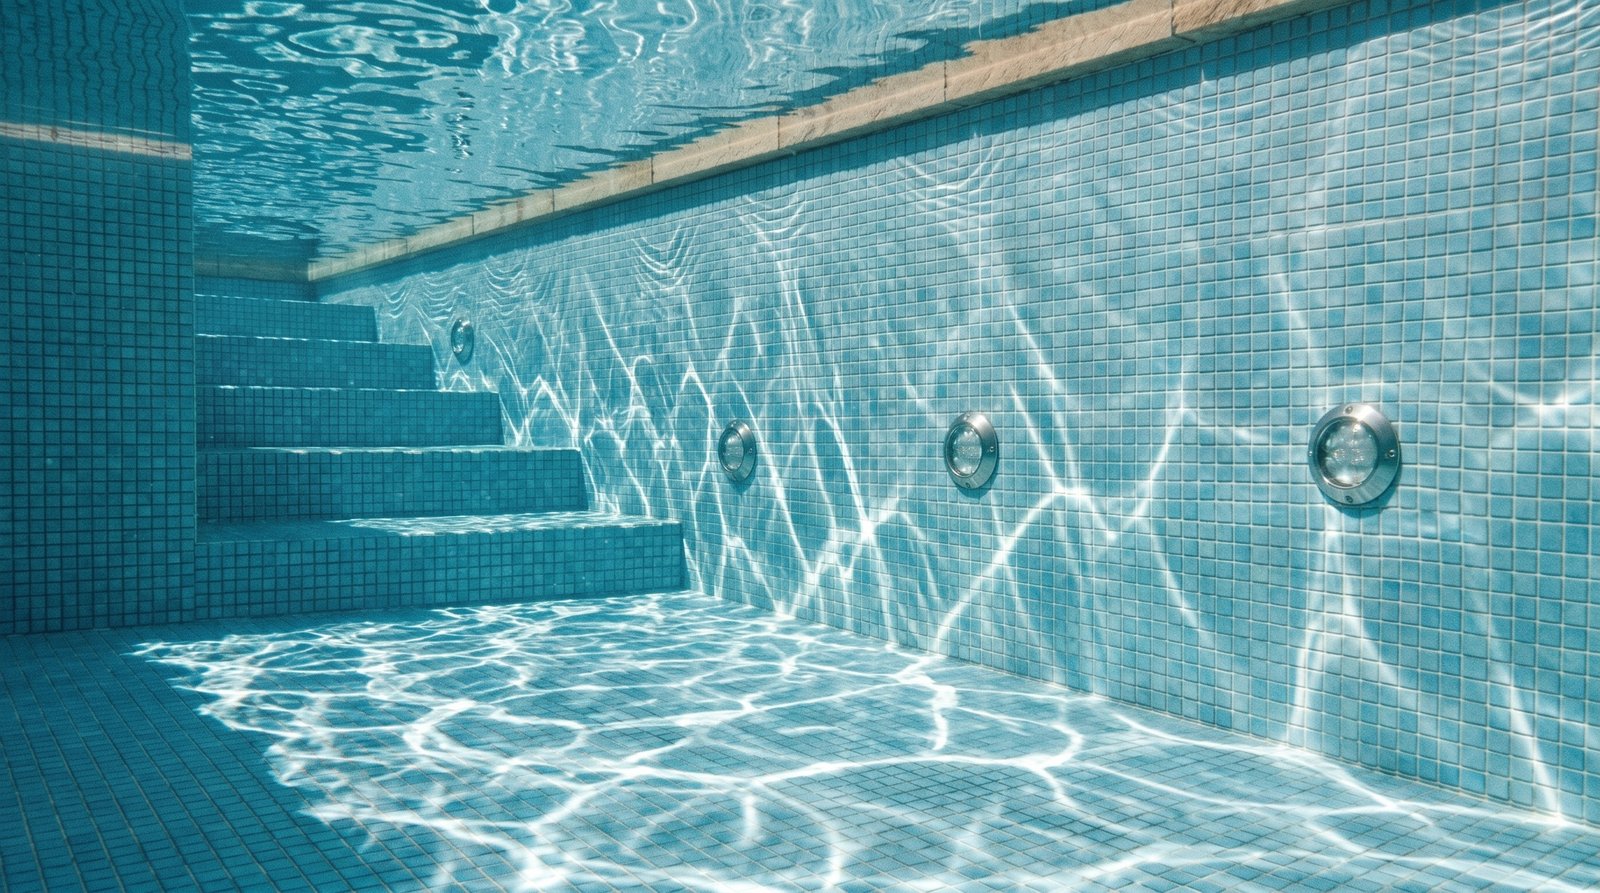
- SketchUp Pool scene
- Render in Veras
- Draw the position by hand and add a reference image of her
- Render in Veras
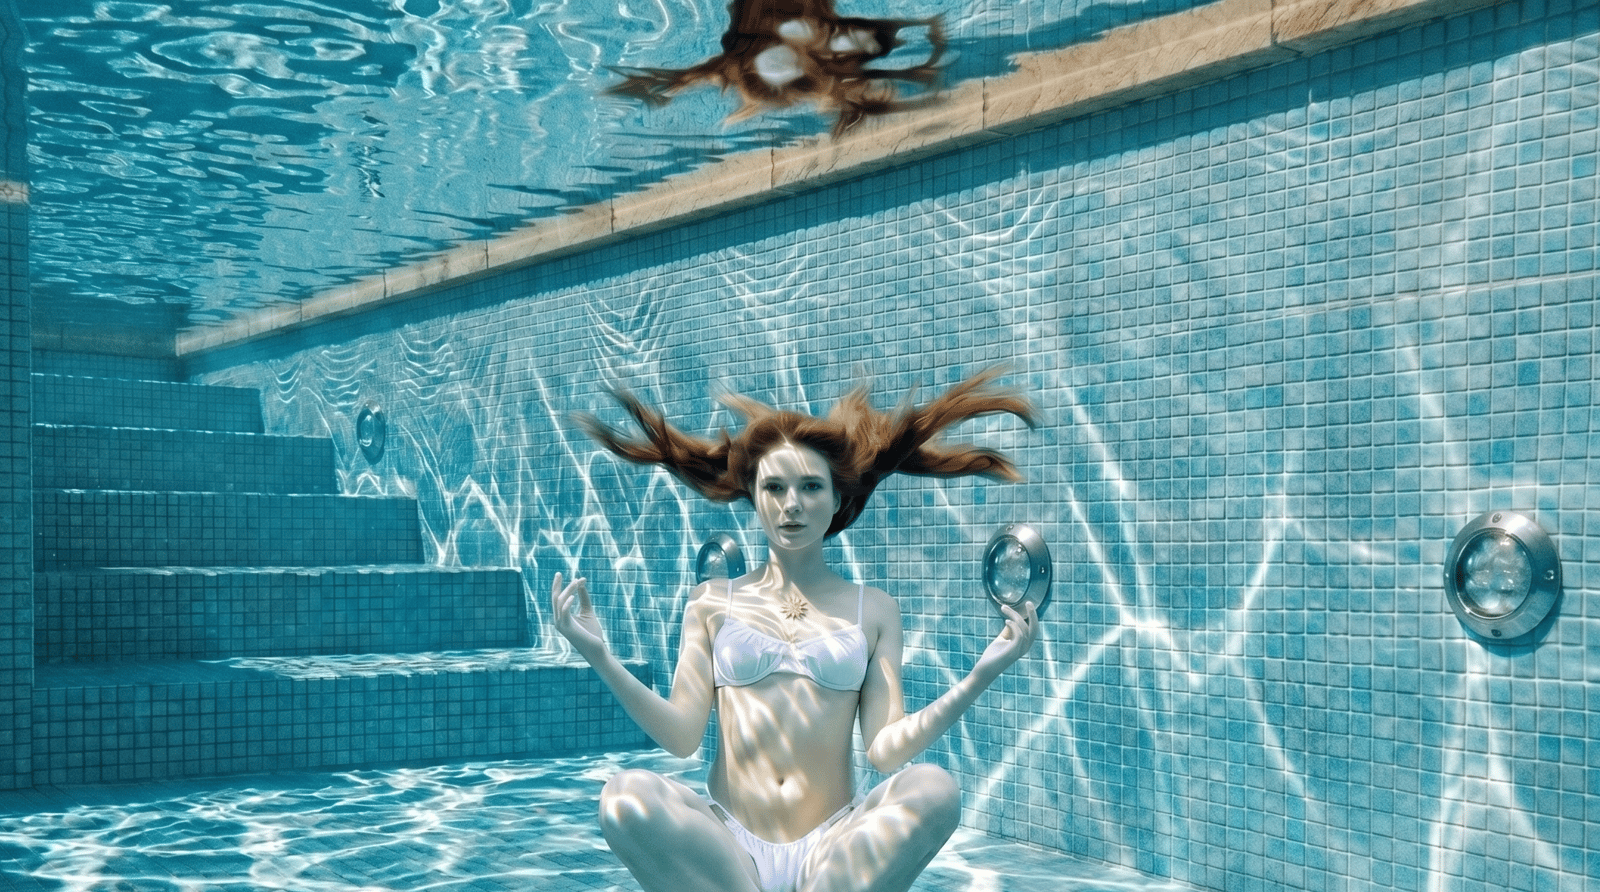
- Add the Rendered Image as a Source Image, define Prompt
- Render a video in Veras
2026-07-22 14-11-48_Create a 6-second cinematic underwater shot in a clear swimming pool, The camera slowly dollies forw
mp4
13 MB
Used Prompt
- SketchUp simple geometry
- Render in Veras; test variations
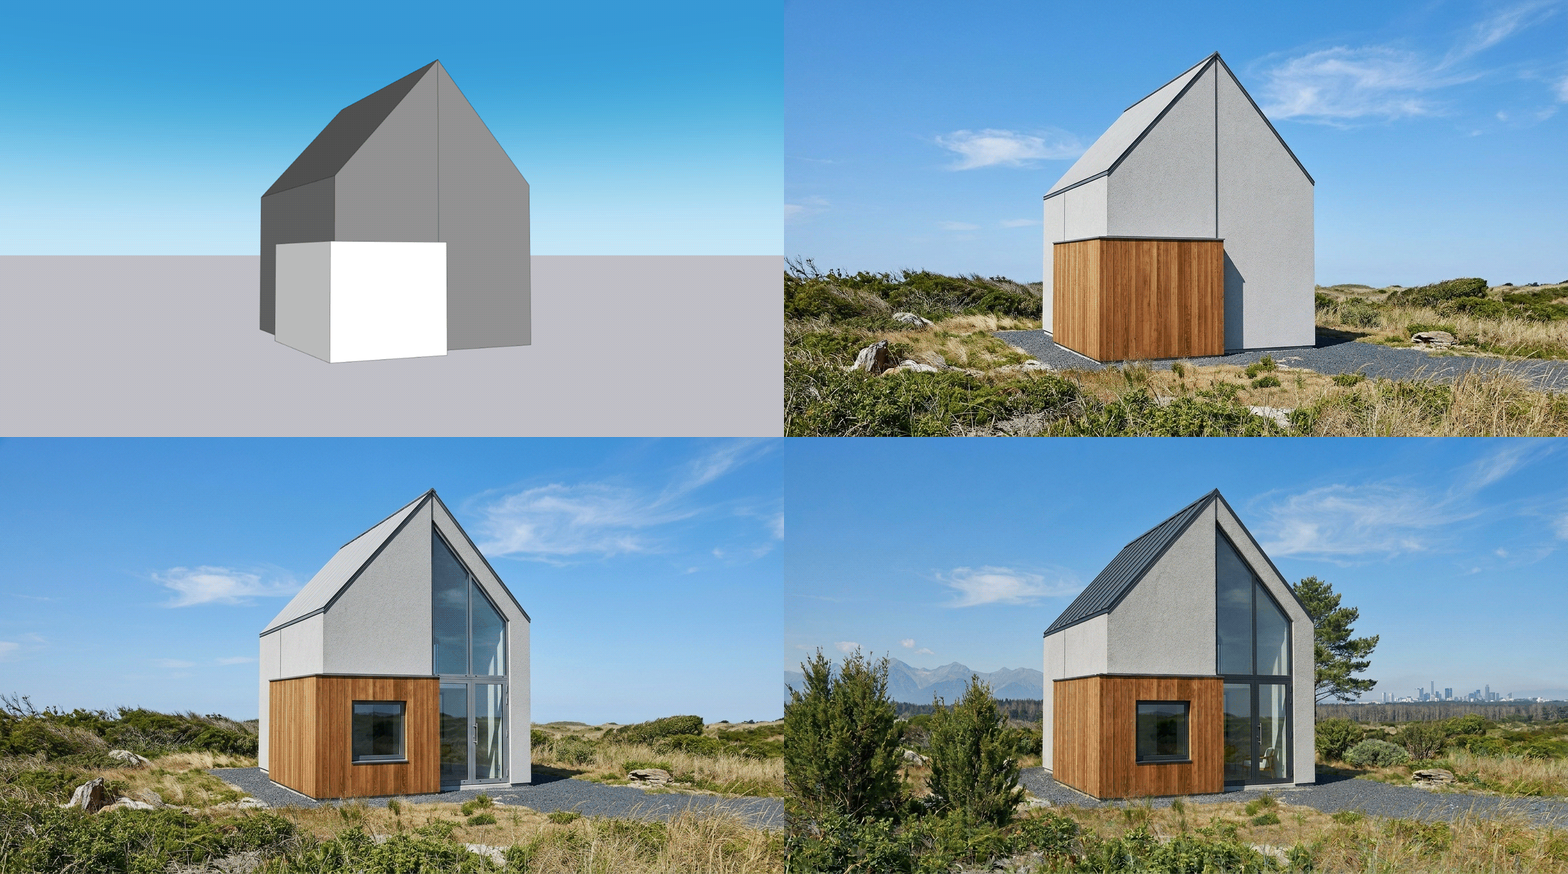
- Choose the final image
- Load it in the Video Tab
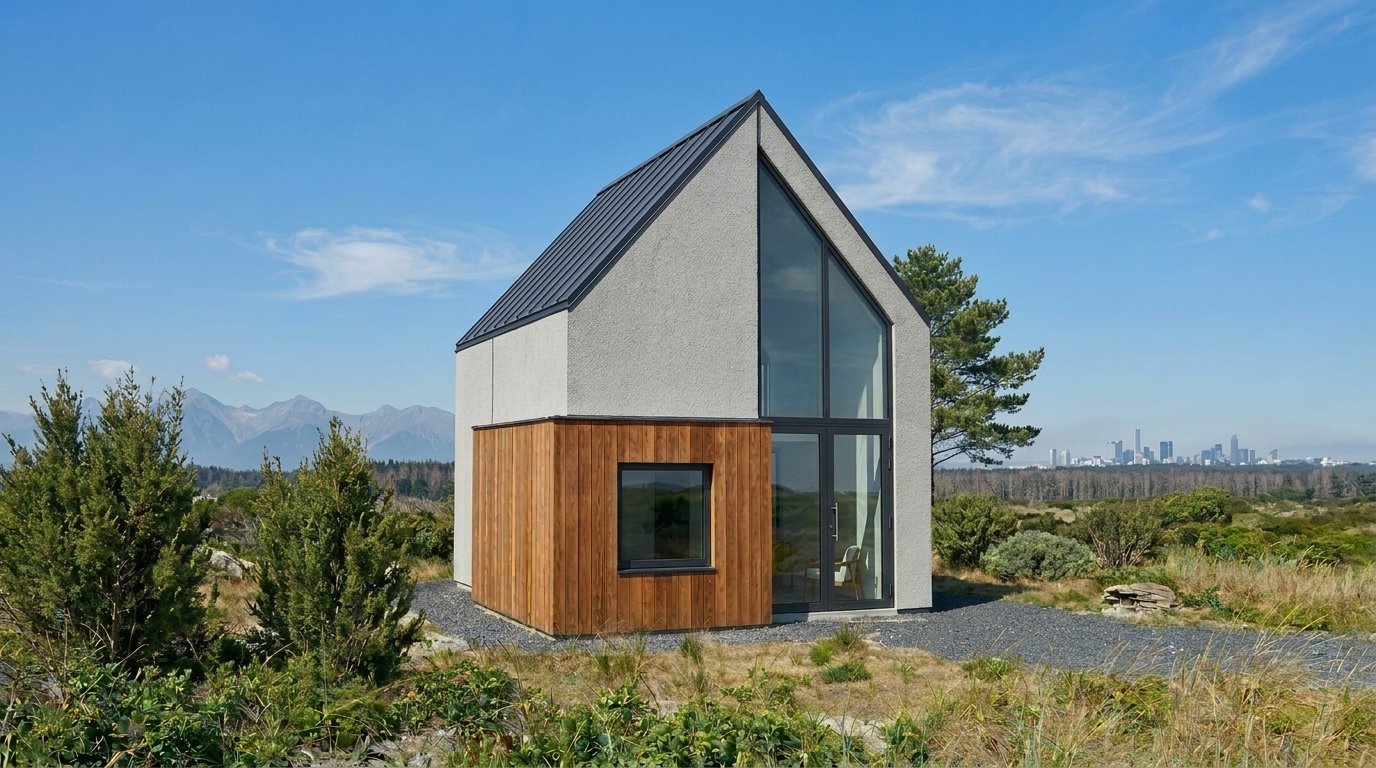
- Set Timelapse in the Prompt
- Render a video in Veras
2026-07-22 14-57-19_Create a 6-second cinematic time-lapse of a house viewed from a locked-off camera position, The scen
mp4
4 MB
Used Prompt
Overview
The Video Tab generates animated sequences based on the image and the prompt. Instead of creating a single render, you can produce a dynamic video that evolves over time.
Define how the scene changes using a descriptive prompt—for example, transitioning between seasons, lighting conditions, or environmental effects. The system uses your source image as a starting point and applies these changes smoothly across frames.
Choose the right Video Model for your design.
The Source Image sets the animation's base, while the prompt controls the transformation, motion, and overall narrative of the video.
You can also use a Negative Prompt to exclude unwanted elements or styles during the animation.
Additional settings, such as Seed, help reproduce consistent results, while the selected Render Engine influences the visual quality, style, and speed of the generated video.
Once everything is set, click Render to generate your animated sequence.
You can select multiple video renders and combine them into a single video file by using Video Combine.
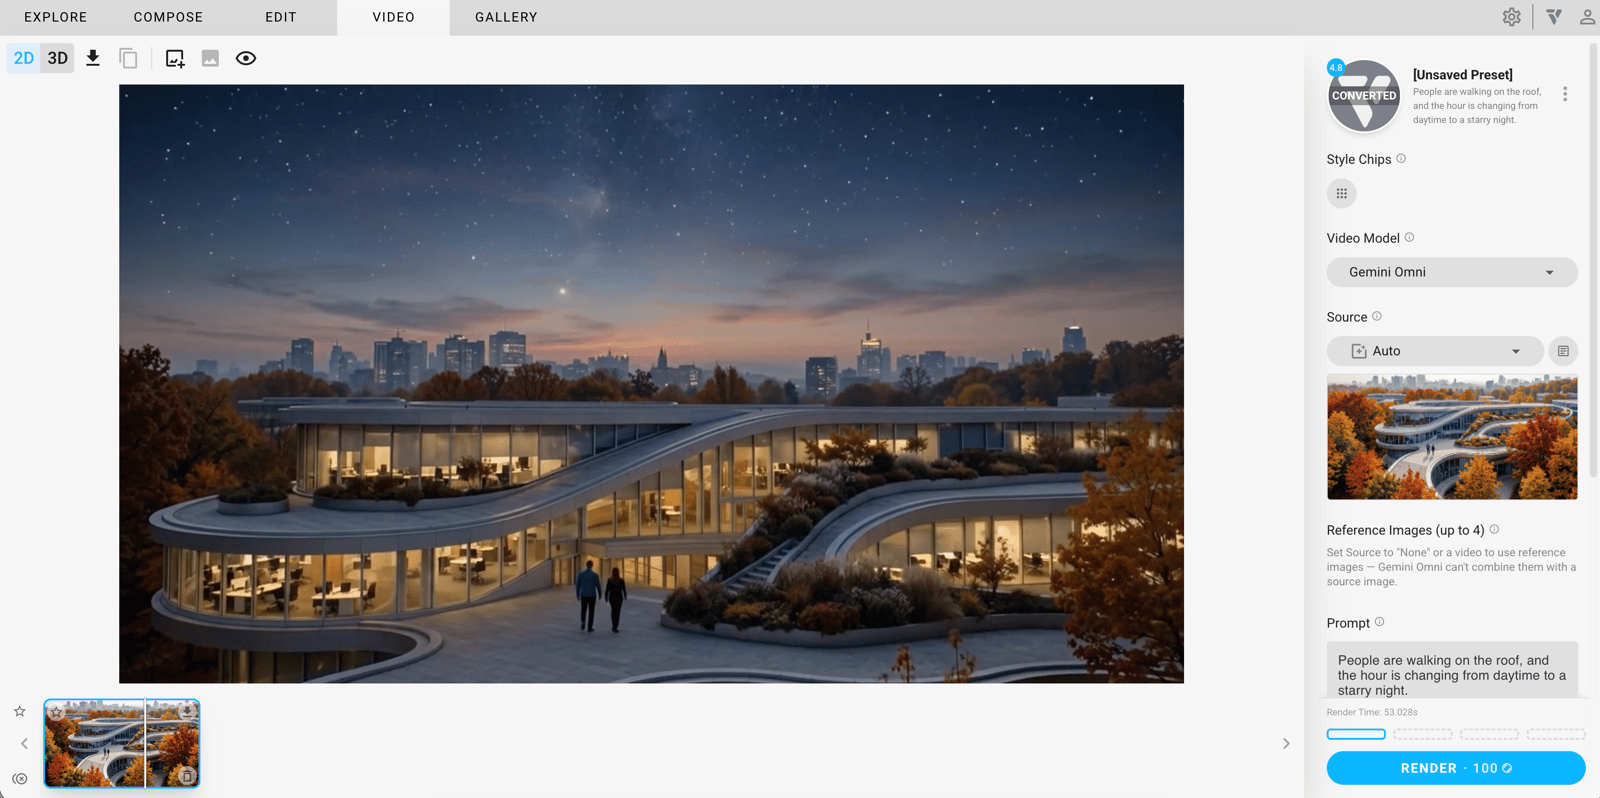
UI

2D Mode

3D Mode
Icon per mode | Action | Icon per mode | Action |
|---|
Icon per mode | Action | Icon per mode | Action |
|---|---|---|---|
2D Mode enabled | 3D Mode enabled | ||
Download - Saves the render result locally on your machine. | |||
Image Upload | 3D Model Upload | ||
Show Preview | |||
Show/Hide Original Image When First Frame - Last Frame workflow is enabled, the icon will look like this: , and will provide a choice between First Frame and Last Frame. | |||
Orient 3D Model - Choose between Y-up or Z-up. | |||
Zoom camera to model extents | |||
Adjust the Field of View (FoV) | |||
Adjust the Sun controls - Sun Elevation, Sun Position, Sun Intensity. | |||
Display style - Choose between Shaded, Arctic Clay, Textures Clay. |
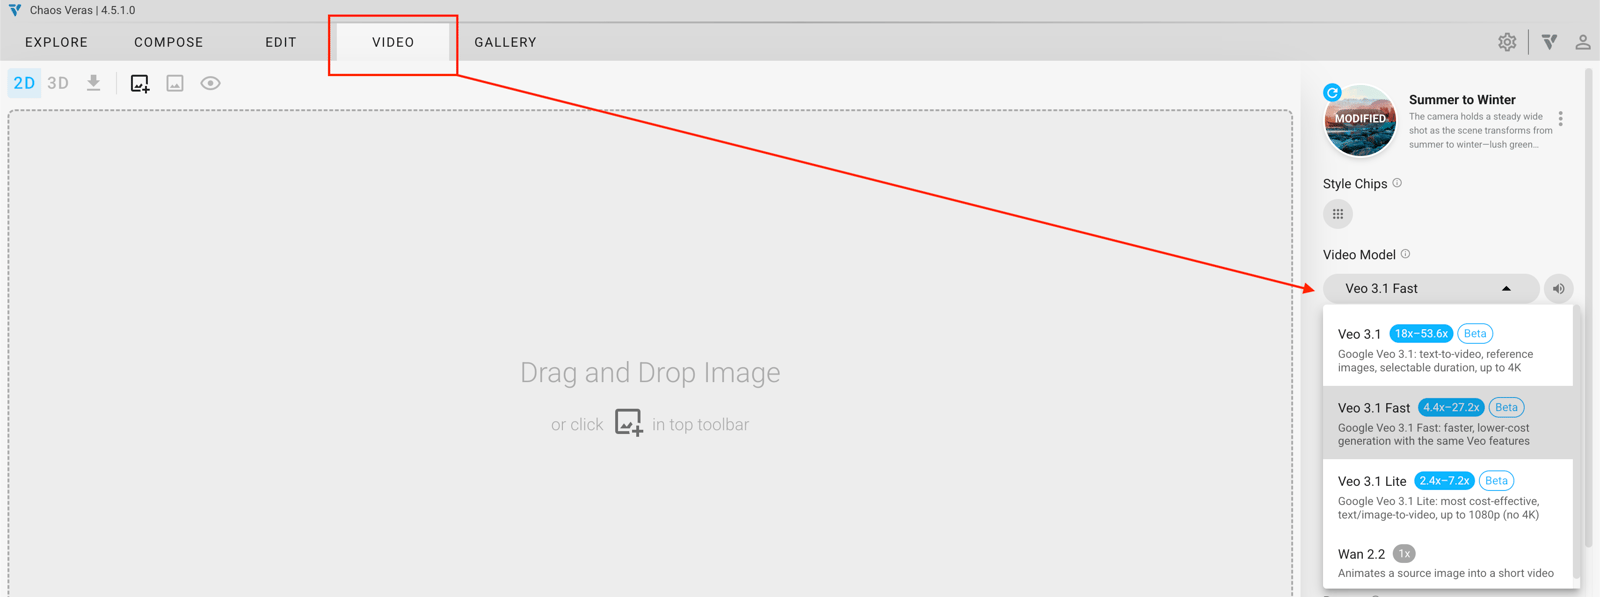
Video Model
Choose from the dropdown menu.
For more information about the available choices, see the Video Models page.
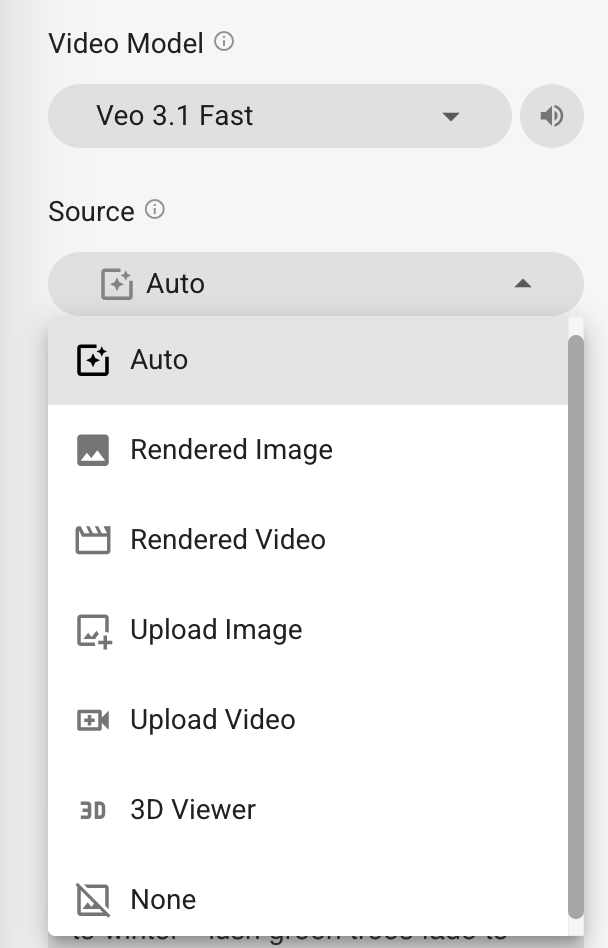
Source Image
This image will guide the starting point for your rendering. Choose between:
- Auto
- Rendered Image
- Rendered Video
- Upload Image
- Upload Video
- 3D Viewer
- None
First Frame - Last Frame (FFLF) - Defines both the starting and ending frame of your video. The AI generates everything in between, giving you precise, bookend-driven animations. А good companion for design storytelling and presentation workflows.
Steps to enable it:
- Choose Wan or Veo Video Model
- Click the Plus icon
FFLF
mov
837 KB
3D_Viewer_FFLF
mp4
11 MB
Rendered with Veo 3.1
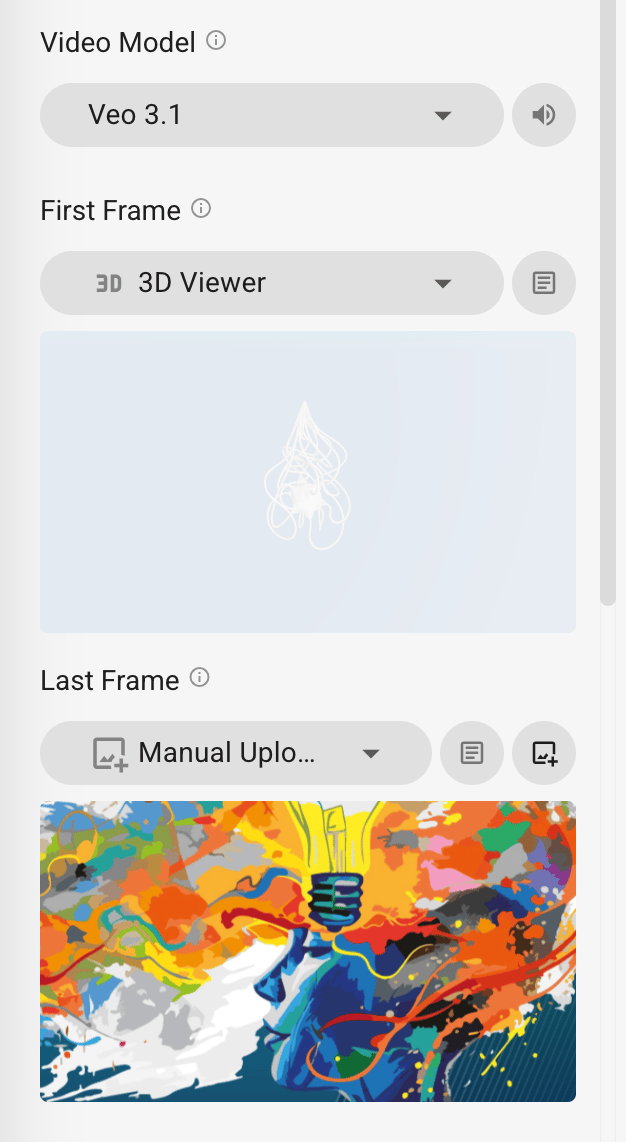
FFLF with 3D Viewer
Style Chips
Append predefined text to the user prompt when rendering. Click the 9-dot icon to open the Style Chips panel.
- My Style Chips – Your custom style chips. Click a chip to add it to your prompt, or use the pencil icon to edit.
Prompt and Negative Prompt
Prompt – The text description you give Veras that tells it what to create, including the subject, style, mood, and details.
Negative Prompt – used for reducing and removing specific content, aesthetic, or style in the generated rendering.
Seed
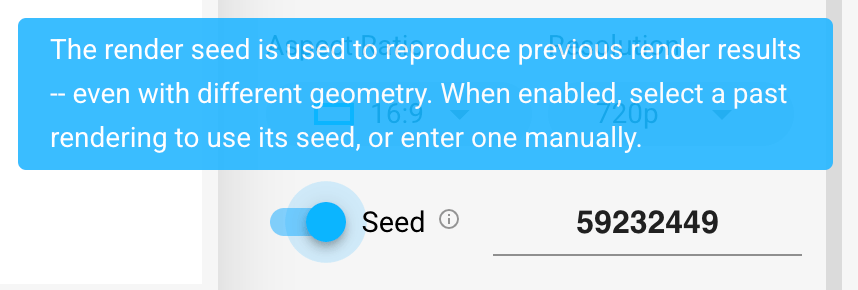
The render seed reproduces previous render results—even with different geometry. When enabled, select a past rendering to use its seed, or enter one manually.
Seed
Video Combine
Video Combine, added in Veras 4.3, lets you join several video renders into one file. Rather than sharing separate clips, you can stitch shots from different viewpoints or design phases into a single, ready-to-present video.

Video Combine