V-Ray for 3ds Max
How to Make Rocks with VRayTriplanarTex
This tutorial covers how to create rock objects with VRayTriplanarTex texture.
Last updated 4 April 2026
This tutorial covers how to create rock objects with VRayTriplanarTex texture.
Overview
This tutorial covers the standard setup for using the VRayTriplanarTex texture node to create rocks. Here, we use stone-shaped geometries with a VRayMtl assigned to them. With the help of the VRayTriplanarTex node we will map all our VRayBitmap textures seamlessly. For more information on the node itself, see the VRayTriplanarTex page.
Want to follow along but don’t have a license?
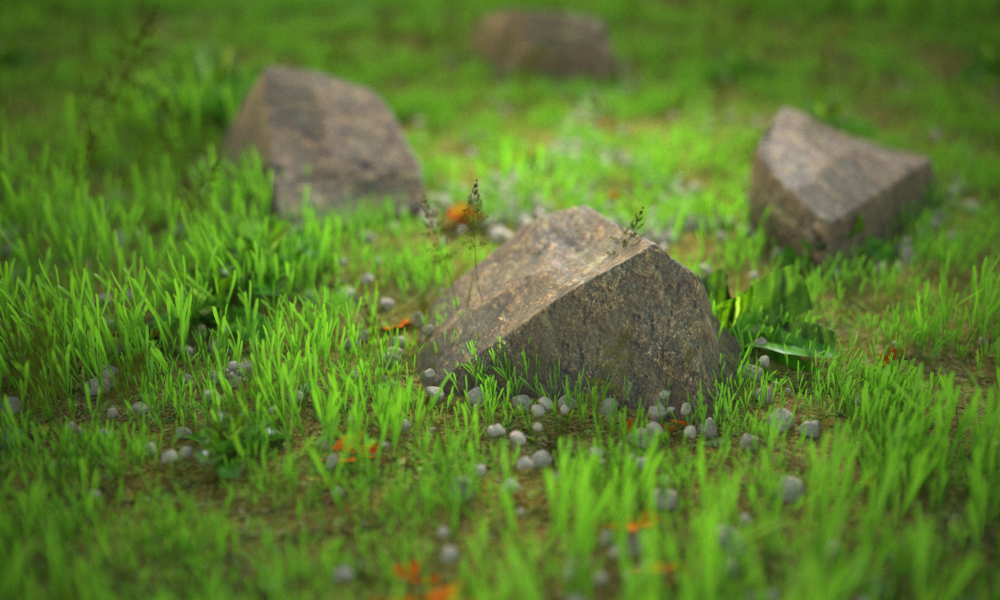
Step 1
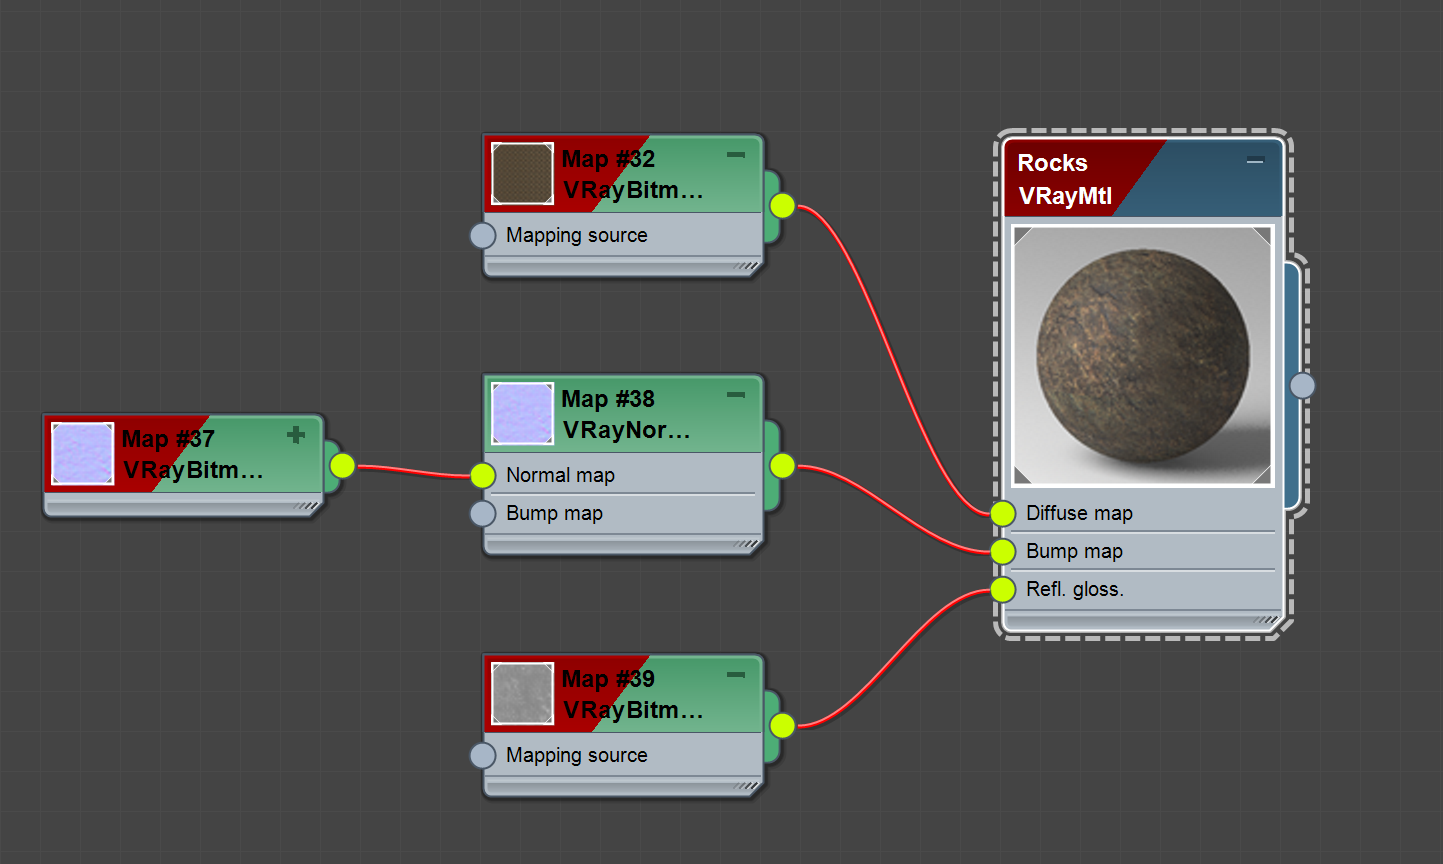
Let’s create a VRayMtl and assign it to the stone geometries. Name it Rock for ease of use.
Then, create a VRayBitmap map and load a stone texture. Link the VRayBitmap to the Diffuse map slot of the VRayMtl.
Plug in additional necessary textures (Normal Map and Reflection Glossiness Map).
Set Reflection Color to gray. Darker shades of gray make the rock look less reflective, while brighter shades of gray achieve a shinier/wet rock.
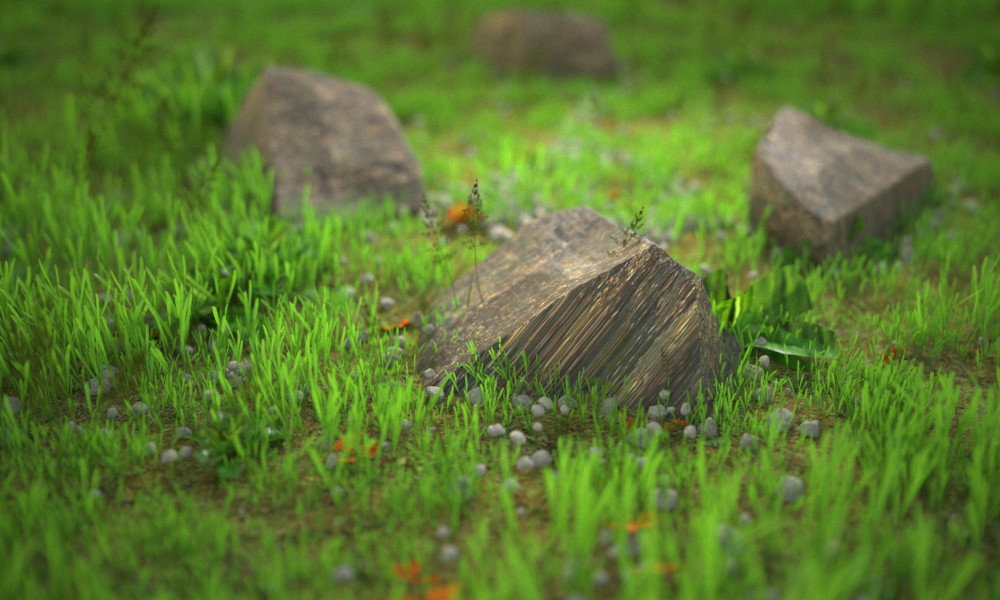
Here's the result. We can further adjust the texture with the help of a VRayTriplanarTex.
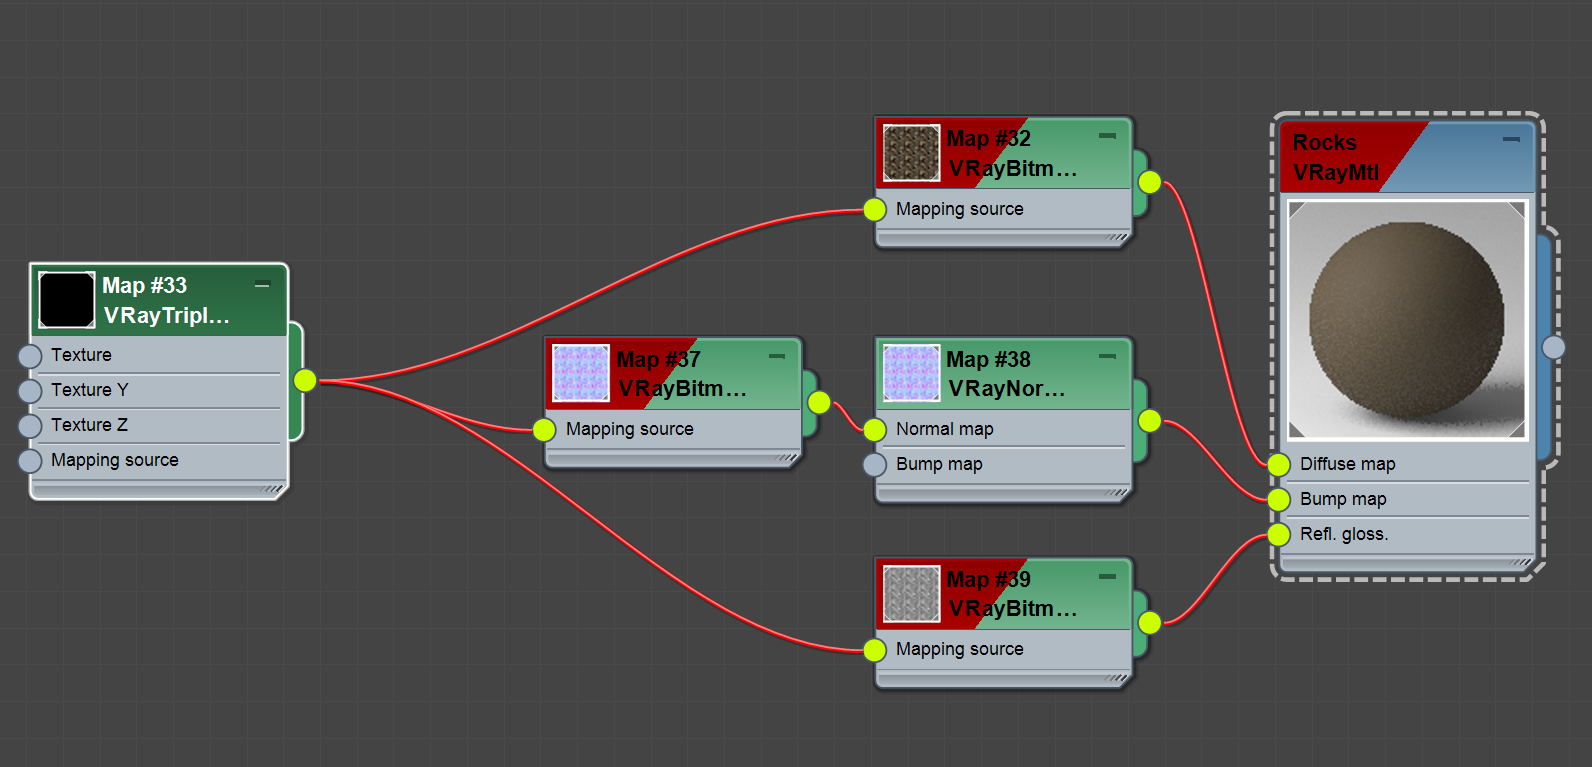
Step 2
Now, create a VRayTriplanarTex texture and link it to the Mapping Source slot of the textures. The VRayTriplanarTex eliminates the need to fix the UV mapping of the stone geometry and the misalignments at the UV map’s edges, caused by lack of or bad unwrapping.
Make sure the Texture mode of the VRayTriplanarTex is set to Same texture on all axes. Texture mode set to Different texture on each axis can be used in other cases, where different textures are projected along each axis.
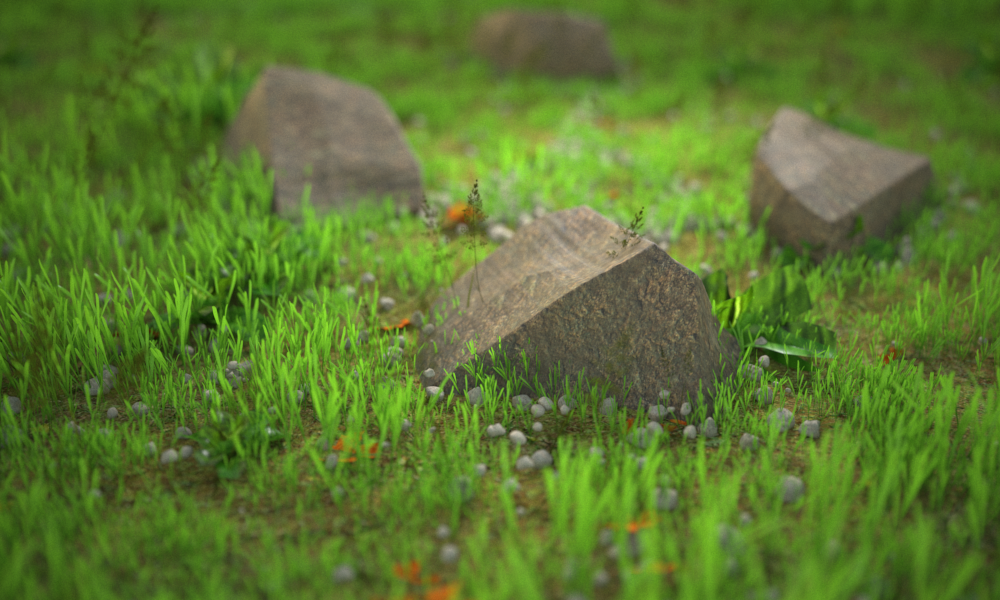
Size = 2
Size = 4
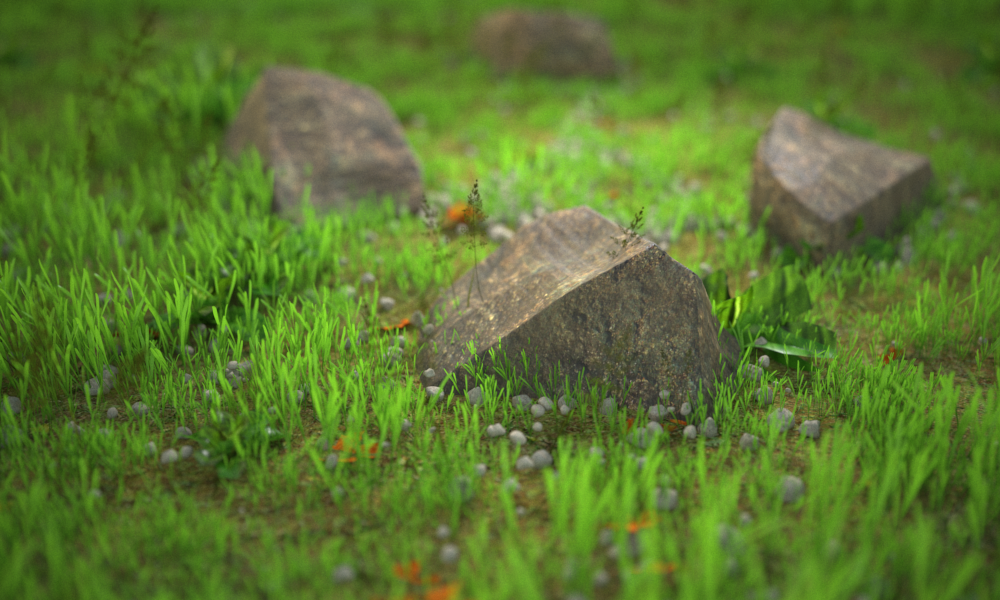
Size = 7
Final Image
Here's the final image with the Size parameter set to 4: