V-Ray for Maya
VRayMtl Refraction
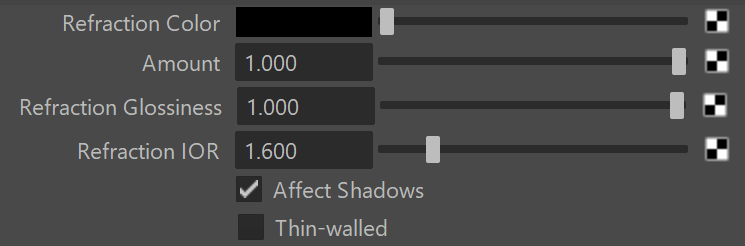
The Refraction rollout is part of the VRayMtl parameters.
Last updated 24 July 2026
The Refraction rollout is part of the VRayMtl parameters.
Parameters
Refraction Color – Specifies the refraction color. Any value above zero enables refraction. Note that the actual refraction color depends on the Reflection color as well. For more information, see the Refraction Color Parameter example.
Amount – This is the amount of the refraction color.
Refraction glossiness – Controls the sharpness of refractions. A value of 1.0 means perfect glass-like refraction; lower values produce blurry or glossy refractions. For more information, see the Refraction Glossiness Parameter example.
Refraction IOR – Index of refraction for the material, which describes the way light bends when crossing the material surface. A value of 1.0 means the light does not change direction. For more information, see the Refraction IOR Parameter example.
Affect Shadows – This parameter causes the material to cast transparent shadows to create a simple caustic effect dependent on the refraction color and the fog color. For accurate caustic calculations, disable this parameter and instead enable Caustics in the GI tab. Simultaneous usage of both Caustics and Affects Shadows can be used for artistic purposes but does not produce a physically correct result.
Thin-walled – This option is intended for single-surface transparent materials only. When enabled and the Translucency mode is set to SSS, it simulates thin translucent surfaces such as soap bubble, leaves, curtains, etc. The SSS color defines the backside color, while the SSS amount controls the translucency effect.
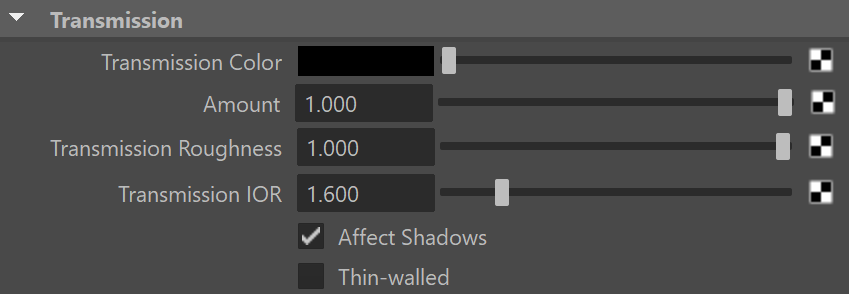
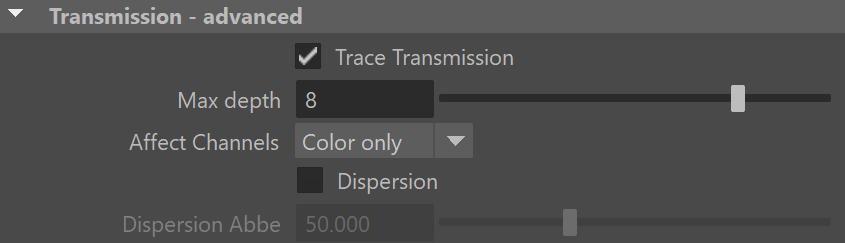
When the Shading Model is set to OpenPBR, this rollout is renamed to Transmission.
All properties function the same, except for the Transmission Roughness. Its values produce opposite results to those of the Refraction Glossiness; a value of 0.0 means perfect glass-like refraction, and higher values produce blurry or glossy refractions.
To find out why this is, read the OpenPBR article.
Example: Refraction Color
This example demonstrates the effect of the Refract color parameter to produce glass materials. For the images in this example, the material has a gray Diffuse color, white Reflect color, and the Fresnel Reflections option is enabled.
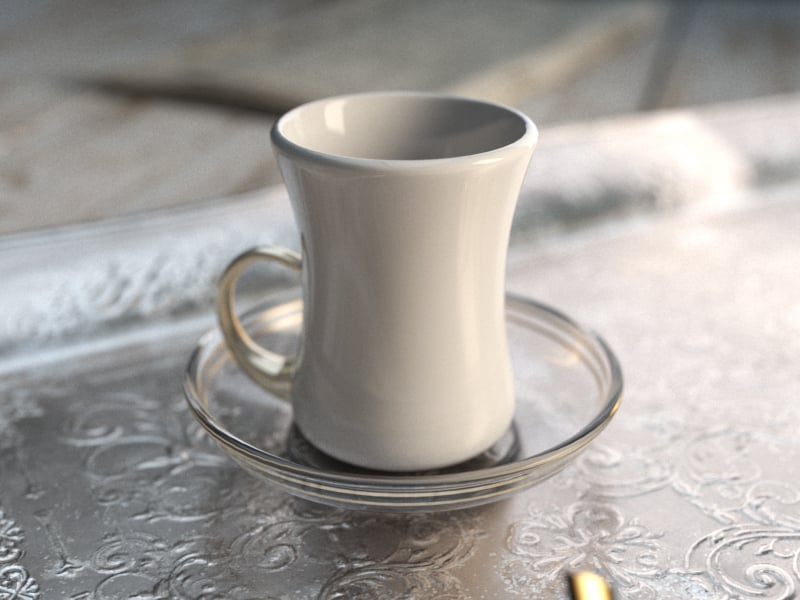
Refraction Color
= 0, 0, 0
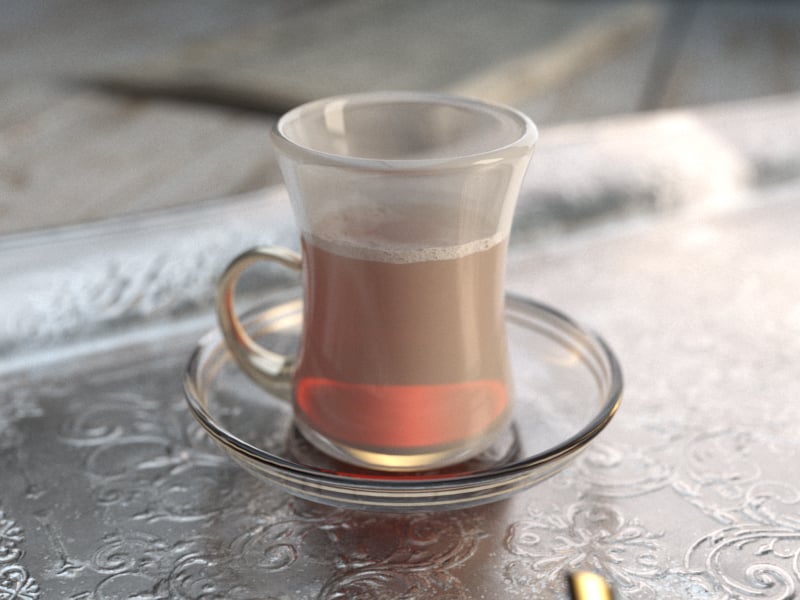
Refraction Color
= 153, 153, 153
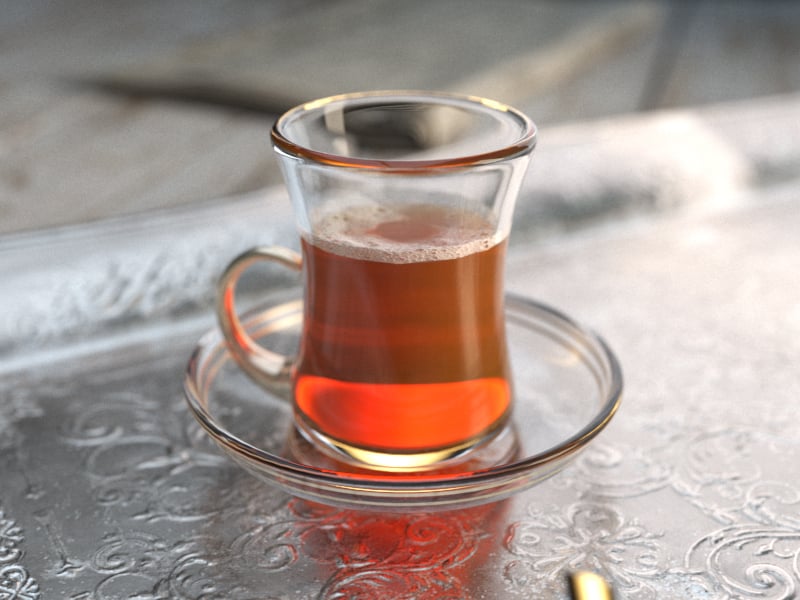
Refraction Color
= 255, 255, 255
Example: Refraction IOR
This example demonstrates the effect of the Refraction IOR parameter. Note how light bends more as the IOR deviates from 1.0. When the index of refraction (IOR) is 1.0, the render produces a transparent object. Note, however, that in the case of transparent objects, it might be better to assign an opacity map to the material rather than use refraction.
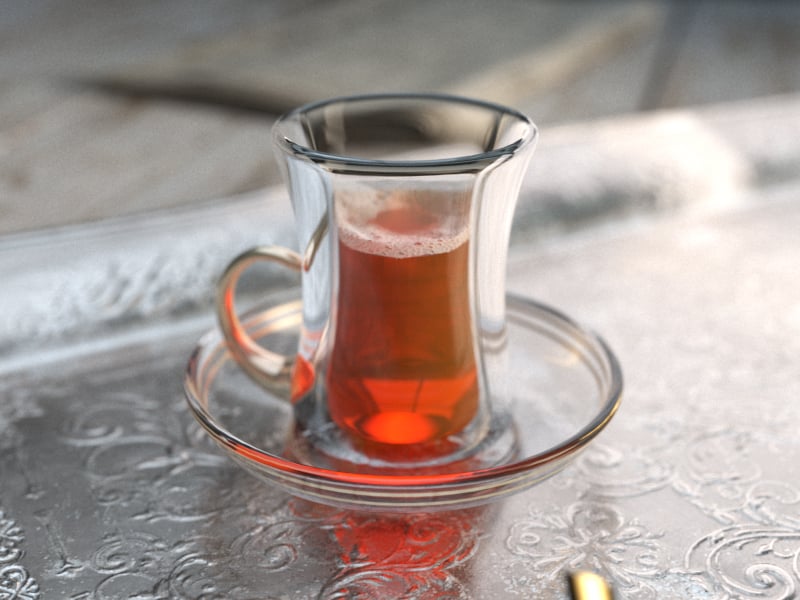
Refraction IOR
=0.80
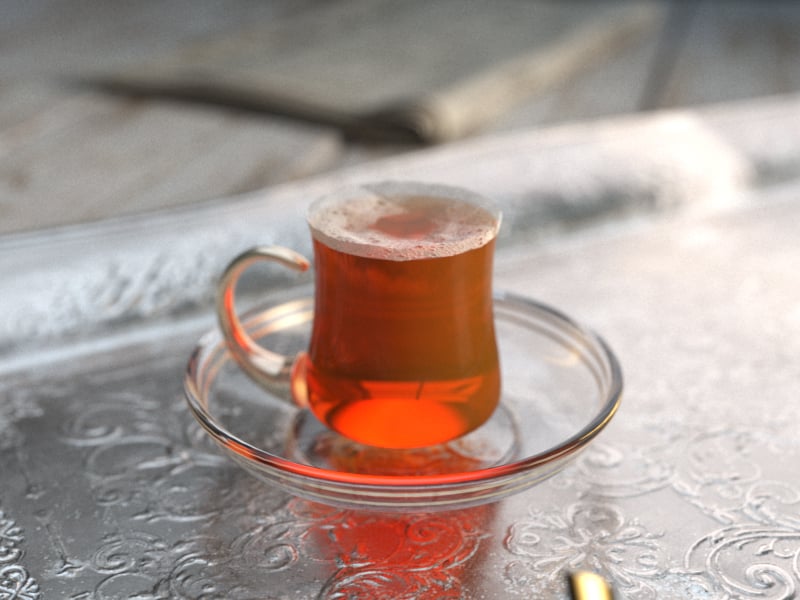
Refraction IOR = 1.00
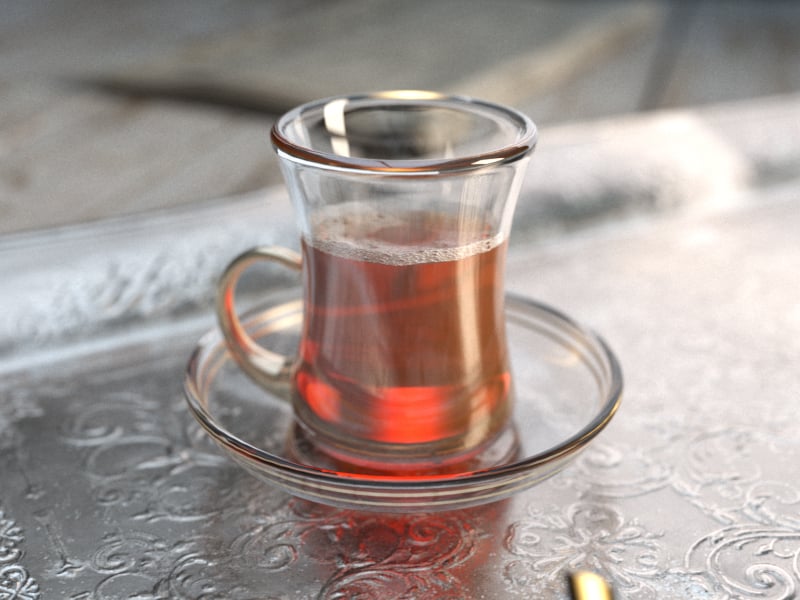
Refraction
IOR
= 2.80
Example: Refraction Glossiness
This example demonstrates the effect of the refraction Glossiness parameter. Note how lower refraction Glossiness values blur the refractions and cause the material to appear as frosted glass.
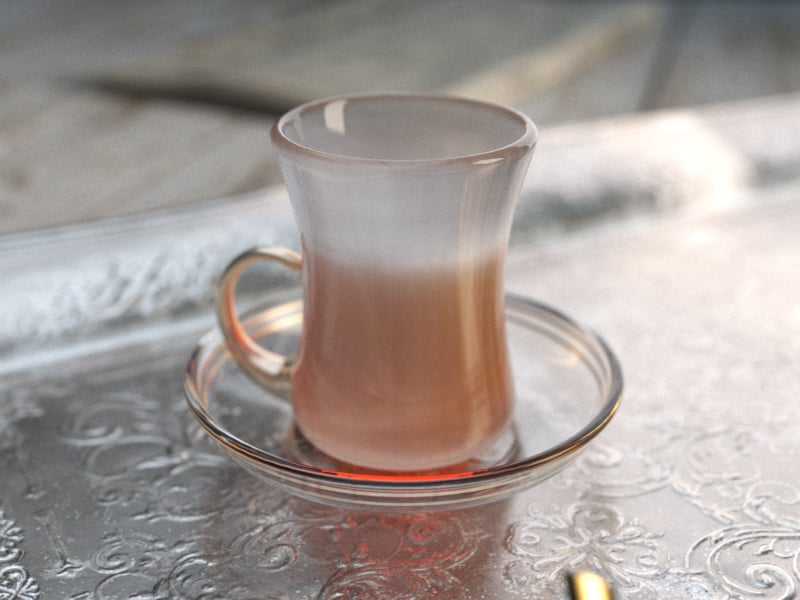
Refraction Glossiness
= 0.0
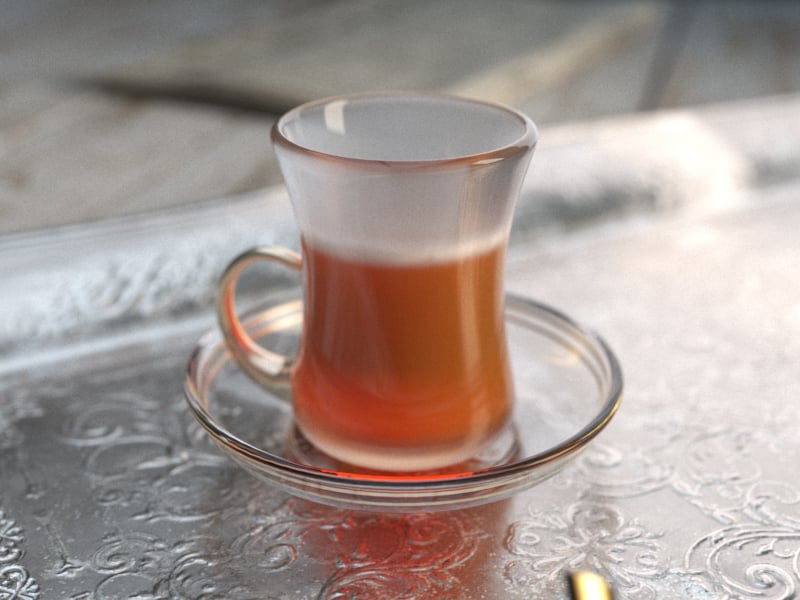
Refraction Glossiness
= 0.5
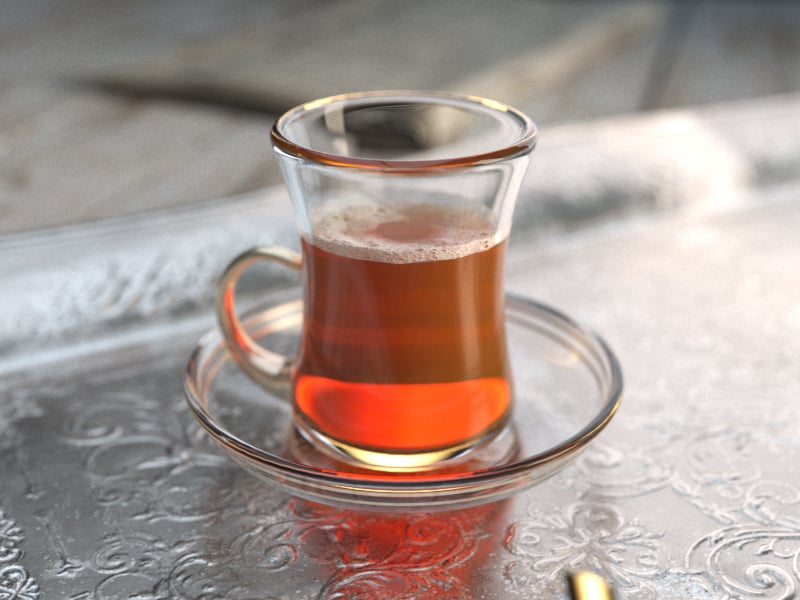
Refraction Glossiness
= 1.0
Translucency
Translucency – Selects the algorithm for calculating translucency (also called sub-surface scattering). Note that refraction must be enabled for this effect to be visible.
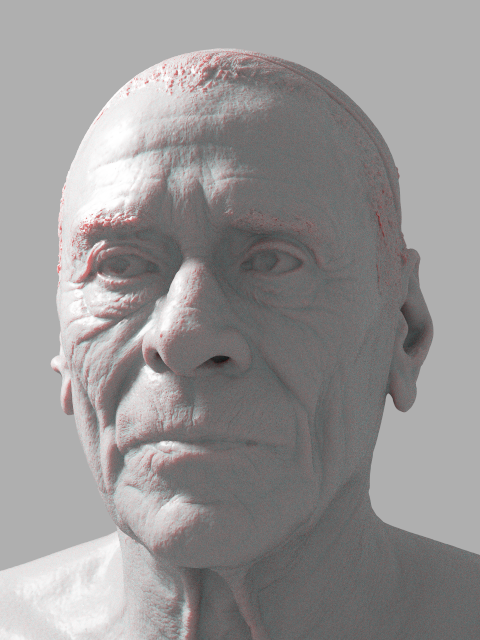
None – When selected, the only available parameters are the Fog color and Fog depth. Together with the Refraction color, they determine the attenuation of light as it passes through the material. In this mode, there is no subsurface scattering.
Click here to expand an example of the None mode
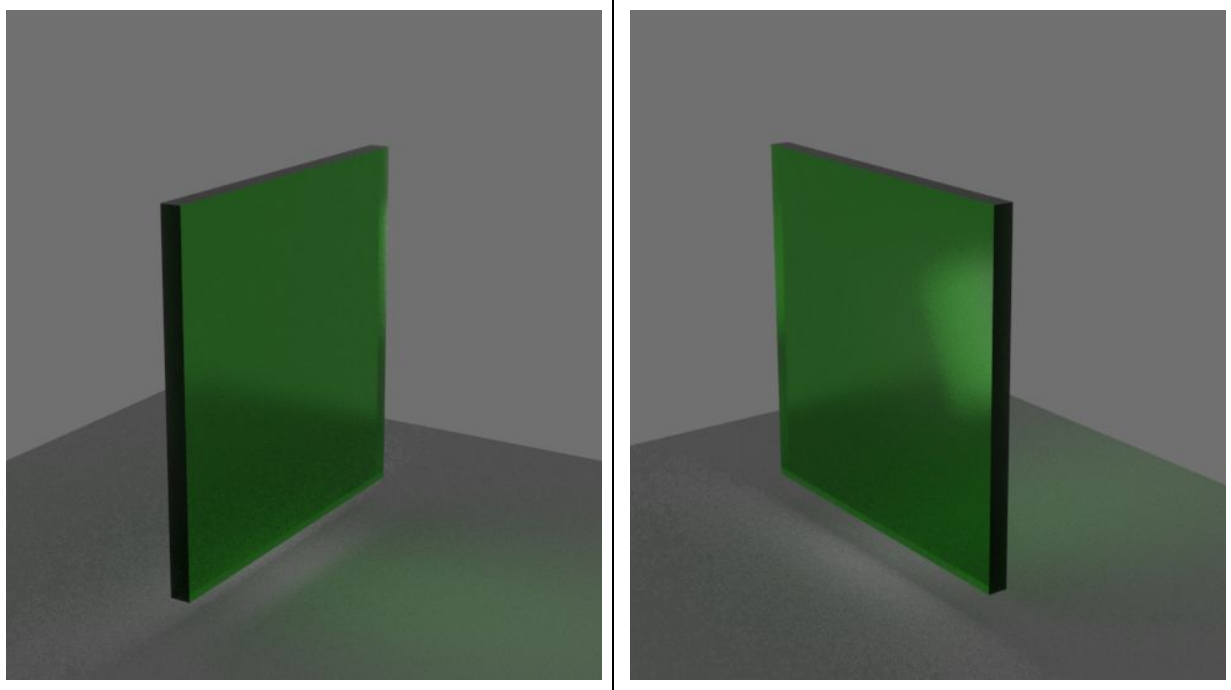
Volumetric – Works together with the Refraction color of the material to scatter light inside the object. It is useful for liquids and other highly transparent materials. The Refraction color and Refraction glossiness determine respectively how much of the interior of the object is visible and how rays interact with the object’s surface.
Click here to expand an example of the Volumetric mode
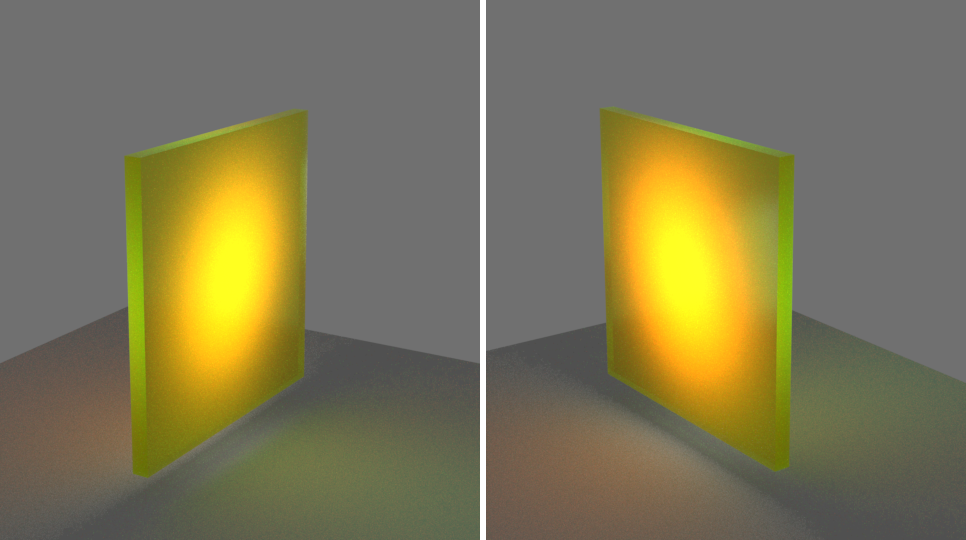
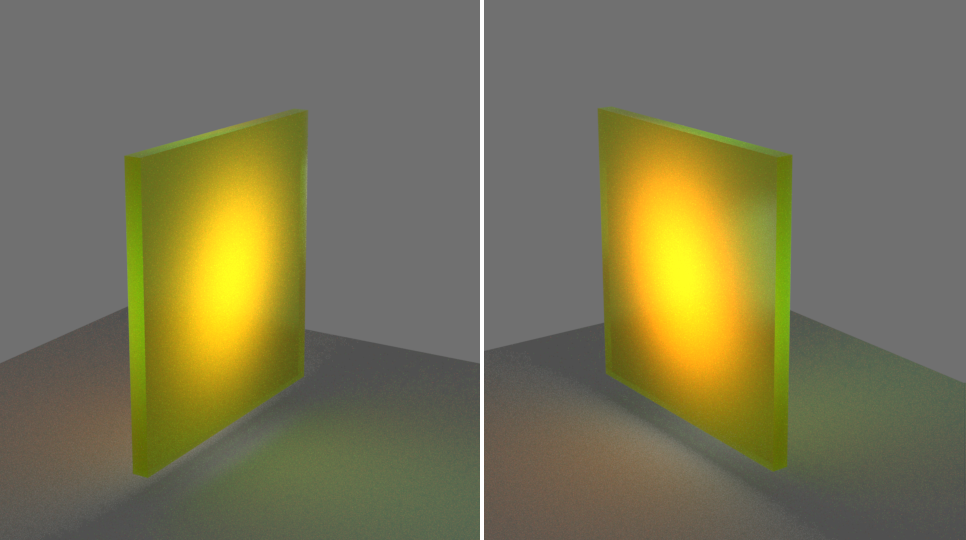
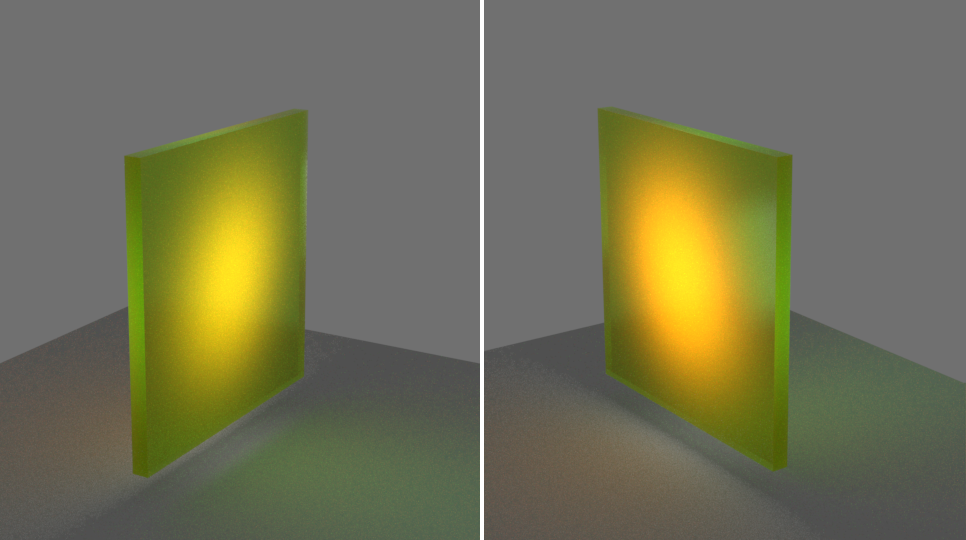
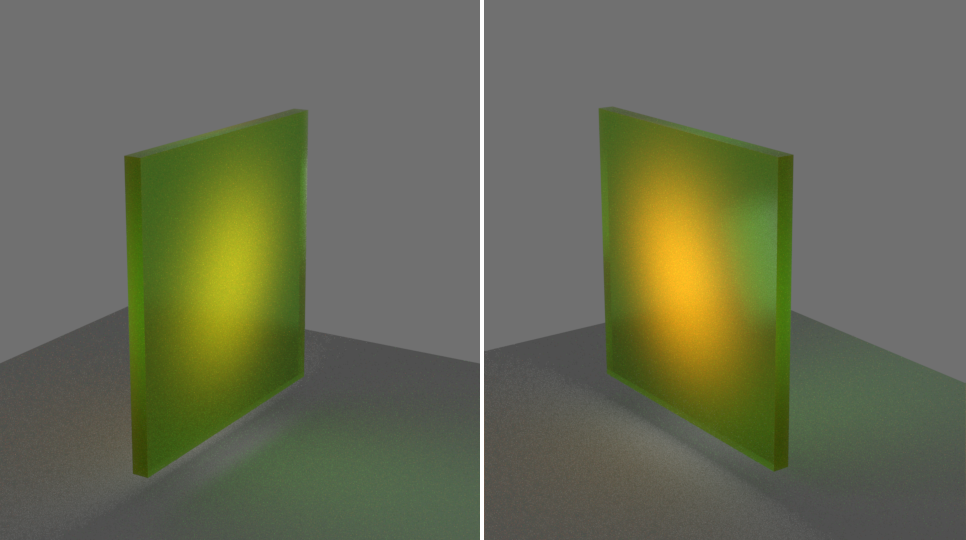
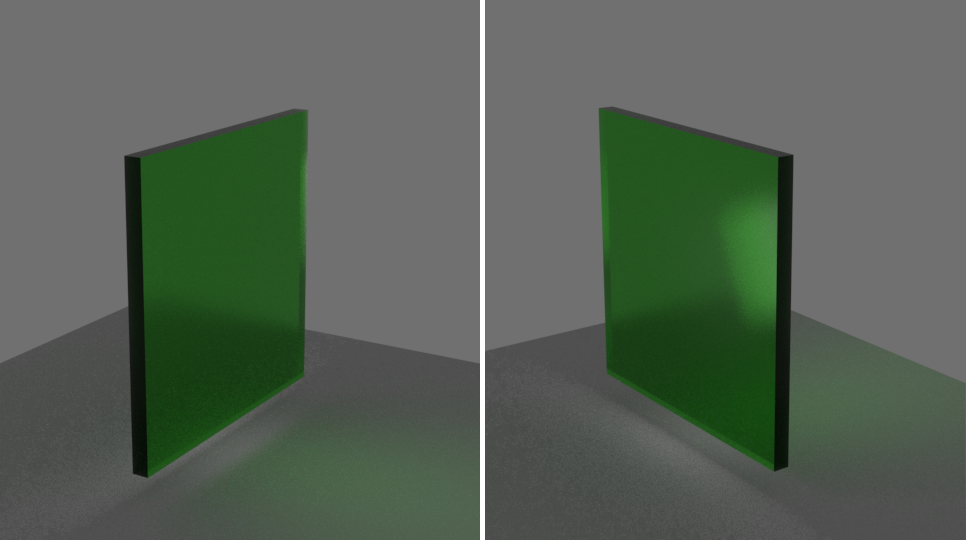
SSS – Can work with Refraction color/Glossiness and is useful for skin, wax, marble and other relatively opaque materials.
Click here to expand an example of the SSS mode
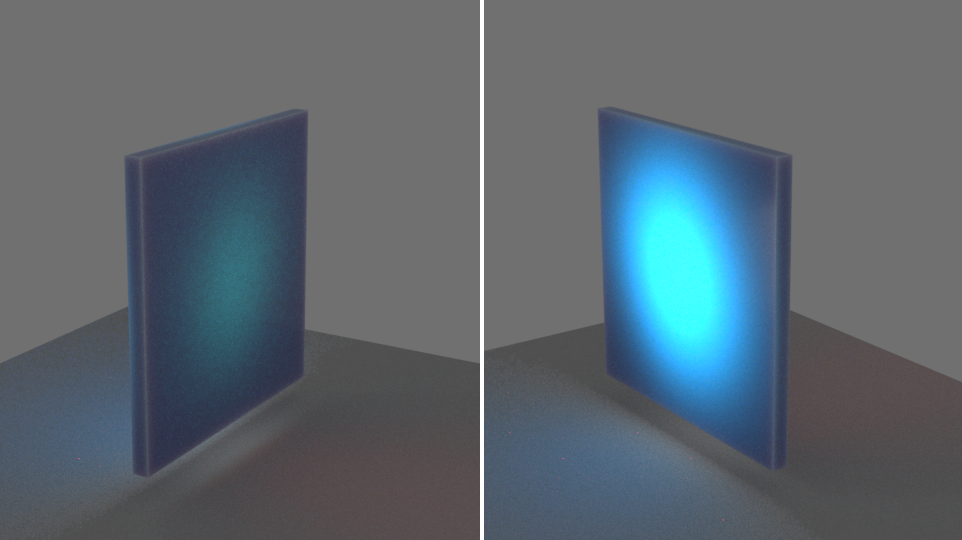
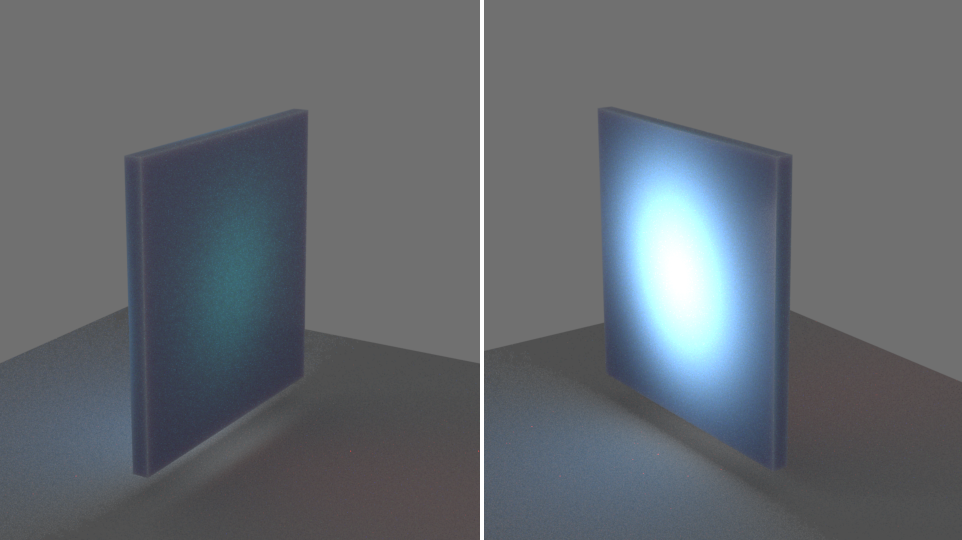
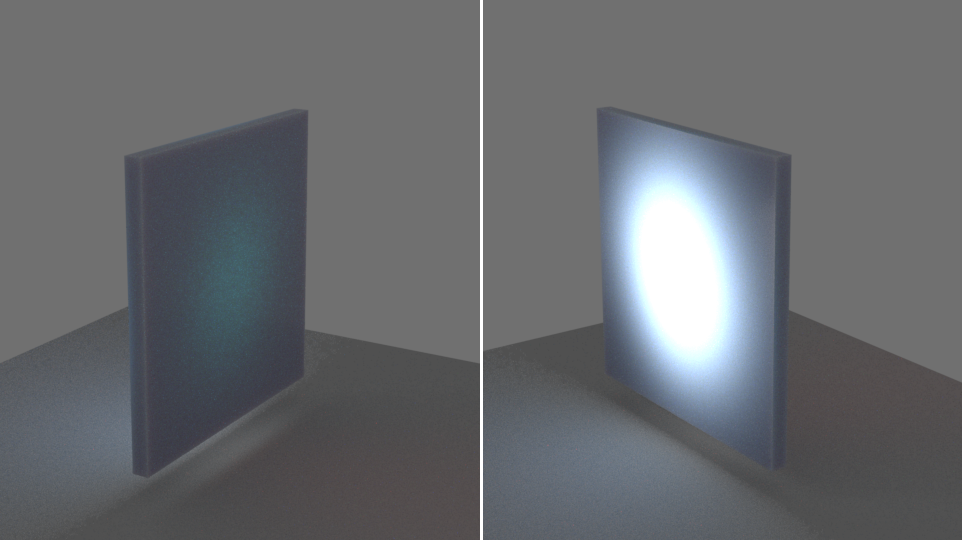
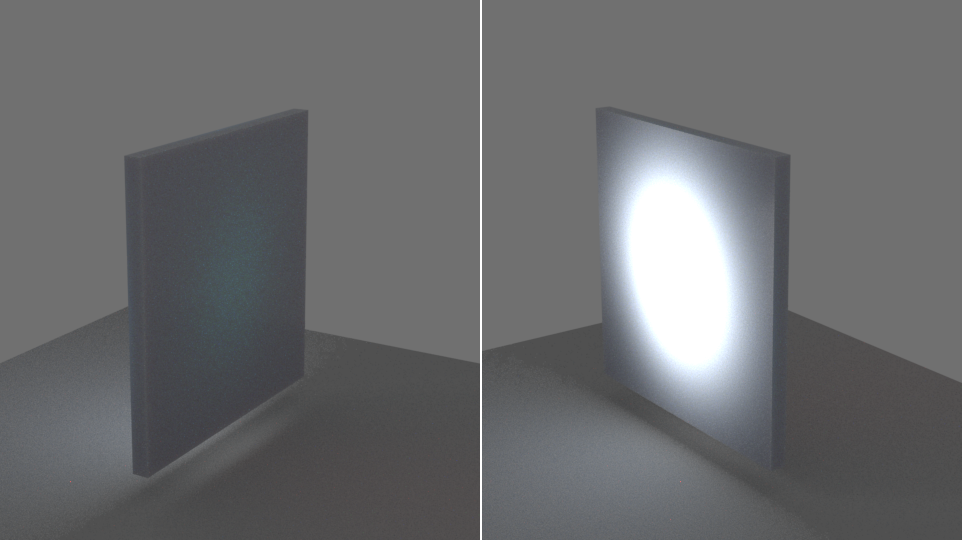
Click here to expand and example Effect of the number of GI bounces
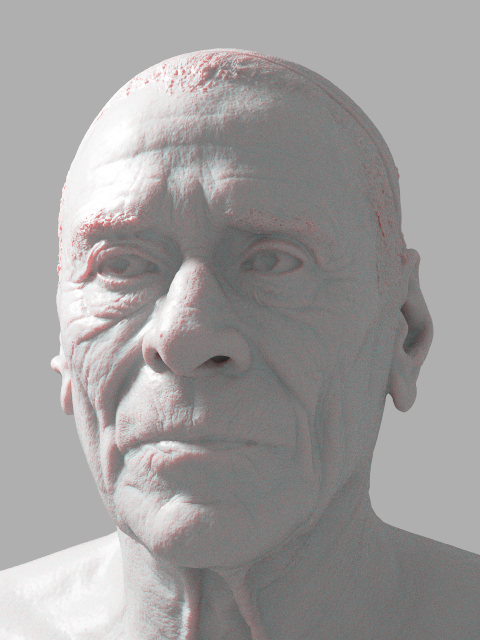
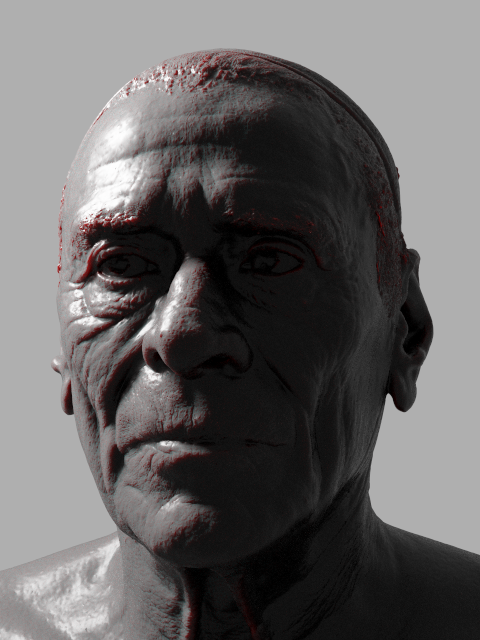
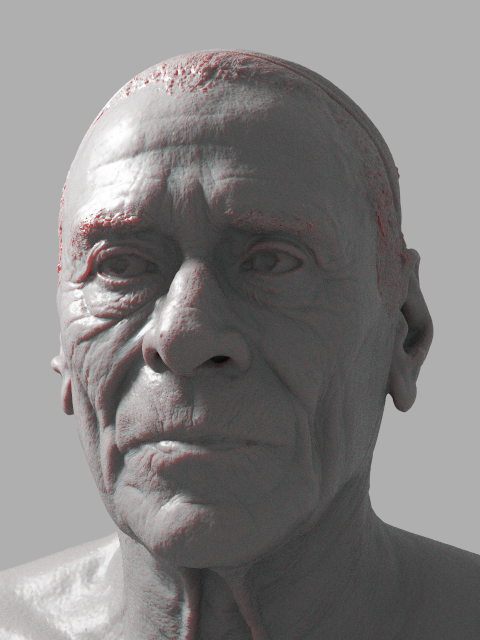
None
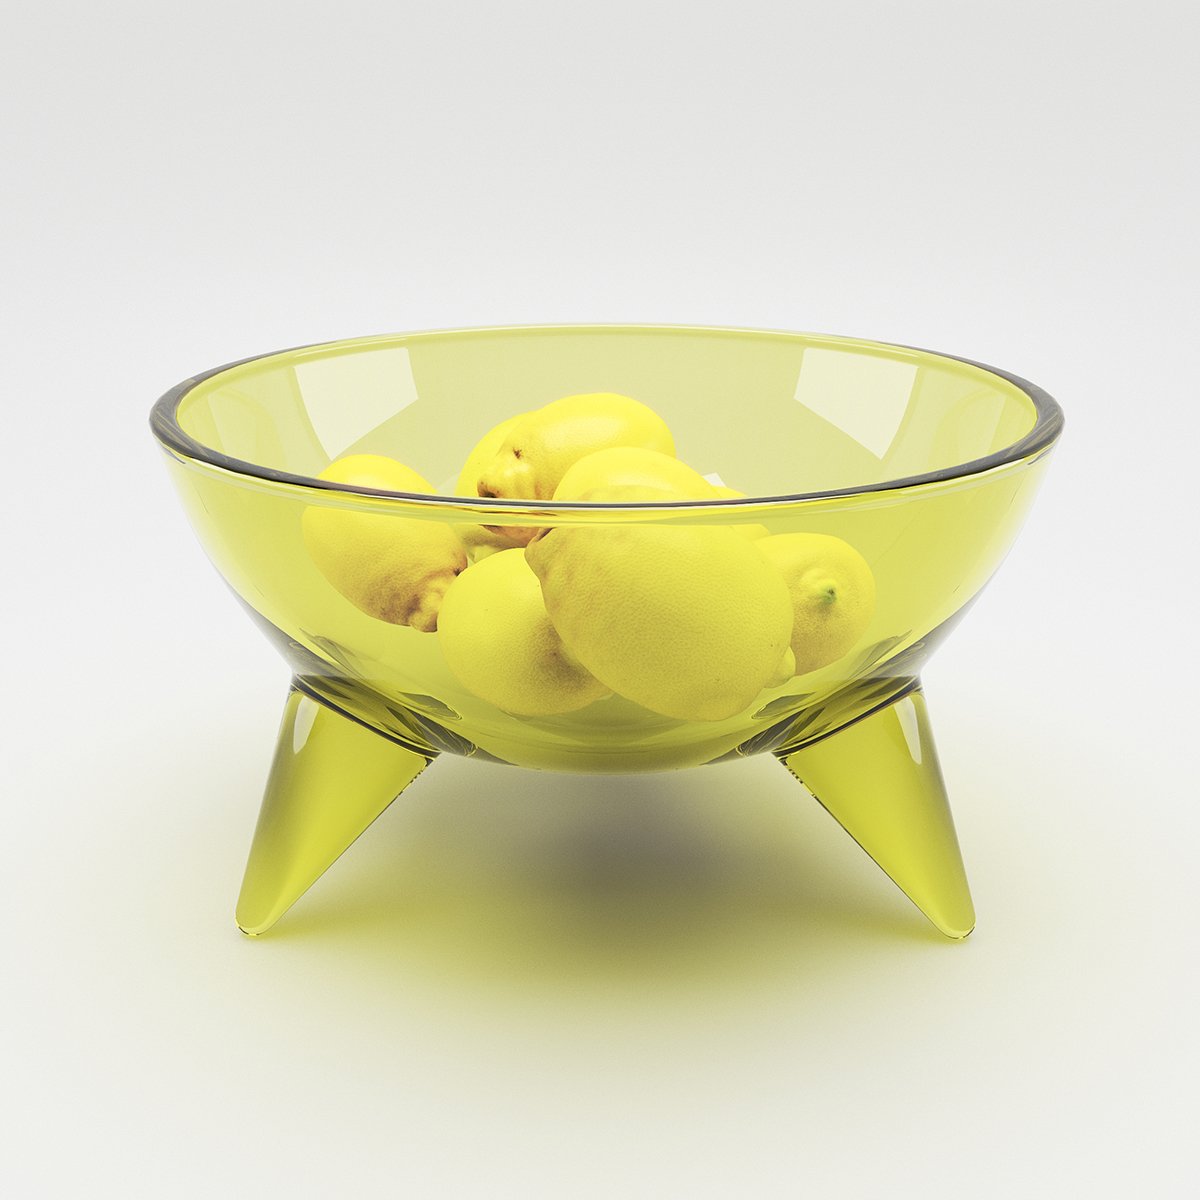
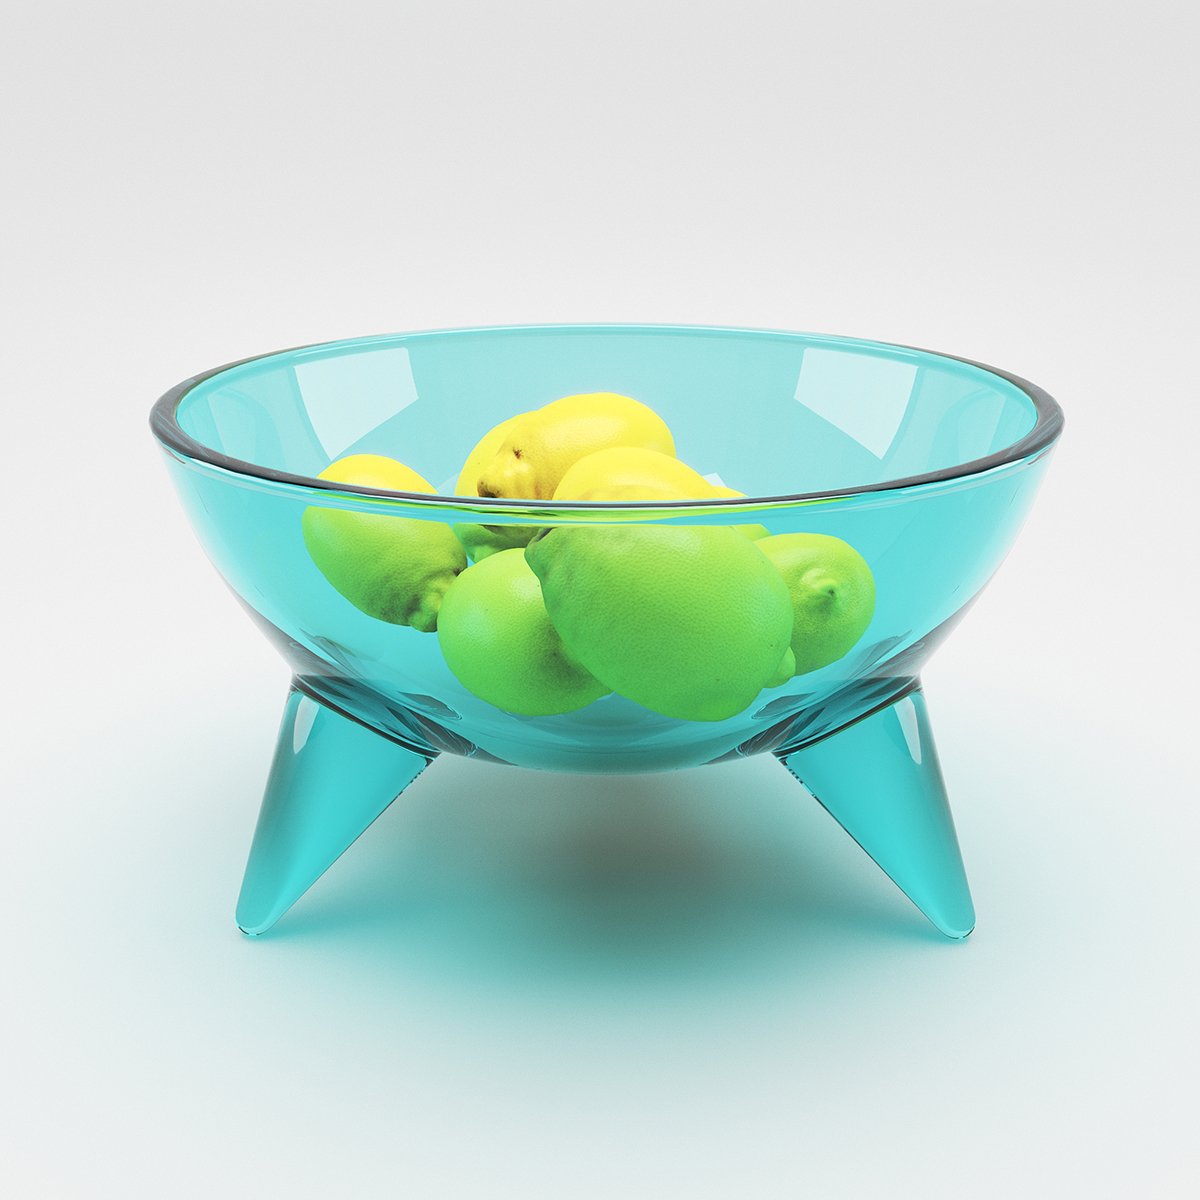
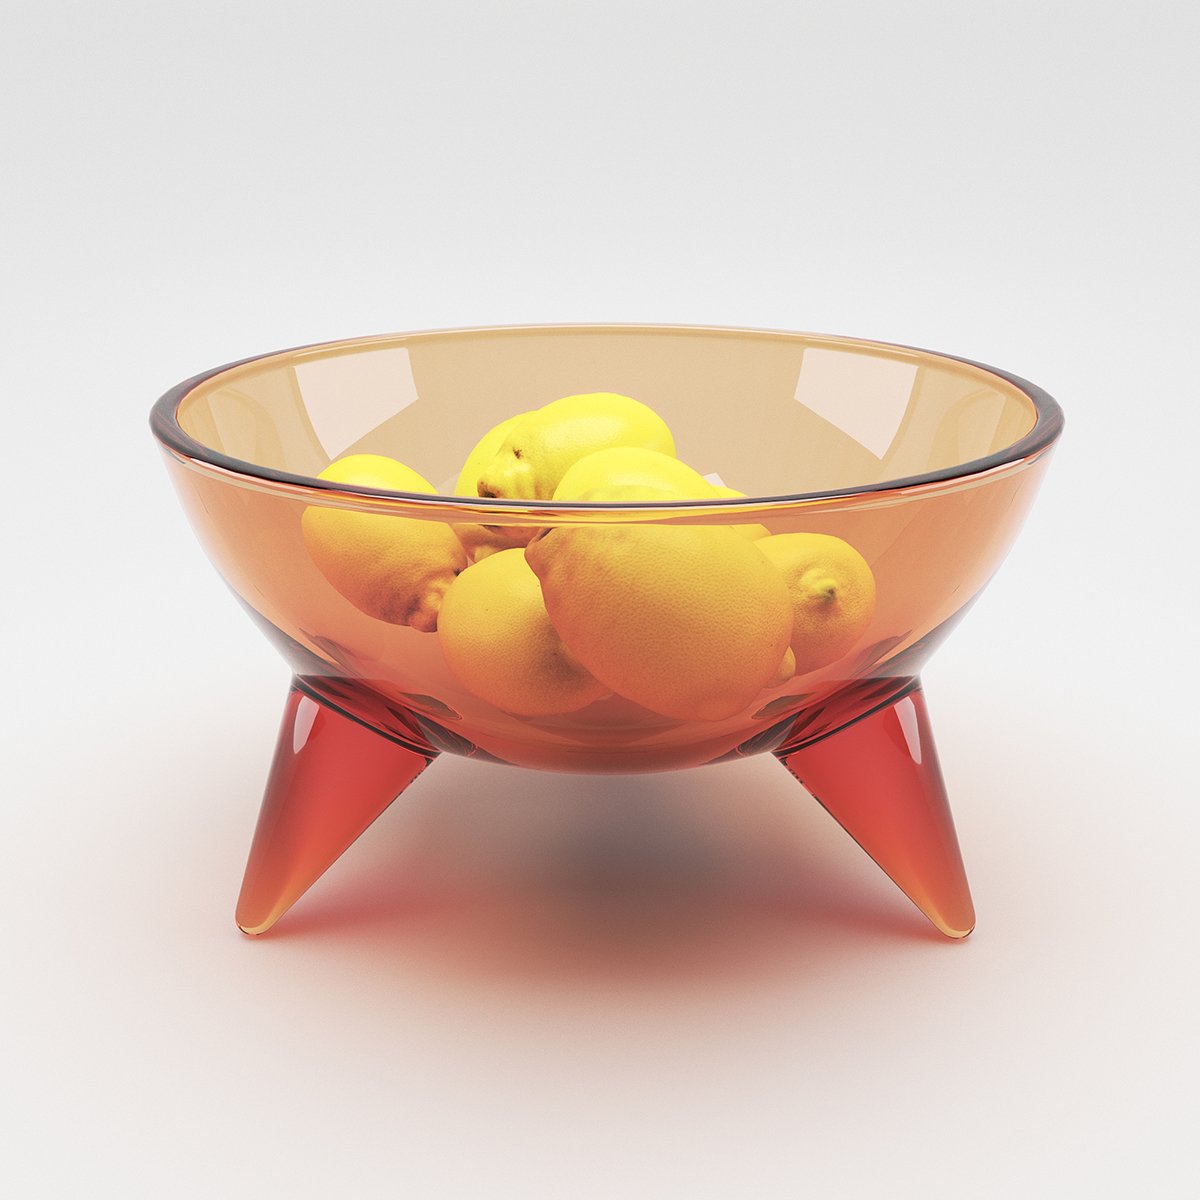
Fog Color – Specifies the attenuation of light as it passes through the material. This option allows you to simulate the fact that thick objects look less transparent than thin objects. Note that the effect of the fog color depends on the absolute size of the objects and is therefore scene-dependent. This parameter also determines the look of the object when using translucency. This parameter can be mapped with a texture. It is recommended that you use a 3D texture for the purpose. For more information, see the Fog Color example.
Depth (cm) – Controls the strength of the fog effect. Higher values reduce the effect of the fog, making the material more transparent. Smaller values increase the fog effect, making the material more opaque. See the Fog Depth example.
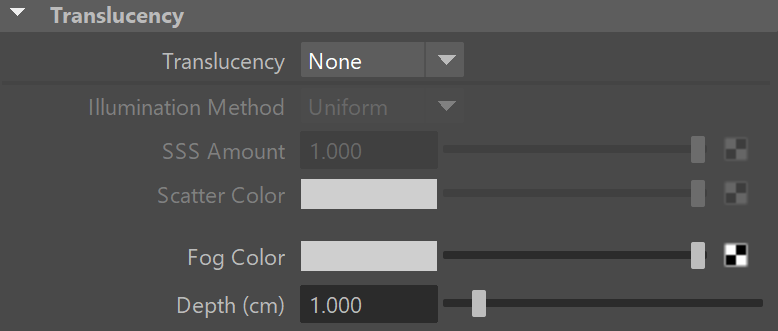
Volumetric
Illumination Method – Determines how illumination is computed for sub-surface scattering.
Uniform – Scatters light uniformly inside the material. Useful for recreating skin and such translucent materials.
Directional – Scatters more light in the direction from which a light source illuminates the surface. This method requires the Affect Shadows option to be enabled so that shadows extend below the surface. Directional Illumination Method may also produce a faceted look on low-poly objects.
SSS Amount – Blends between full scattering and pure refraction.
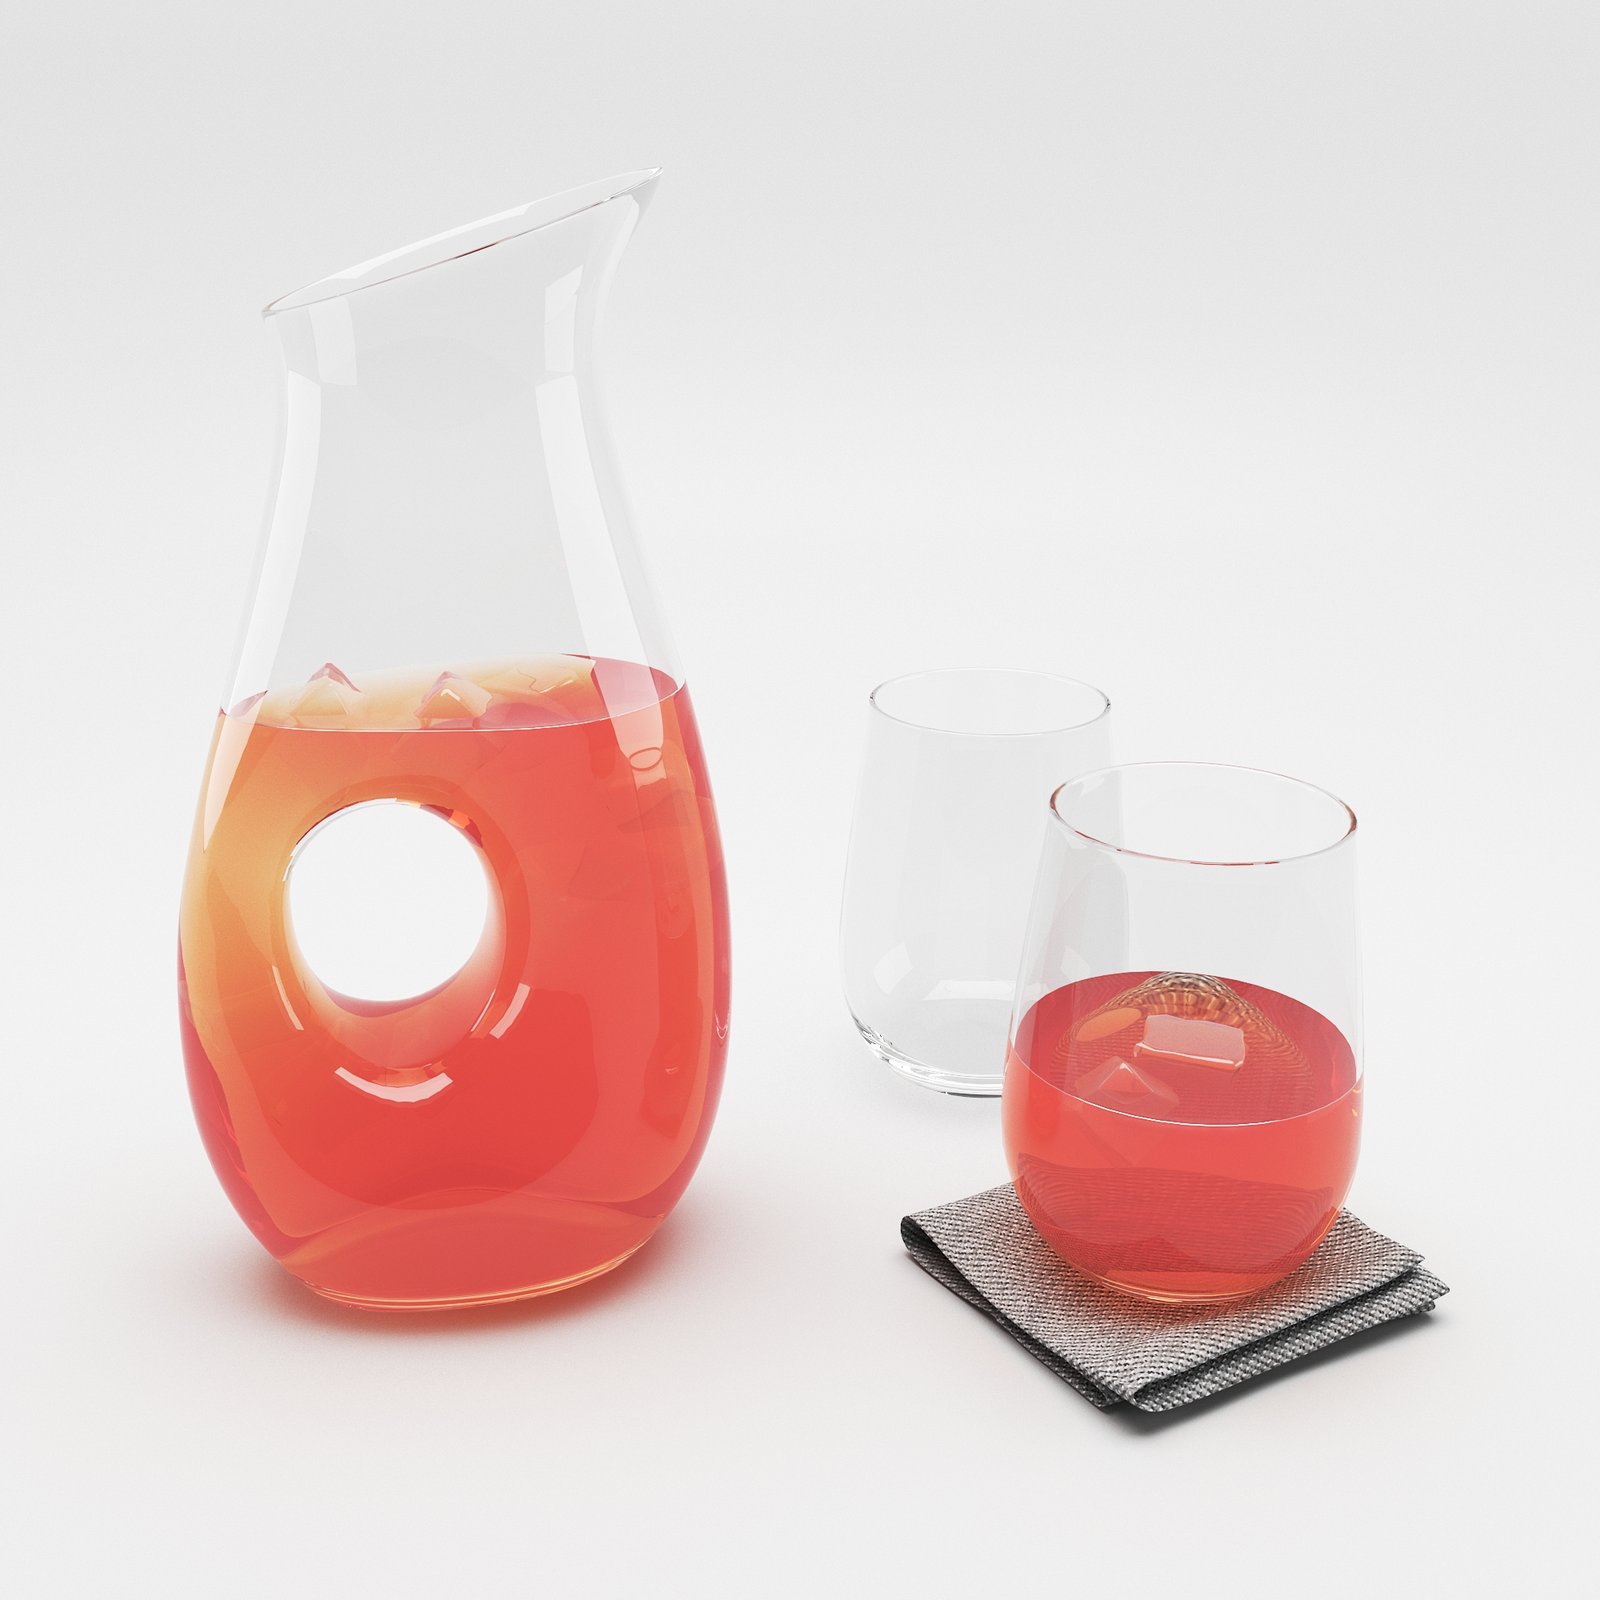
Scatter Color – Controls the scattering. See the Scatter Color example below.
Fog Color – Controls the absorption of the material.
Depth (cm) – Controls the strength of the fog effect. Higher values reduce the effect of the fog, making the material more transparent. Smaller values increase the fog effect, making the material more opaque. See the Fog Depth example.
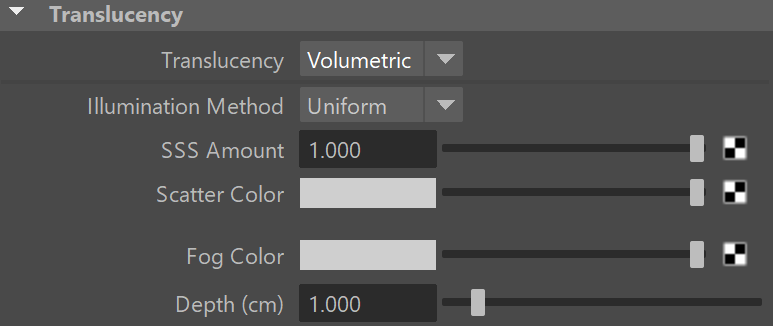
SSS
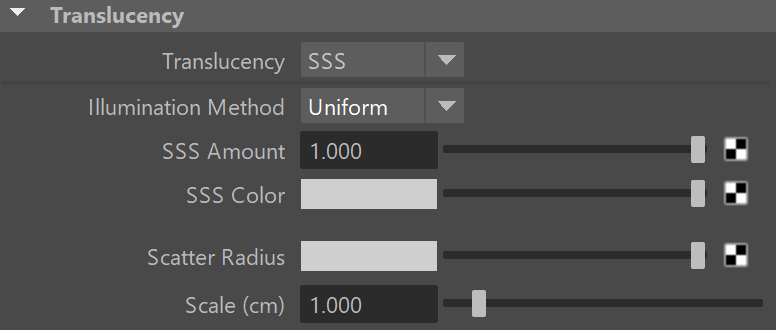
Illumination Method – Determines how illumination is computed for sub-surface scattering.
Uniform – Scatters light uniformly inside the material. Useful for recreating skin and such translucent materials.
Directional – Scatters more light in the direction from which a light source illuminates the surface. This method requires the Affect Shadows option to be enabled so that shadows extend below the surface. Directional Illumination Method may also produce a faceted look on low-poly objects.
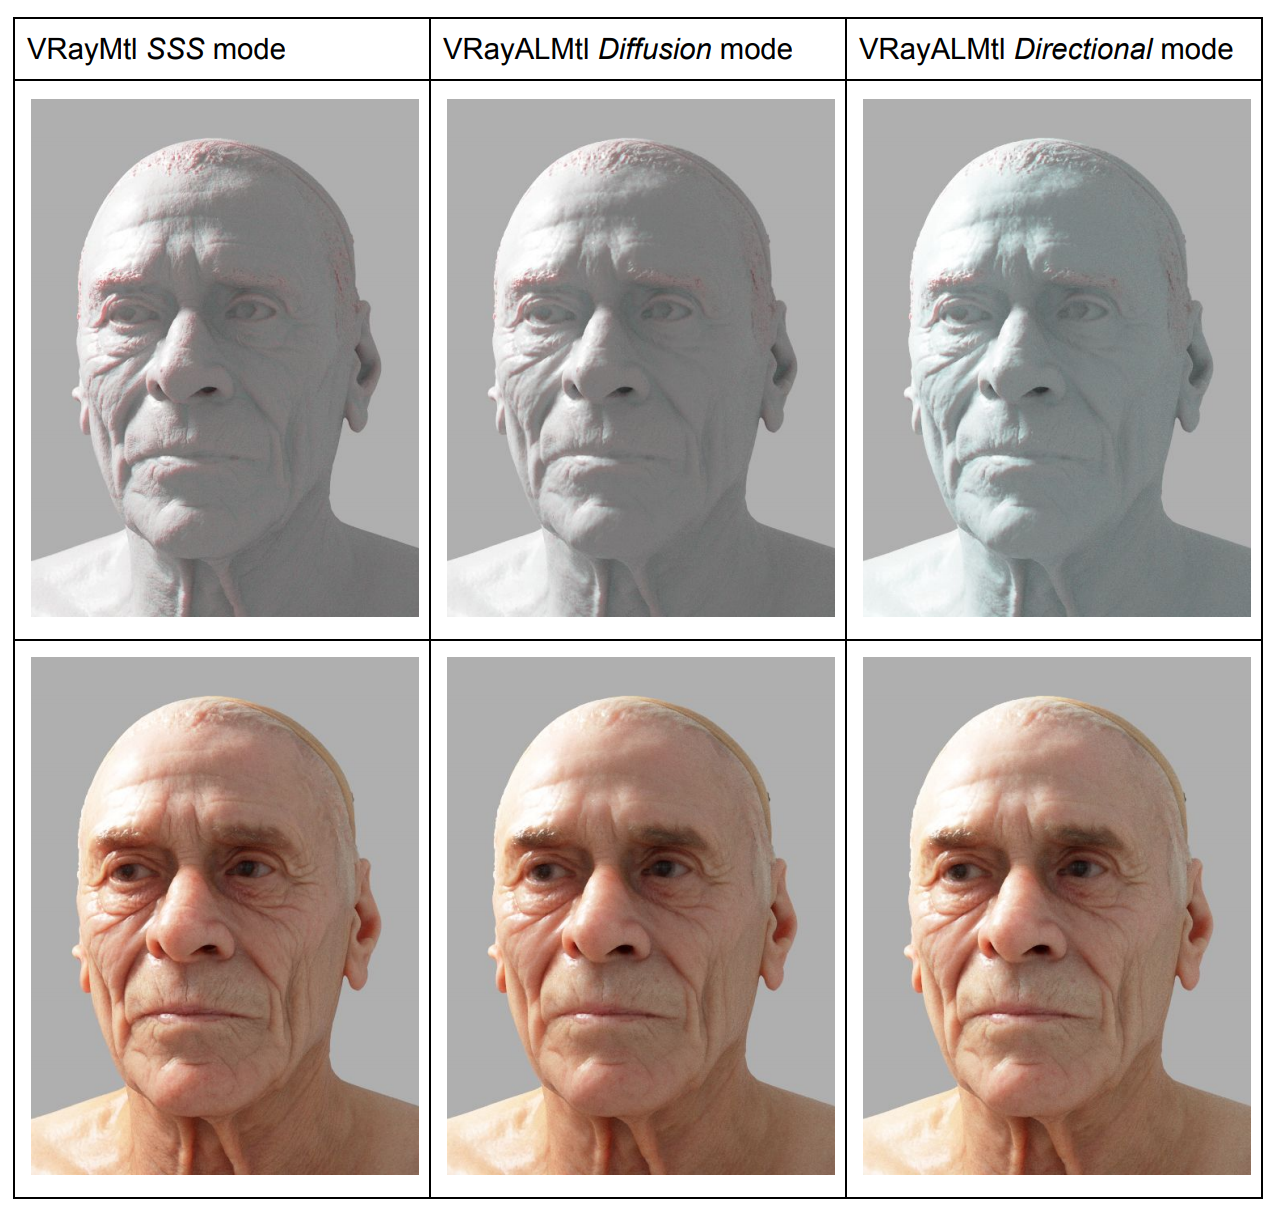
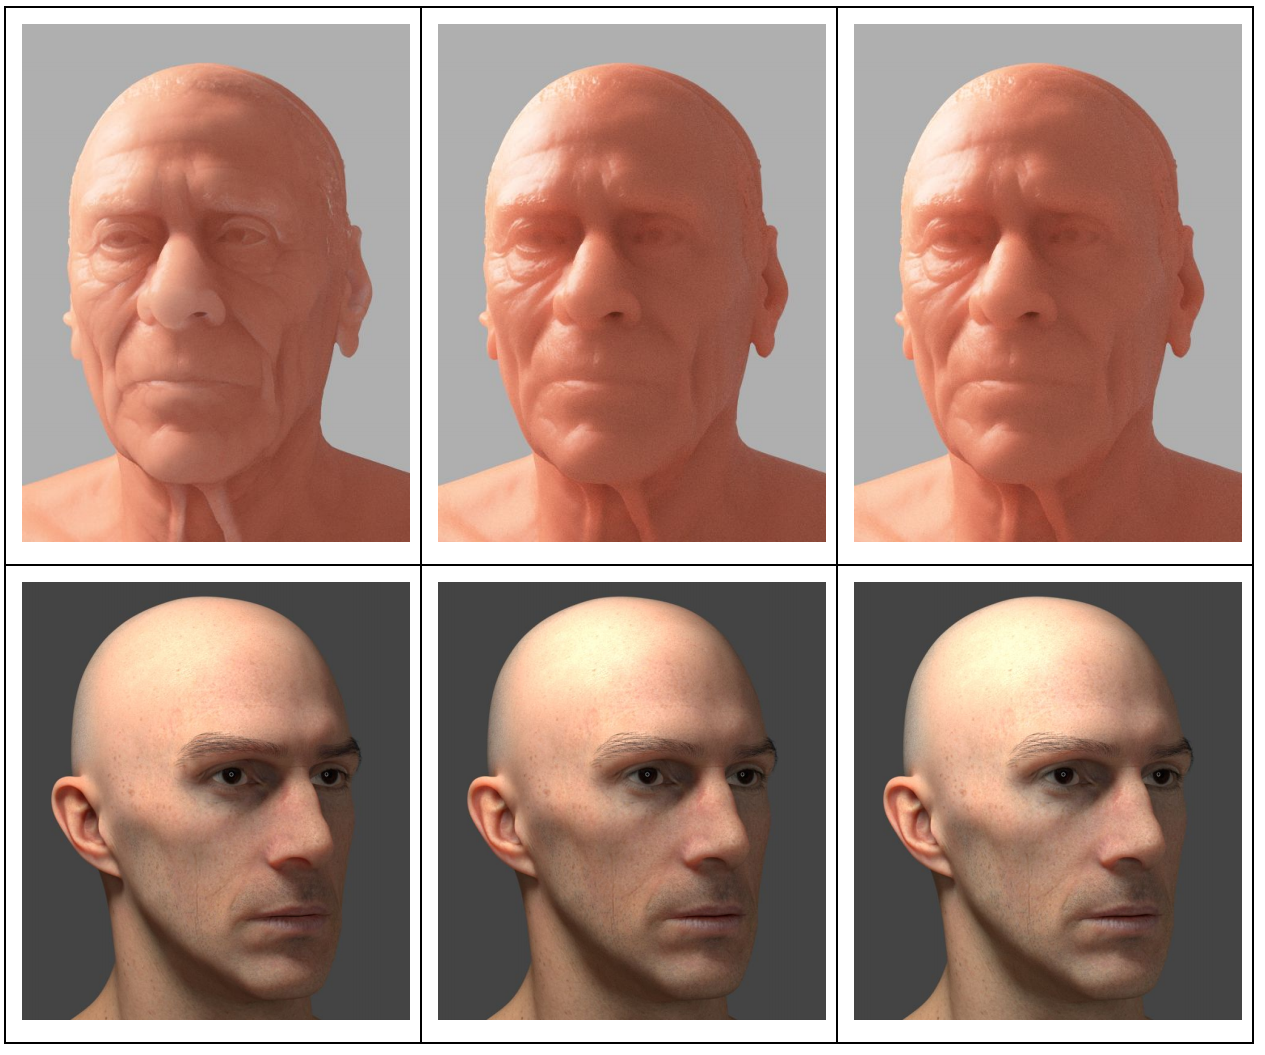
SSS Amount – Blends between the diffuse color of the material and the SSS effect by reducing the diffuse component of the material and replacing it with the sub-surface scattering effect.
SSS Color – Determines the overall surface appearance.
Scatter Radius – Controls how far each of the red/green/components travels inside the volume.
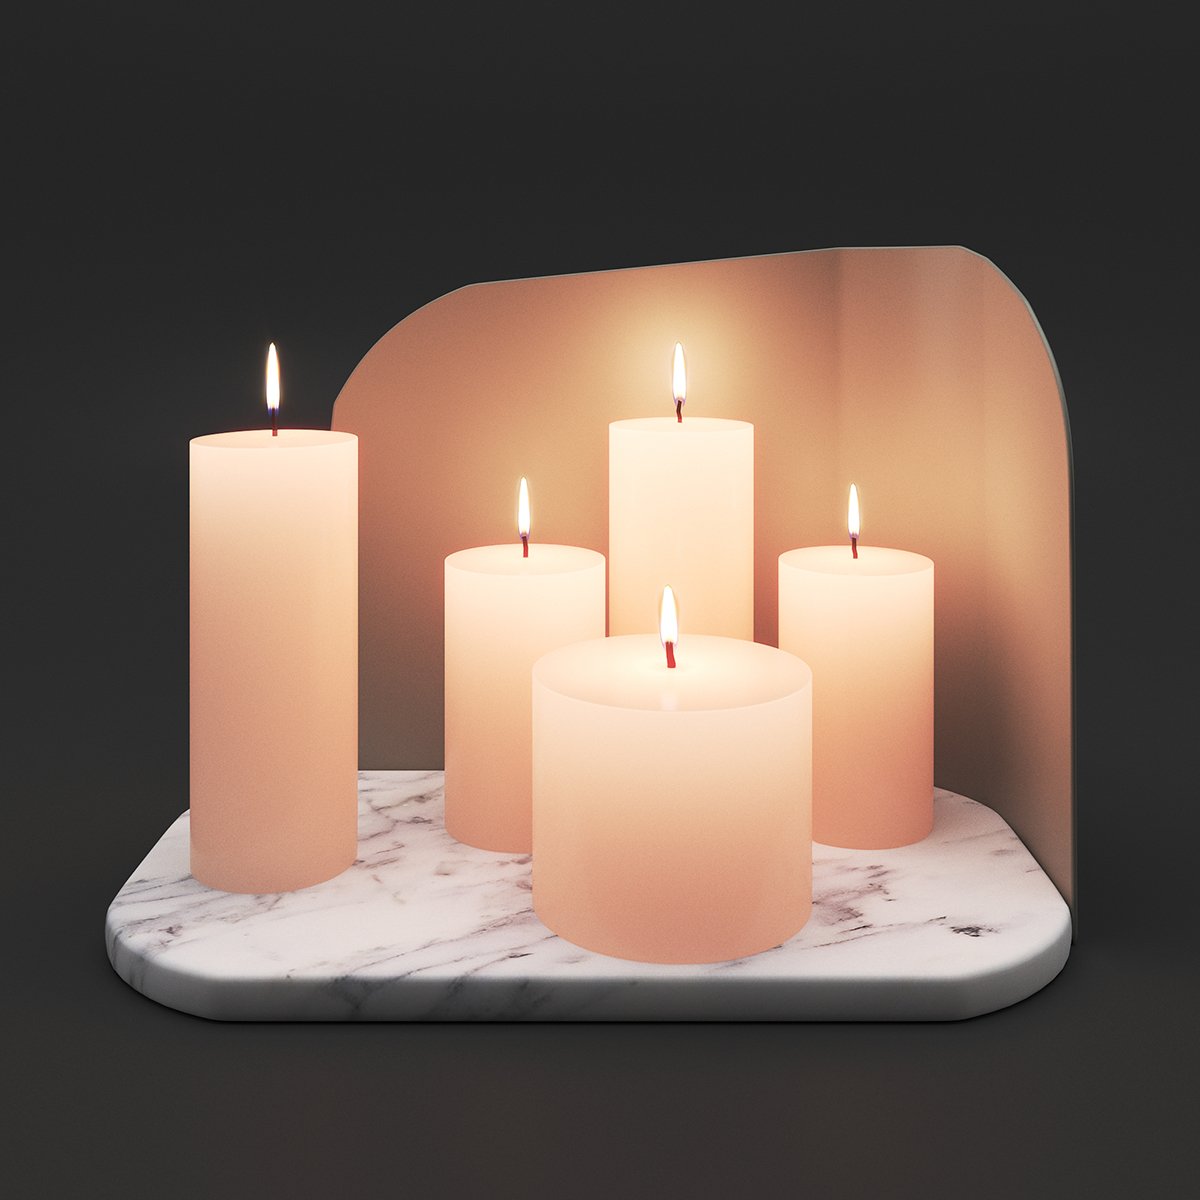
Scale (cm) – Controls the strength of the SSS effect. See the Scale (cm) example below.
Example: Fog Depth
This example demonstrates the effect of the Depth parameter. Translucency is set to None.

Depth
= 5
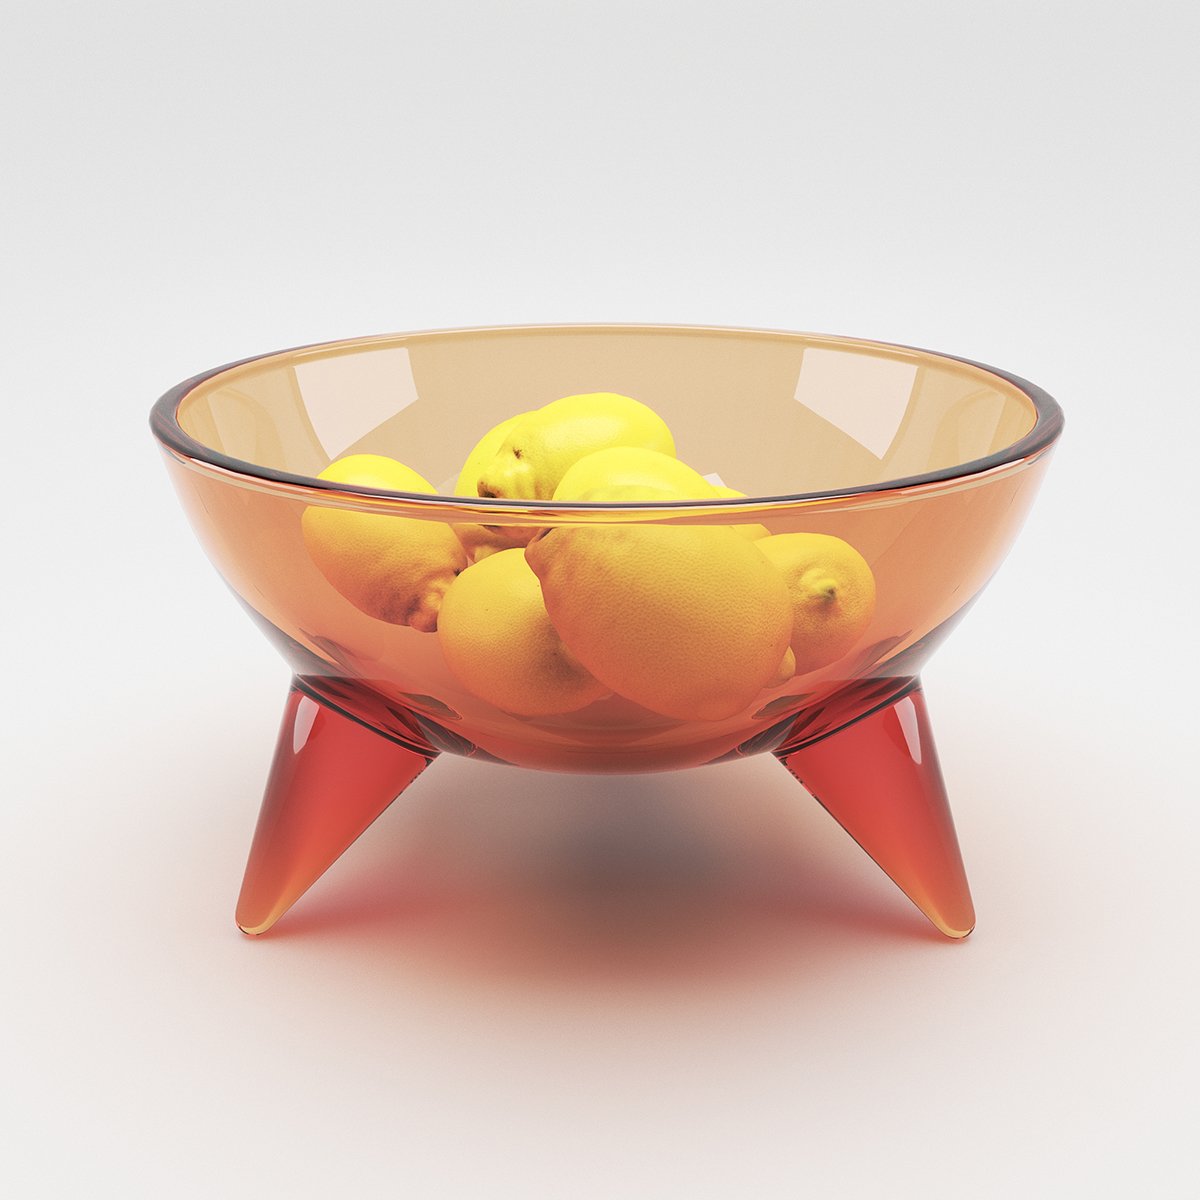
Depth
= 0.5
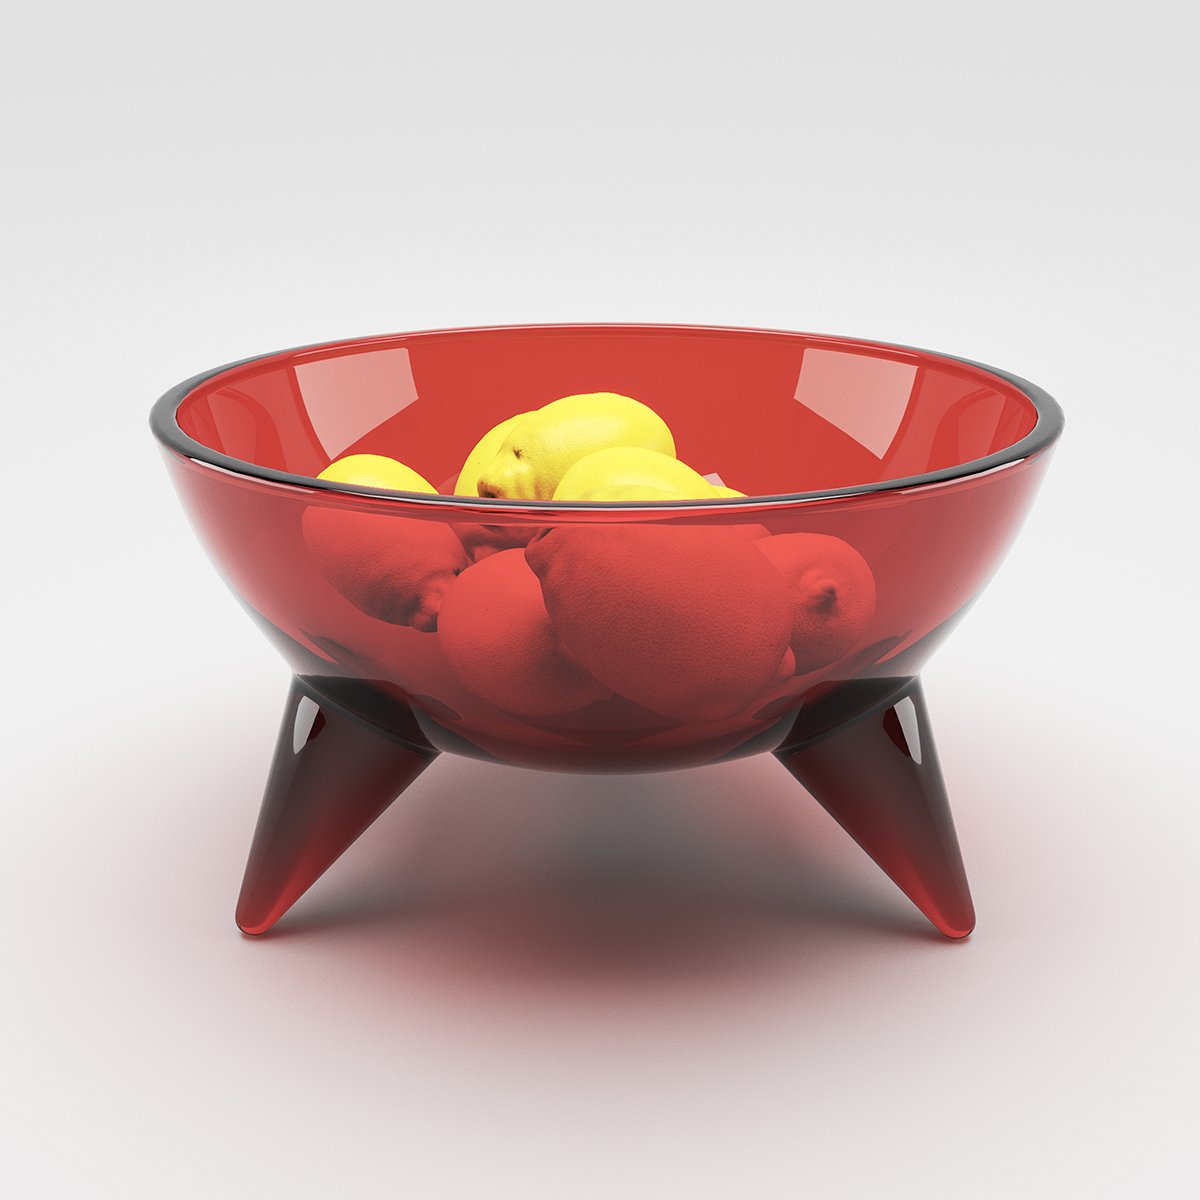
Depth
= 0.1
Example: Fog Color
This example demonstrates the effect of the Fog color parameter. Notice that we are changing
the hue value of the Fog color. Translucency is set to None.
Fog color (HSV) Hue
= 42
Fog color (HSV) Hue
= 128
Fog color (HSV) Hue
= 17
Example: Scatter Color
This example demonstrates the effect of the Scatter color parameter. Translucency is set to
Volumetric.
Scatter color
= RGB (250, 20, 30)
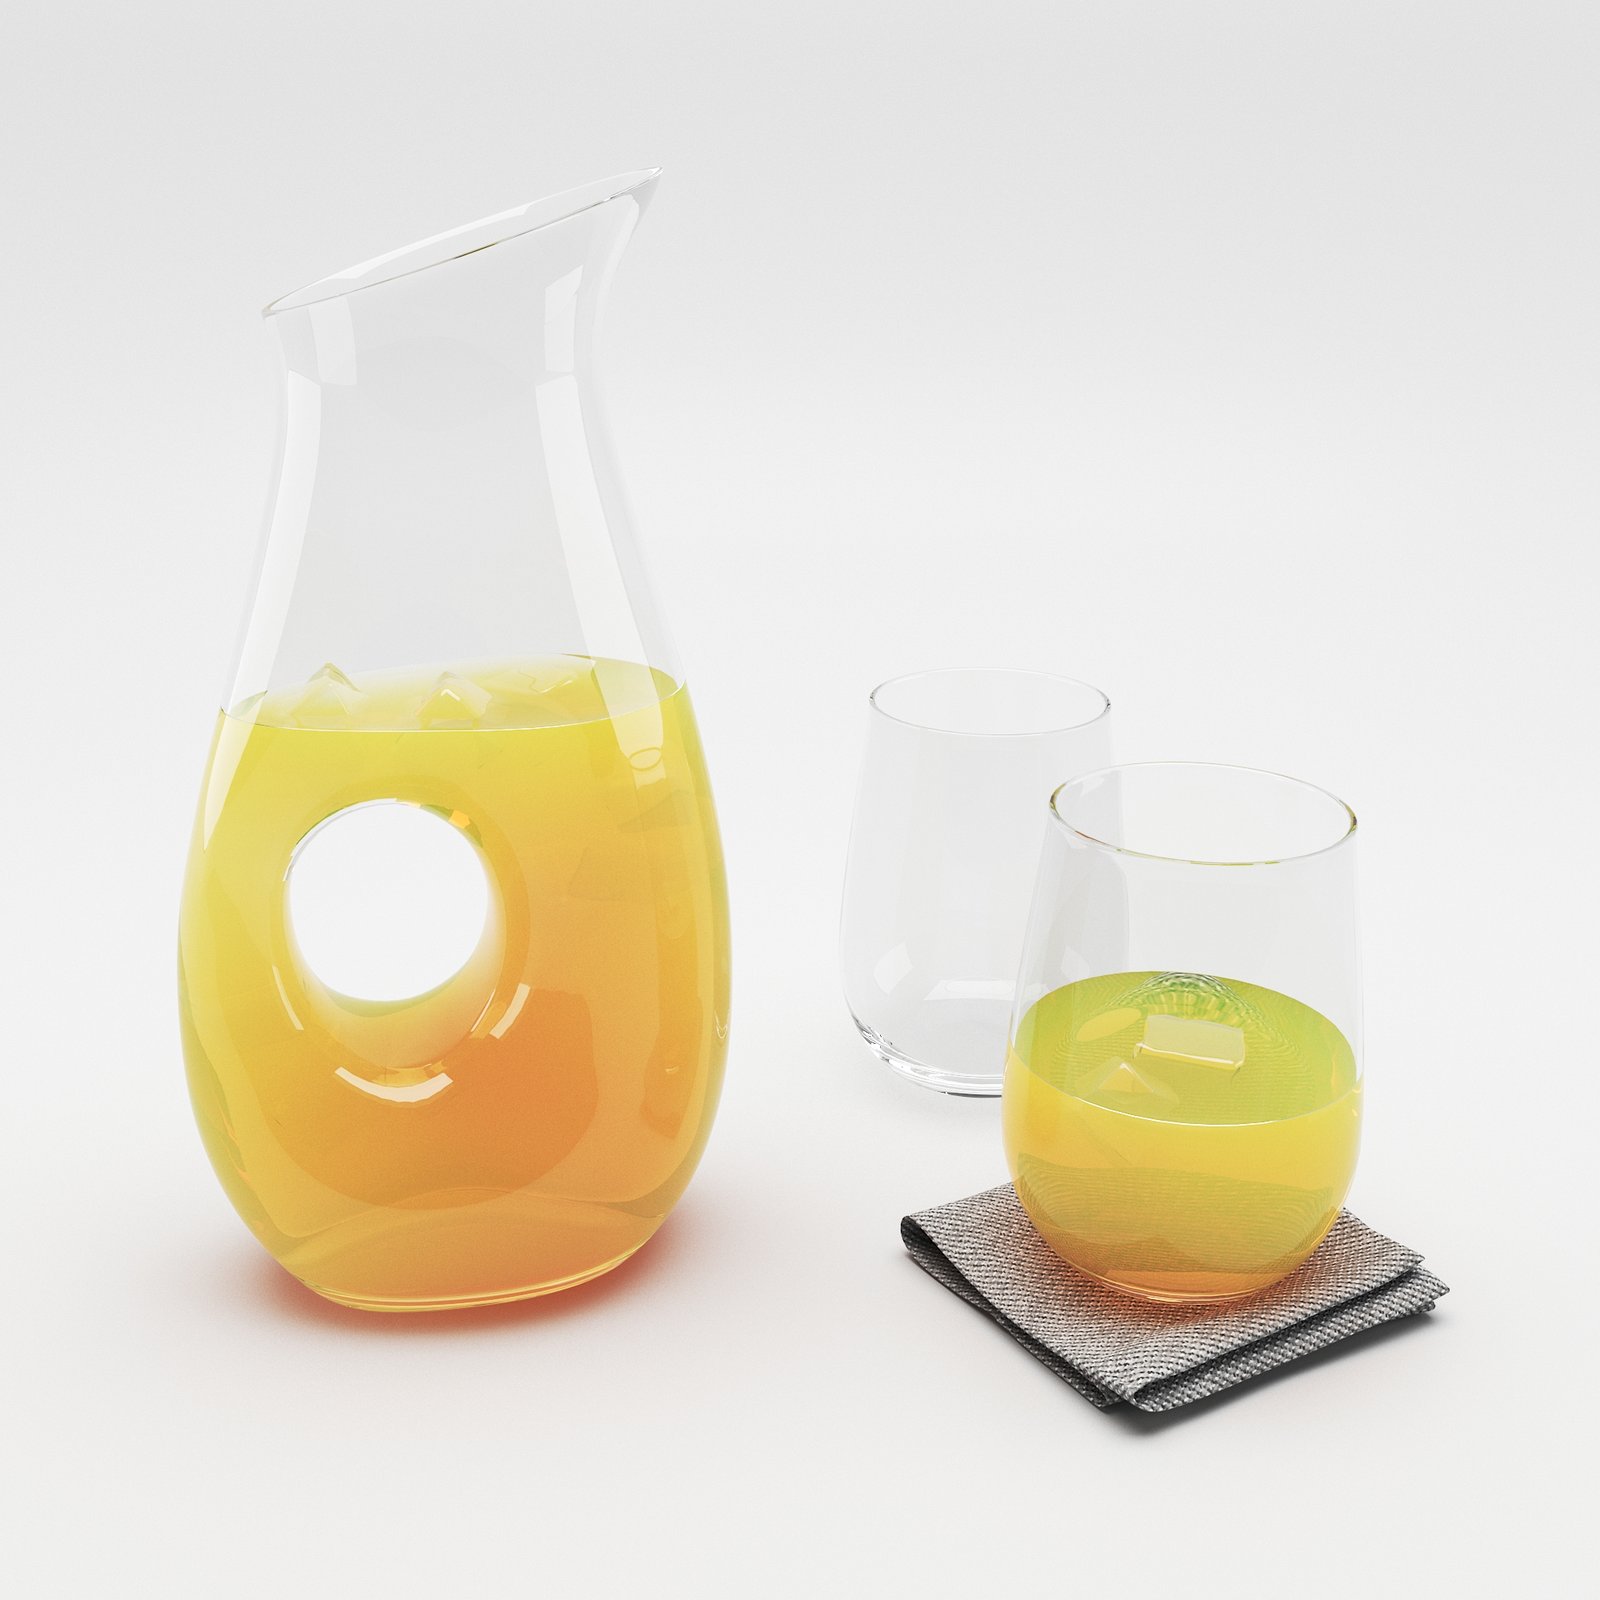
Scatter color
= RGB (240, 202, 23)
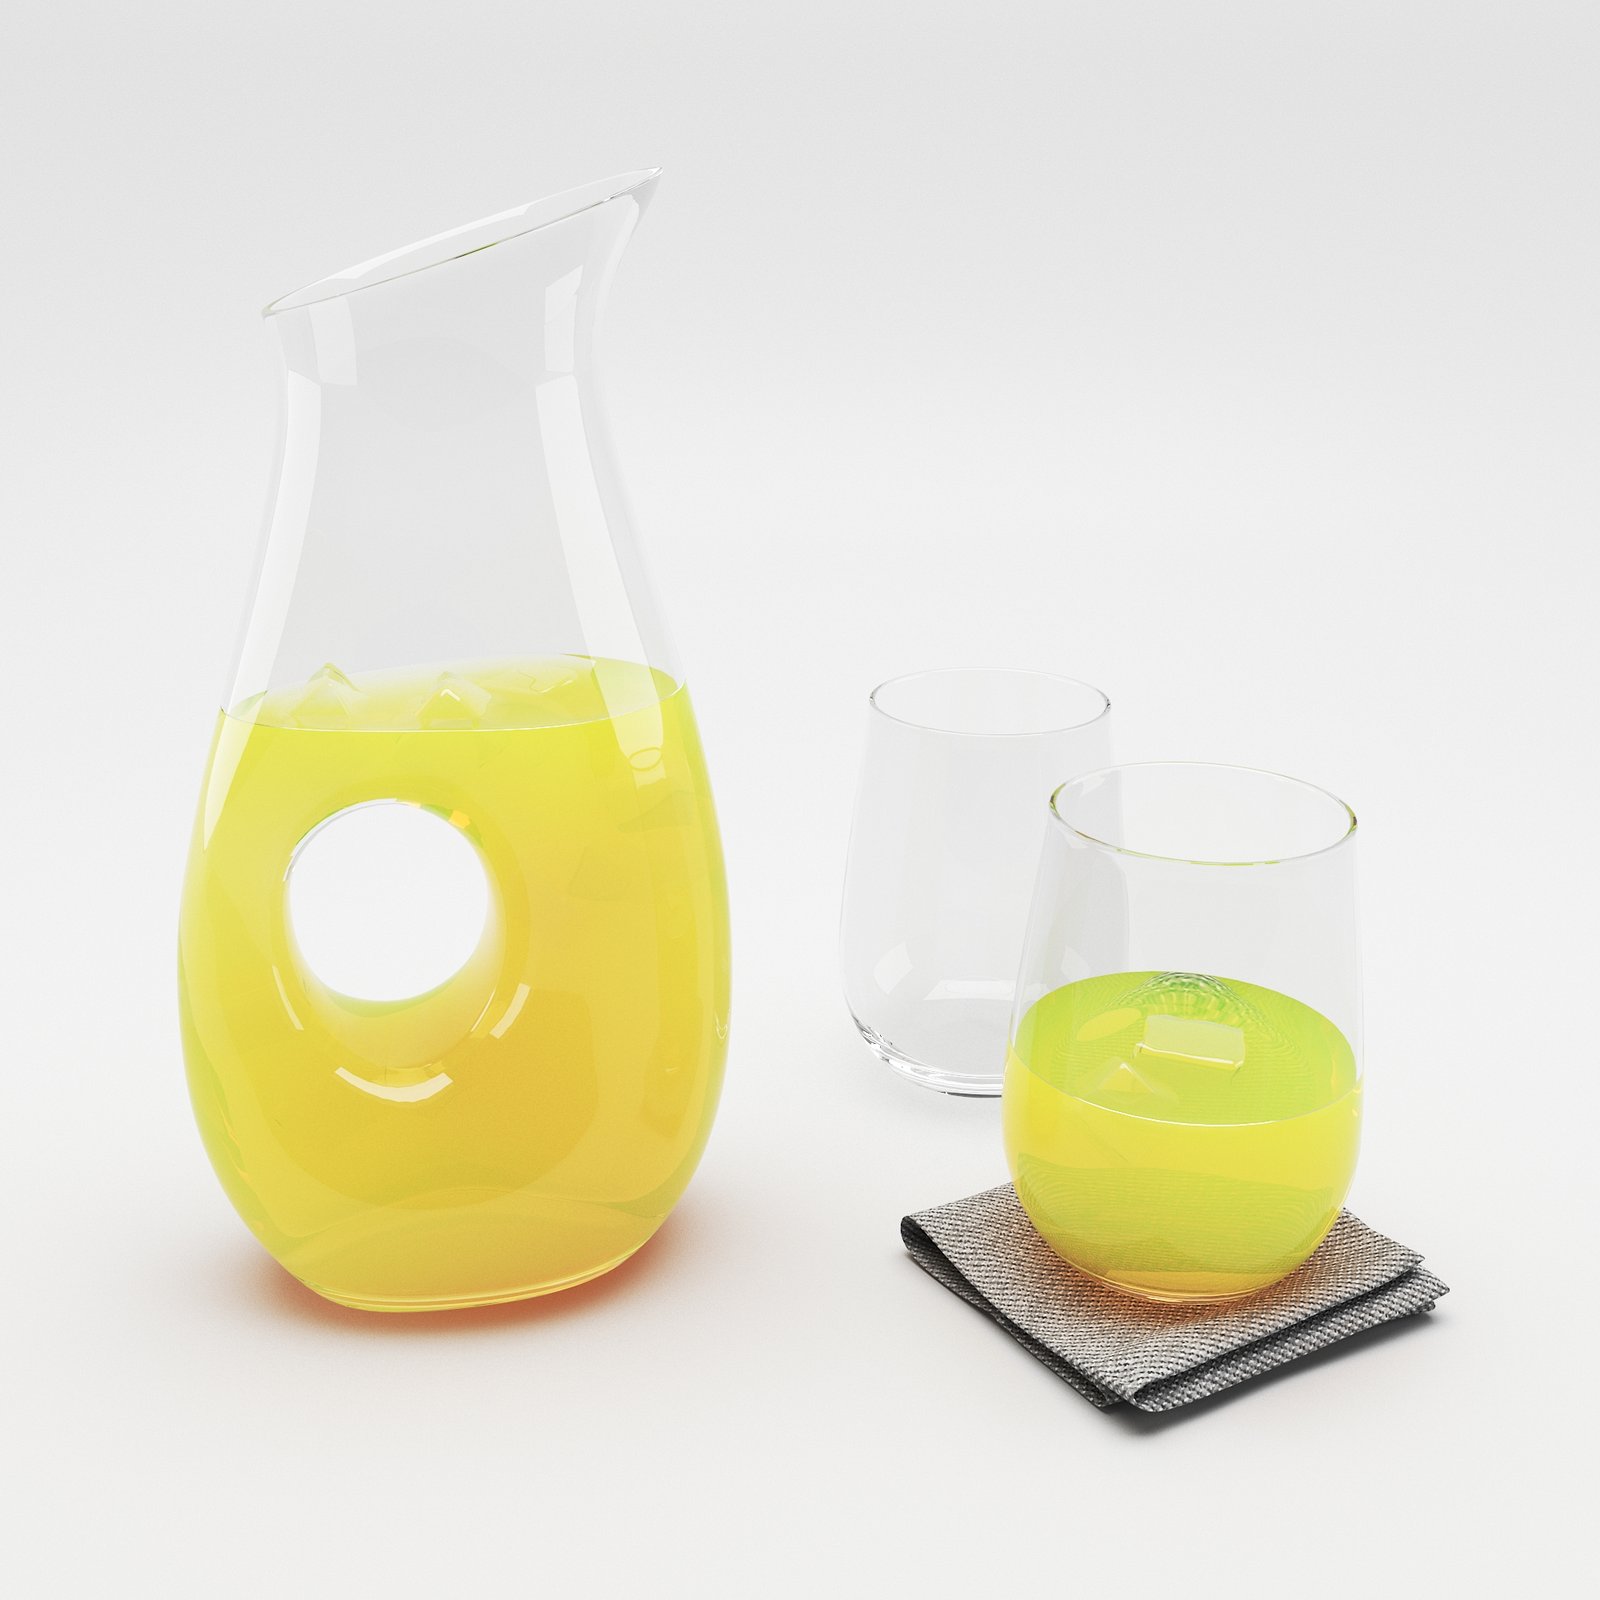
Scatter color
= RGB (250, 236, 5)
Example: Scale (cm)
This example demonstrates the effect of the Scale (cm) parameter. Translucency is set to SSS.
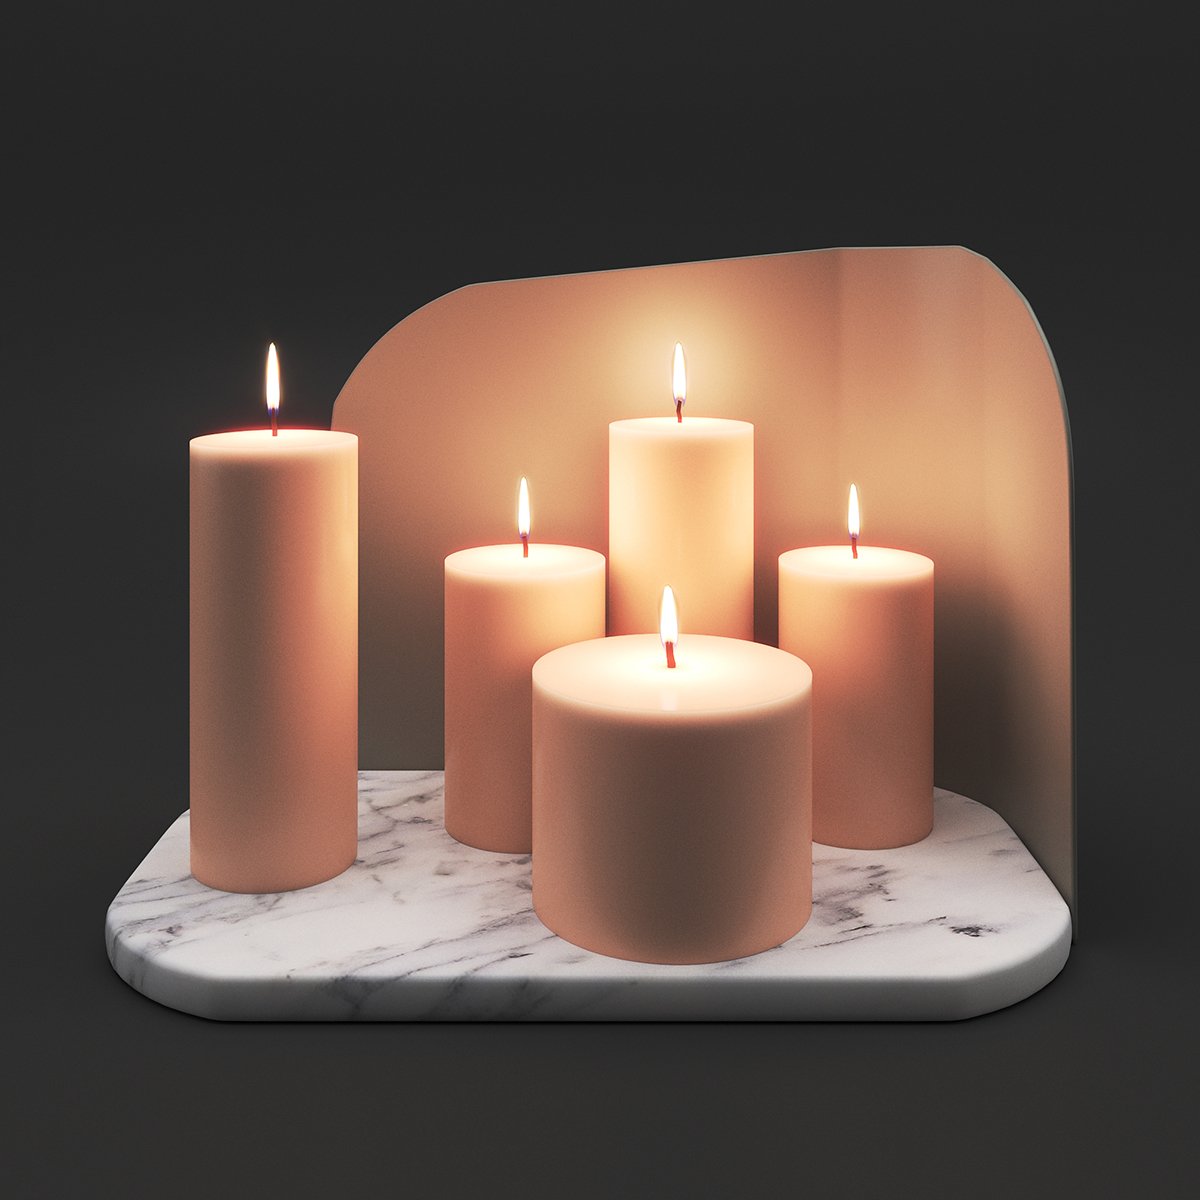
Scale (cm)
= 1 cm
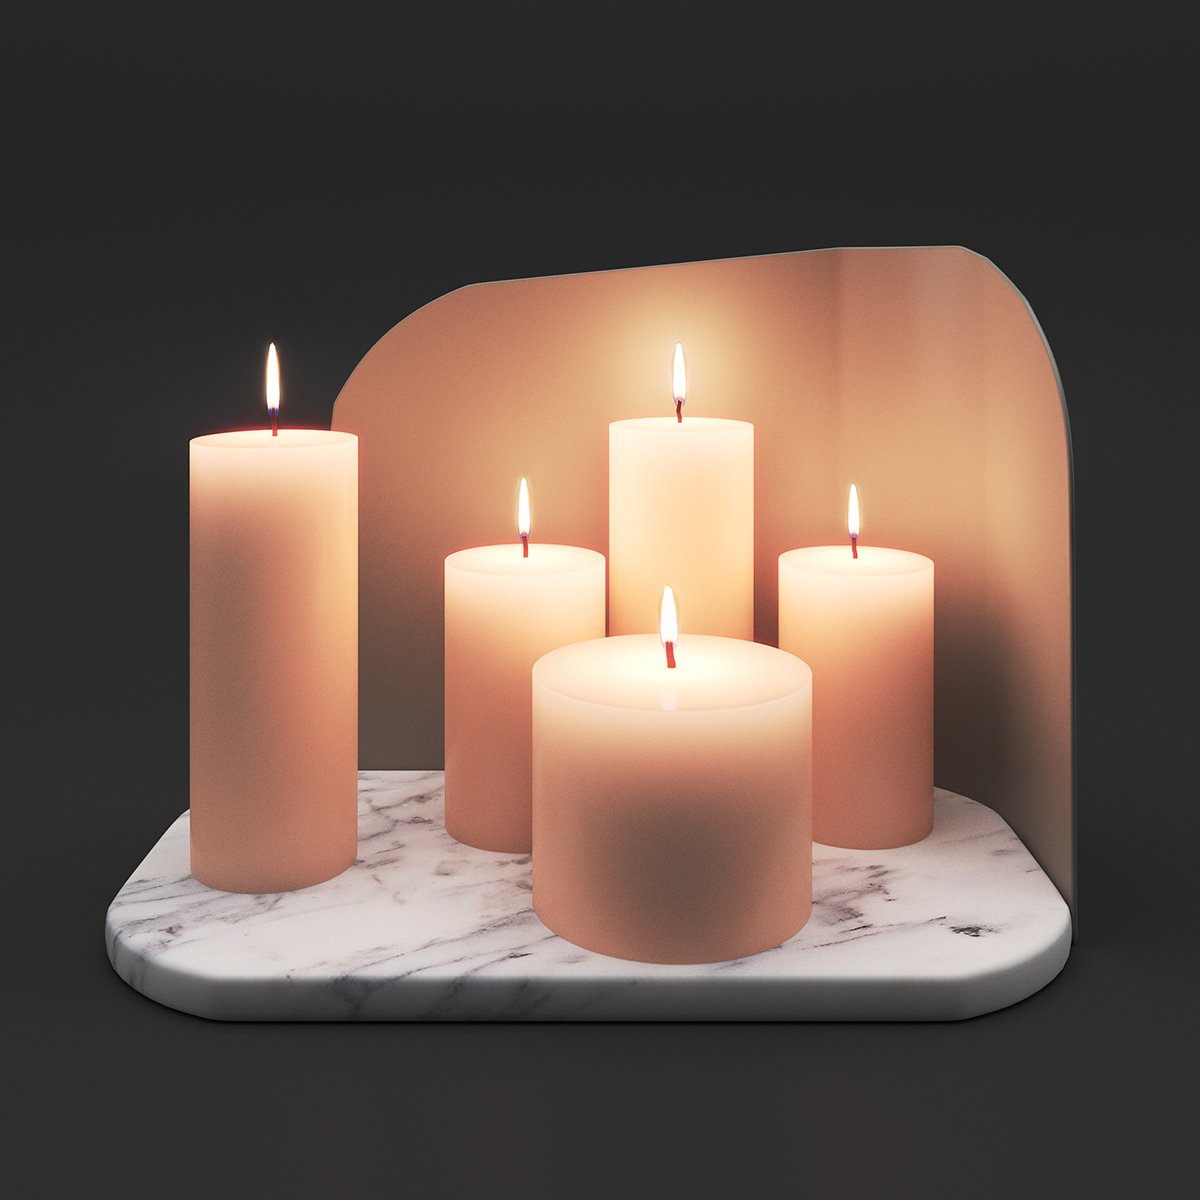
Scale (cm)
= 5 cm
Scale (cm)
= 15 cm
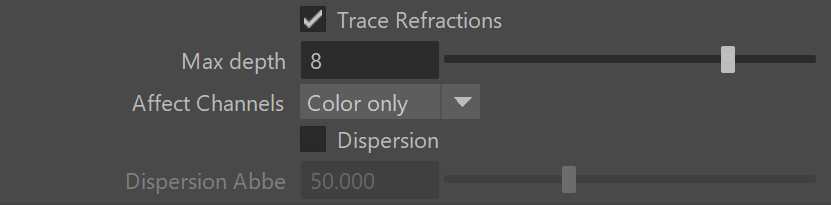
Refraction - advanced
Trace Refractions – Enables refractions for the current material.
Max depth – The number of times a ray can be refracted. Scenes with lots of refractive and reflective surfaces may require higher values to look correct. See the Refraction Depth example for illustration.
Affect Channels – Allows the user to specify which channels are going to be affected by the transparency of the material.
Color Only – The transparency affects only the RGB channel of the final render.
Color+alpha – This will cause the material to transmit the alpha of the refracted objects, instead of displaying an opaque alpha.
All channels – All channels and render elements are affected by the transparency of the material. This option is useful to get Matte render elements (e.g. Cryptomatte, Matte ID, etc.) in the refractions.
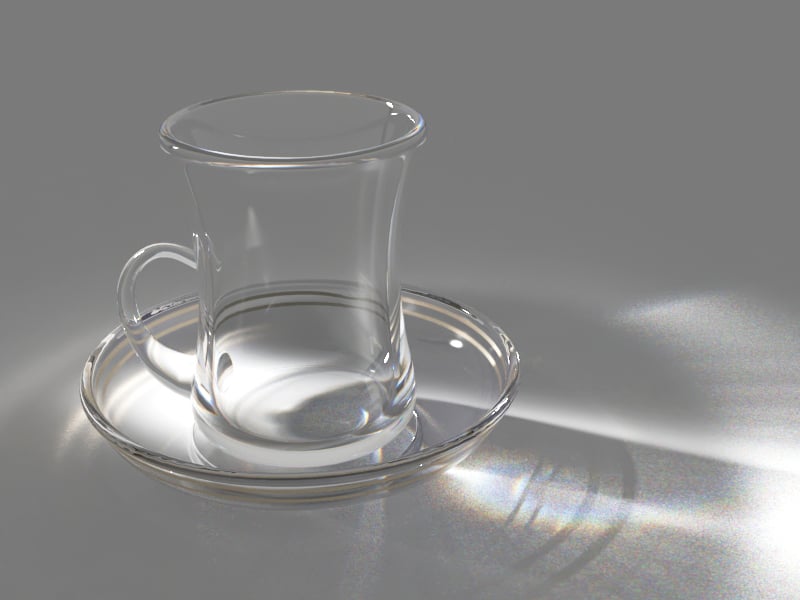
Dispersion – Enables the calculation of true light wavelength dispersion.
Dispersion Abbe – Allows the user to increase or decrease the dispersion effect. Lowering it widens the dispersion and vice versa. See the Dispersion Abbe example for illustration.
When the Shading Model is set to OpenPBR, this menu is renamed to Transmission - advanced. All parameters function normally.
To find out why it is renamed, read the OpenPBR article.
Example: Refraction Depth
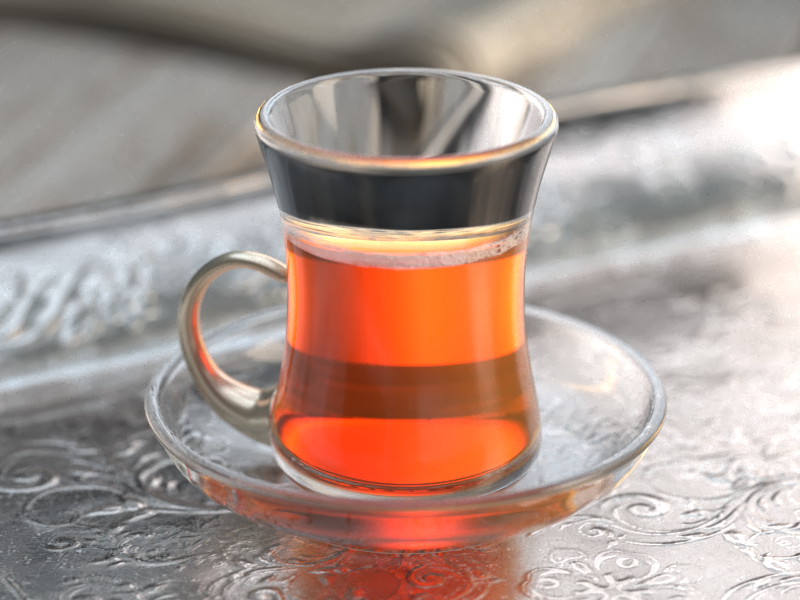
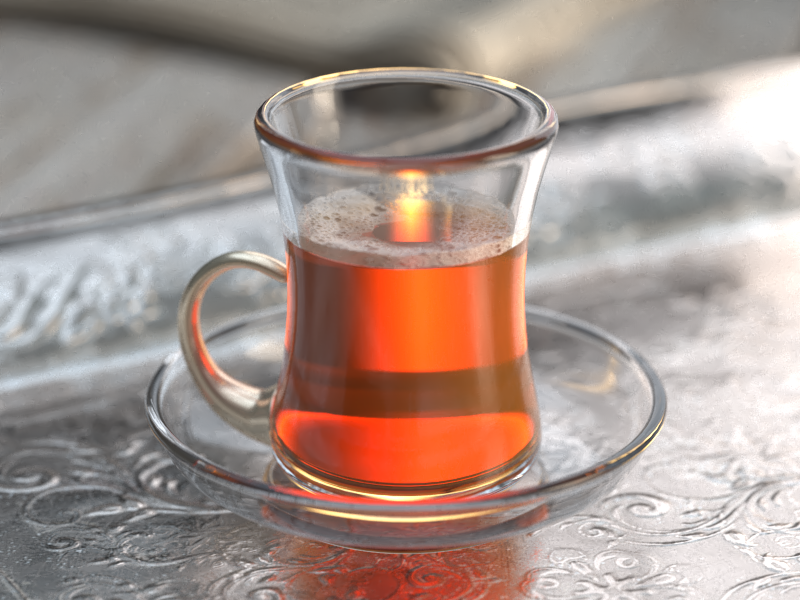
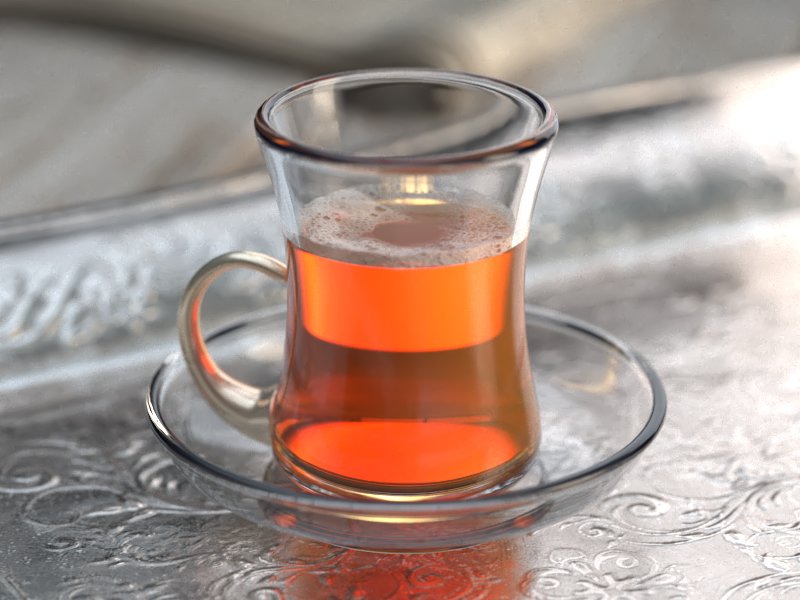
This example demonstrates the effect of the refraction Max depth parameter. Note how too low of a refraction depth produces incorrect results. Also, in the last two examples, note how areas with total internal reflection are also affected by the Reflection Max depth.
Refraction Max Depth
= 1
Refraction Max Depth
= 5
Refraction Max Depth
= 10
Example: Dispersion Abbe
This example demonstrates the dispersion capabilities of the V-Ray material and the effect of the Dispersion Abbe parameter.
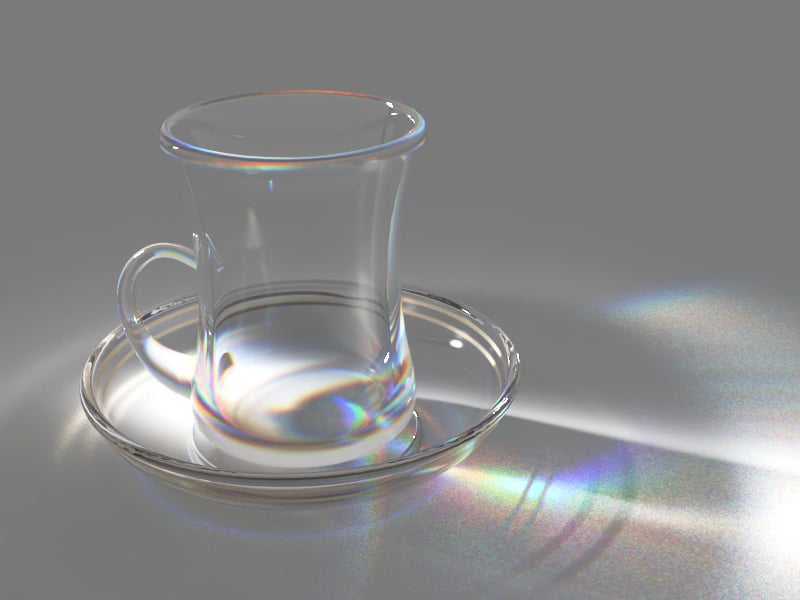
Dispersion Abbe
= 1
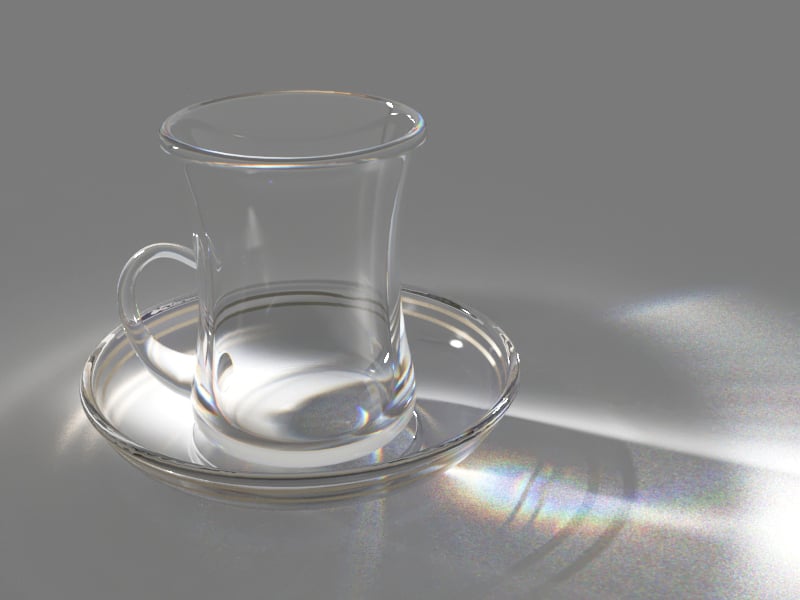
Dispersion Abbe
= 5
Dispersion Abbe
= 10
Quick Caustics - refraction
This rollout provides “quick” caustics settings. Useful when creating simple water scenes. The “quick” caustics are not as physically accurate as the normal V-Ray caustics, but they render faster and are high-quality enough for simple scenes. Quick caustics are supported only with the Light Cache sampler. Light Cache is enabled for production rendering by default. To enable it for IPR, go to the Render Settings > IPR > Shading > Enable Light Cache in IPR. For more details, see the IPR Tab page.
Quick Caustics are not supported on V-Ray GPU.
Refraction Caustics – When enabled, “quick” refraction caustics are traced through the material.
Depth – Determines the maximum distance from the surface at which the effect is visible. Measured in scene units. Use the minimum required depth for optimal render times. See the example.

Example: Quick Caustics - refraction Depth
This example showcases how different Depth values affect the Caustics effect. The Quick Caustics of the reflection are disabled, so none of the caustics are reflected onto the wall. See the Quick Caustics - reflection Depth example to see how reflected caustics look.
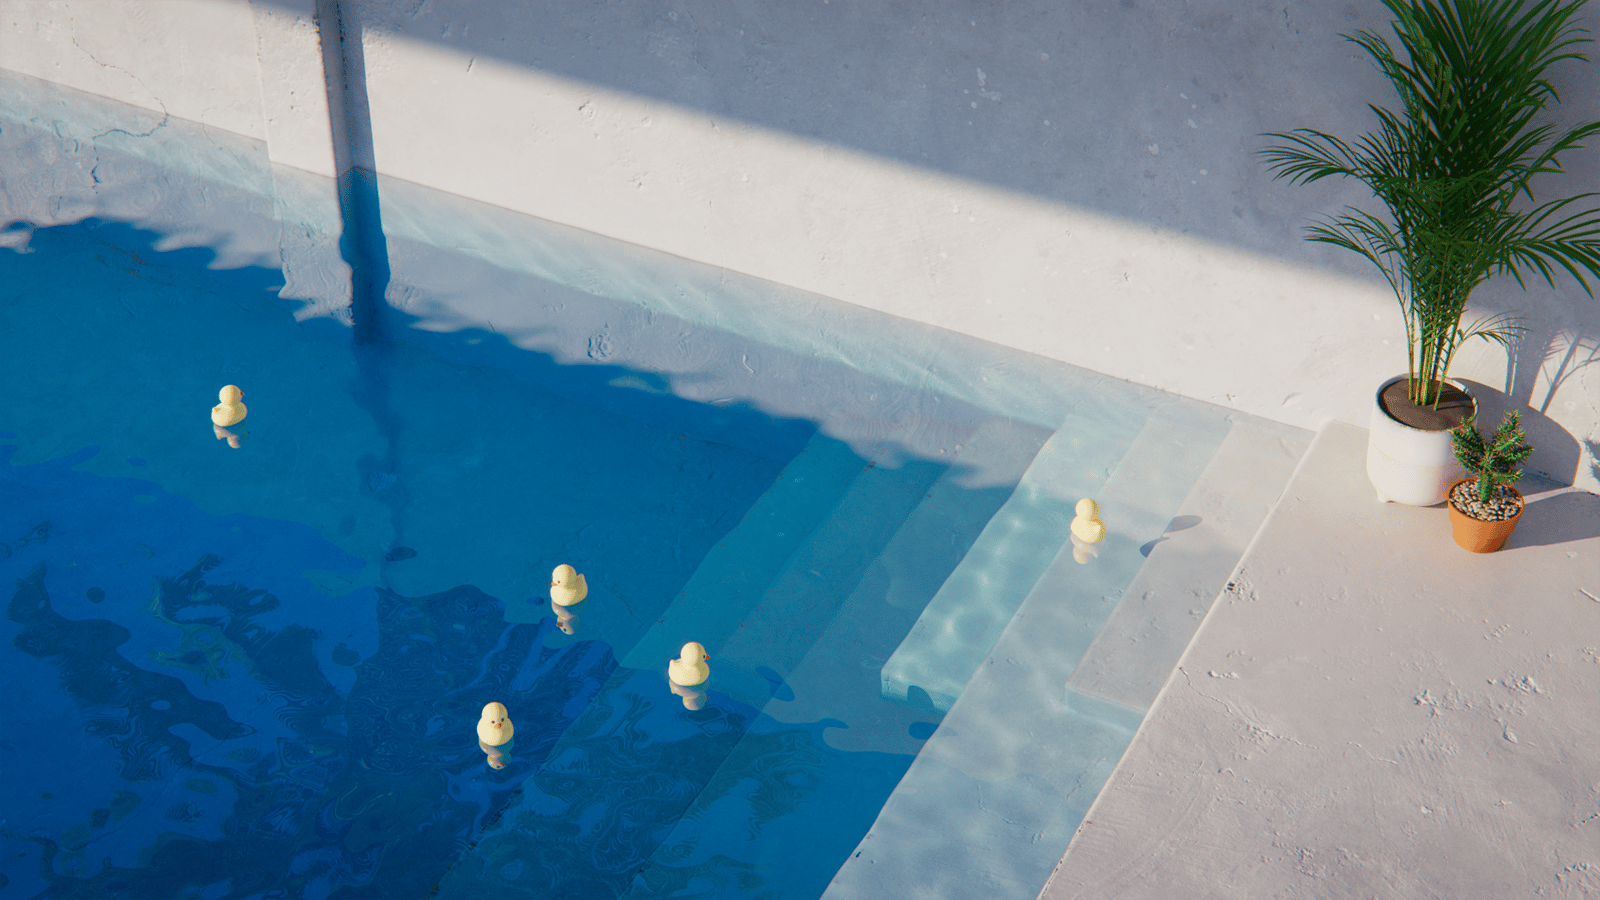
Depth = 100
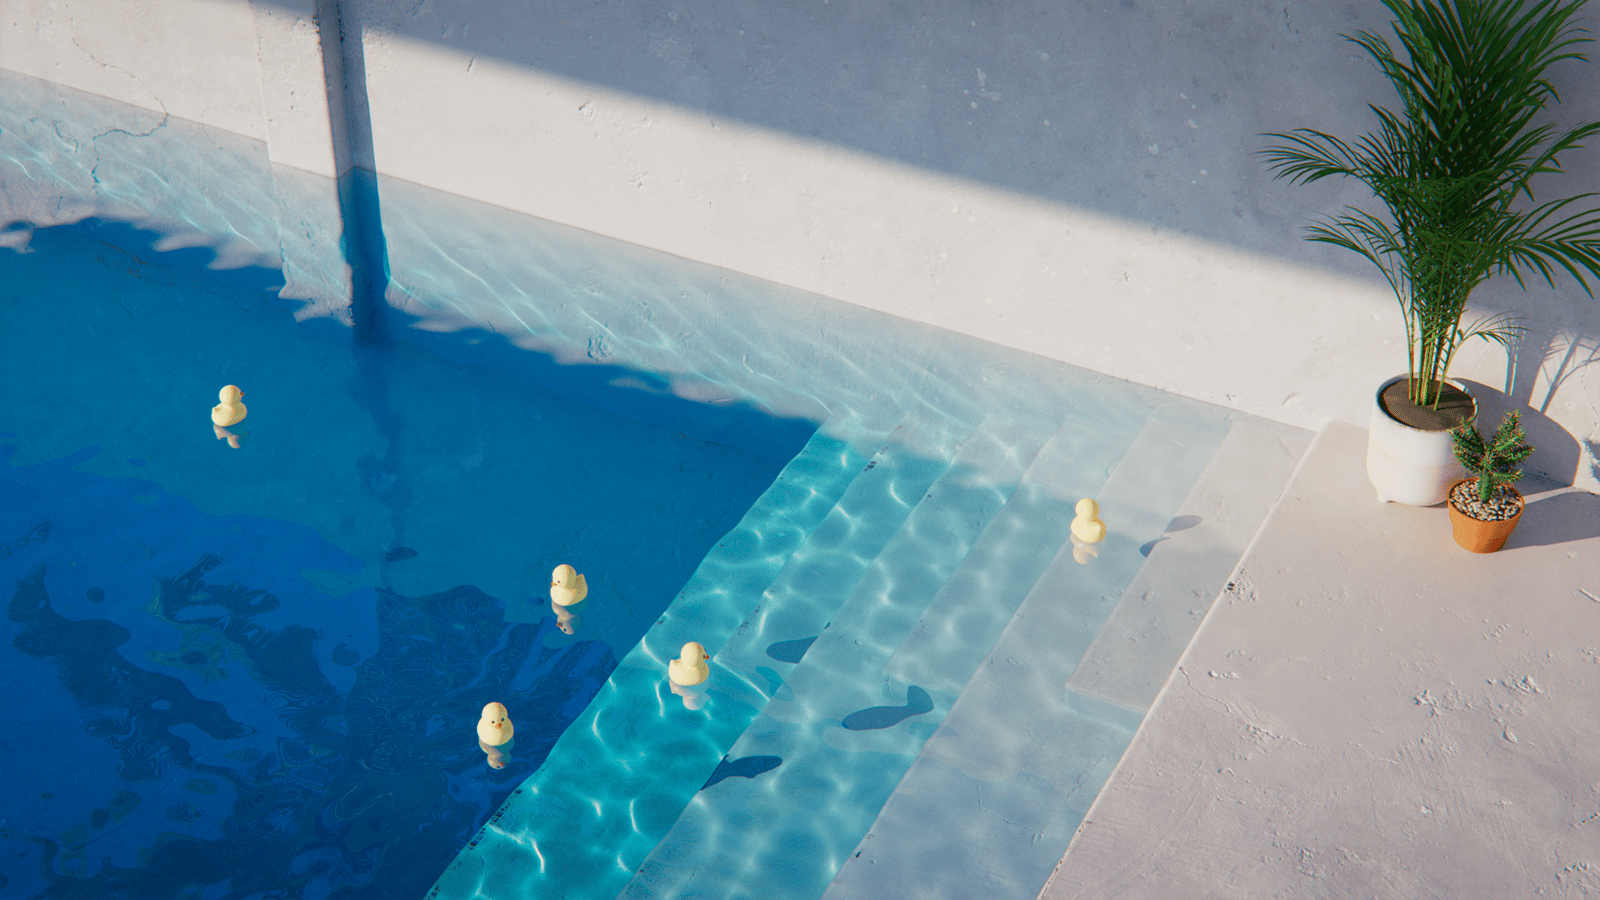
Depth = 200
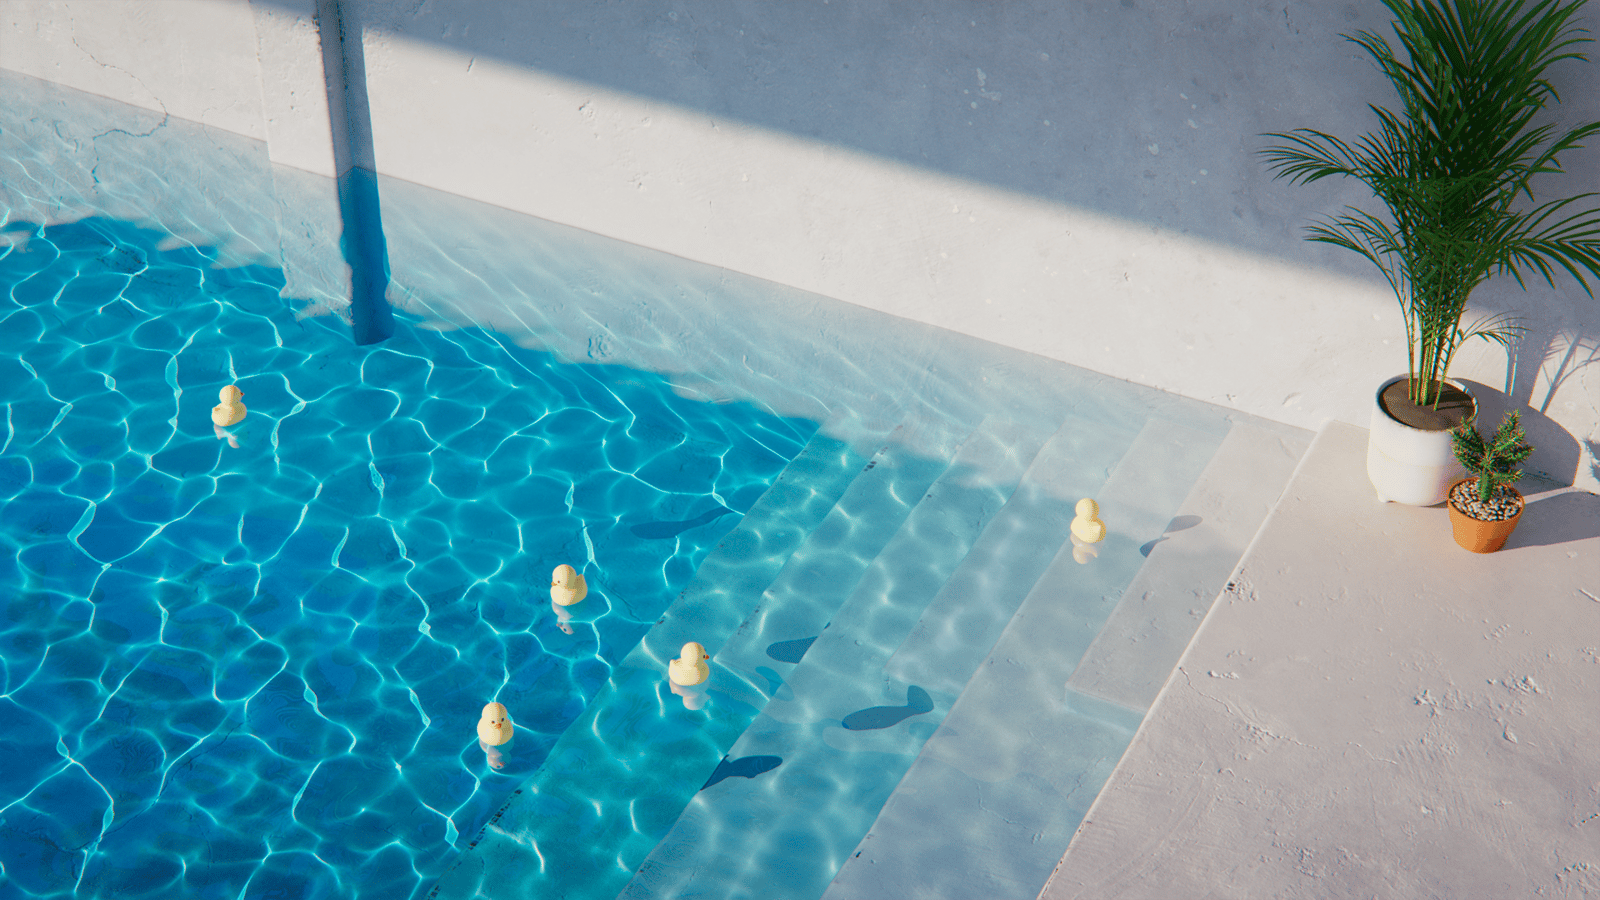
Depth = 300