Use the Camera settings in the V-Ray Asset Editor for SketchUp to control projection, exposure and focus.
Overview
The Camera rollout controls how scene geometry projects onto the image. V-Ray cameras define the rays cast into the scene to create this projection.
Adjust the main settings in the Camera rollout. Use the Advanced Camera Parameters rollout to fine-tune them.
Settings paths
||V-Ray Asset Editor|| > Settings > Camera
||V-Ray Asset Editor|| > Settings > Advanced Camera Parameters
Camera
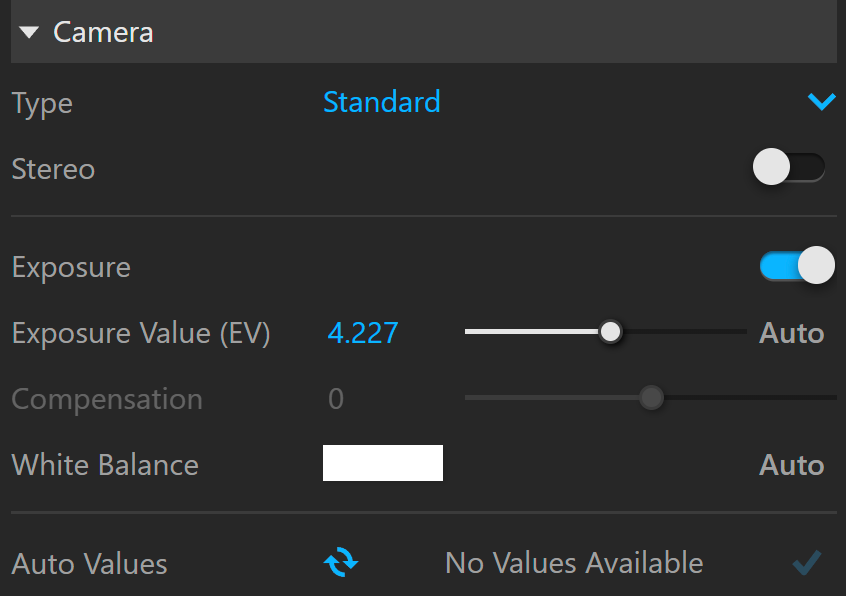
Type selects the camera type for VR rendering or standard images.
Standard uses a standard pinhole camera.
VR Spherical generates latlong images for spherical VR.
VR Cubemap uses a Cubic/Box camera with the cube sides arranged in a single row. Use it to generate cubic VR output.
Stereo turns Stereoscopic rendering mode on or off. Output Layout determines whether images render "side-by-side" or "one on top of the other". The image resolution adjusts automatically.
Exposure turns on Physical Camera Exposure. When enabled, Exposure Value, F-Number, Shutter speed and ISO affect image brightness.
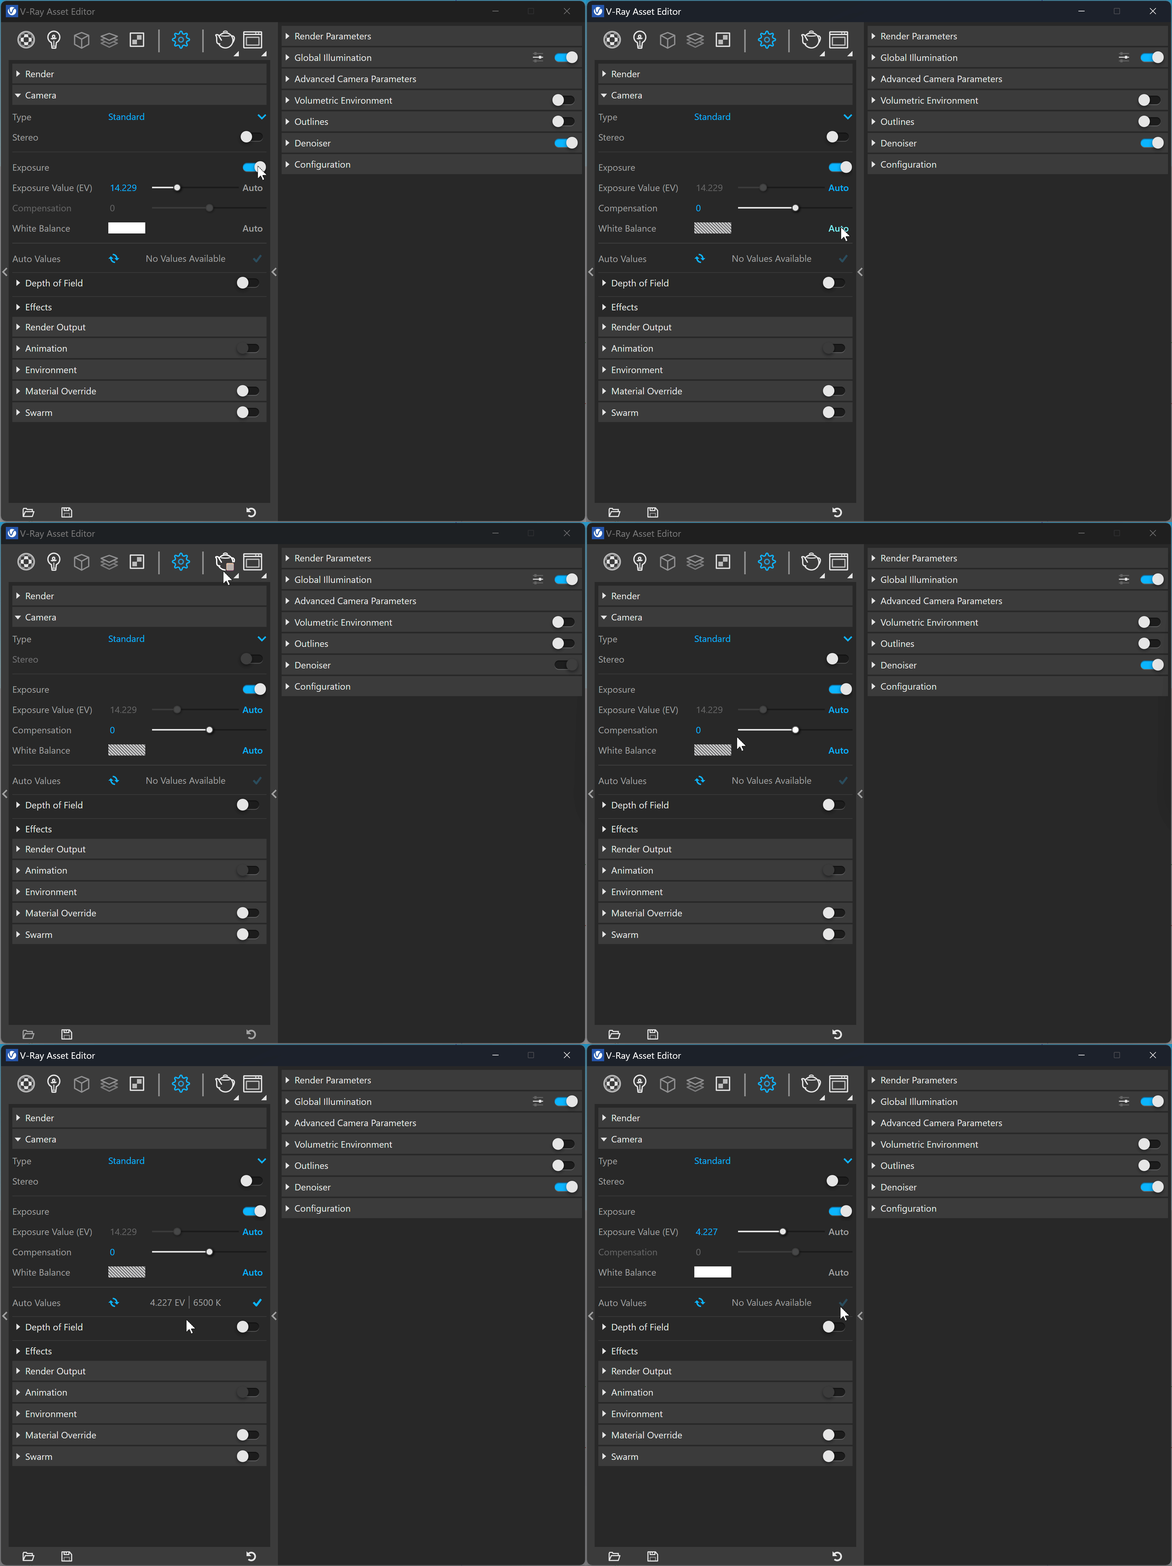
Exposure Value (EV) controls the Camera's sensitivity to scene lighting, making the image brighter or darker. Click Auto Exposure to enable it and make Compensation available. When the Auto button is enabled, ISO, F number and Shutter speed are locked.
Compensation is available when Exposure Value (EV) is set to Auto. It adjusts the auto-exposure value in f-stops. A value of 1.0 makes the result twice as bright, and -1.0 makes it twice as dark.
White Balance makes objects with the specified colour appear white in the image. It uses only the colour's hue and ignores its brightness. Several presets are available, including Daylight for exterior scenes. Click Auto to let V-Ray adjust White Balance automatically. See the White Balance example below.


Auto Values is available when you use Auto Exposure/White Balance. It stores the automatically calculated Exposure and White Balance values from the last initialised render. Press the check button () to reuse them in the next render. Use this to return to V-Ray's suggested values for the last render after setting Exposure and White Balance manually. Press the update button () to refresh the stored values from the last render. See the example video below.
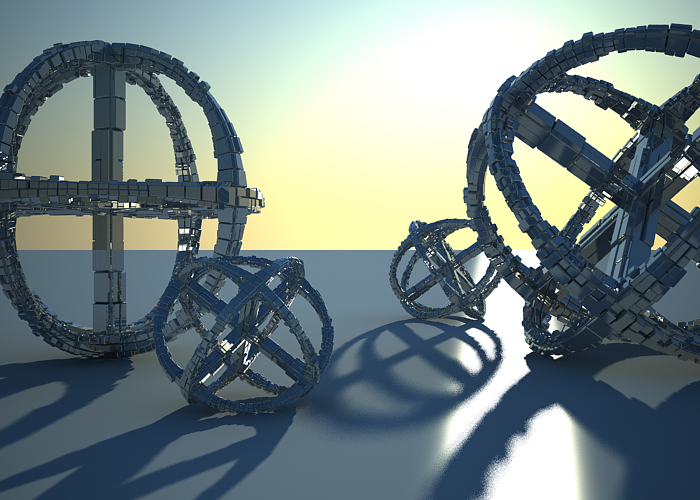
Example: White Balance
Use the white balance colour to adjust the image's colour. Objects with the specified colour appear white. For a daylight scene, you could use a peach colour to compensate for the sunlight's colour. F Number is 8.0, Shutter speed is 200.0, ISO is 200.0, and Vignetting is on.
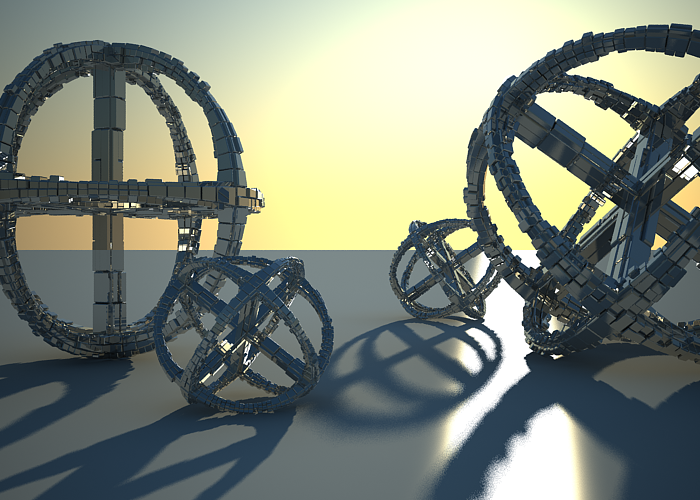
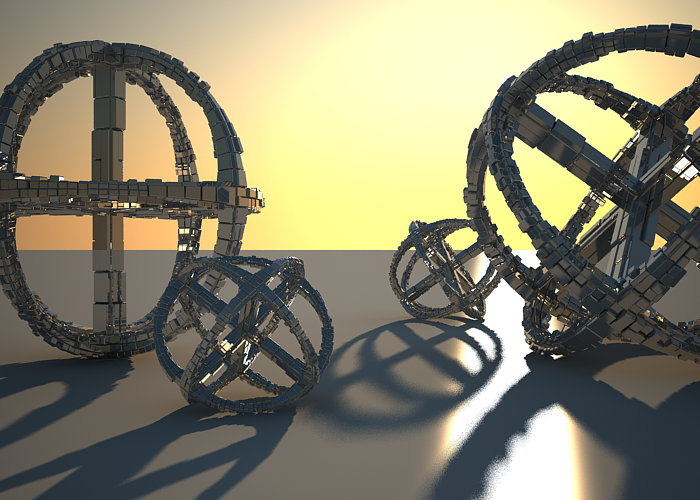
Example: Apply Auto Exposure and White Balance to the active camera
Depth of Field
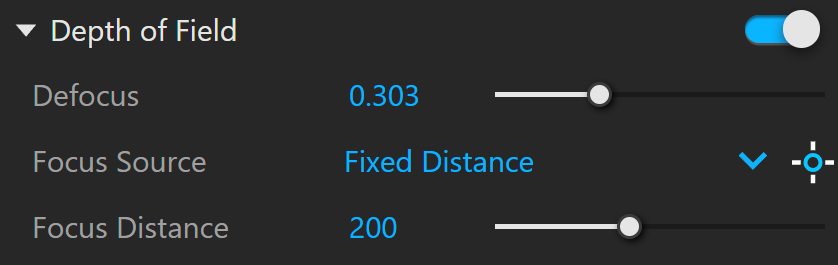
Depth of Field turns on depth of field sampling.
Defocus controls image sharpness outside the plane set by the Pick Focus Point command. This option is also called Focus Range.
Focus Source selects how the camera focus is determined.
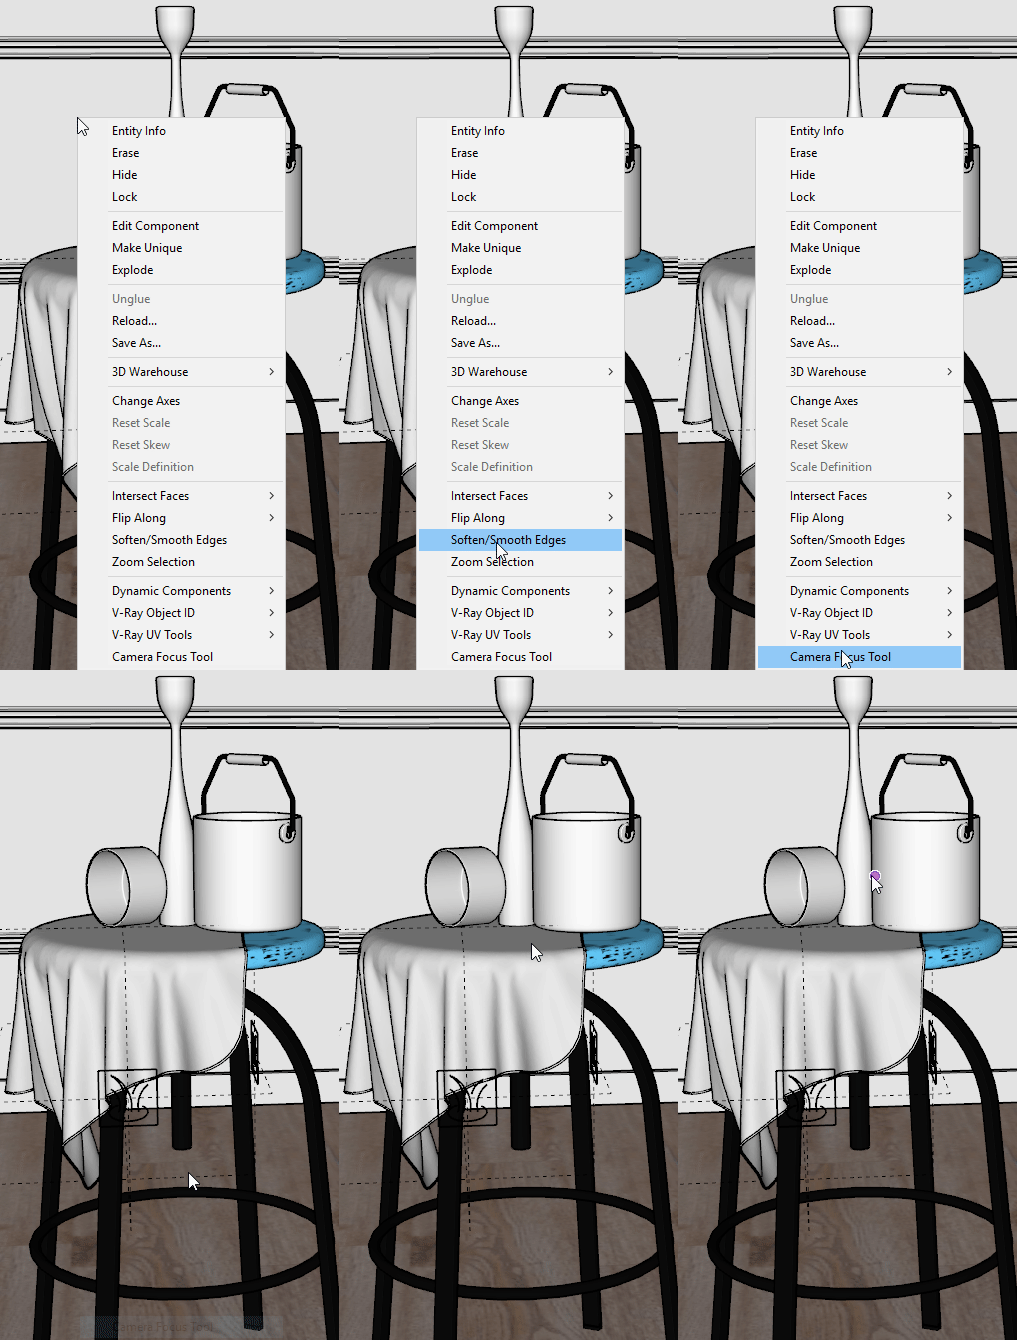
Fixed Distance fixes the camera focus at the Focus Distance value. Use the button on the right to pick a point in 3D space. V-Ray calculates the distance between the render camera and that point, then uses it as Focus Distance. Repeat this action whenever the camera moves, as the distance does not update automatically.
Camera Target automatically calculates the focus distance before rendering starts. It uses the distance between the camera position and its target.
Fixed Point automatically calculates the focus distance before rendering starts. It uses the distance between the camera position and the selected 3D point. Use the button on the right to select a point in the scene.
Pick Point lets you pick a position in 3D space through the viewport to set where the camera focuses.
Focus Distance affects the Camera's Depth of Field and determines which part of the scene is in focus.
Effects
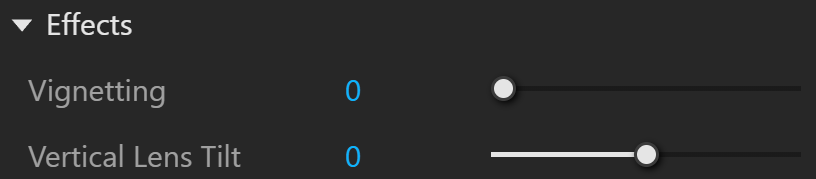
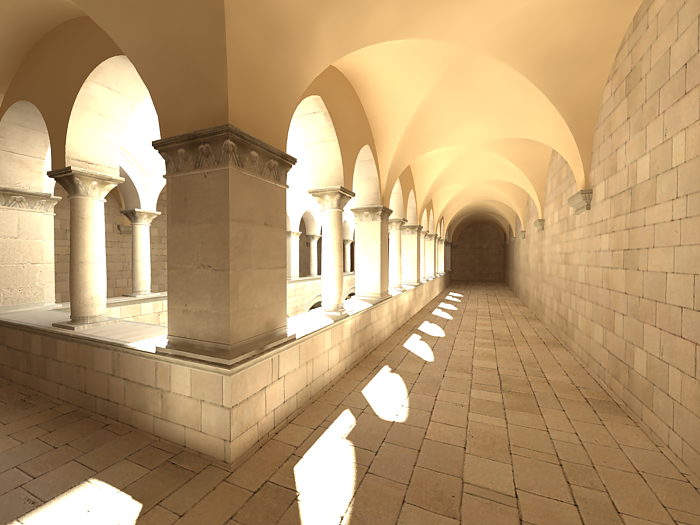
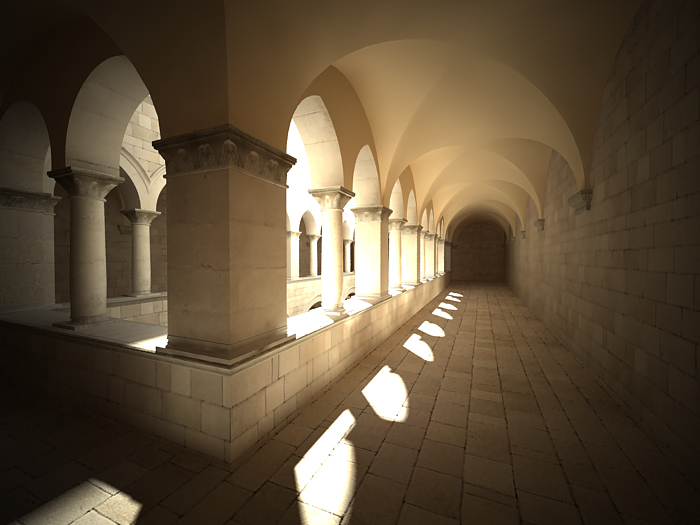
Vignetting controls how much darker the image edges are than the centre. See the Vignette example below.
Vertical Lens Tilt simulates tilting the camera vertically to correct perspective or create a "2-point perspective" look.
Example: Vignetting
This setting simulates the optical vignetting of real cameras. Set it to 0.0 to disable vignetting.
Advanced Camera Parameters
V-Ray supports Standard, VR Spherical Panorama and VR Cubemap camera types. It also supports orthographic views.
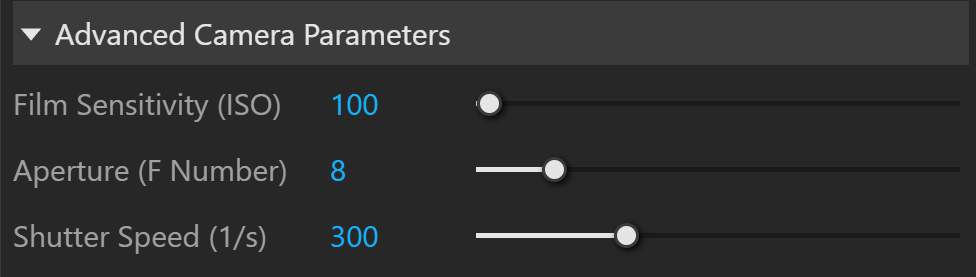
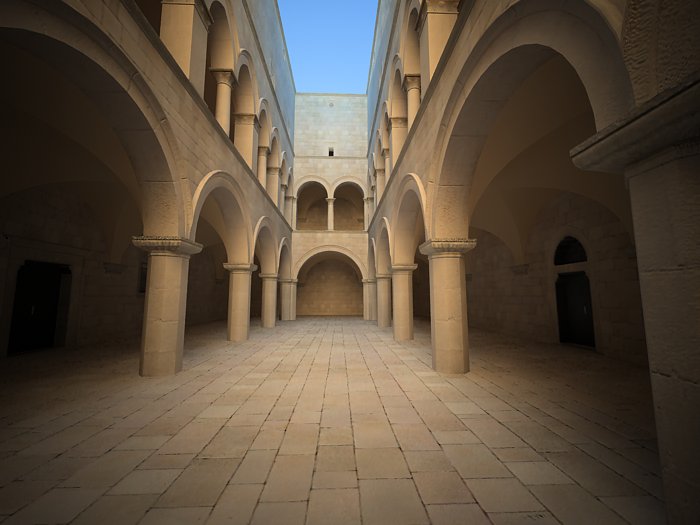
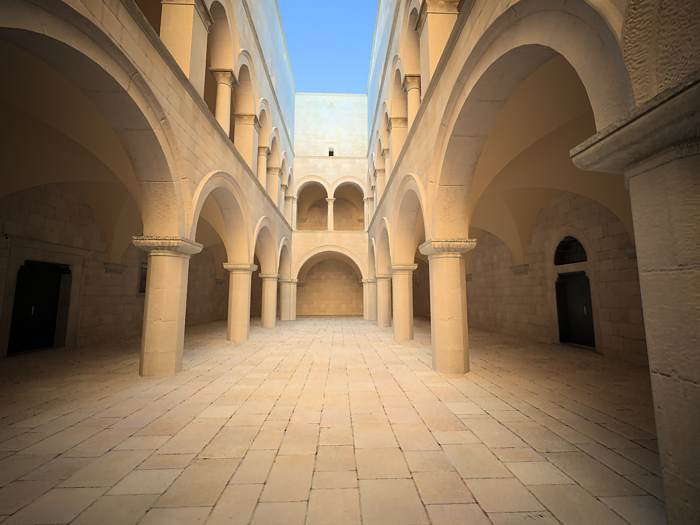
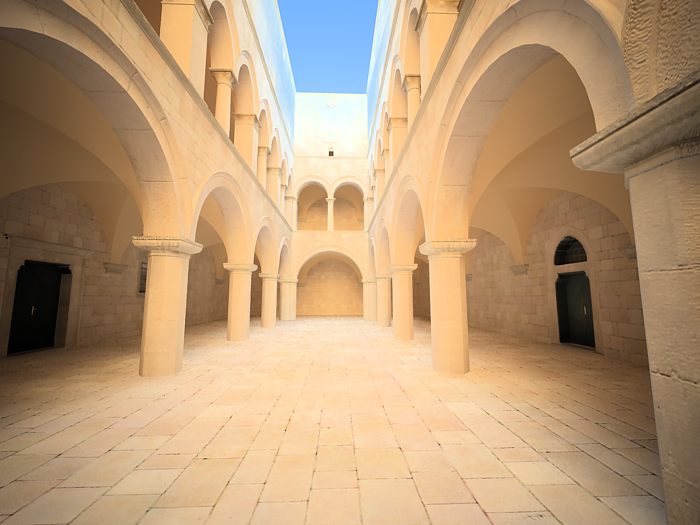
Film Sensitivity (ISO) controls film sensitivity and image brightness. Higher ISO values make the film more sensitive to light and the image brighter. Lower values make the film less sensitive and the image darker. See the ISO example below.
Aperture (F Number) controls lens speed and image brightness. It also affects the camera's Depth of Field. A smaller f-number gives a narrower Depth of Field. See the Exposure Control: F Number example below.
Shutter Speed (1/s) controls the virtual camera's exposure time. A lower Shutter Speed value gives a longer exposure and a brighter image. A higher value gives a shorter exposure and a darker image. For an exposure of 1/30 of a second, set this value to 30. See the Shutter example below.
Example: Film Sensitivity (ISO)
Film Sensitivity (ISO) controls film sensitivity and image brightness. Higher ISO values make the film more sensitive to light and the image brighter. Lower values make the film less sensitive and the image darker. Exposure is on, Shutter Speed is 60.0, F Number is 8.0, Vignetting is on, and White balance is white.
Example: Aperture (F Number)
All images in the following examples use VRaySunSky with its default parameters.
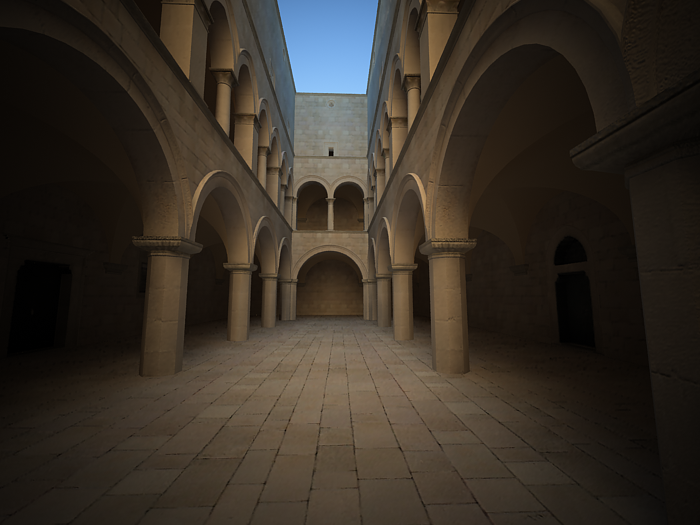
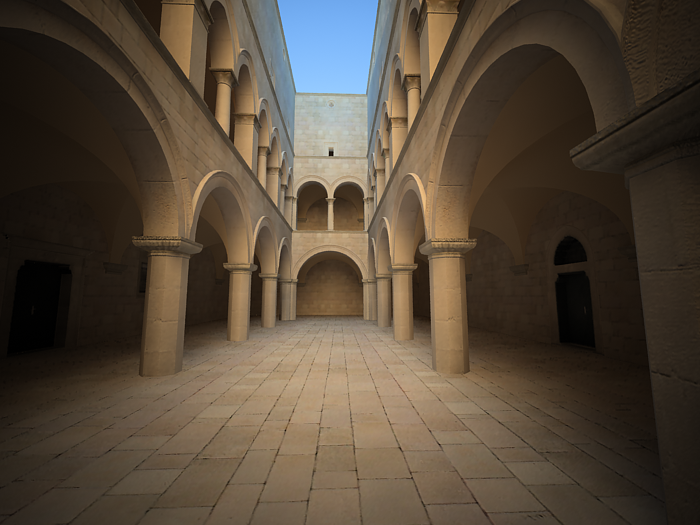
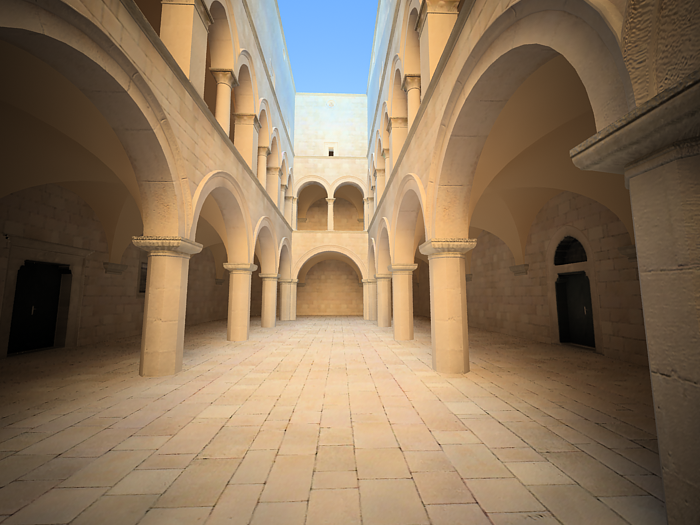
This setting controls the virtual camera's aperture size. Lowering F Number opens the aperture, lets in more light and makes the image brighter. Increasing F Number closes the aperture and makes the image darker. Shutter speed is 60.0, ISO is 200, Vignetting is on, and White balance is white.
Example: Shutter Speed
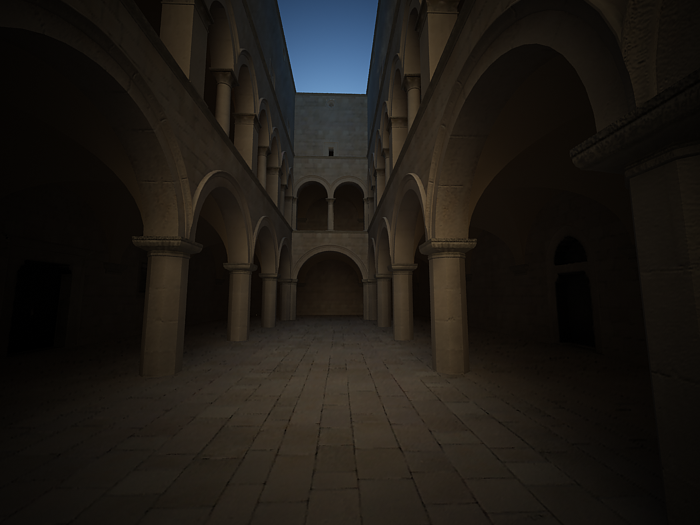
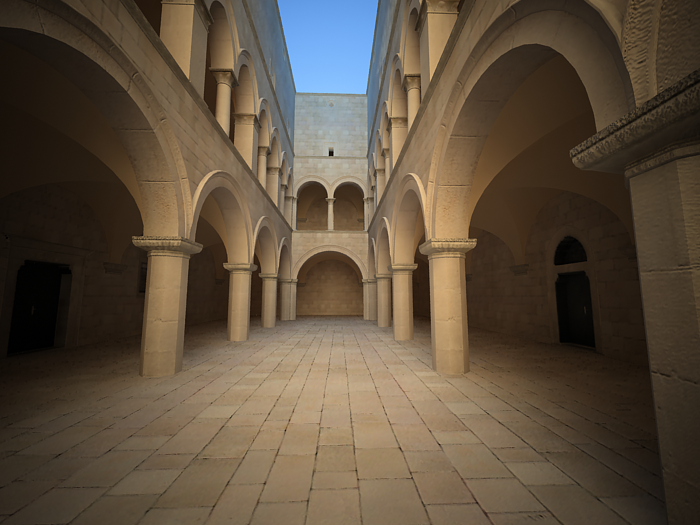
This setting controls the virtual camera's exposure time. A lower Shutter speed value gives a longer exposure and a brighter image. A higher value gives a shorter exposure and a darker image. It also affects motion blur. See White balance. Exposure is on, F Number is 8.0, ISO is 200, Vignetting is on, and White balance is white.
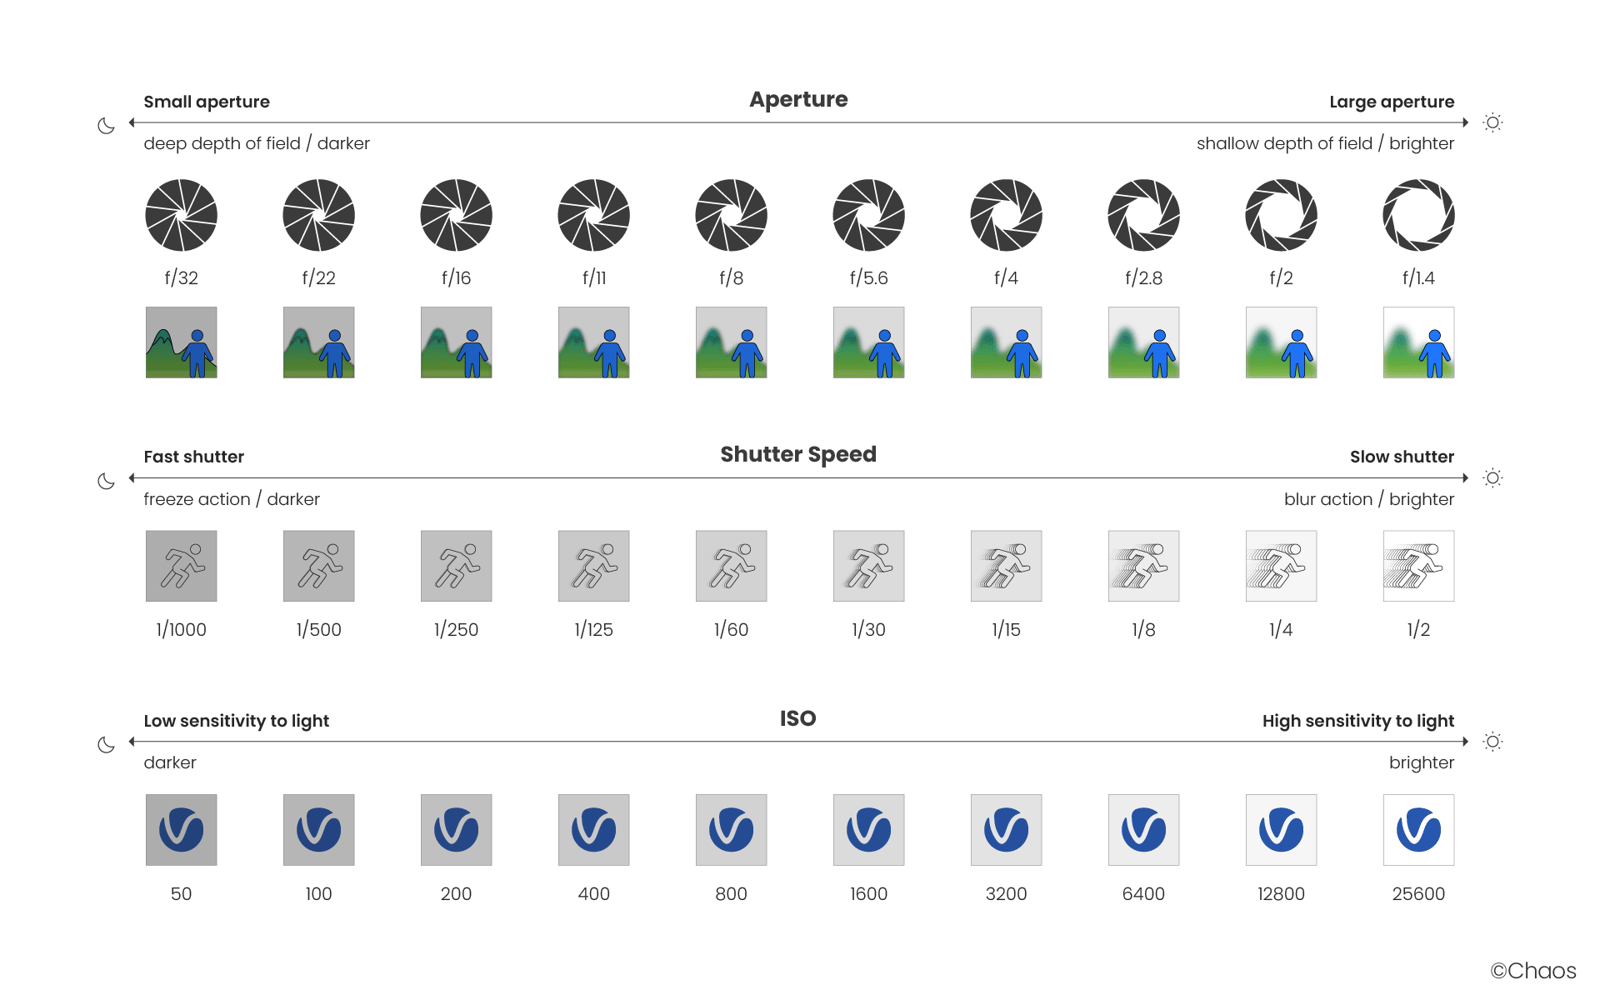
Aperture F-number, Shutter Speed and ISO reference
Aperture F-number, Shutter Speed and ISO are the main controls for V-Ray camera brightness. They affect each other, so balance them for your scene. These settings apply only to the V-Ray camera and do not correspond to real camera settings.
- F-number controls the size of the opening in the camera lens. It is the ratio of the focal length to the aperture's diameter. A smaller F-number means a larger aperture, which makes the scene brighter and increases the Depth of field effect.
- Shutter Speed controls how long the lens stays open when taking a photo. Its values represent fractions of a second. A slower Shutter Speed makes the scene brighter and introduces Motion Blur.
- ISO controls the camera's sensitivity to light. Lower ISO values need more light for a well-lit image. Higher values need less light. A daytime scene lit with a V-Ray Sun generally looks best at around 100 ISO.
Camera Clipping
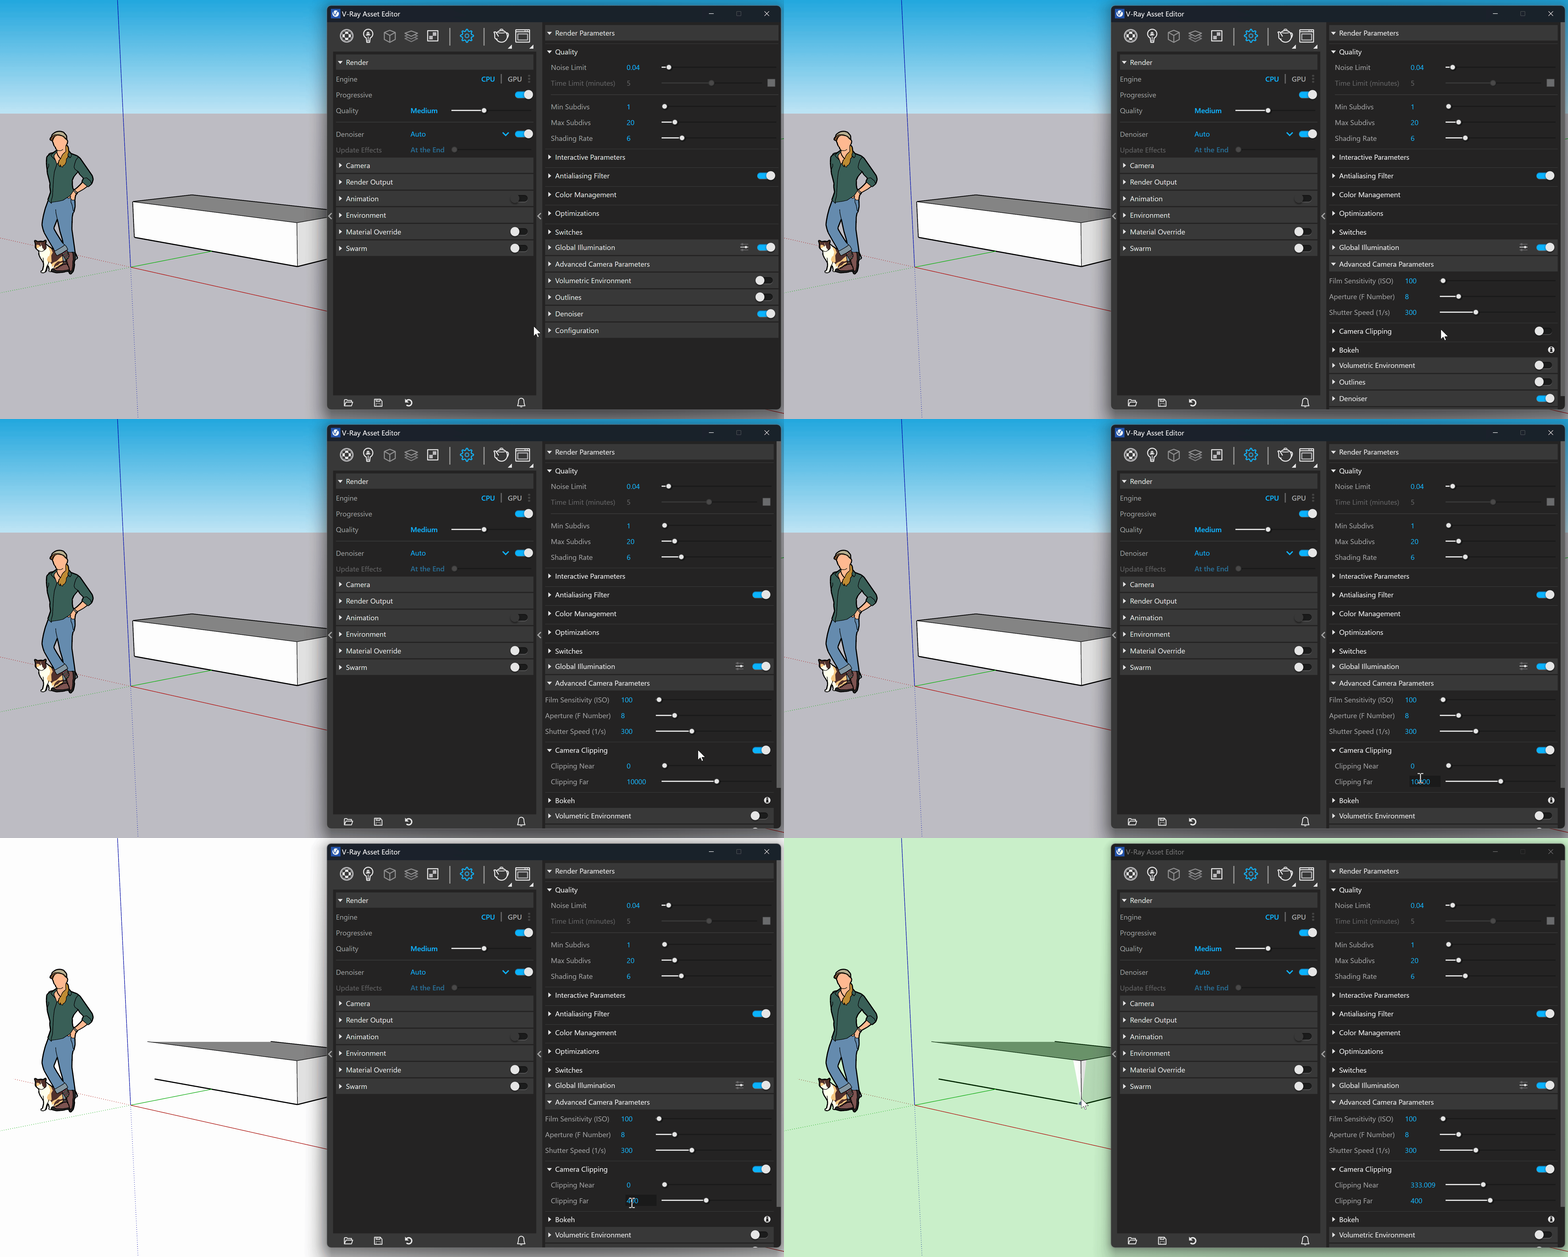
Camera Clipping turns on camera clipping and shows the clipping planes in the SketchUp viewport. Objects, or parts of objects, outside the near and far clipping planes are ignored during rendering.
Clipping Near sets the near clipping plane's distance from the camera.
Clipping Far sets the far clipping plane's distance from the camera.

Example: Camera Clipping
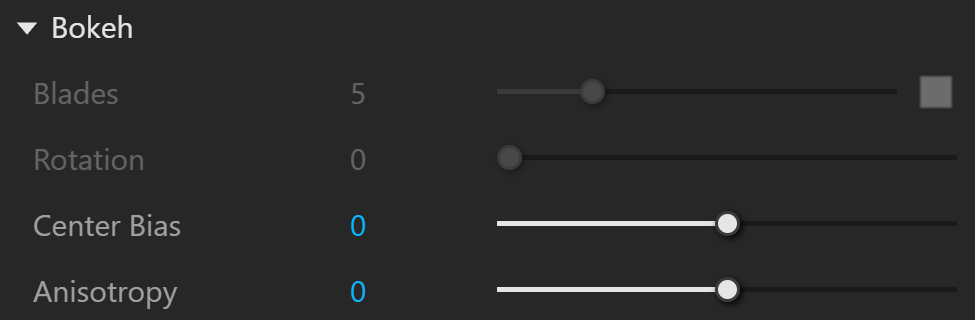
Bokeh
The Bokeh rollout is available when Depth of Field is enabled.
Blades sets the number of sides in the aperture's polygonal shape.
Rotation sets the blade rotation in degrees.
Center Bias controls the brightness distribution of the Bokeh effects. Positive values brighten the outer edge. Negative values brighten the centre.
Anisotropy stretches the Bokeh effect horizontally or vertically to simulate anamorphic lenses. For a bokeh height-to-width ratio of k:1, set anisotropy to sqrt(1/k)-1. For example, anamorphic bokeh with a ratio of 2.39:1 needs an anisotropy value of -0.353.