Use the Distributed Rendering rollout in the V-Ray Asset Editor to configure rendering across multiple computers.
Overview
Distributed rendering uses multiple computers to render a single scene or image. This can reduce rendering time, particularly for complex scenes and high-resolution output.
UI path
||V-Ray Asset Editor|| > Settings > Distributed Rendering
Distributed Rendering
Classic Distributed Rendering lets you configure rendering manually. Run V-Ray in server mode on the computers you want to use as render nodes. Then enter their hostnames and ports in the client UI.
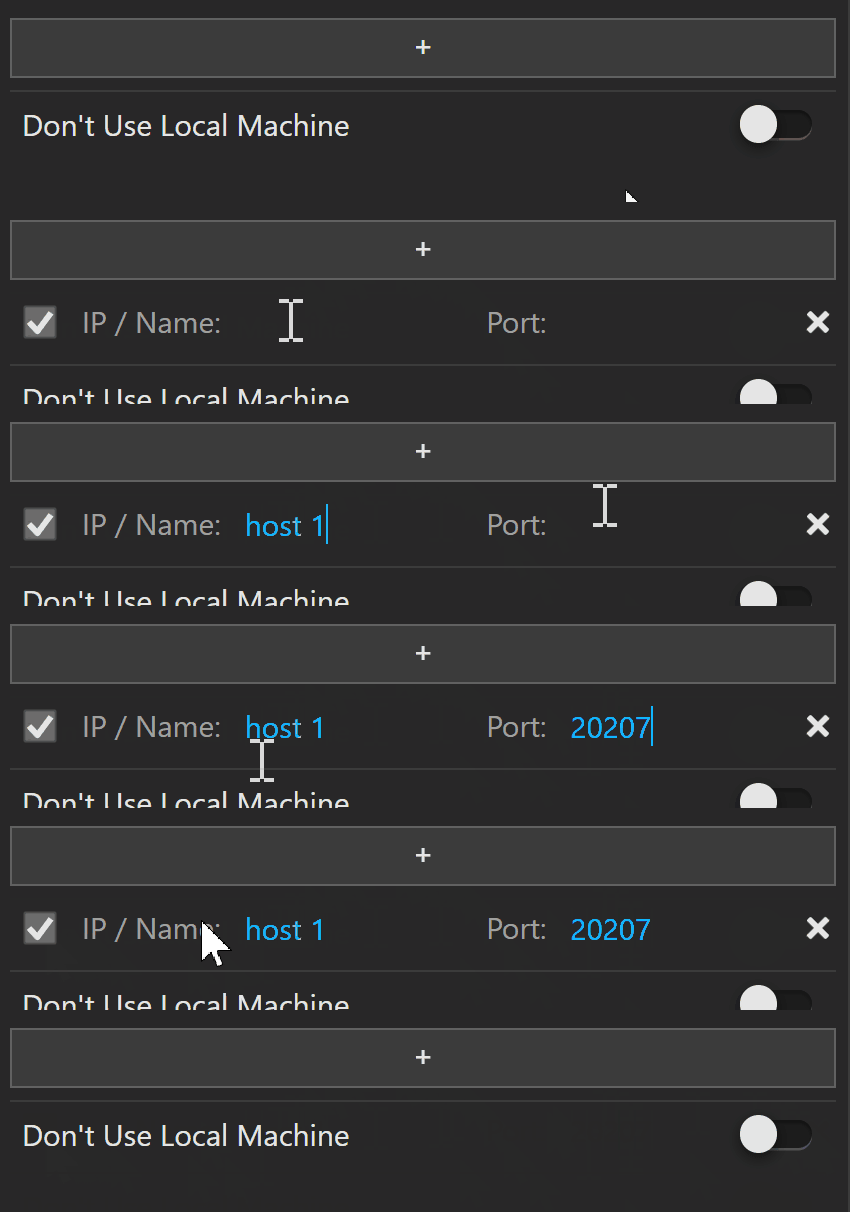
The + button adds a new host to the host list.

The checkbox enables or disables a host for rendering. A disabled host stays in the list but does not take part in DR.
IP/Name shows the host's IP address or name.
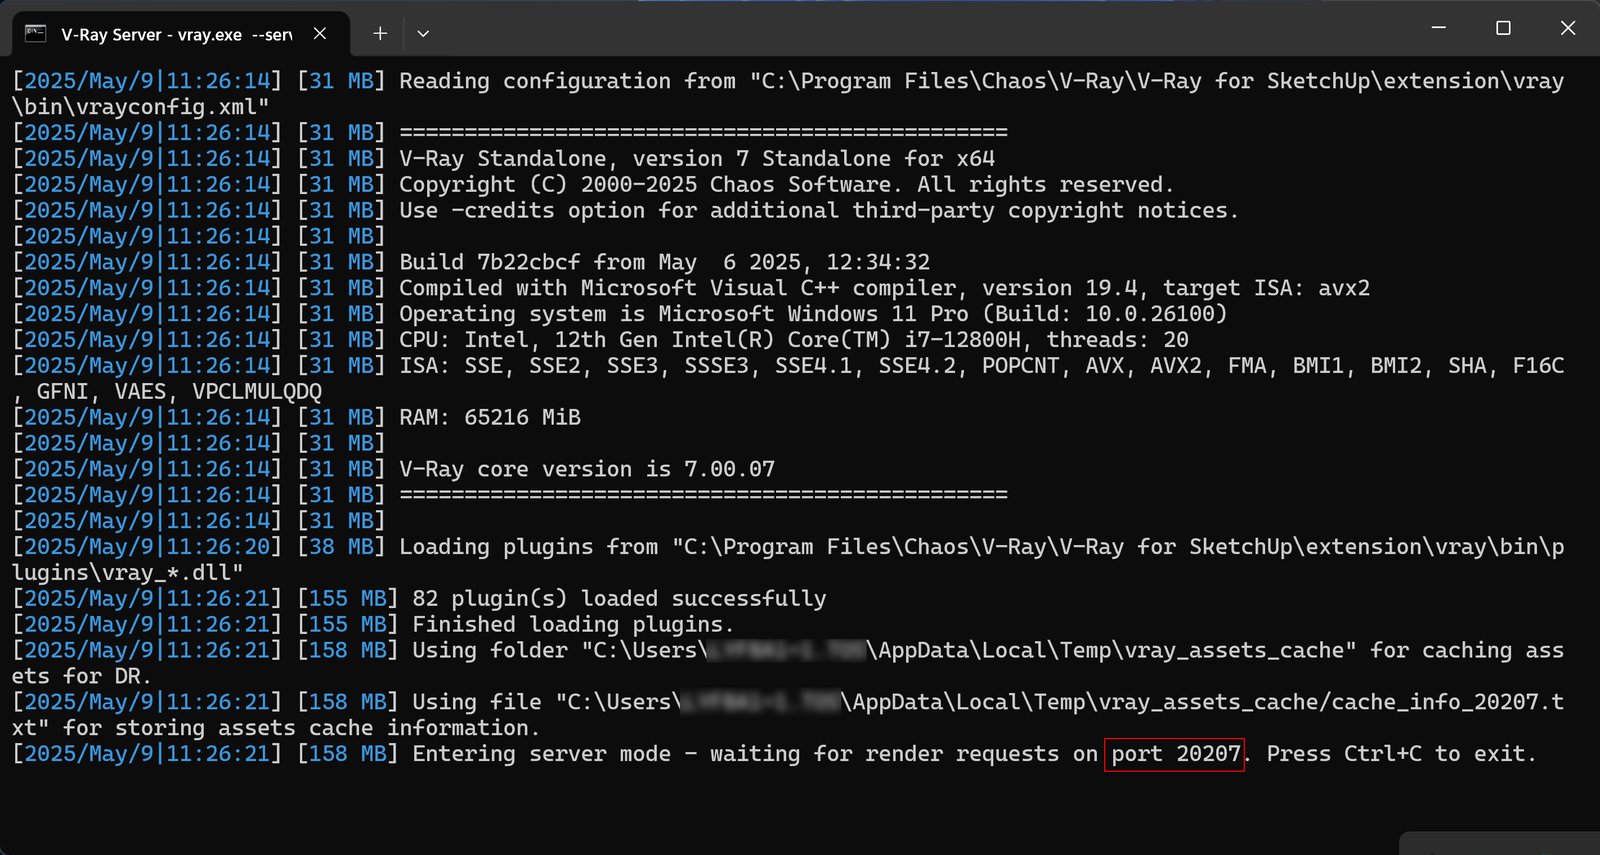
Port sets the host port. As of V-Ray 7.30.00, the default port is 20209. Older versions use 20207.
The x button deletes the host from the host list.
V-Ray Swarm
How to set up and use V-Ray Swarm

Swarm

V-Ray Swarm 2.0.15

Tags
How to switch from Swarm to Classic DR
- Uninstall V-Ray Swarm
Windows
Go to Control Panel > Programs and Features > Uninstall a program.
Find V-Ray Swarm and click Uninstall/Change.
The V-Ray uninstaller opens. Follow the on-screen instructions to remove V-Ray Swarm.
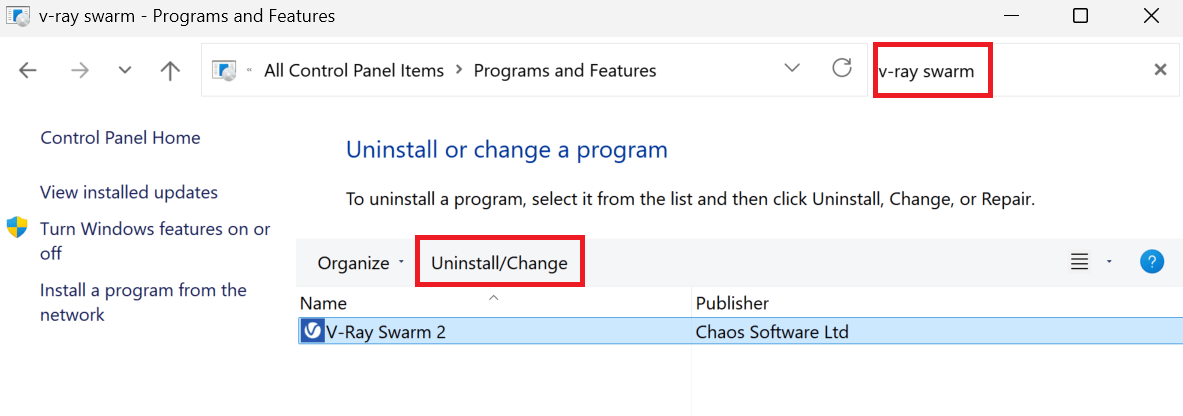
Uninstall V-Ray Swarm on Windows
macOS
Go to Applications/Chaos/V-Ray/Swarm2/uninstall.
The Chaos software lister opens. Select V-Ray Swarm and click Uninstall.
Follow the on-screen instructions to remove V-Ray Swarm.
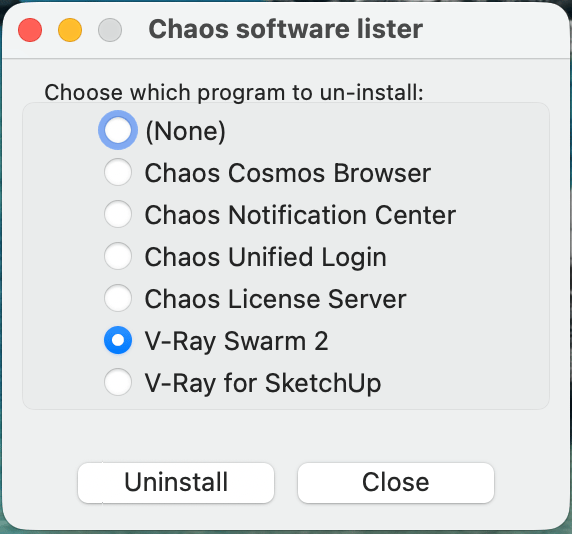
Uninstall V-Ray Swarm on macOS
- Find the Distributed Rendering settings
Open Asset Editor > Settings and enable Distributed Rendering.
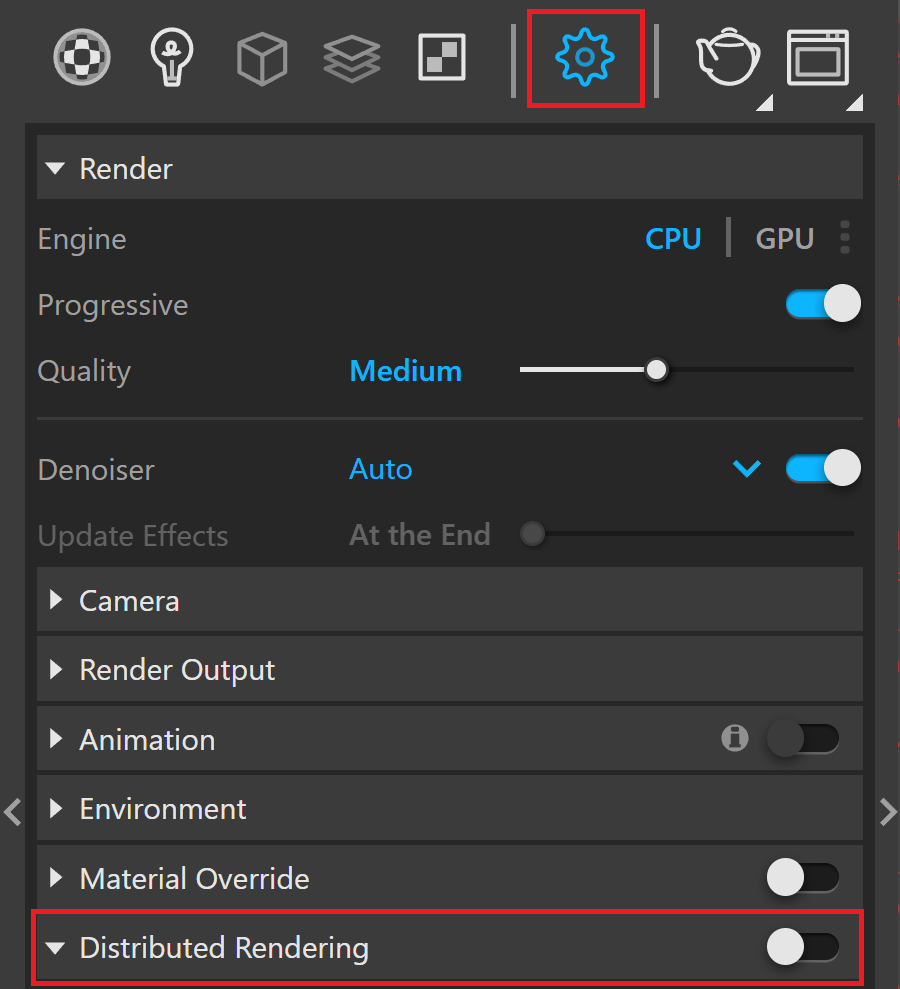
- Enable Classic Distributed Rendering
In the Mode dropdown menu, select Classic DR instead of Swarm.
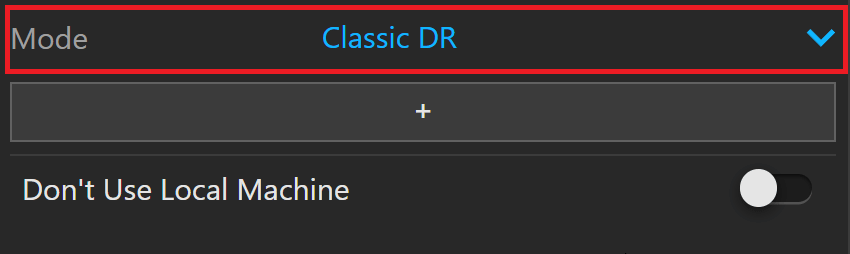
- Specify render servers
Add each render node by hostname or IP address and enter its server port. Enable the hosts you want to use for rendering. Disable or remove any hosts you do not want to use.
- Check the setup
Start a test render. Check the V-Ray progress log to confirm that the configured servers connect and take part in rendering.
Render node setup
All render nodes must have the same V-Ray version installed to use Classic DR. Follow these steps to set them up.
- Install V-Ray Standalone
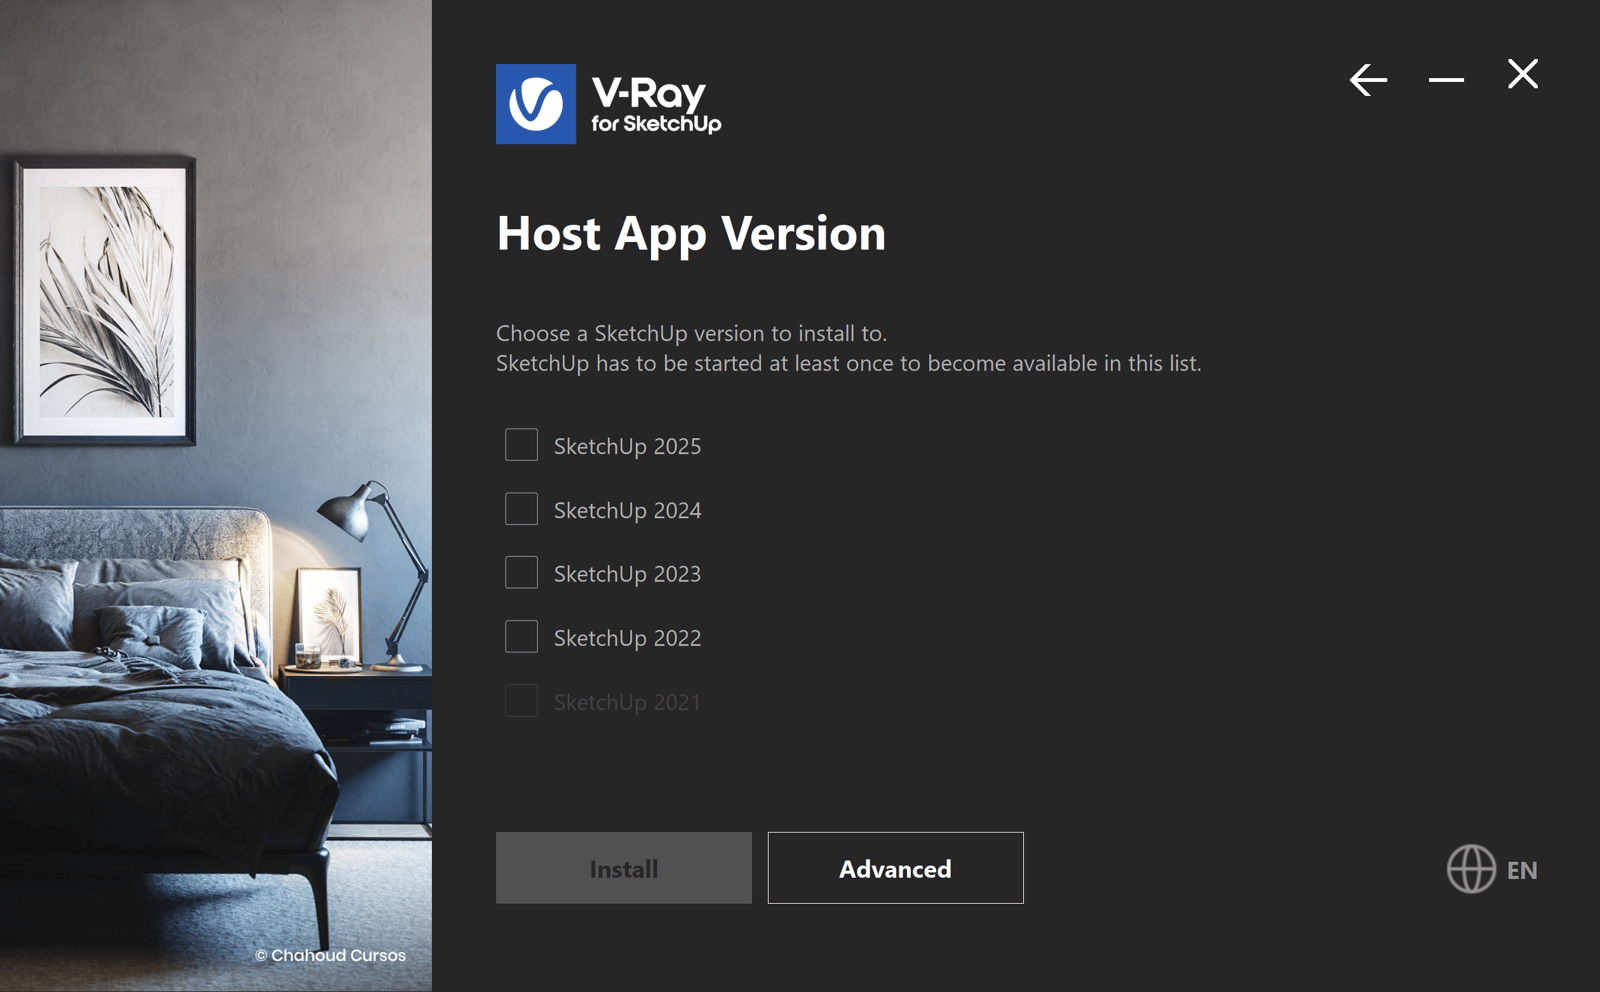
Run the V-Ray Installer. On the Host App Version screen, clear the checkboxes for all versions. Click Advanced to continue.
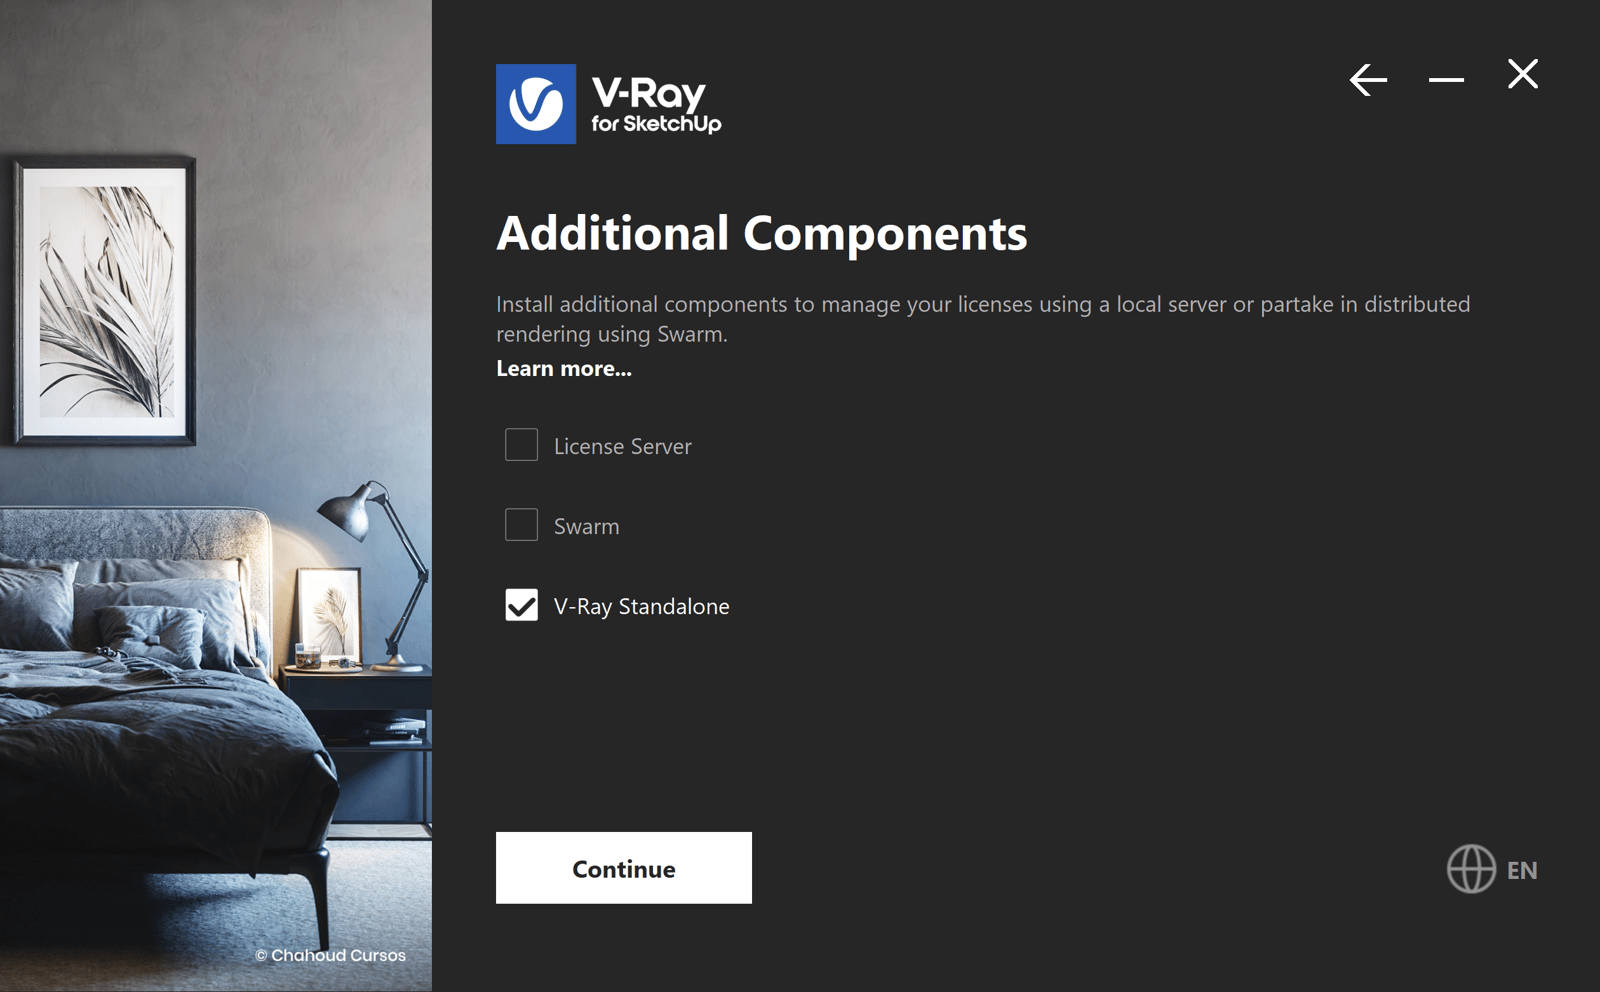
- Additional Components
On the Additional Components screen, select V-Ray Standalone and complete the installation.
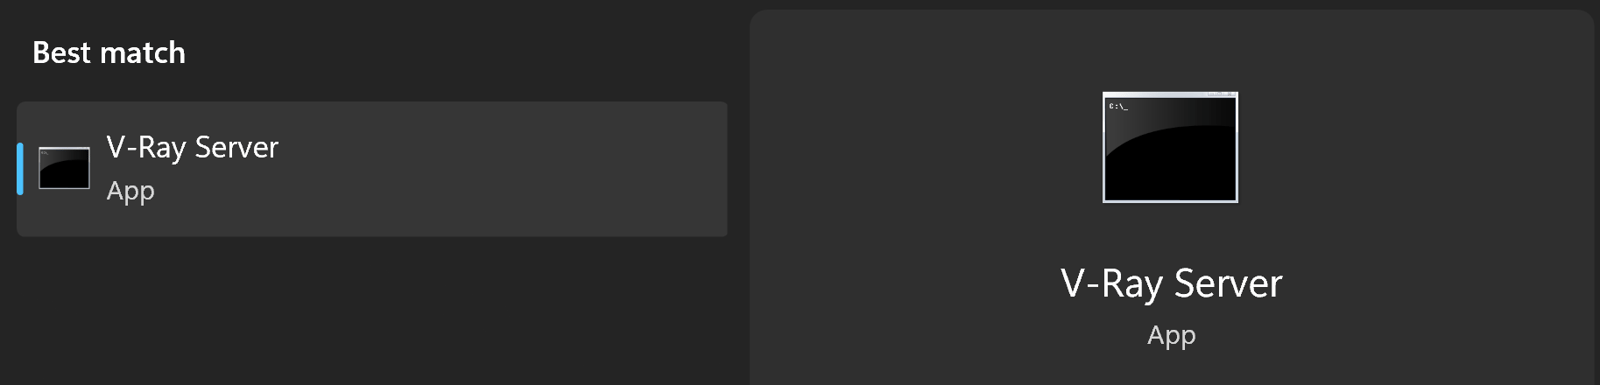
- Run V-Ray Standalone as a server
The installation adds a Windows shortcut that runs V-Ray directly as a server.
- Find the server port
Start the V-Ray Server and find the port in the command output.
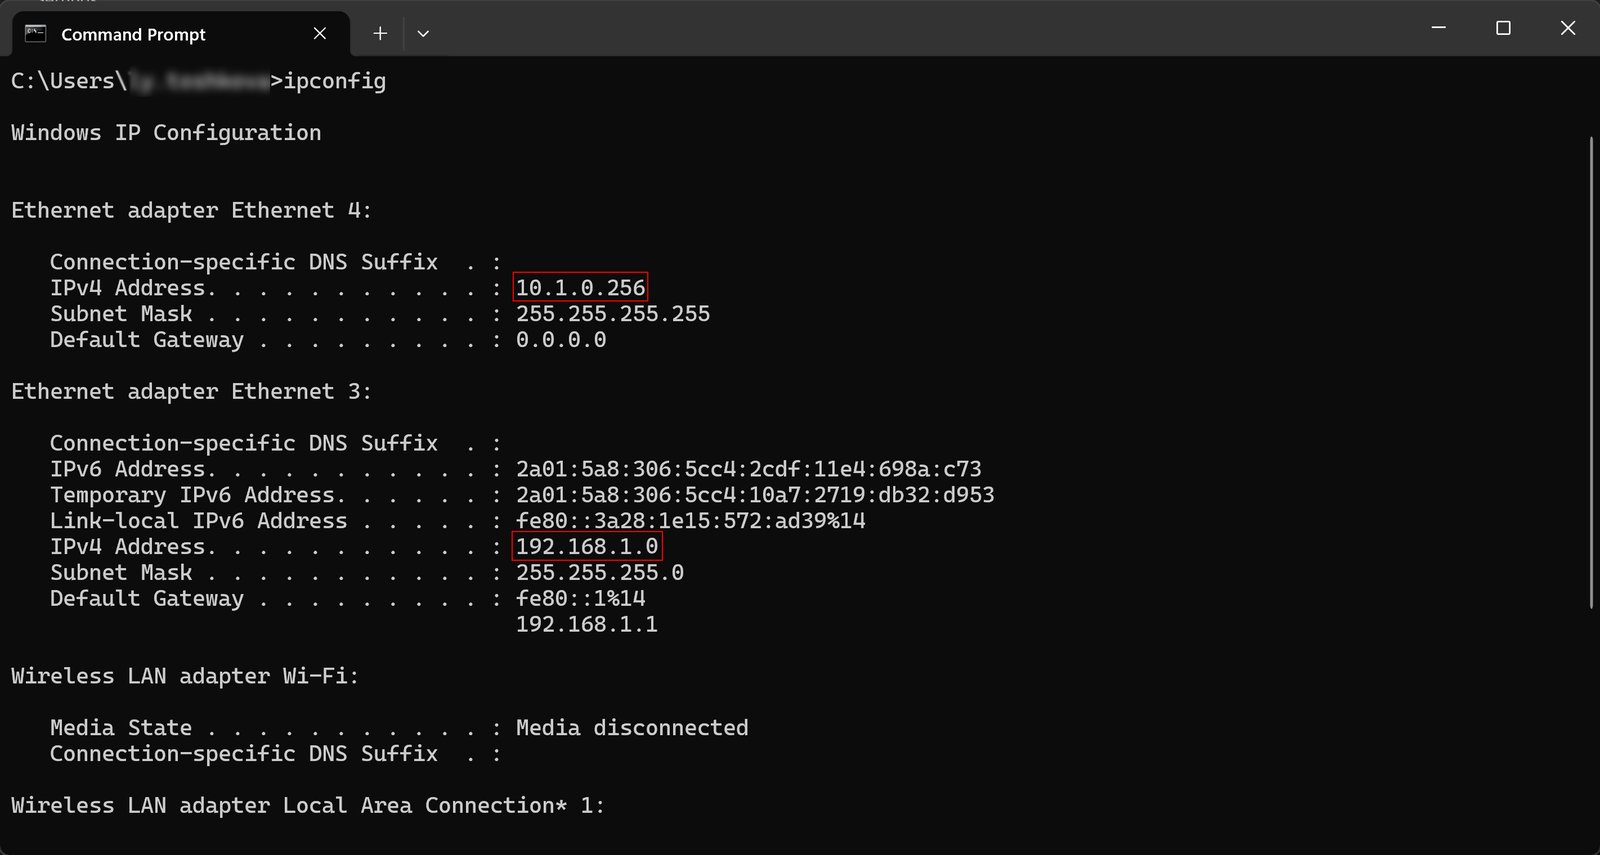
- Find the server IP address
Run the ipconfig command in a separate Command Prompt to find the server's IP address. The computer may have multiple IP addresses. Choose the address for the connection you use to access the server, such as wireless or Ethernet.
Don't Use Local Machine
When enabled, your local computer does not render the image. The other Swarm nodes handle the rendering.

Second generation distributed rendering
Distributed Rendering (DR2), introduced in V-Ray 7.30.00, makes the following changes to first-generation DR.
- Bucket rendering scales without a fixed limit on the number of machines. Adding more machines speeds up rendering. First-generation DR (DR1) has a practical limit on how many machines can contribute effectively.
- Progressive rendering is improved. Bucket rendering still scales better in DR because it divides work more efficiently across many servers.
- Caching is improved. Repeating the same frame with the same assets on the same Render Servers is instantaneous.
- DR2 splits buckets to avoid long waits or rendering stopping at the final bucket.
Footnotes
- Use the Bucket image sampler for production distributed rendering jobs.