Use the Denoiser in V-Ray for SketchUp to reduce noise in renders and animations.
Overview
The V-Ray Denoiser reduces noise after an image has finished rendering. It detects noisy areas and smooths them out.
The V-Ray Denoiser works on render elements after rendering, so you can denoise an image without rendering the scene again. You can adjust and test the Denoiser settings to improve the result.
The V-Ray Denoiser is a render channel, but it has a separate rollout in the Settings tab. Enable it in the Render rollout, then adjust its settings in the Advanced panel if needed. It is not in the Render Elements list.
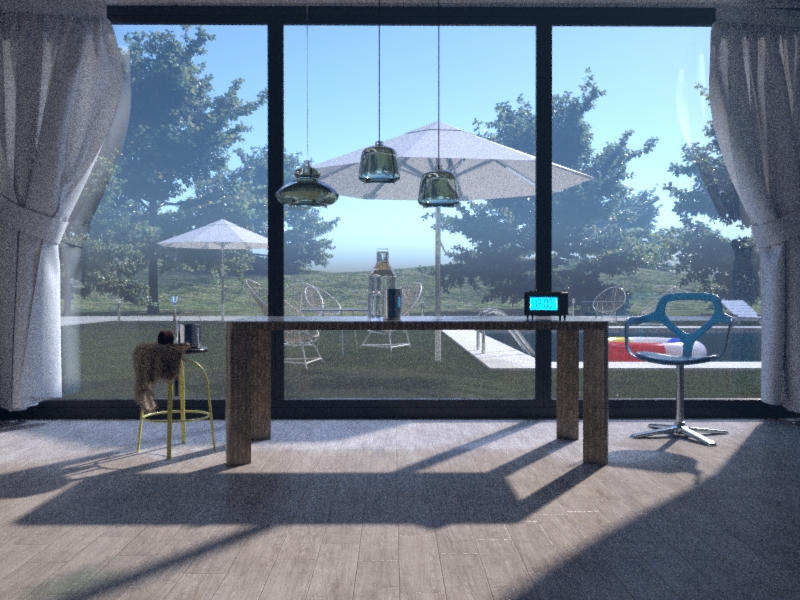
Off
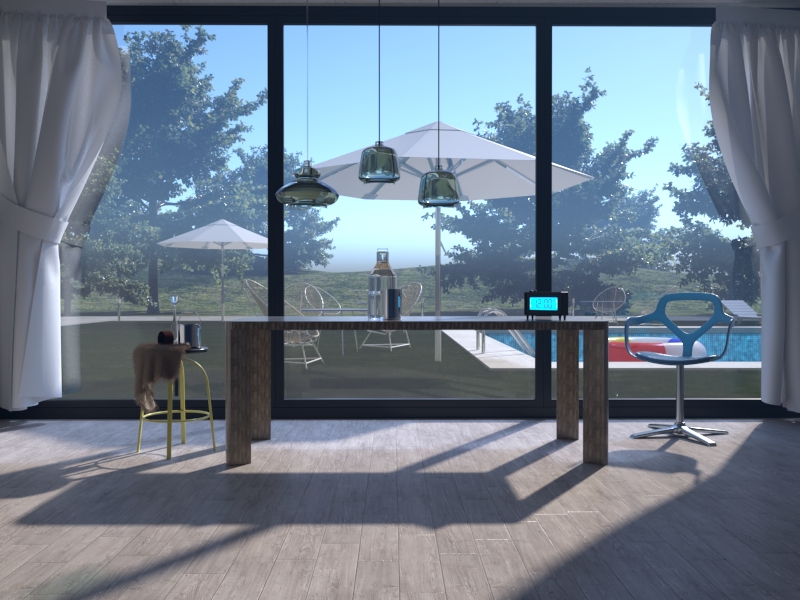
On
UI path
||V-Ray Asset Editor|| > Settings > Denoiser
Denoising engines
VRayDenoiser offers the default V-Ray denoiser, the NVIDIA AI denoiser and the Intel Open Image denoiser (V-Ray's implementation of Intel® Open Image Denoise). Each uses a different algorithm with different benefits. Auto mode selects the denoising engine based on the render mode.
Auto changes the denoising engine based on the render mode. You can change the default engine selection in the advanced Denoising settings.
V-Ray uses V-Ray's denoising algorithm and runs on the CPU or GPU (AMD or NVIDIA GPUs). It applies the same denoising operation to all render channels. Use it for render elements that you will composite to recreate the beauty image. It also includes a Denoiser Tool, which is recommended for denoising animations with frame blending.
NVIDIA AI uses NVIDIA's AI-based denoising algorithm. It requires an NVIDIA GPU, even when you render on the CPU. It denoises faster than the default V-Ray Denoiser, but its results are not consistent across render elements. An image reconstructed from these denoised elements will differ from the original RGB image. It does not support cross-frame denoising and is likely to cause flickering in animations.
Intel Open Image Denoise uses V-Ray's integration of Intel Open Image Denoise. It runs on an NVIDIA GPU by default. If no compatible NVIDIA GPU is available, it automatically uses the CPU.
Find these options in V-Ray Asset Editor > Settings > Render.

Parameters
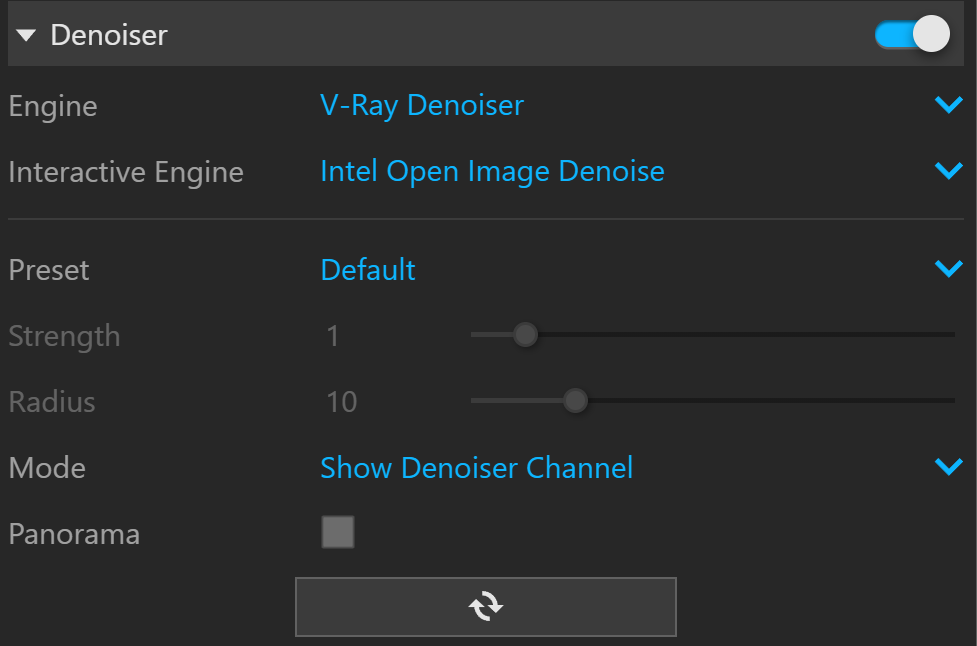
Enable turns the Denoiser on or off. Turning it on automatically adds the Denoiser as a Render Element.
Engine lets you choose the default V-Ray Denoiser, NVIDIA AI Denoiser or Intel Open Image Denoise.
Interactive Engine selects the denoising engine for Interactive rendering when you use Auto denoising mode.
Preset is available only for the V-Ray Denoiser engine. It automatically sets the strength and radius values. See the Denoising Presets example below.
Default (Strength=1, Radius=10) applies a medium level of denoising.
Mild (Strength=0.5, Radius=5) applies less denoising than Default.
Strong (Strength=2, Radius=15) applies more denoising than Default.
Custom lets you set the strength and radius values.
Strength controls how strongly the Denoiser reduces noise. It is available only for the V-Ray Denoiser engine.
Radius sets the area around each pixel that the Denoiser processes. A smaller radius affects fewer surrounding pixels. A larger radius affects more surrounding pixels and removes more noise. It is available only for the V-Ray Denoiser engine.
Mode controls how the Denoiser saves and displays its results in the VFB. It is available only for the V-Ray Denoiser engine.
Only Render Elements generates all render elements needed for denoising without calculating a denoised image. It does not generate the VRayDenoiser or effectsResult render channels. Use it when you plan to denoise an image sequence with the standalone denoising tool and want to skip denoising during rendering.
Hide Denoiser Channel generates the effectsResult channel with the denoised image. The VRayDenoiser channel does not appear separately in the VFB.
Show Denoiser Channel generates both the VRayDenoiser and effectsResult channels.
Panorama lets V-Ray detect whether the image uses a spherical panorama camera with a 360-degree field of view. This prevents visible seams caused by denoising.
Update button regenerates the denoiser channel without rendering the scene again. It is available only for the V-Ray Denoiser engine.
Upscale is available only for the NVIDIA AI Denoiser engine. It renders the image at half size to speed up calculation, then upscales the denoised output to full resolution. This gives cleaner, faster initial updates for interactive rendering. NVIDIA's AI upscaling uses machine learning and produces better results than standard image interpolation. Render elements with the Denoise option turned off use standard interpolation for upscaling.
Light Cache Denoise denoises the Light Cache prepass to produce a smooth image from the initial frame.

NVIDIA AI Denoiser

Intel Open Image Denoiser
Example: Denoising presets
The examples below show the VRayDenoiser presets applied to a deliberately noisy render. The render uses the Progressive Image Sampler Type with Render Time set to only 3 minutes to leave visible noise.
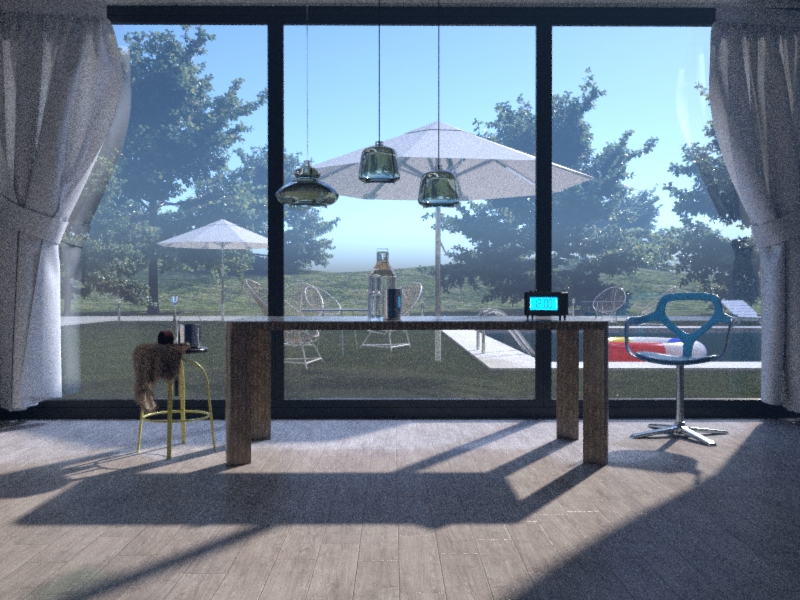
RGB Color Render Element before denoising

V-Ray Denoiser (Mild Preset)
V-Ray Denoiser (Default Preset)

V-Ray Denoiser (Strong Preset)

V-Ray Denoiser (Custom Preset: strength: 5, radius: 10)
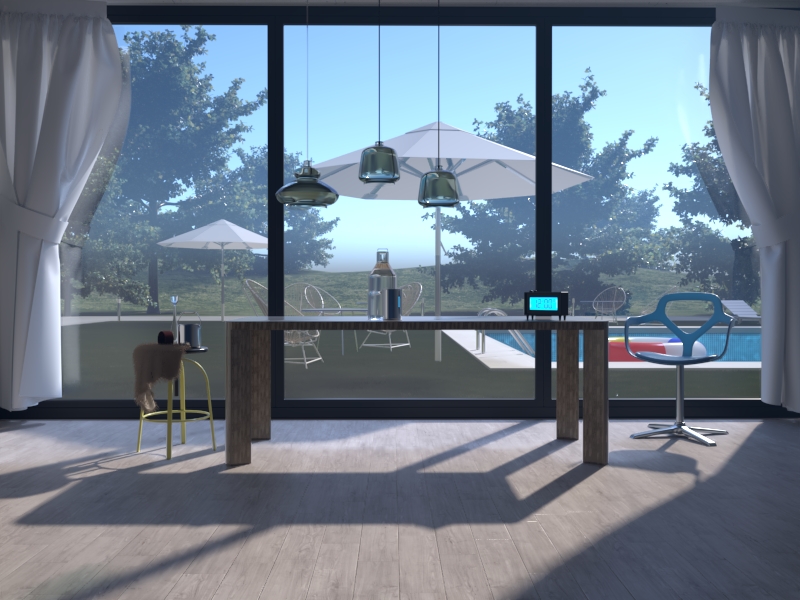
V-Ray Denoiser (Custom Preset: strength:10, radius: 20)
Denoising animations
Use the Standalone Denoiser Tool to denoise animations. Its frame blending uses neighbouring frames to reduce flickering. The denoiser integrated in the UI processes only the current frame and does not consider previous or next frames.
To denoise an image sequence with vdenoise, run this command:
<code data-v-9a340a76=""><span data-v-9a340a76="" class="line">vdenoise -inputFile="path\ o\sequence_????.ext</span></code>
The question mark (?) replaces digits in the sequence's file names.
For example, if the sequence files are named anim_0001.exr, anim_0002.exr, etc. and are in c:\ enderoutput, the full command is:
<code data-v-9a340a76=""><span data-v-9a340a76="" class="line">vdenoise -inputFile="c:\</span><span data-v-9a340a76="" class="line">enderoutput\anim_????.exr</span></code>
The command reads the sequence and processes each frame with the specified number of adjacent frames. It then writes a new output image for each frame.
Recommended settings
- Set Mode to only generate render elements.
- Set the denoising engine to Default V-Ray denoiser.
- Set Render output to vrimg or multichannel exr.
Notes
- Denoising happens after the frame renders. You will not see the result until rendering has finished.
- The Denoiser does not treat deliberately noisy textures or materials as noise, so it leaves them unchanged.
- When you use the Progressive image sampler, Update effects in the Render rollout of the Settings menu controls how often the denoiser updates.