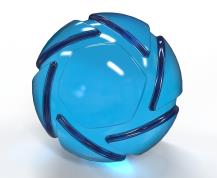
Use the Dielectric material type in KeyShot to create glass materials. Compared with Solid Glass, it adds dispersion settings (Abbe Number) and lets you accurately model the interface between glass and liquid. |
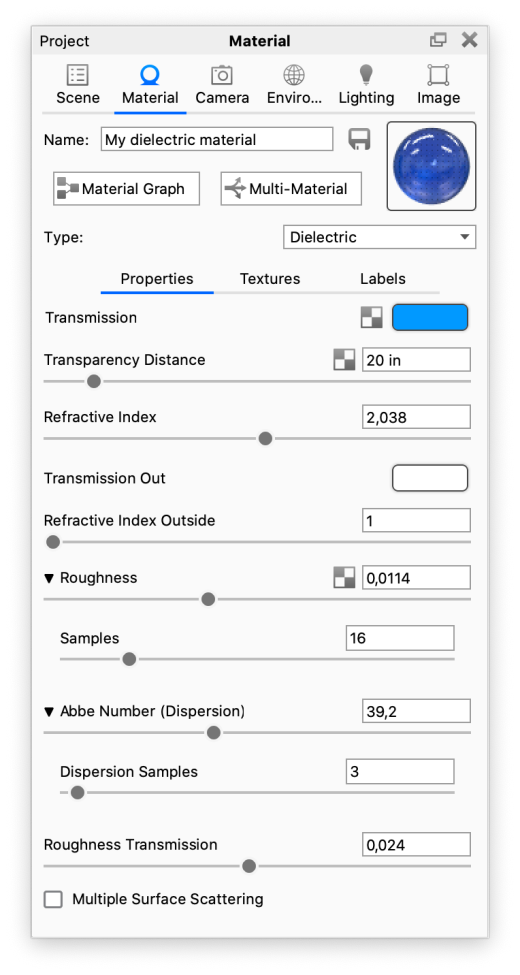
Transmission This setting controls the material's overall colour. Light takes on this colour as it enters the surface. The Transparency Distance setting also affects how much colour you see. If the transmission colour looks too faint, try reducing Transparency Distance. Transparency Distance This slider controls the depth of the Transmission colour based on the part's thickness. After choosing a Transmission colour, adjust Transparency Distance to change its saturation and visibility. Lower values make the colour stronger in thin areas of the model. Higher values make it fainter in those areas. This setting simulates how colour changes with depth, like the difference between shallow beach water and the deep blue of the ocean. Without it, you would see the bottom of the deepest ocean as easily as the bottom of a swimming pool. Refractive Index This slider controls how much light bends, or refracts, as it passes through parts with this material. The default value of 1.5 is accurate for most types of glass. Increase it for stronger refraction within the surface. Transmission Out This setting controls the colour of light outside the material. Use it when rendering containers with liquid. For a water glass, create a dedicated surface where the liquid and glass meet. On that surface, set the glass colour with transmission out and the liquid colour with transmission. If both are clear, set both transmission and transmission out to white. Refractive Index Outside This slider lets you accurately simulate the interface between two materials that refract light. A common use is a container holding liquid, such as a water glass. Use a single surface where the glass and water meet. The liquid is on the "inside", so set the refractive index to 1.33. The glass is on the "outside", so set the refractive index outside to 1.5. |
Roughness
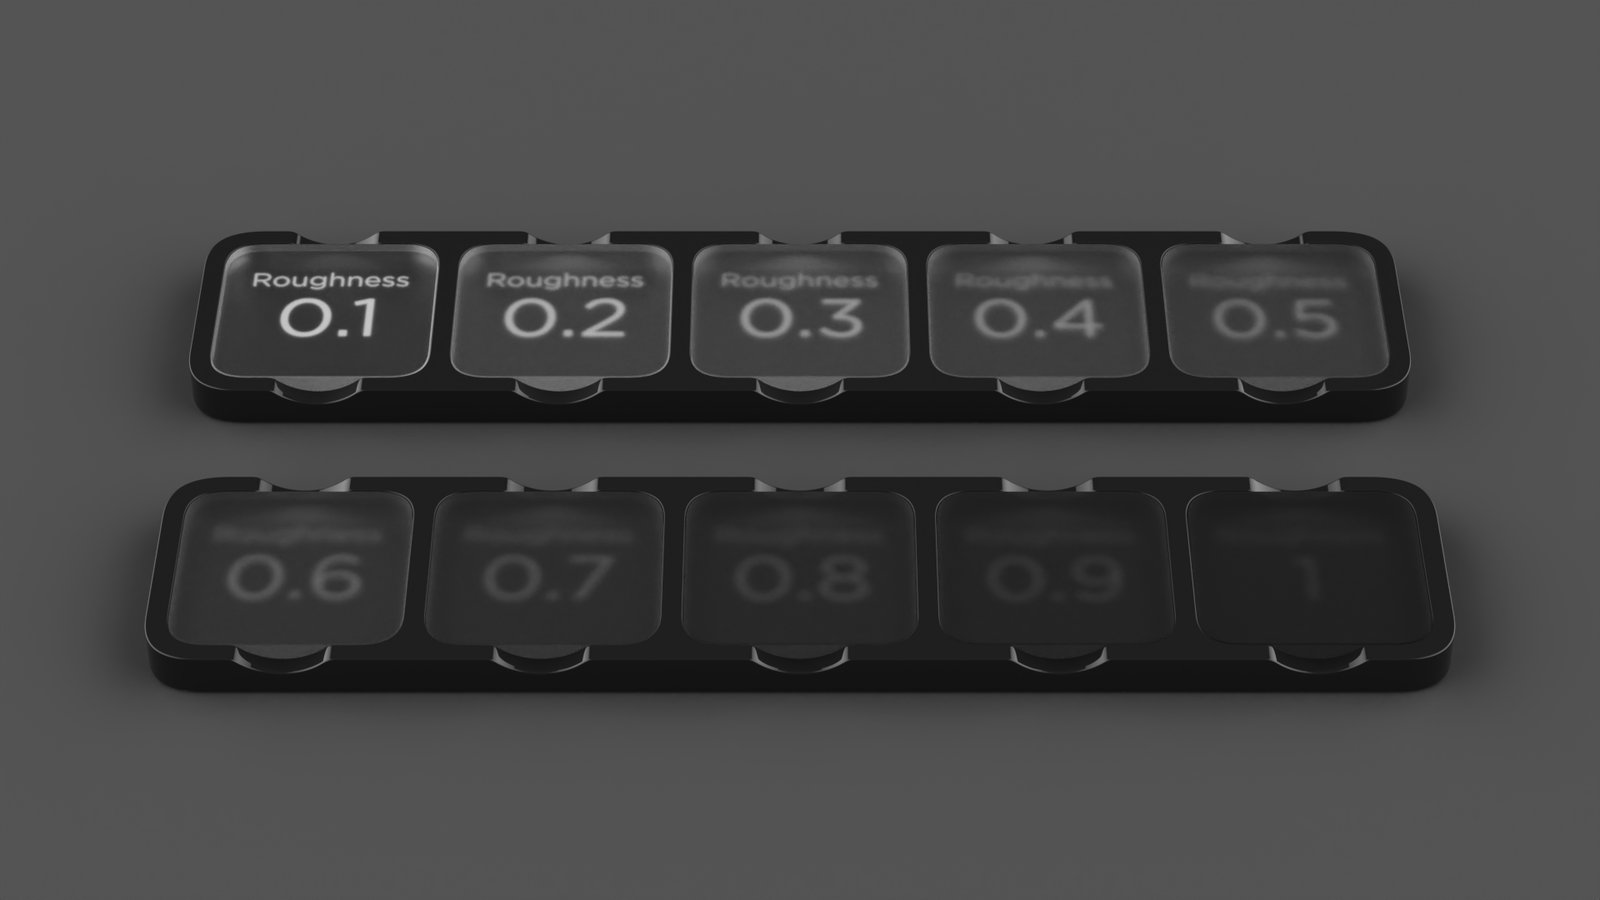
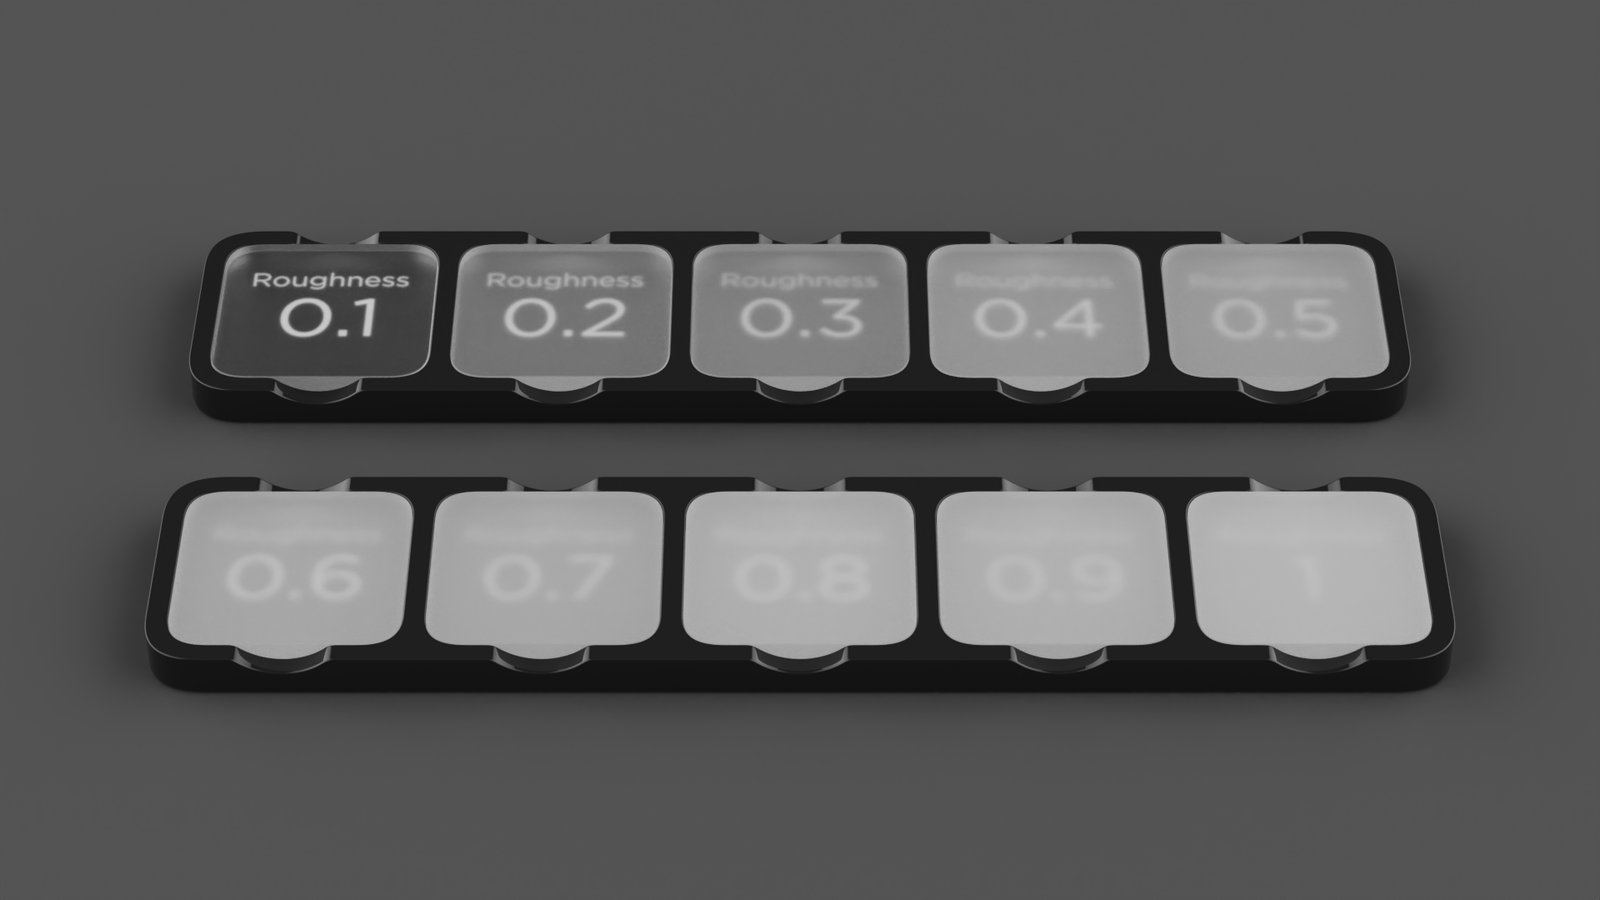
Roughness spreads surface highlights as it does on opaque materials. It also spreads light passing through the material to create a frosted glass look.
Expand this parameter to see the samples setting. Use a low value for a noisier, less uniform result. Use a higher value to reduce noise and grain for a smoother frosted look.
Samples
A low samples setting (8 or lower) tends to make the surface noisier for a rougher, less uniform look. Increase the value to reduce noise and distribute the roughness more evenly.
Abbe Number (Dispersion)
The Abbe number slider controls how light disperses as it passes through the surface. The resulting prismatic colours can create the "fire" effect seen in rendered gemstones.
A value of zero disables dispersion. Low values produce strong dispersion, while higher values make it more subtle. Start around 35-55 for a subtle effect.
Dispersion Samples
A low samples setting (8 or lower) produces a noisier, less uniform result. Higher values reduce noise and grain for a smoother look.
Roughness Transmission
This setting controls the roughness of refractions inside the material. Unlike surface roughness, it lets you create a frosted look while keeping the surface shiny. The material must have some transparency through specular transmission for the effect to appear.
Multiple Surface Scattering
This option simulates light bouncing multiple times on rough dielectric surfaces before scattering back. It conserves light energy to give the material a more realistic appearance. When disabled, light bounces off the surface and scatters once. Later bounces are discarded or absorbed, so the surface loses light energy and appears too dark. When enabled, the calculation includes those later bounces without losing light energy, making the surface brighter. Enable this option for the most realistic result, but expect a performance cost. Multiple Surface Scattering only affects Dielectric materials with a roughness greater than 0. The effect is stronger at higher roughness values.