Use the Render Dialog Queue in KeyShot to batch render still images, animations, KeyShotXR and Configurator jobs.
The Queue shows each job's type, name, format, resolution and frame count. Hover over a job to see a larger thumbnail preview, when it was added, its render mode and its number of samples.
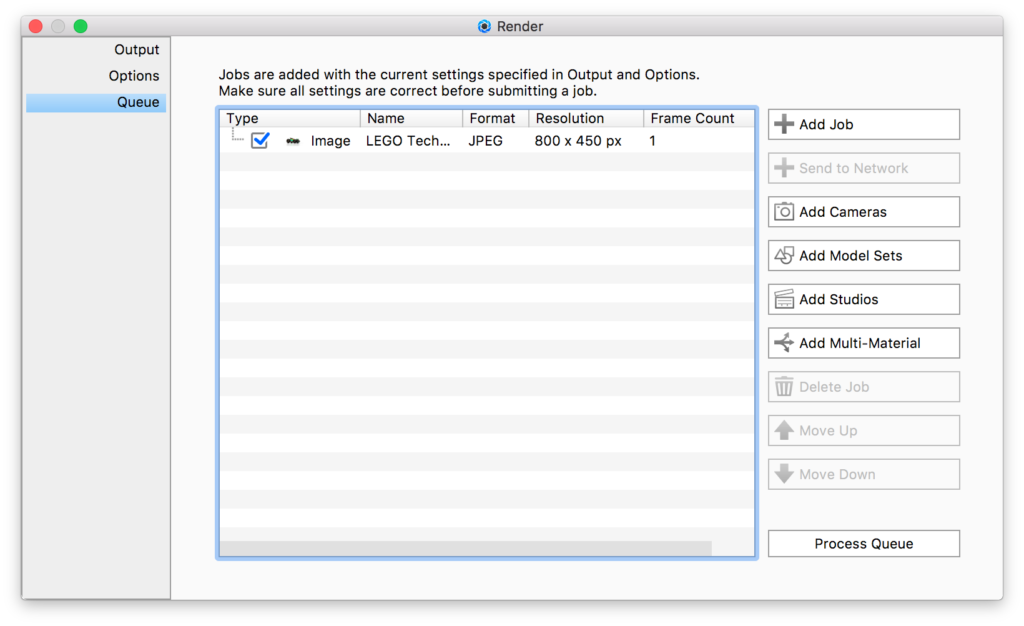
Add/Delete Job
Use these buttons to add or remove jobs from the queue. Each new job uses the current Output and Options settings. Each job can have its own settings.
Send to Network
The Send to Network option is available if you have KeyShot Network Rendering installed. Select one or more jobs in the Queue and click the Send to Network button.
Add * to Queue
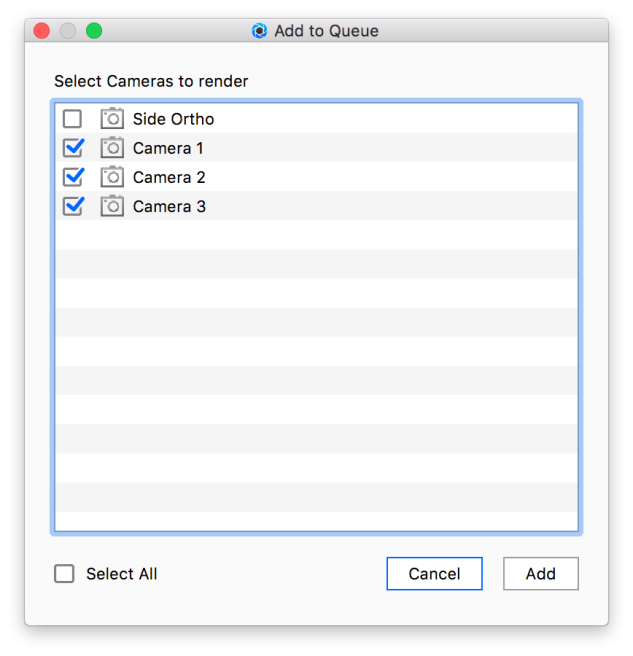
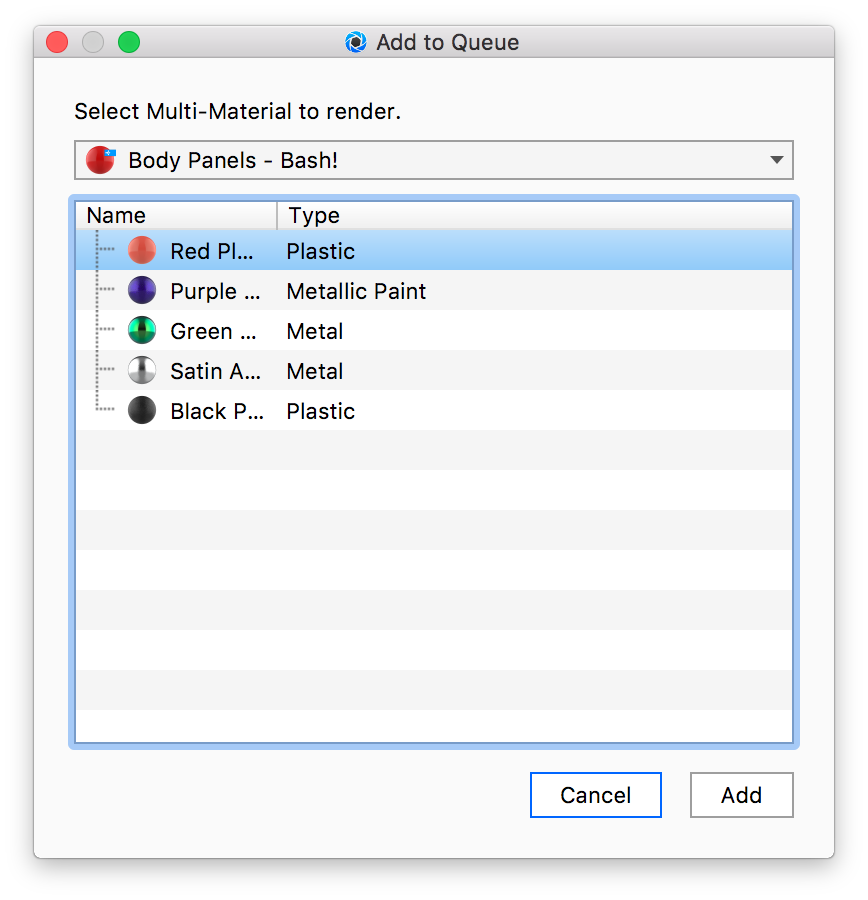
You can add jobs to the queue without manually switching the active Camera, Model Set(s), Studio or Multi-material in the scene. Jobs added through the queue use the current Name Template from the active tab in Render Output. Add Cameras Add Model Sets Add Studios Add Multi-Material Click the Add Multi-Material button to open the Multi-Material Queue window and select a Multi-Material. Press Add, to add a scene render to the Queue for each sub-material in the selected Multi-Material. The other Multi-Materials in the scene use their currently active sub-material from the Real-time View. |
Move Up/Down
Select a job and click Move Up or Move Down to change its position in the list. Jobs at the top render first. Clear the check box next to a job to skip it when processing the queue.
Process Queue
Click Process Queue when you are ready to start rendering. All jobs with a blue check-mark are processed. To enable or disable several jobs at once, select them and use the right-click menu.