Enscape
Lighting for Rhino
This page provides information about lighting in Enscape for Rhino.
Last updated 28 May 2026
This page provides information about lighting in Enscape for Rhino.
Overview
Rhino offers a great selection of native artificial lighting options.
The quickest way to start working with lights in Rhino is to type Lights in the Rhino command line. You can also go to the Rhino Panels menu > Lights.
The Lights panel opens with Sun and Skylight already listed. To place an artificial light in Rhino, click the + button and a list with all the different types of lights appears. However, not all of these lights listed are supported by Enscape.
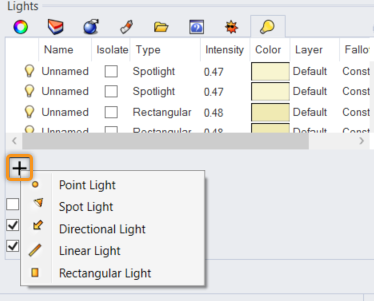
The lights that are available in Enscape are:
- Point Light – Emits light equally in all directions from a single point in space
- Spot Light – Directs a narrow beam of light with Falloff
- Linear Light – Imitates a fluorescent light tube
- Rectangular Light – Inserts a rectangular light object that emits light from an array of points in a set direction
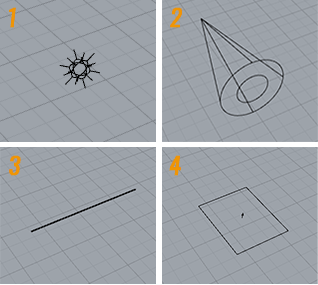
Light Types
When you place a light in the scene, it becomes listed in Rhino’s Lights panel along with some of the light’s properties.

Rhino Lights Panel
Right-click a light in Rhino’s Light panel and open the Properties panel. This offers some extra options for some light types. Any changes to a light’s properties is instantly seen in Enscape as long as Enscape’s Live Update option is enabled.

Light Properties
Point Light
Here, you can see a point light has been inserted into a scene (displayed in yellow) and its intensity and color have been adjusted from the Light’s Properties panel.

Point Light in Scene
Spot Light
When placing a Spot Light in Rhino, the first click defines the light's cone base and the second click defines the cone direction. After placing the light, Rhino provides several control points to adjust it.

Spot Light
Linear Light
Linear lights are placed with two clicks. The first click defines the start point, and the second click defines the length of the linear light.

Linear Light
Rectangular Light
Rectangular lights are placed with three clicks. The first click defines the target point, the second the light length, and the third the light width. The light emission is indicated by a small arrow attached to the rectangular plane.
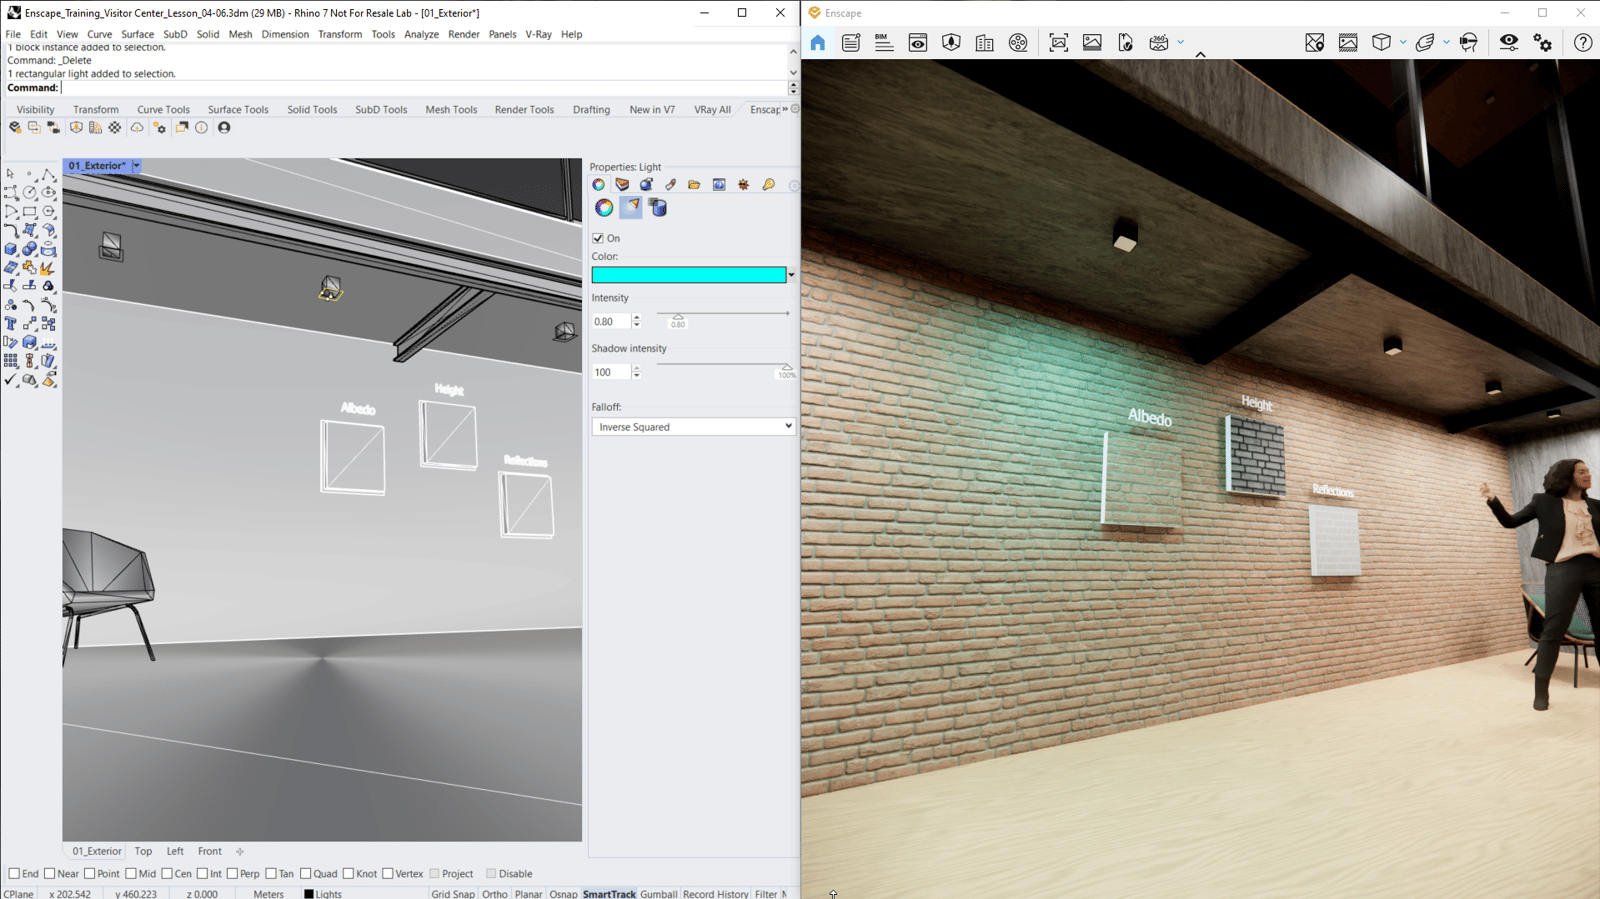
Rectangular Light
Self-Illuminated Materials
Self-Illumination acts similarly to a Point Light but emits light from the entire surface of the material.
In the example, a cube object is placed in the scene, highlighted in the Rhino Viewport. Assigned a default material to one or all of its surfaces and set the Material Type to Custom. Alternatively, if you want to use the Enscape Material Editor to adjust the emissive material, set it to Enscape.
In the Advanced Settings of the Material panel, ensure that Self-illumination is enabled. Then set the Emission color.
Additionally, if editing the material in the Enscape Material Editor, you can also adjust the material luminosity.
To see the emissive surface in action, set the time of day in the Enscape window to night hours.
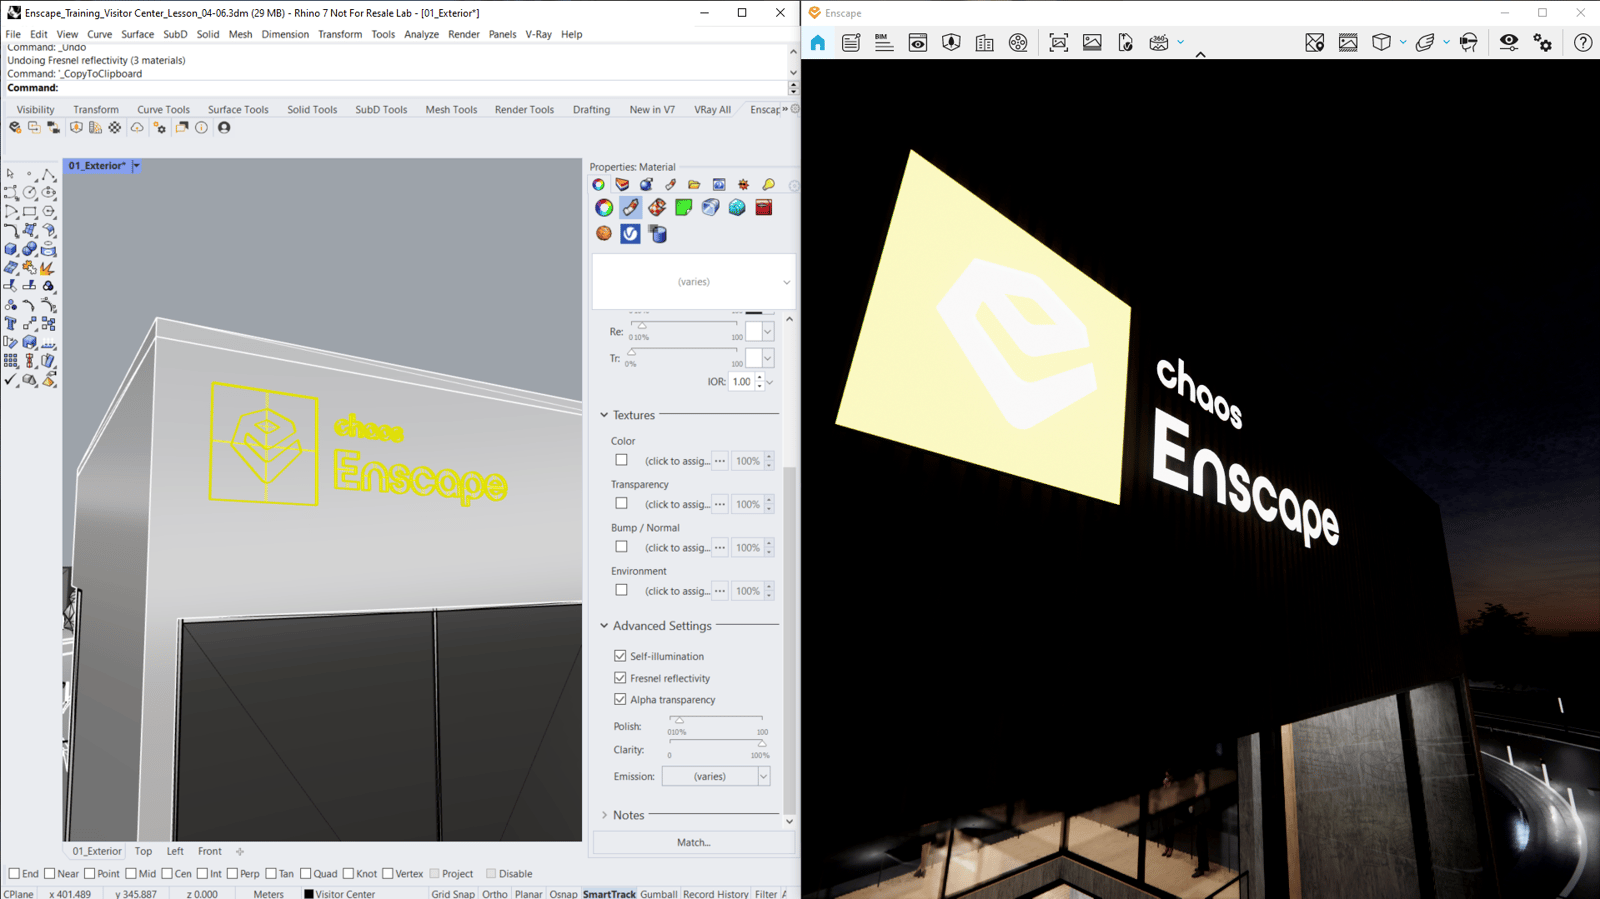
Self-Illumination with emission color applied