Use the Render dropdown in Veras to render images and access image editing options.
Overview
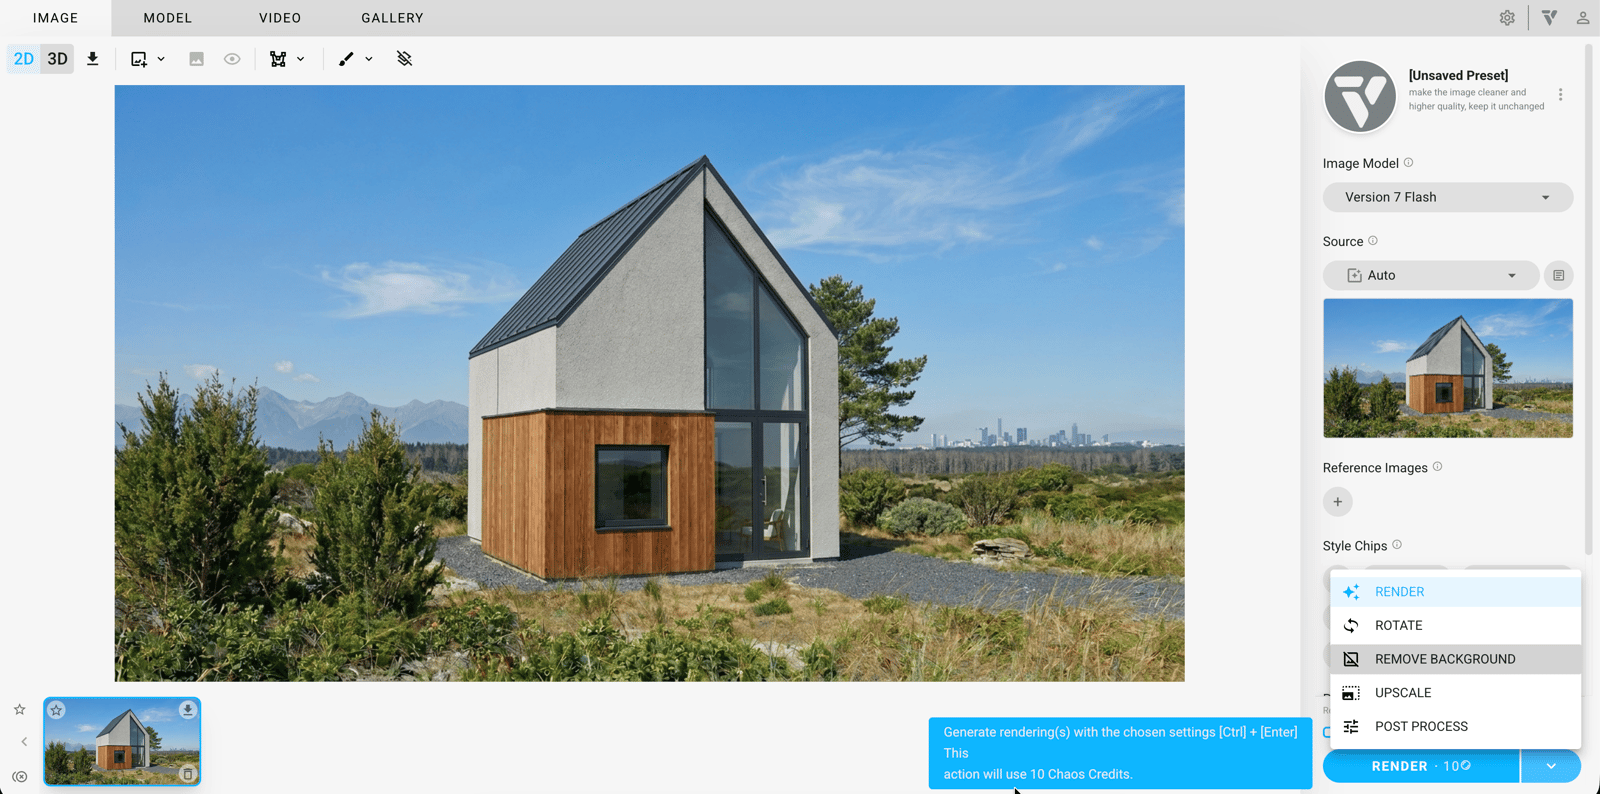
In the Image Tab, you can use the standard Render options with the settings explained above or choose additional functions.
Click the arrow on the right side of the button to see the additional options.
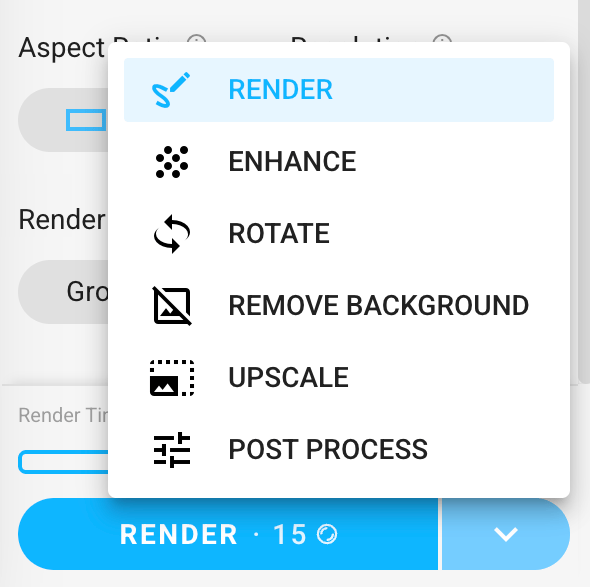
Render
Render generates a new image using your chosen settings.
You can render up to four images at once. Click the dotted rectangles to choose how many images to render.
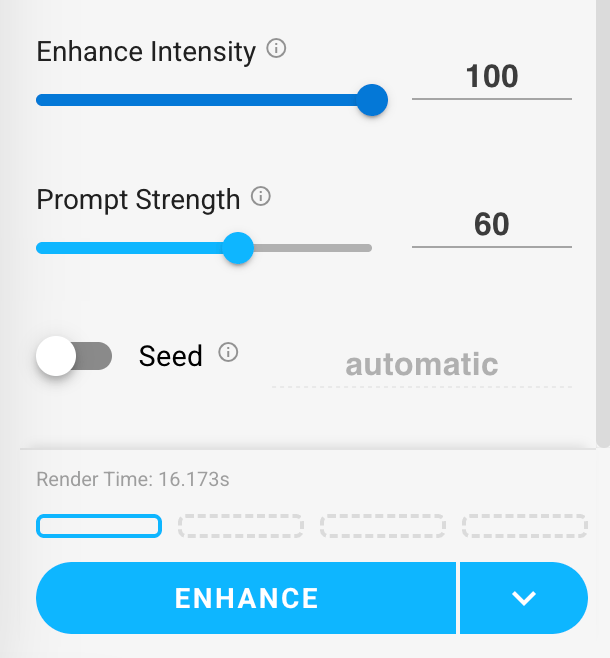
Enhance
Enhance Intensity controls how much the image changes. Low values make smaller changes. High values make larger changes.
Prompt Strength controls how strongly the added Prompt affects the enhancement.
Rotate
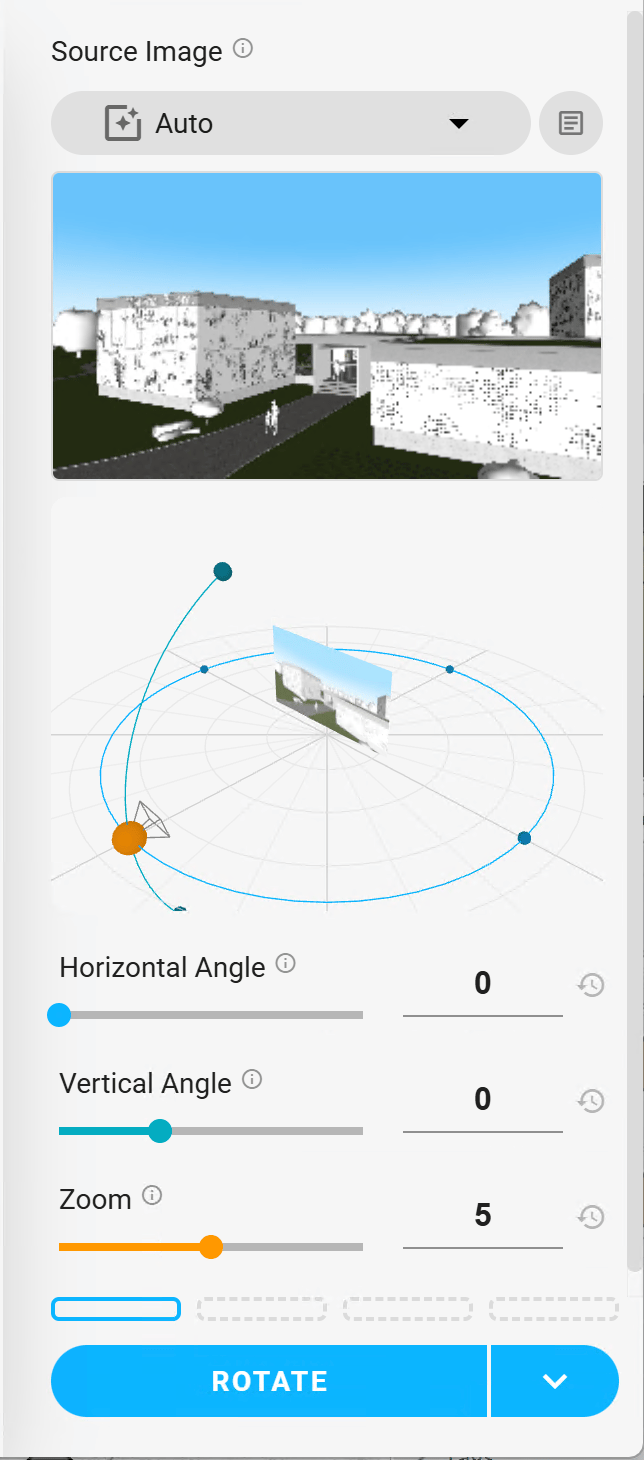
Rotate renders a different angle from a 2D Source Image.
Set the following:
- Horizontal Angle
- Vertical Angle
- Zoom
See the example on the Visual Examples page.
Rotate menu
Remove Background
Remove Background keeps only the Foreground of the image. You can change the Background later.
Process
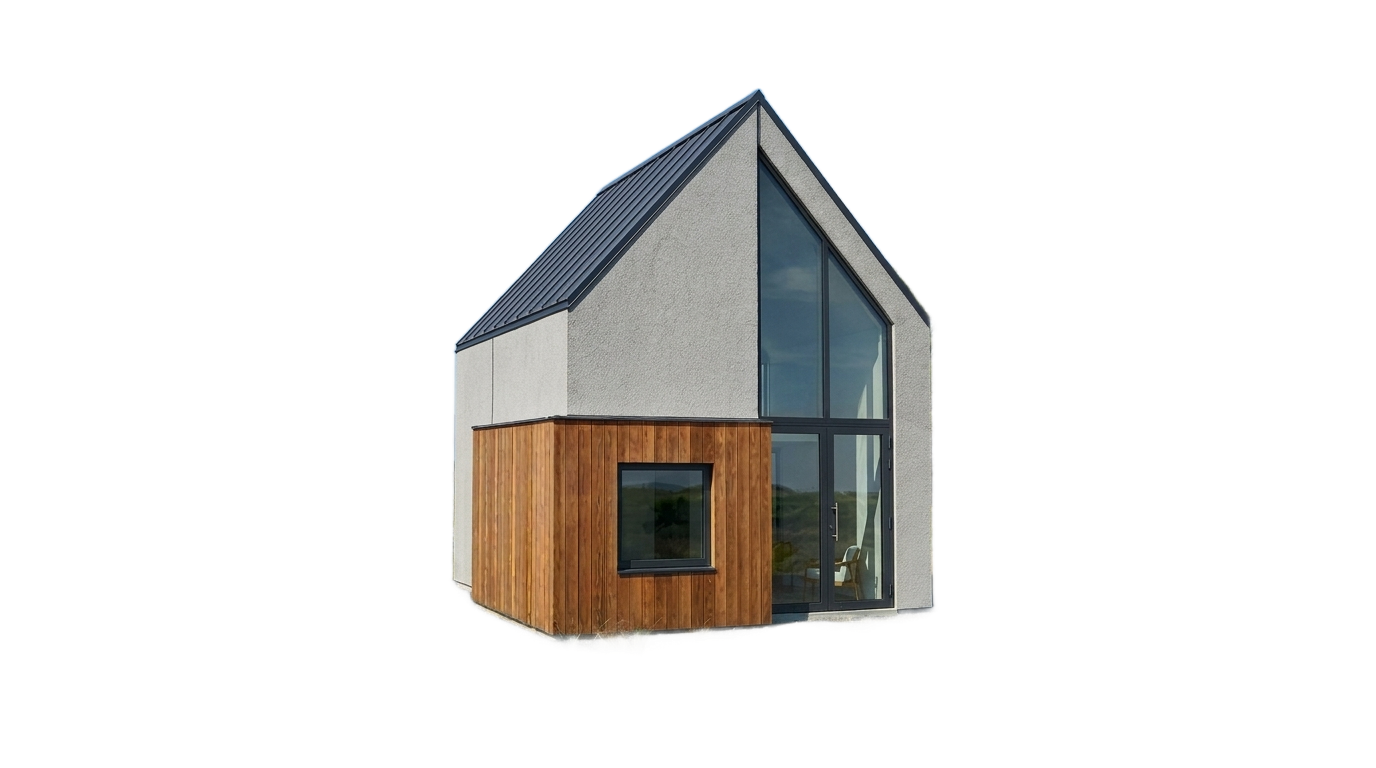
Result
Upscale
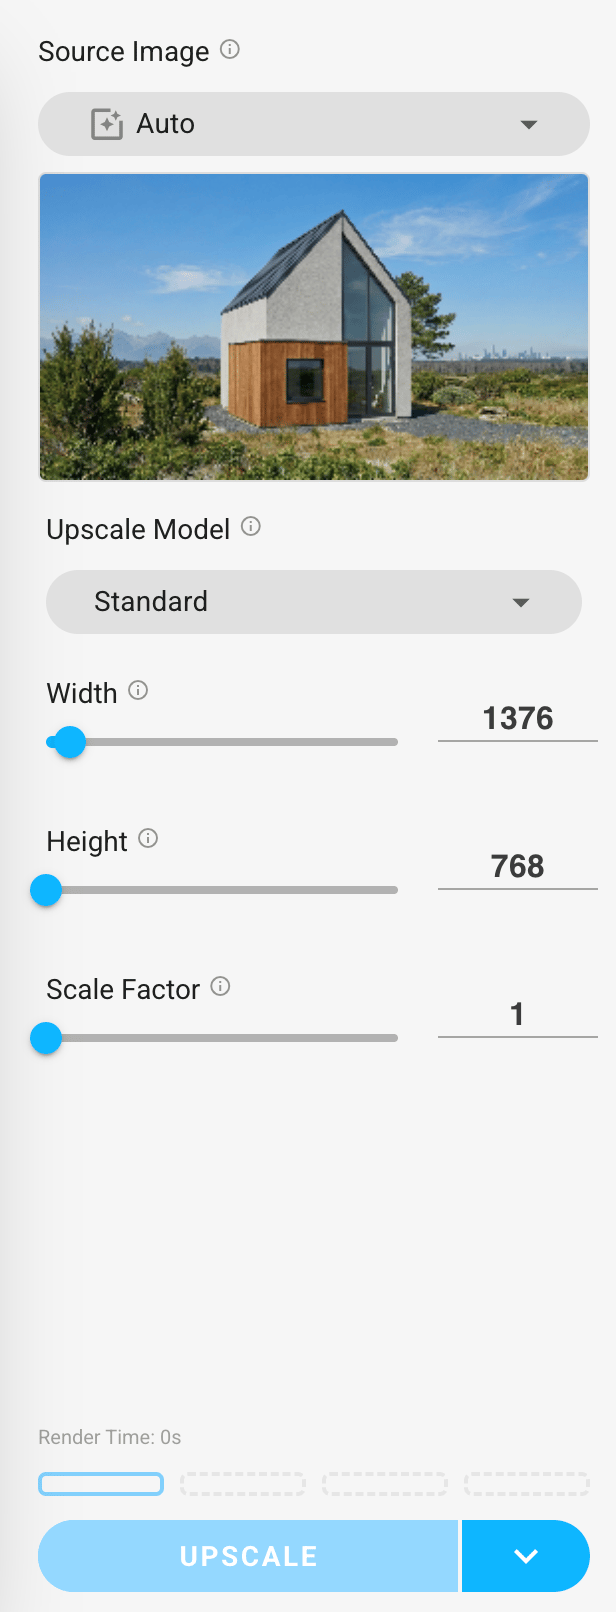
To upscale an image, set the following:
- For Source Image, choose Auto, Rendered Image or Manual Upload.
- For Upscale Model, only Standard is currently available.
- Width
- Height
- Scale Factor
Post Process
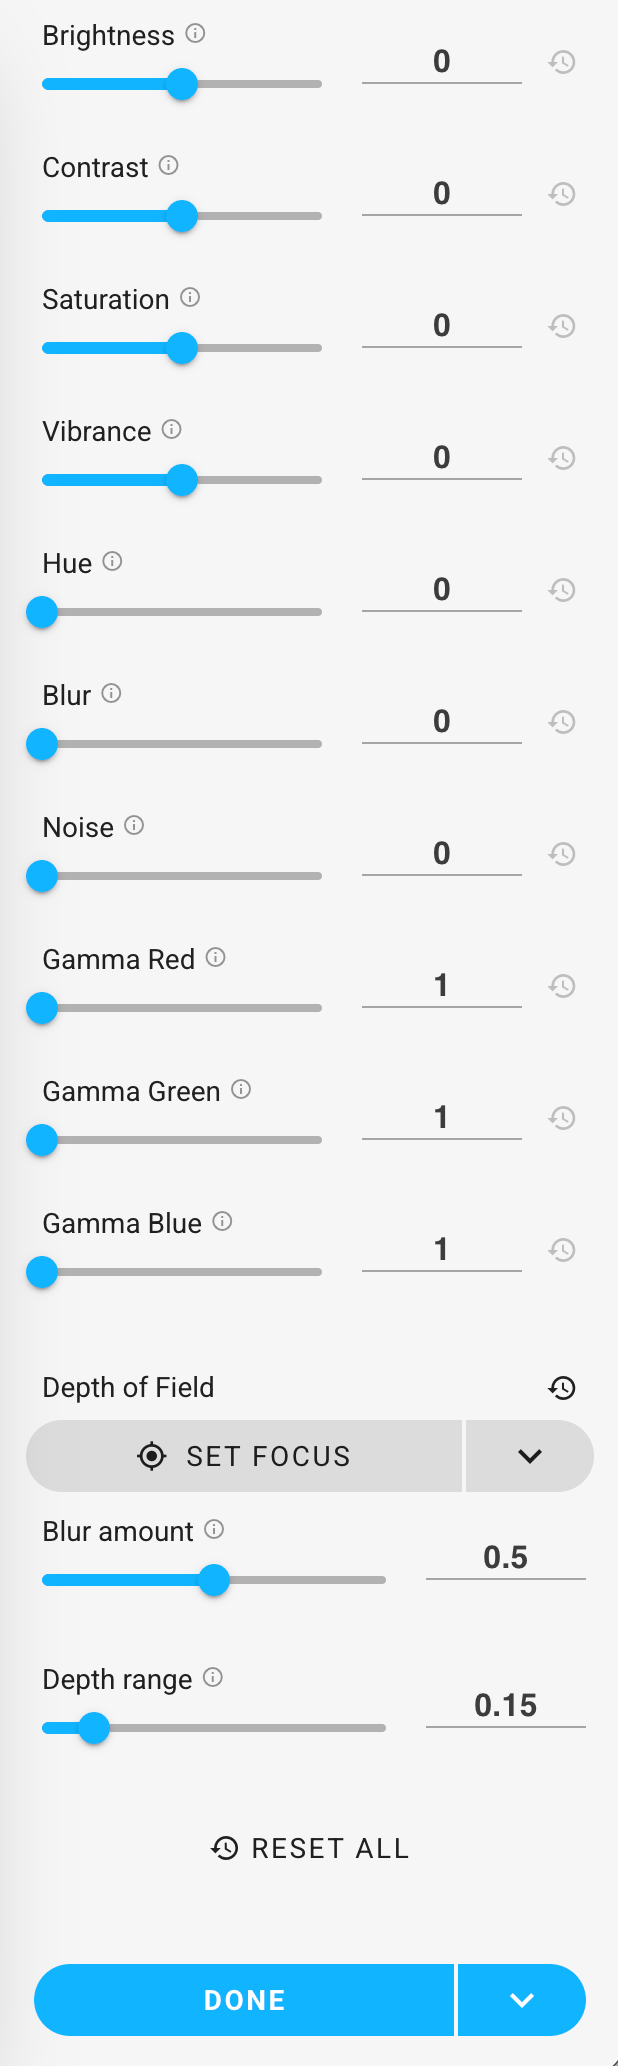
You can adjust the following:
- Brightness
- Contrast
- Saturation
- Vibrance
- Hue
- Blur
- Noise
- Gamma Red
- Gamma Green
- Gamma Blue
For Depth of Field, choose Lotus or Vision Banana to set the Focus. Click anywhere on the image to set the focus point. Drag the marker to refocus.
Blur amount controls the strength of the bokeh blur away from the focus plane. It applies in front of and behind the focus point.
Depth range controls the depth band around the focus point that stays sharp. Larger values keep more of the image in focus.
See the example below.
Reset All returns all values to their defaults.
Click Done to finish editing.
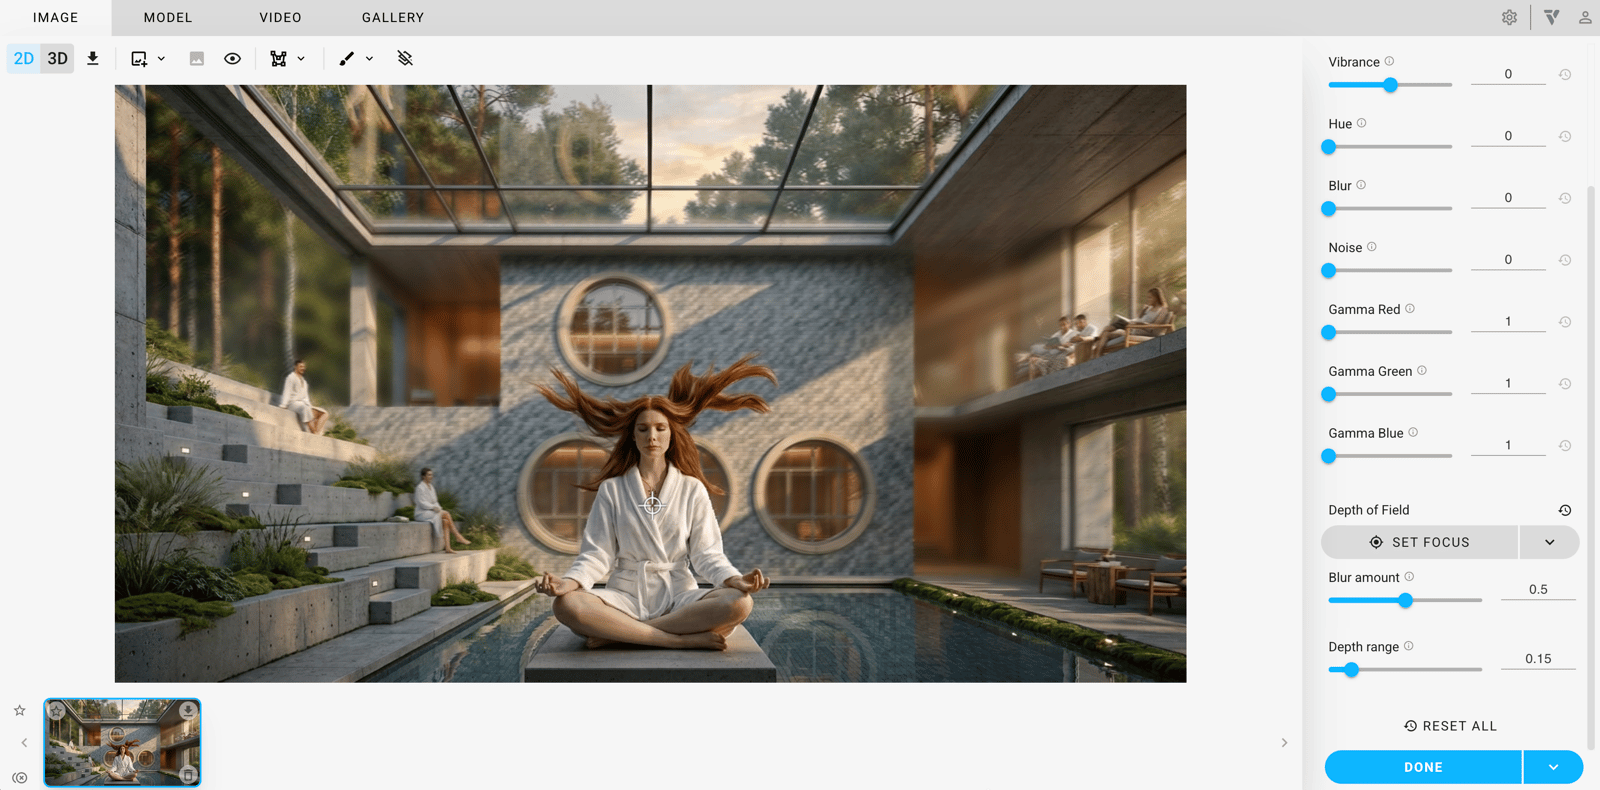
Depth of Field example