KeyShot Studio
GPU Mode
KeyShot Studio has the ability to harness the full GPU-accelerated ray tracing power. Available for both real-time rendering and local render output, KeyShot Studio’s GPU Mode allows GPU resources to be accessed with one-click to take advantage of multi-GPU performance scaling You may toggle between GPU and CPU as n...
Last updated 3 August 2026
KeyShot Studio has the ability to harness the full GPU-accelerated ray tracing power. Available for both real-time rendering and local render output, KeyShot Studio’s GPU Mode allows GPU resources to be accessed with one-click to take advantage of multi-GPU performance scaling You may toggle between GPU and CPU as needed.
Real-Time View
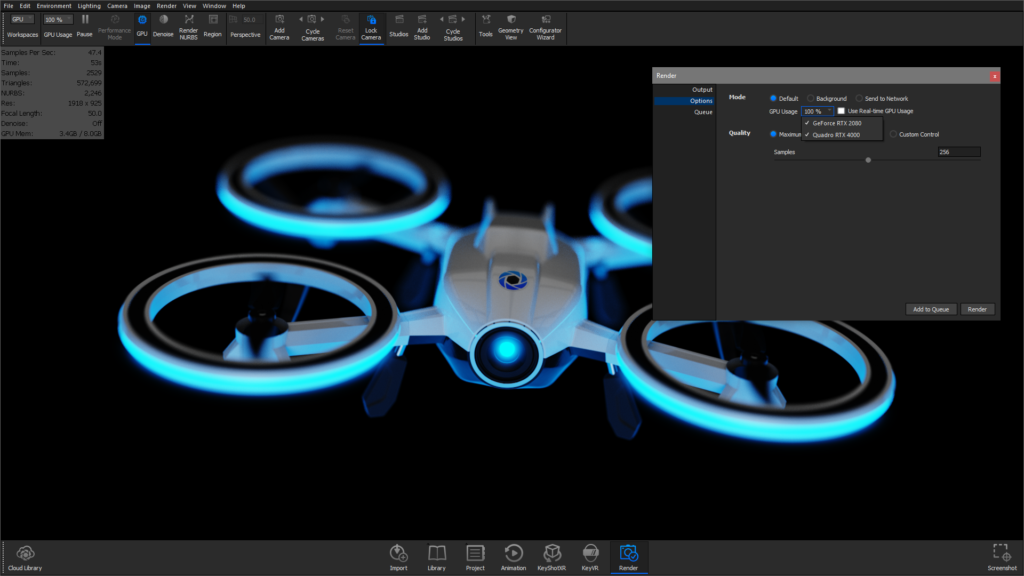
To use GPU mode in the KeyShot Studio Real-time View, select  GPU mode on the Ribbon or Render, GPU mode from the Main Menu.
When GPU mode is active the CPU Usage drop-down in the Ribbon in KeyShot Studio will be replaced with a GPU usage drop-down, listing the available GPUs. Here you can limit which GPUs are allocated for KeyShot Studio. You can also limit the GPU usage under Render, GPU Usage from the Main Menu. Here the option is available even when GPU mode is not active, enabling you to set a limit before you enter GPU Mode.
In the Heads Up Display you can observe the GPU rendering speed with Samples per second, as well as the Memory Usage. If the GPU runs out of memory, KeyShot Studio will revert to CPU rendering.
Local Render Output
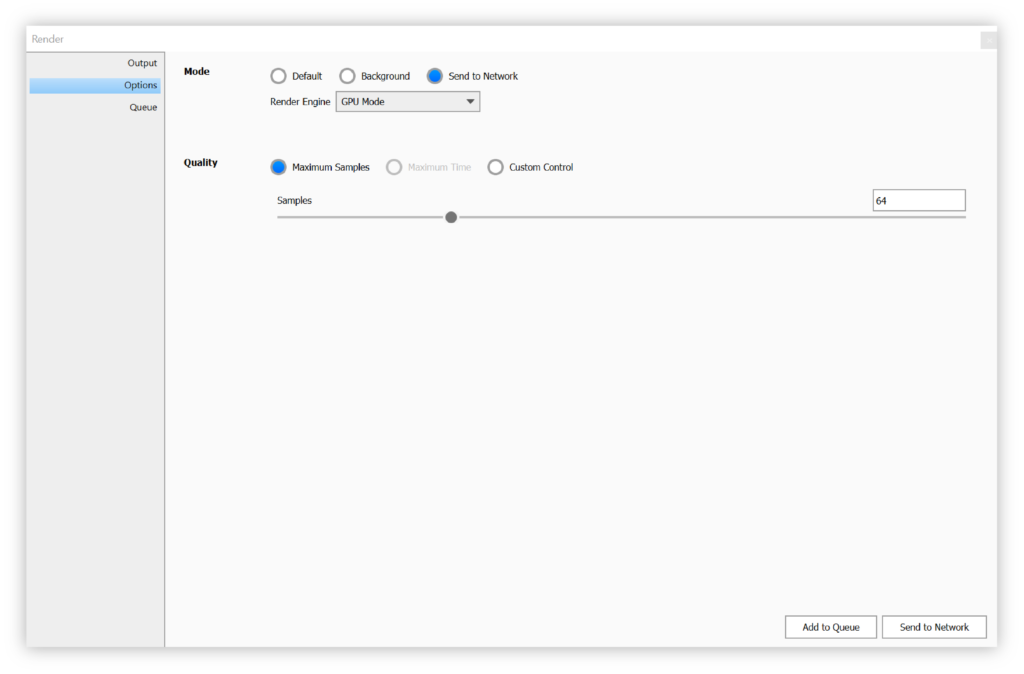
If your GPU meets the requirements listed above you can render in GPU mode locally (Default and Background rendering) as well as send jobs to Network Rendering in GPU mode. You can either choose to have the Render Engine follow the Real-time View mode or specify either CPU or GPU in the Render Engine selection in the Render Dialog > Options.
Network Rendering
If your GPU does NOT meet the requirements listed above, you can still send jobs to Network Rendering in GPU mode. To add GPU jobs for Network Rendering, simply select the GPU mode in the Render Engine section in Render Dialog > Options.