KeyShot Studio
Part Animations
Part animations affect your model’s position, orientation, and visibility in the scene. They allow you to translate, rotate, and fade all while maintaining your model’s hierarchy. Thus, animations applied to your model’s top assembly will also affect all parts under that assembly.
Last updated 3 August 2026
Part animations affect your model’s position, orientation, and visibility in the scene. They allow you to translate, rotate, and fade all while maintaining your model’s hierarchy. Thus, animations applied to your model’s top assembly will also affect all parts under that assembly.
Adding a Part Animation
To add a part animation right-click the part or group you want to animate, select Animation and the desired animation type. Or use the Animation Wizard to help you set up the animation.
The part animation is represented as an green node in the timeline.
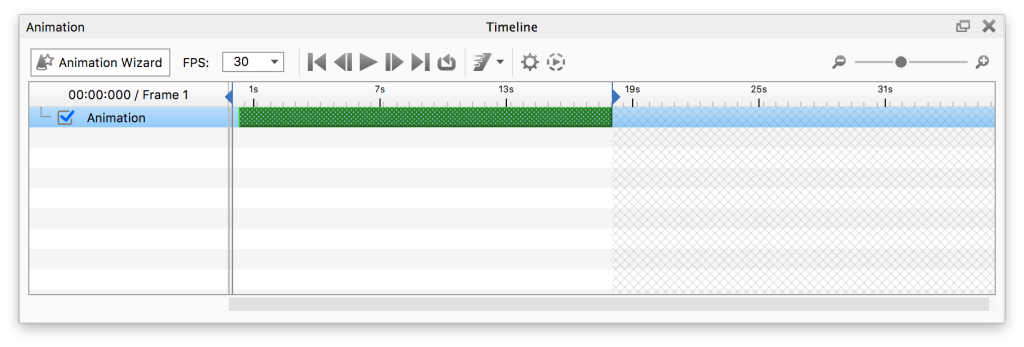
Adjust the properties for your animation and you good to go. See the Animation Timeline page for more information about the options in the timeline.
Alternatively you can copy an existing animation from one part/group to another via the context menu in the scene tree. When you paste the animation you can choose between adding it as an independent animation or as a Linked animation.
Translation
A Translation is an animation in which a model or any one of its parts moves along the X, Y, and Z axis and changes position.
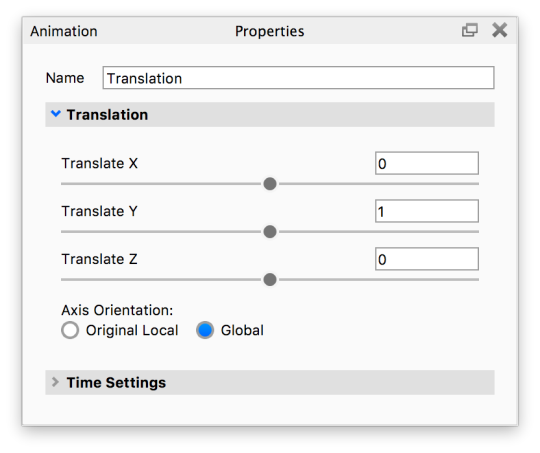
Translate X, Y, Z Axis Orientation
|
Rotation
A Rotation is an animation in which a model or any one of its parts rotates around its own or some other part’s pivot point.
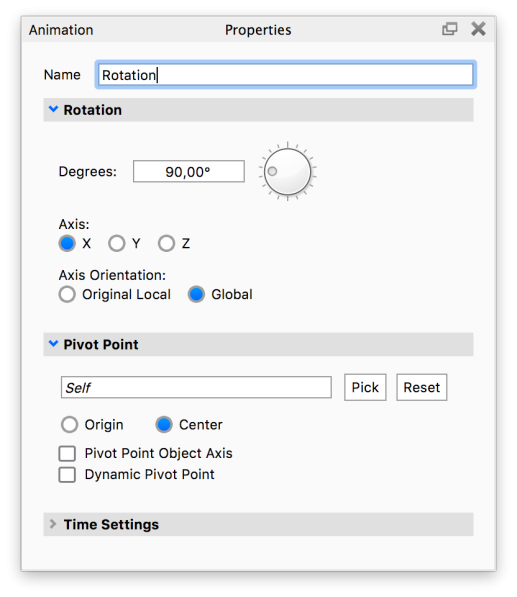
Rotation Degrees Axis Axis Orientation
|
Pivot Point
A pivot point is the point around which a part/model will rotate. When you apply a rotation animation, the pivot point is set to “Self” by default. To select a different pivot point from the scene tree or in your scene, click the Pick button.
Center and Origin
By default, the pivot point is always at the center of the model. Change this to Origin if your wish to use the model’s origin instead. For example, it is possible that a cube’s origin lies at one of its eight vertices.
Dynamic Pivot Points
This setting will allow the rotating part or model to follow a moving helper object. Dynamic pivot points should also be enabled when there are two or more rotations (each with different helper objects) applied to the same part or model.
Note that not all moving helper objects are dynamic pivot points. For example, let’s say that you wish to animate a part orbiting around a helper object while the second is moving. In this case, enabling dynamic pivot point will not provide you with the desired result. Instead, make sure that the orbiting object is a child under the helper object in your scene tree hierarchy.
Fade
The Fade animation provides a smooth transition between two opacity values.
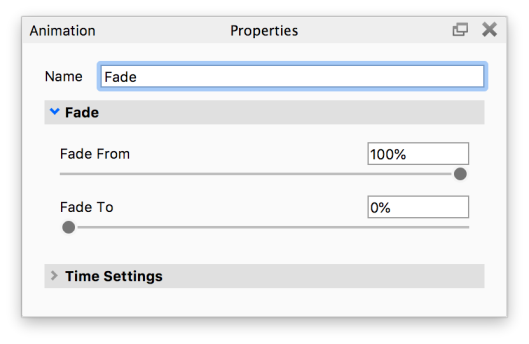
Fade From Fade To |
Turntable (only model/group)
When you are adding an animation to a model/group you can also select a Turntable animation. This is similar to the Rotation animation but is limited to rotations around the up-axis.
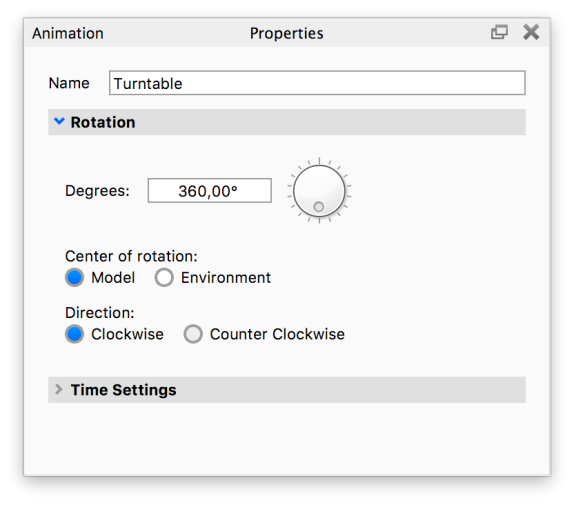
Center of Rotation Direction |
Keyframe
Keyframe animations are a different type of animation from the above. Instead of translating or rotating objects, it will record an objects position, rotation, and scale into keyframes.
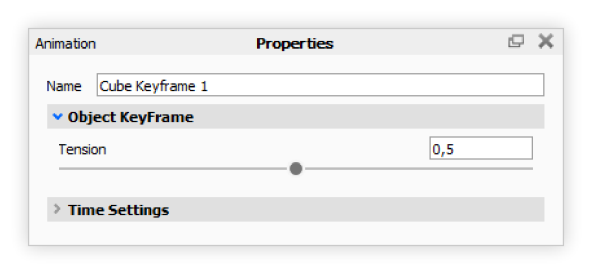
Tension |
Pivot Point
A pivot point is the point around which a part/model will rotate. When you apply a rotation animation, the pivot point is set to “Self” by default. To select a different pivot point from the scene tree or in your scene, click the Pick button.
Custom Pivot
You can also create custom pivot point to use in object keyframe animations. You can align it to a Corner, a Cylinder or a Sphere. Simply click on  , chose what to align to, and use CTRL/CMD + LMB to click on 3 different positions on a surface to calculate your pivot point.
There can be multiple Custom Pivot Points on an Object. You can chose which one to use for each keyframe by selecting it from the drop-down.
Hide Object
The Hide Object animation allows you to hide and show an object from a certain point on your timeline.
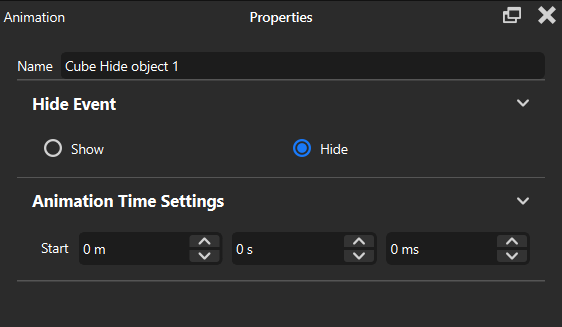
Show The object will be shown from this point forward. Hide The object will be hidden from this point forward. |