KeyShot Studio
Spotlight
Sets the angle that determines the size of the beam – the higher the angle the wider the beam.
Last updated 3 August 2026

Color Stencil Example The image is used as a Color texture. | Color Here you can set the color of the light. Color Stencil Diameter If you use a texture on the spotlight, this slider specifies the width of a virtual stencil disc that always fits the Spotlight’s beam exactly. |
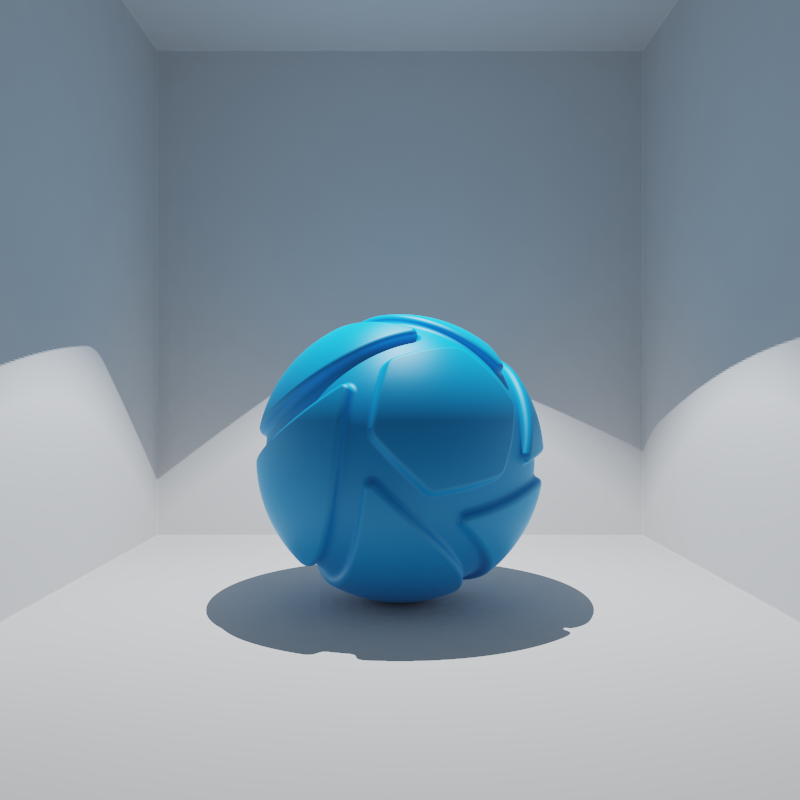
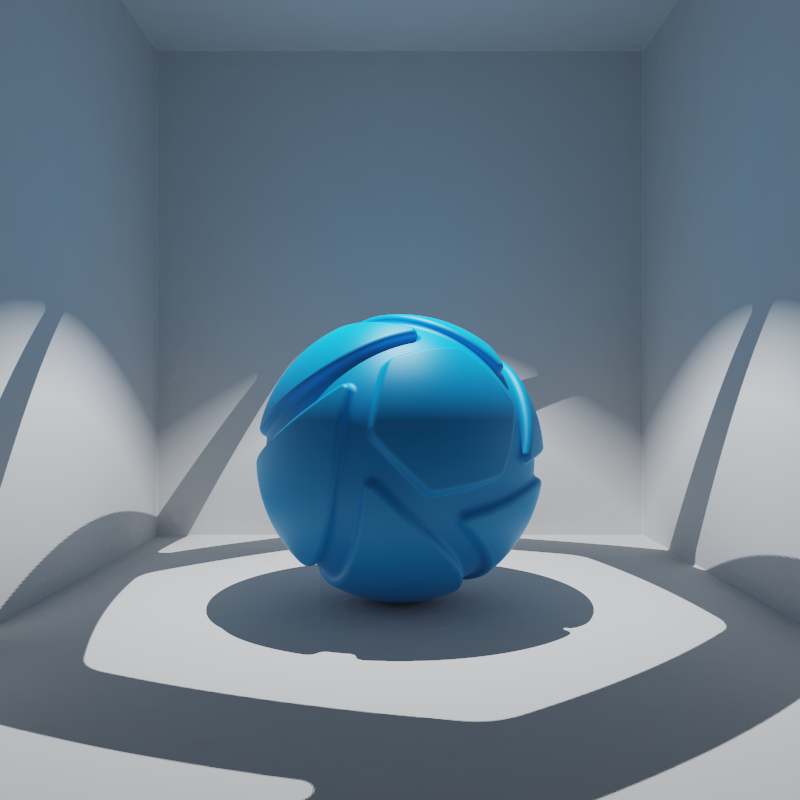
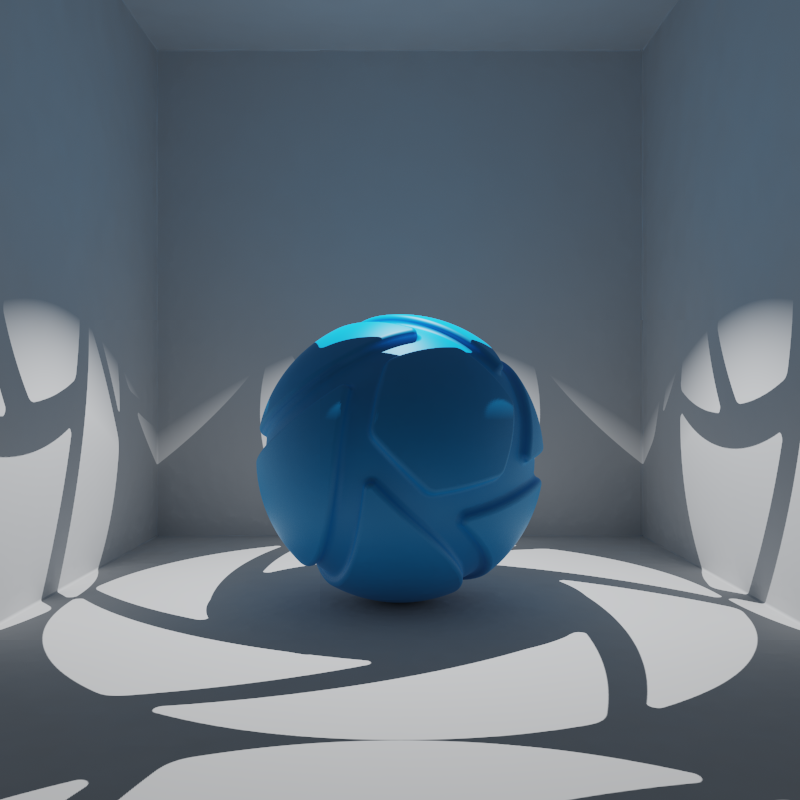
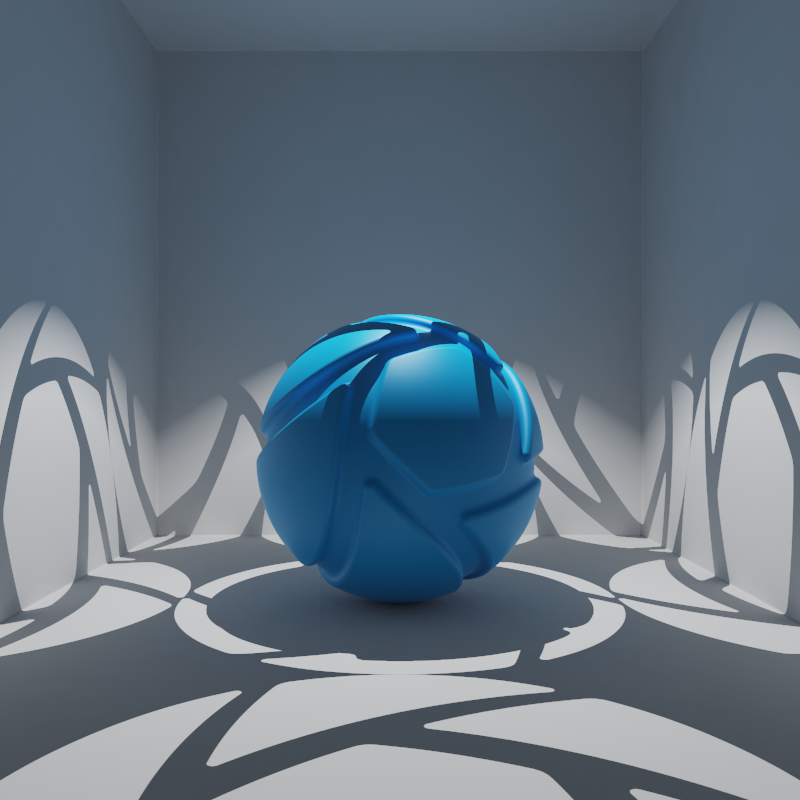
Color Stencil Diameter = 50 mm | Color Stencil Diameter = 100 mm | Color Stencil Diameter = 200 mm | Color Stencil Diameter = 300 mmm |
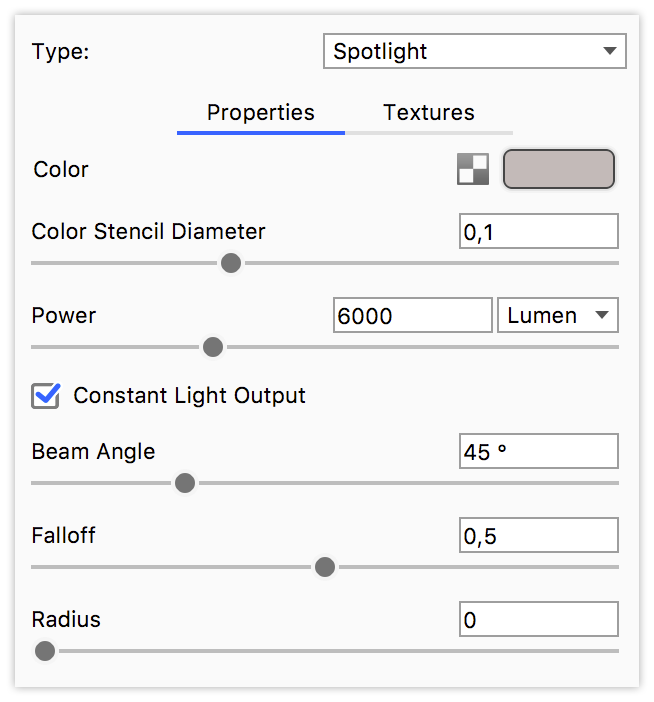
Power Power determines how strong the light source is. It can be set in Lumen or Watt, where Lumen is recommended for the most accurate result. Constant Light Output This checkbox does not change the physical behavior or correctness of the Spotlight, but is there for convenience when adjusting Power or Beam Angle, depending on the preferred workflow. This setting allows to switch between constant total light output (checked) and constant illuminance (unchecked) when adjusting the Beam Angle. |
Constant Light Output is checked
The animation shows the effect of checking Constant Light Output with an animated Beam Angle. | The entered Power value is the luminous flux of the clipped point light, i.e. the light emitted in the beam cone. The power of the Spotlight beam will be identical to the Power value. This also means that total light output with a large or small Beam Angle will be constant. Thus, illuminance will not be constant when changing the Beam Angle. Illuminance with a small Beam Angle will be higher than with a large Beam Angle, since the light is concentrated into a narrower beam. |
Constant Light Output is unchecked
The animation shows the effect of unchecking Constant Light Output with an animated Beam Angle. | The entered Power value is the luminous flux of the unclipped point light, i.e. the light ignoring the beam cone. The actual power of the Spotlight beam will be a fraction of the Power value, since the light output is clipped by the beam. Thus, total light output with a large Beam Angle will be higher than with a small Beam Angle. At the same time, illuminance will be constant when changing the Beam Angle. |
Beam Angle
Sets the angle that determines the size of the beam – the higher the angle the wider the beam.
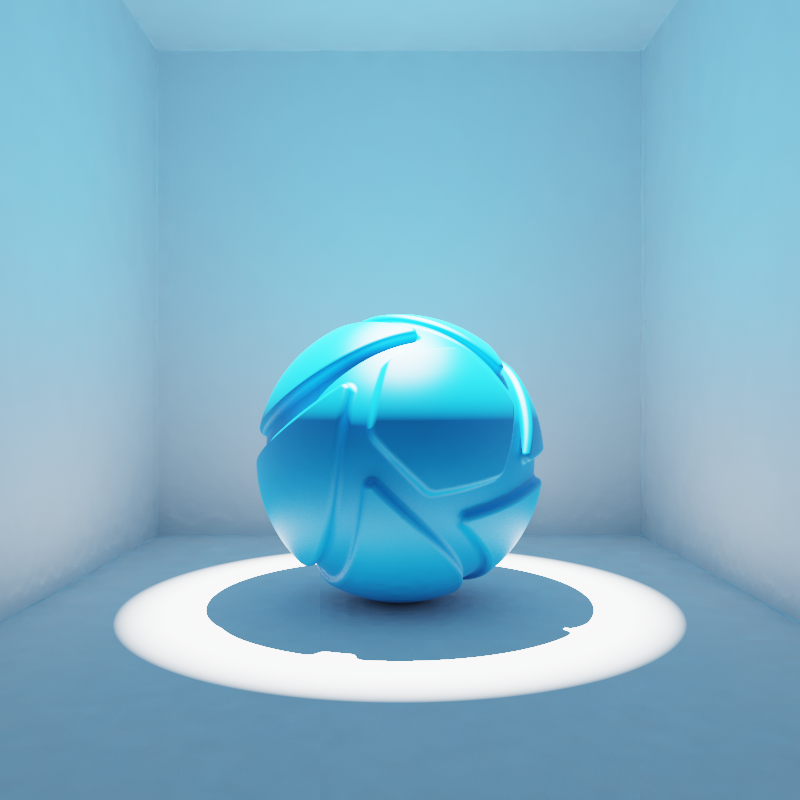
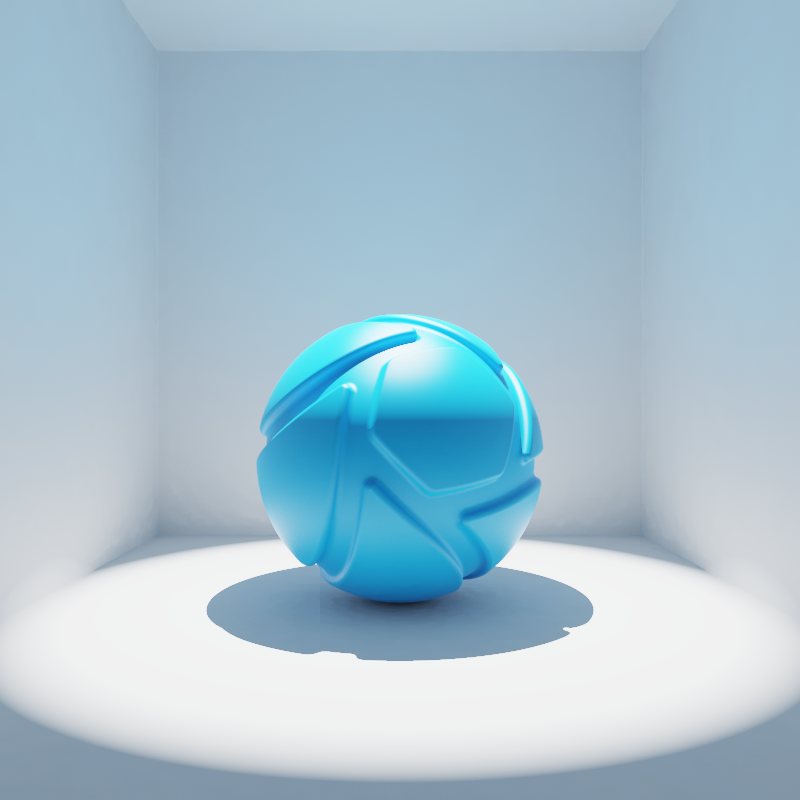
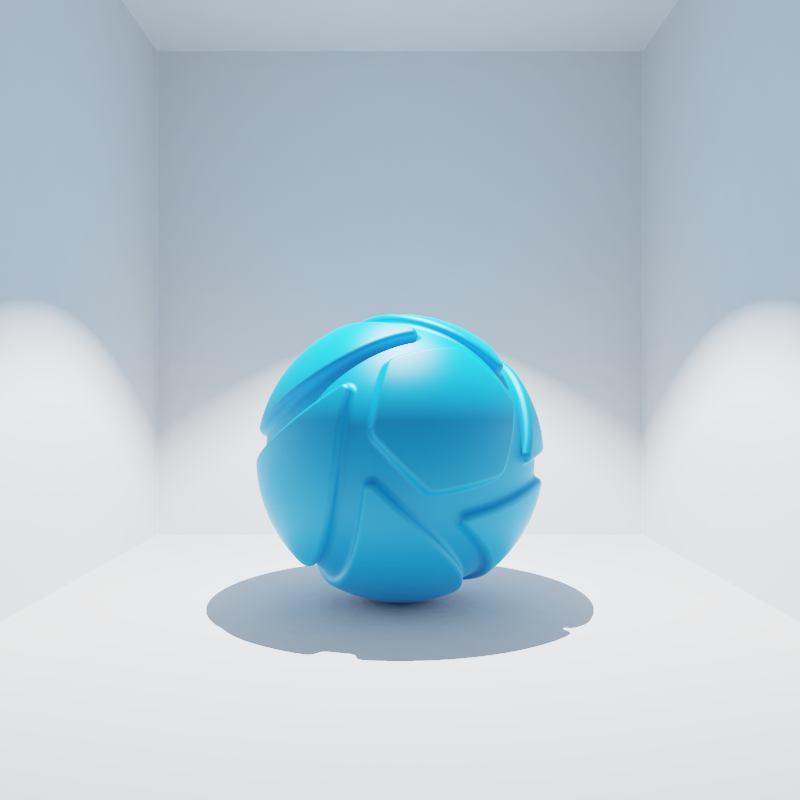
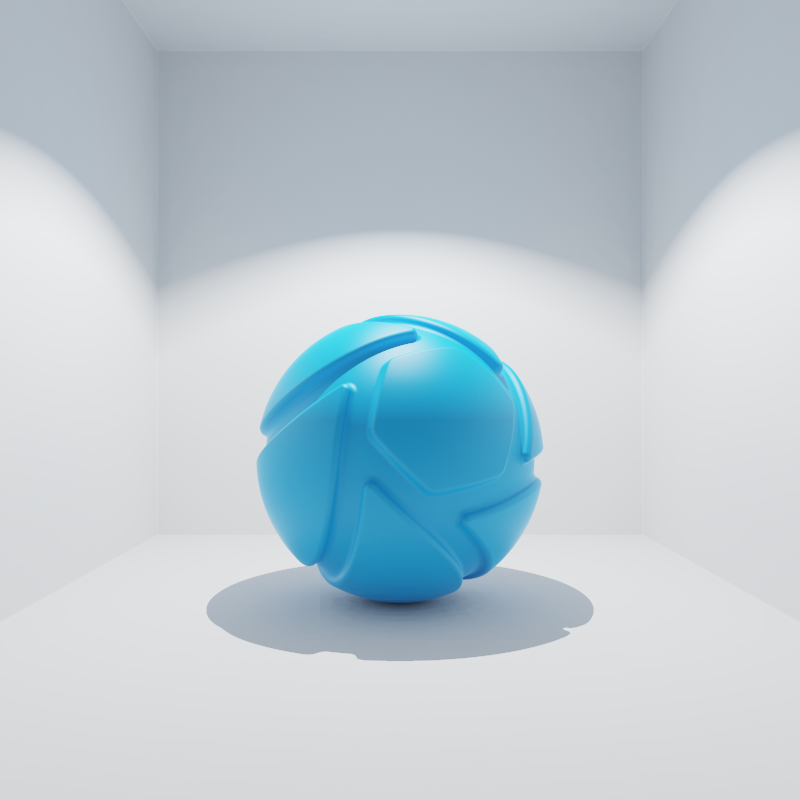
Beam Angle = 45° | Beam Angle = 60° | Beam Angle = 90° | Beam Angle = 120° |
Falloff
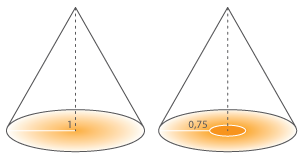
Falloff determines the point from where the beam is dimmed toward the edges. The scale reflects the radius of the beam, where 0 is on the outer edge of the beam and 1 is in the center. The higher the number, the softer the transition from light to dark will be. |
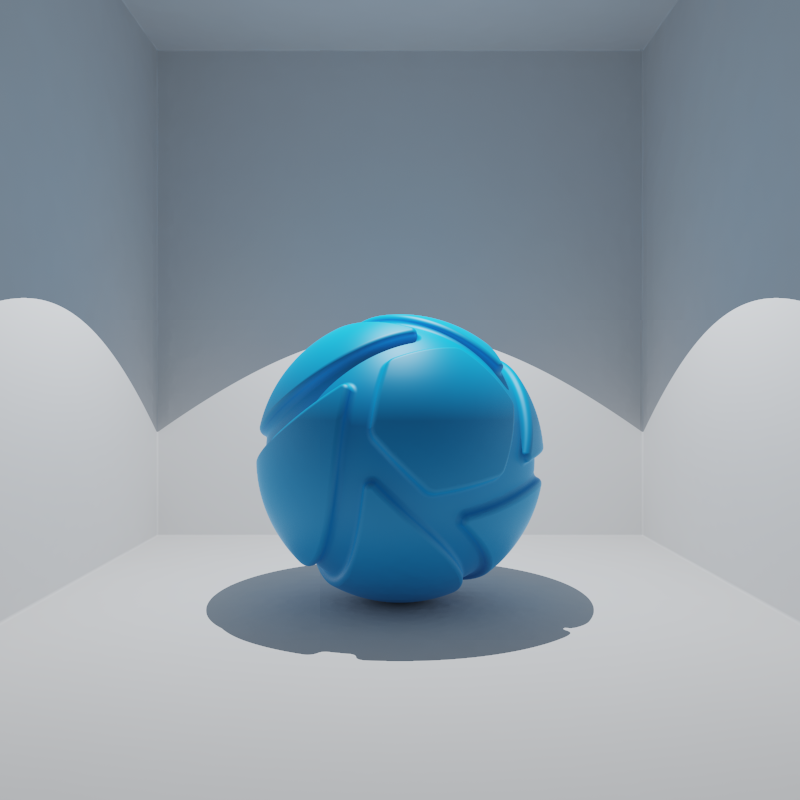
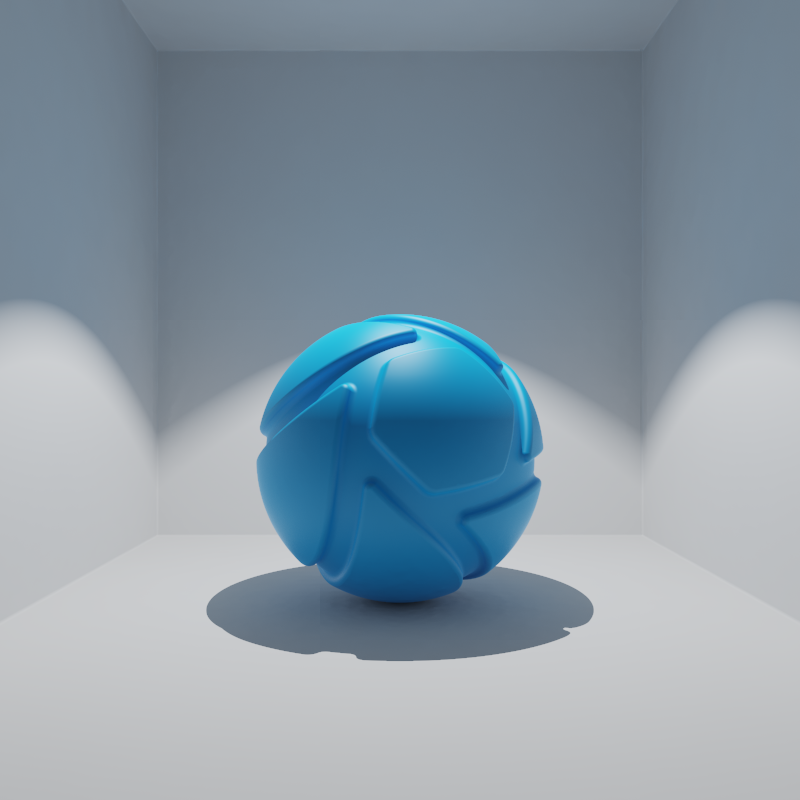
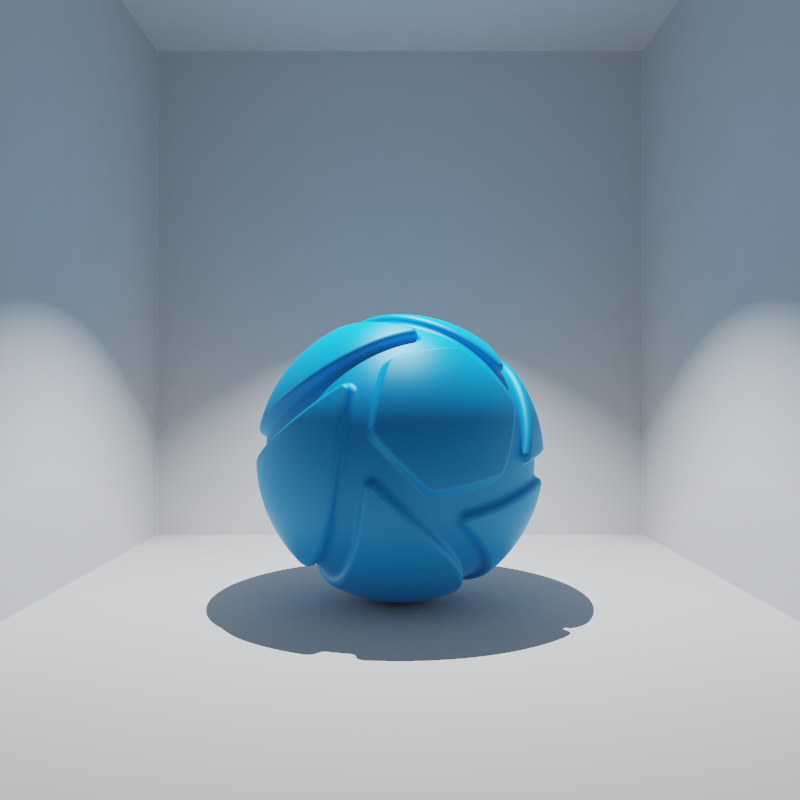
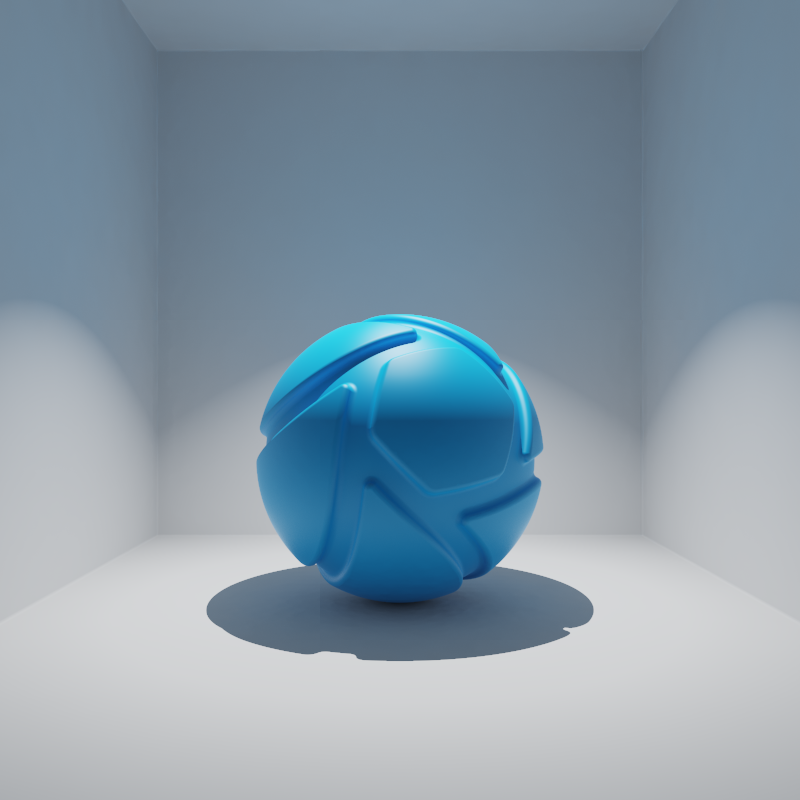
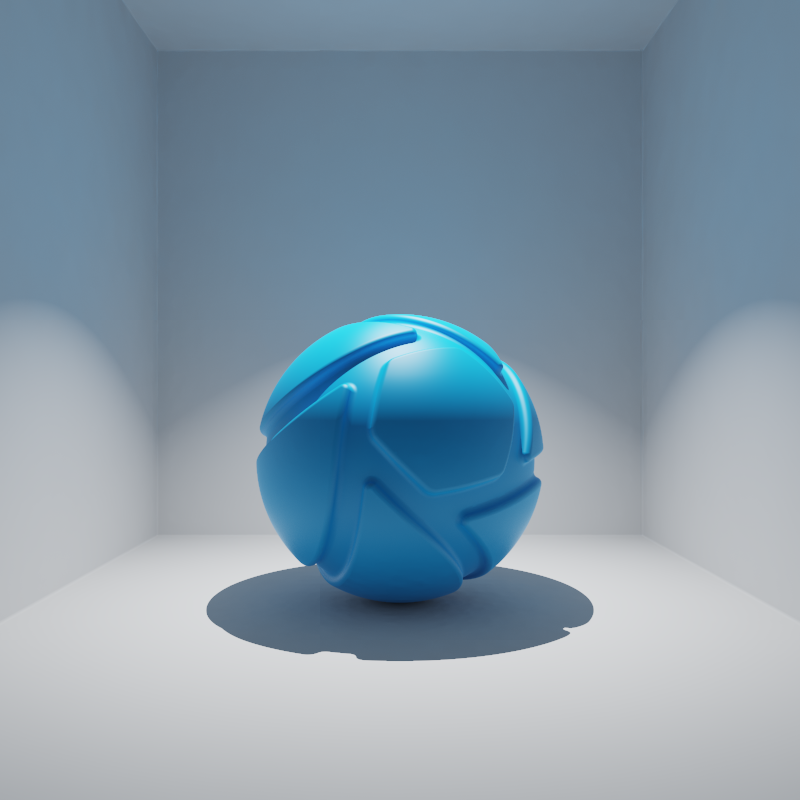
Falloff = 0 | Falloff = 0.2 | Falloff = 0.25 | Falloff = 0.5 | Falloff = 1 |
Radius
Adjust the radius to control the softness of shadows cast from this light. A large radius gives soft shadows, while a small radius results in harder shadows with crisply defined, sharp edges. The unit depends on the Scene Units.
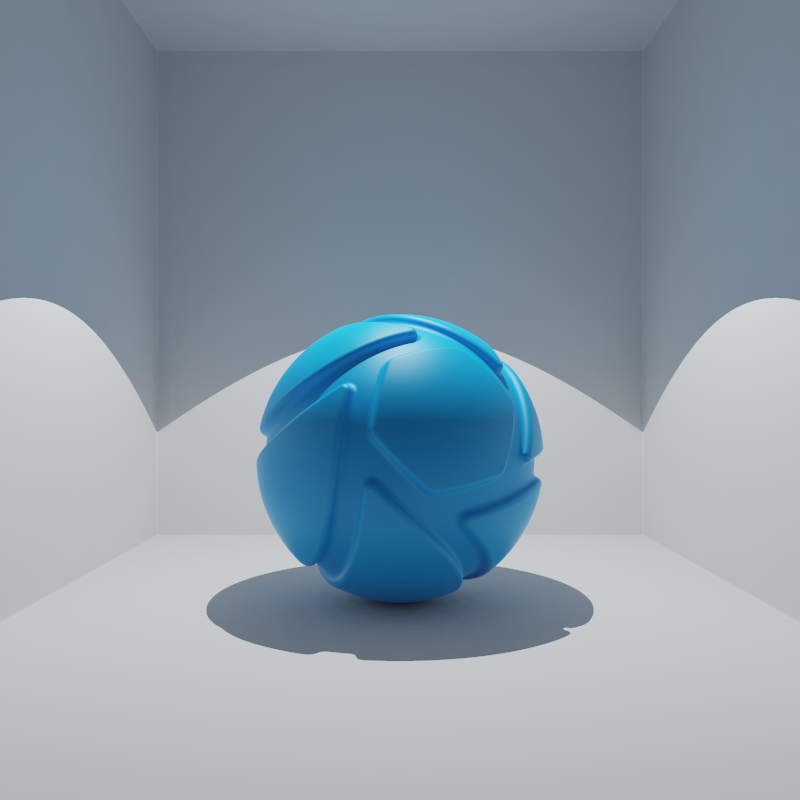
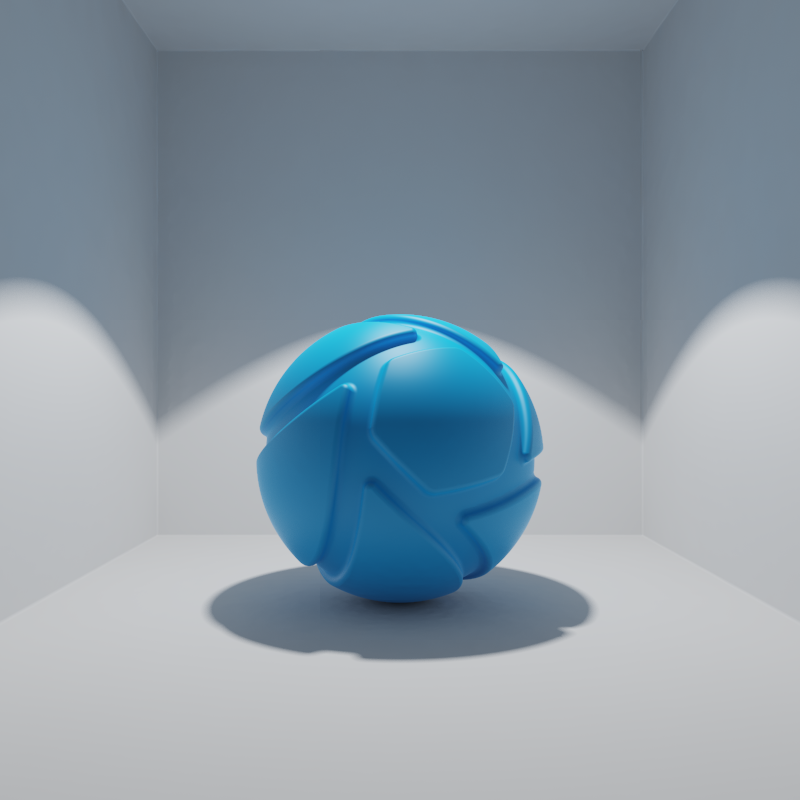
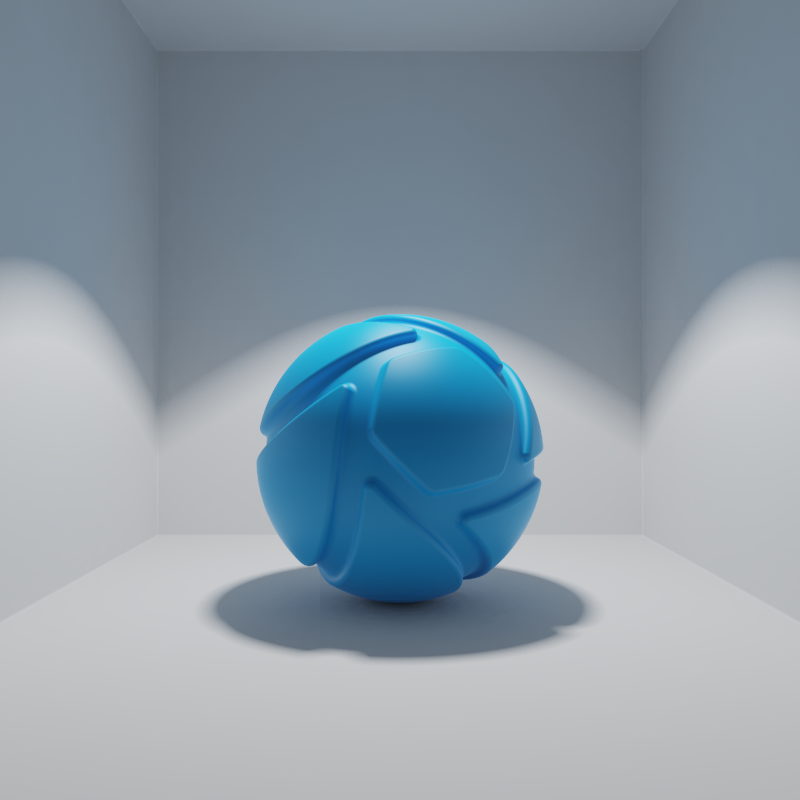
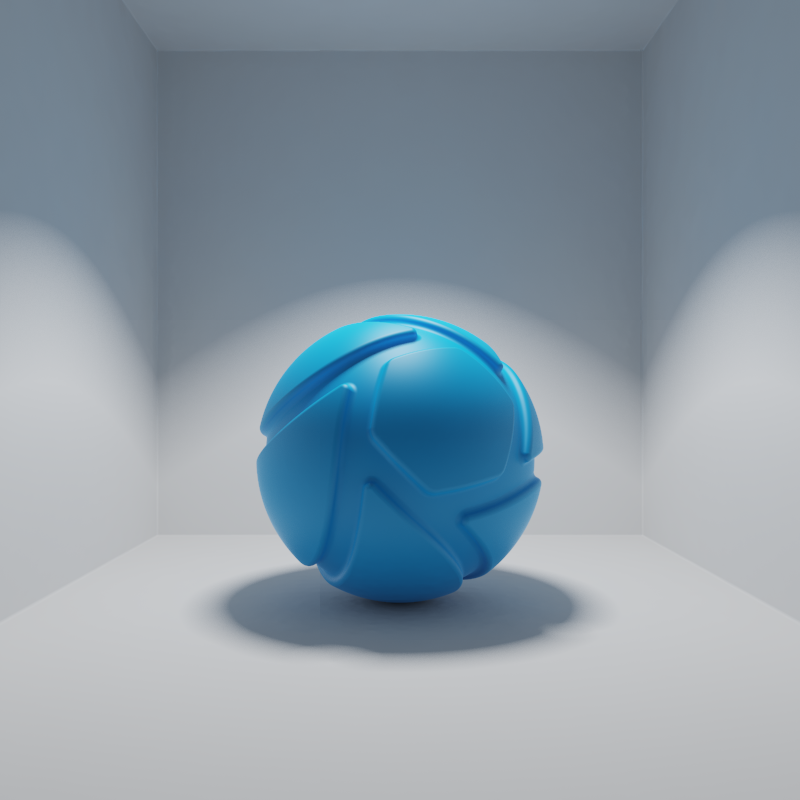
Radius = 0 mm | Radius = 5 mm | Radius = 10 mm | Radius = 20 mm |
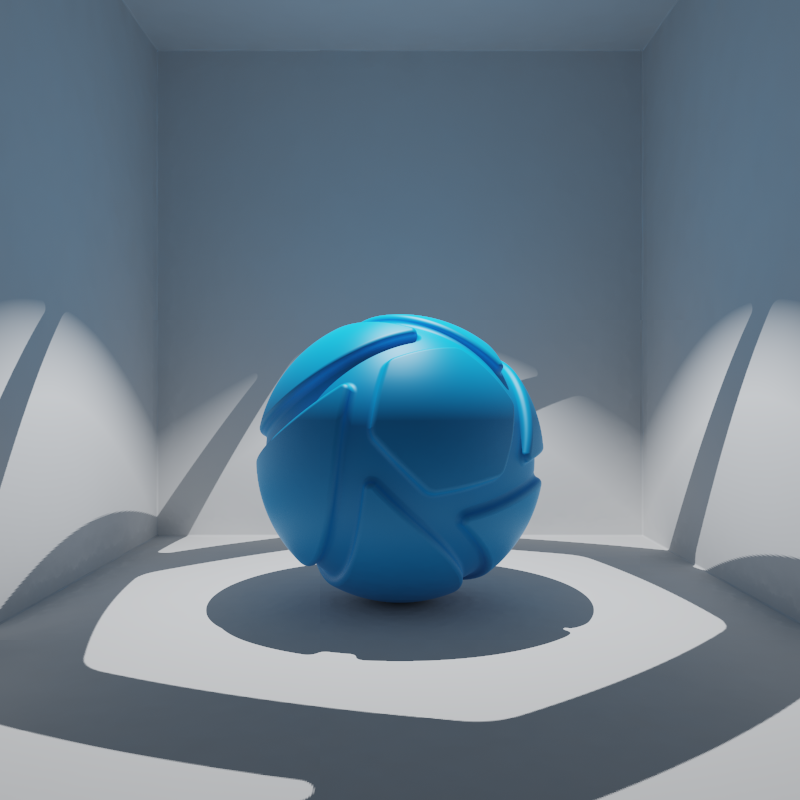
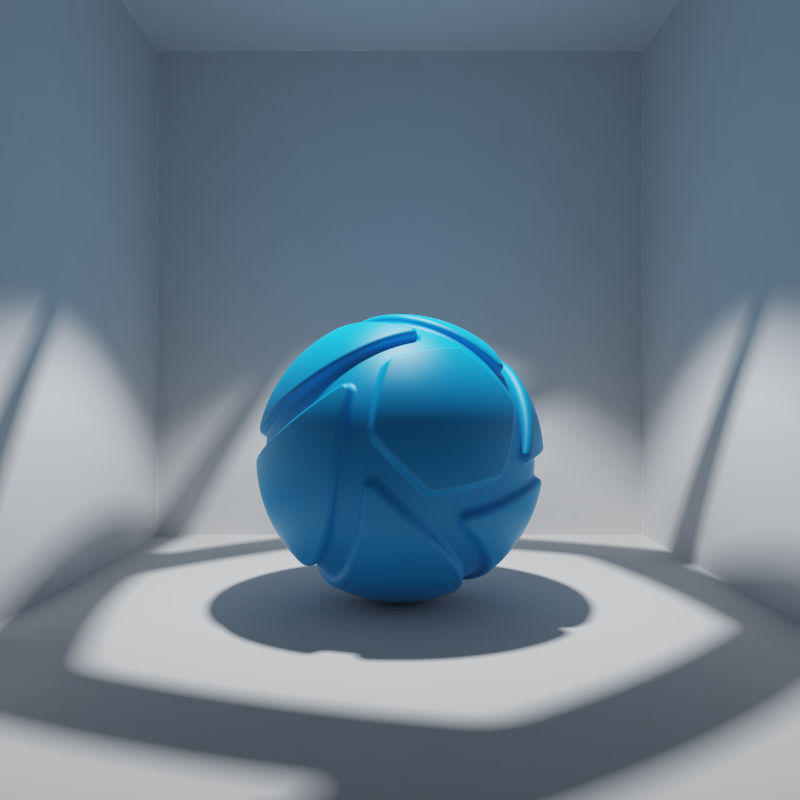
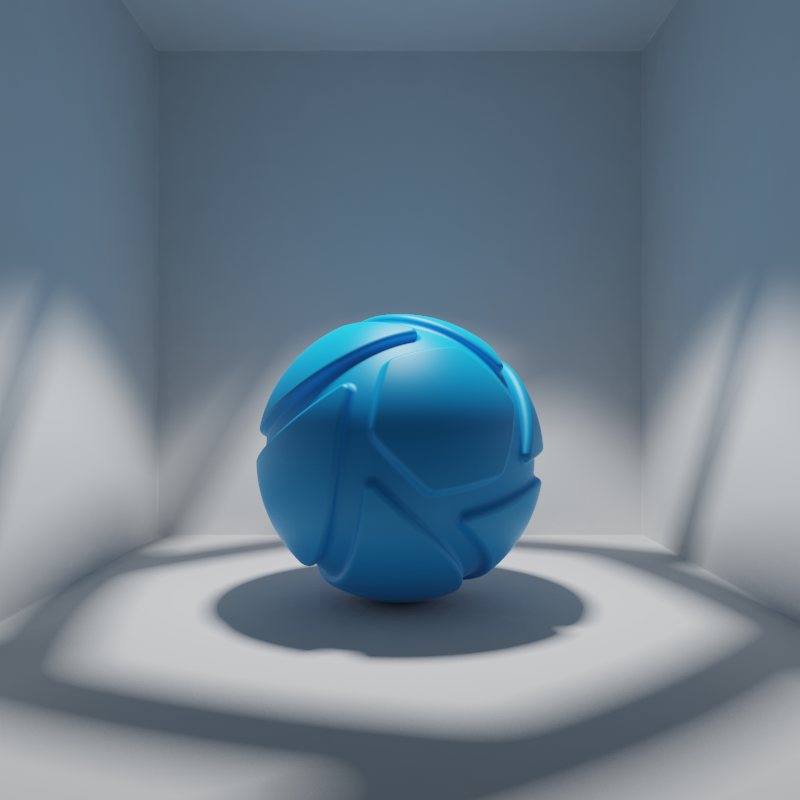
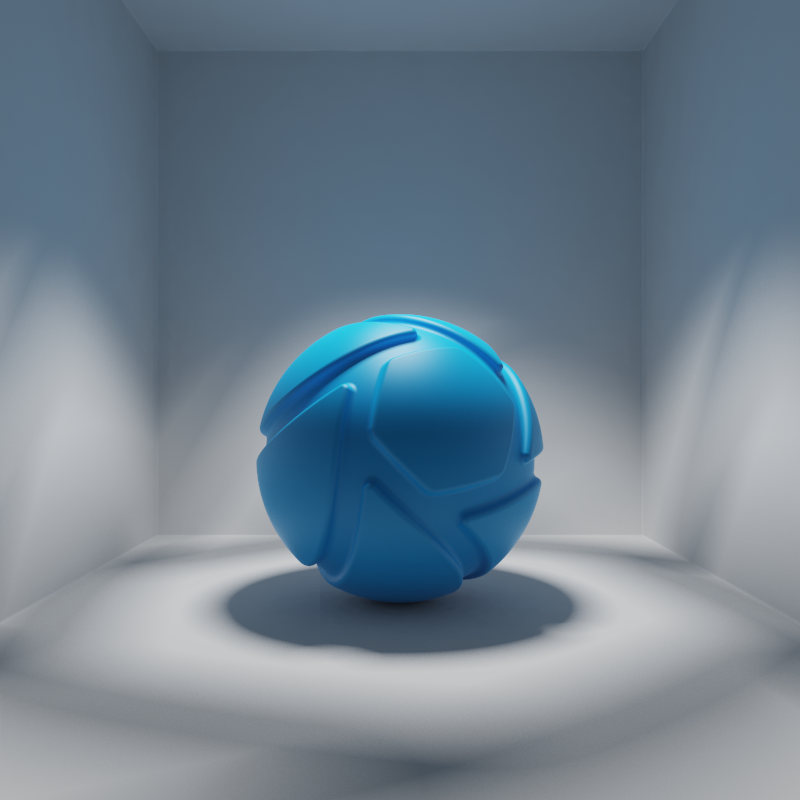
Radius = 0 mm | Radius = 5 mm | Radius = 10 mm | Radius = 20 mm |
Spotlight Gizmo
If you have enabled Show Light sources in the View menu (hotkey: L) you can adjust the your spotlight directly in the Real-time view. Simply select the light in the Real-time view, Scene tree or Light Manager, and gizmo becomes “active”.
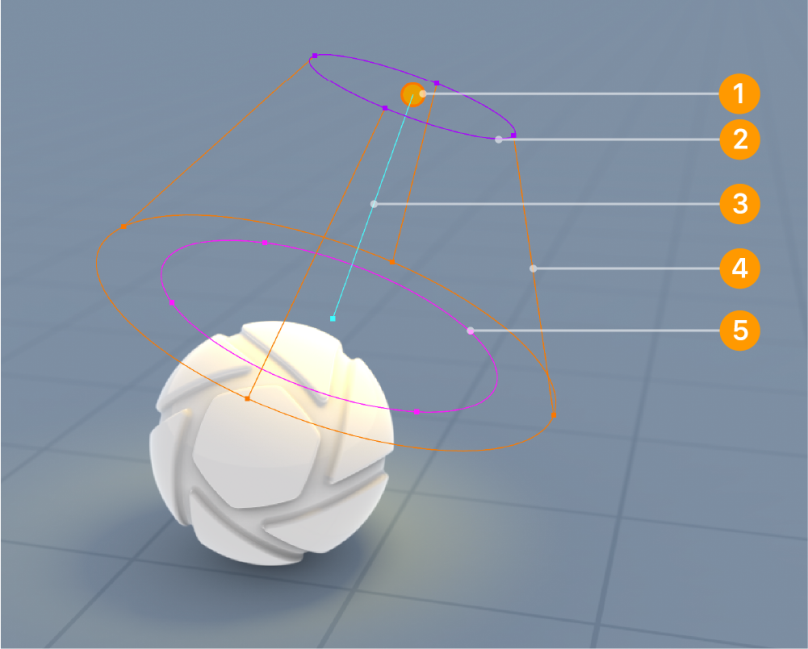
|