KeyShot Studio
Light Positioning
The Light Positioning tool can be triggered in different ways:
Last updated 3 August 2026
The  Light Positioning tool can be triggered in different ways:
- Right-click a selected Light in the Scene Tree and choose
 Light Positioning.
 - Right-click a part in the Real-time View and choose Light Positioning.
- Click the Light Positioning button in the Tools section of the Ribbon If no lights are selected, this will trigger a dialog, where you can choose which light you want to move.
- Use the hotkey Ctrl+L on Windows and Cmd+L on Mac. If no lights are selected, this will trigger a dialog, where you can choose which light you want to move.
Once you have selected a light, the Light Positioning tool will be visible in the Real-Time View.
Working with the Light Positioning Tool
You can adjust your light by selecting your preferred mode (3) and using Ctrl/Cmd+LMB on an object surface to position it.
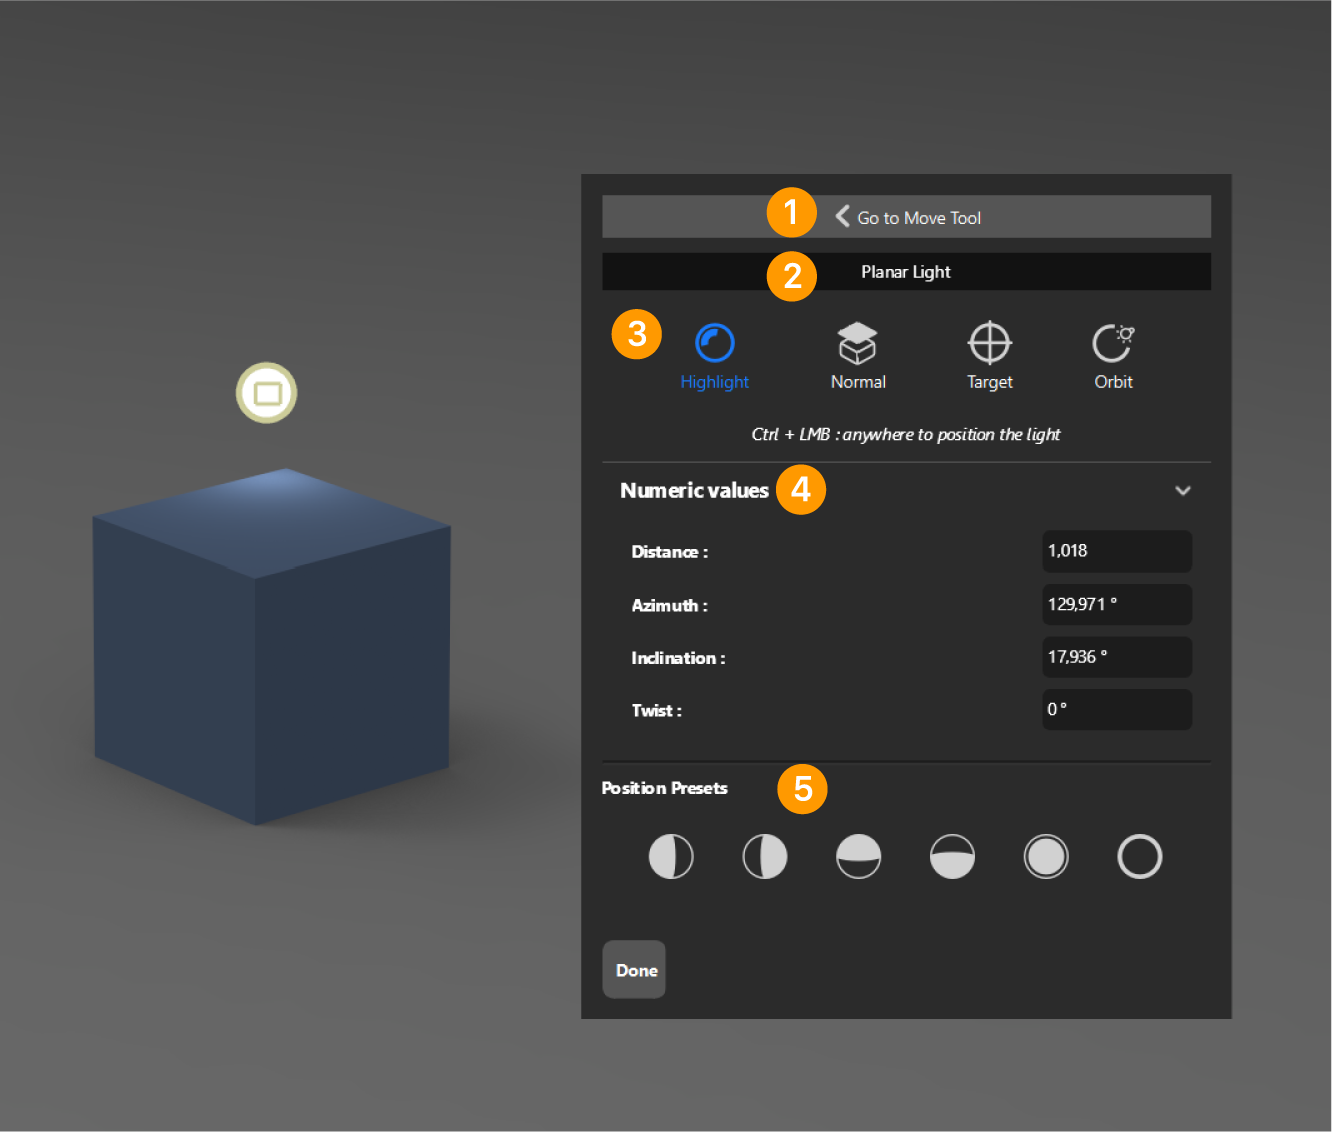
- Go to Move Tool Enables you to easily switch between the Light Positioning Tool and the standard Move Tool.
- Light Access This will reflect the name of the light object in the scene tree.
- Click once to access the light object in the scene tree.
- Double click to access the lights material.
- Mode Selection You can adjust your light by selecting your preferred mode and using Ctrl/Cmd+LMB to position it.
- Highlight - Positions light by reflection. This is useful for precise reflection control and artistic lighting.
- Normal - Positions lights perpendicular to an object surface. Ideal for fill lighting and placing lights directly above surfaces.
- Target - Points light directly at a Target. This helps emphasizing specific features with directional lighting.
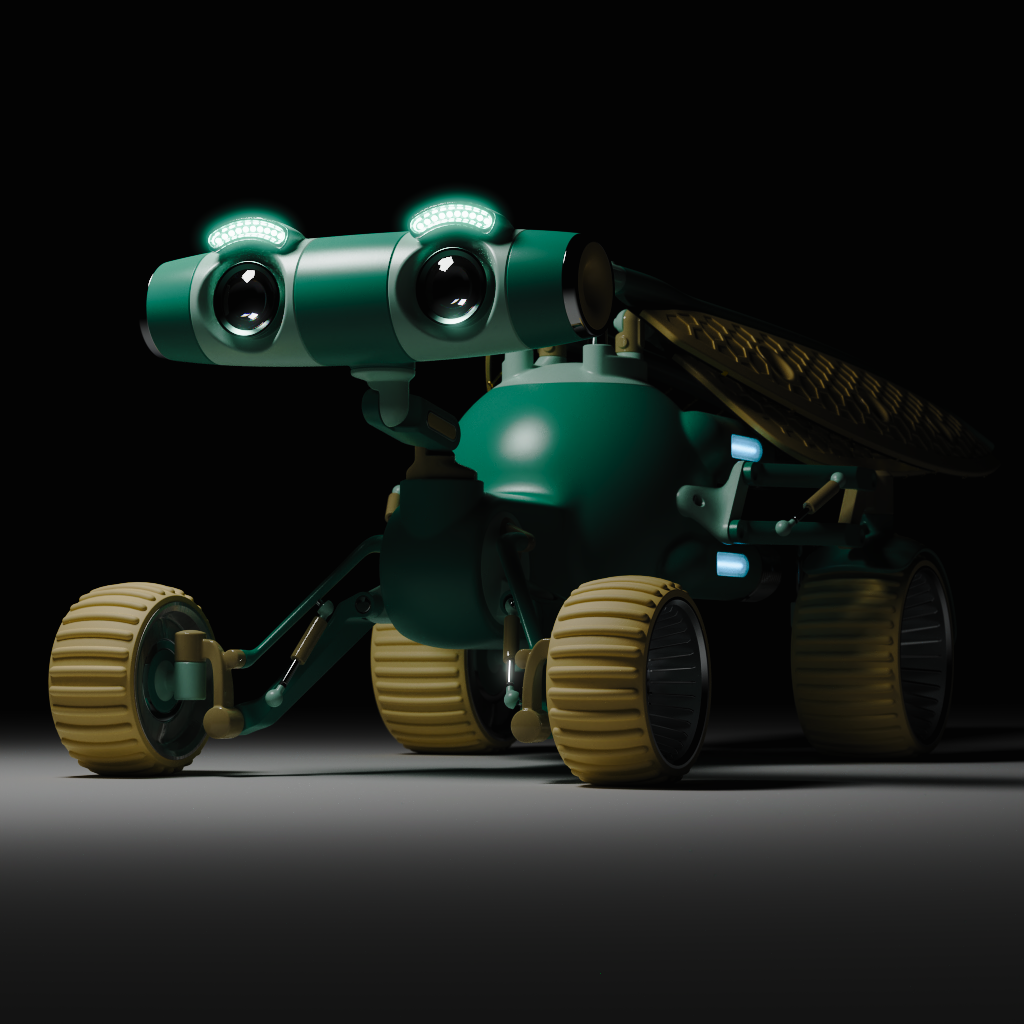
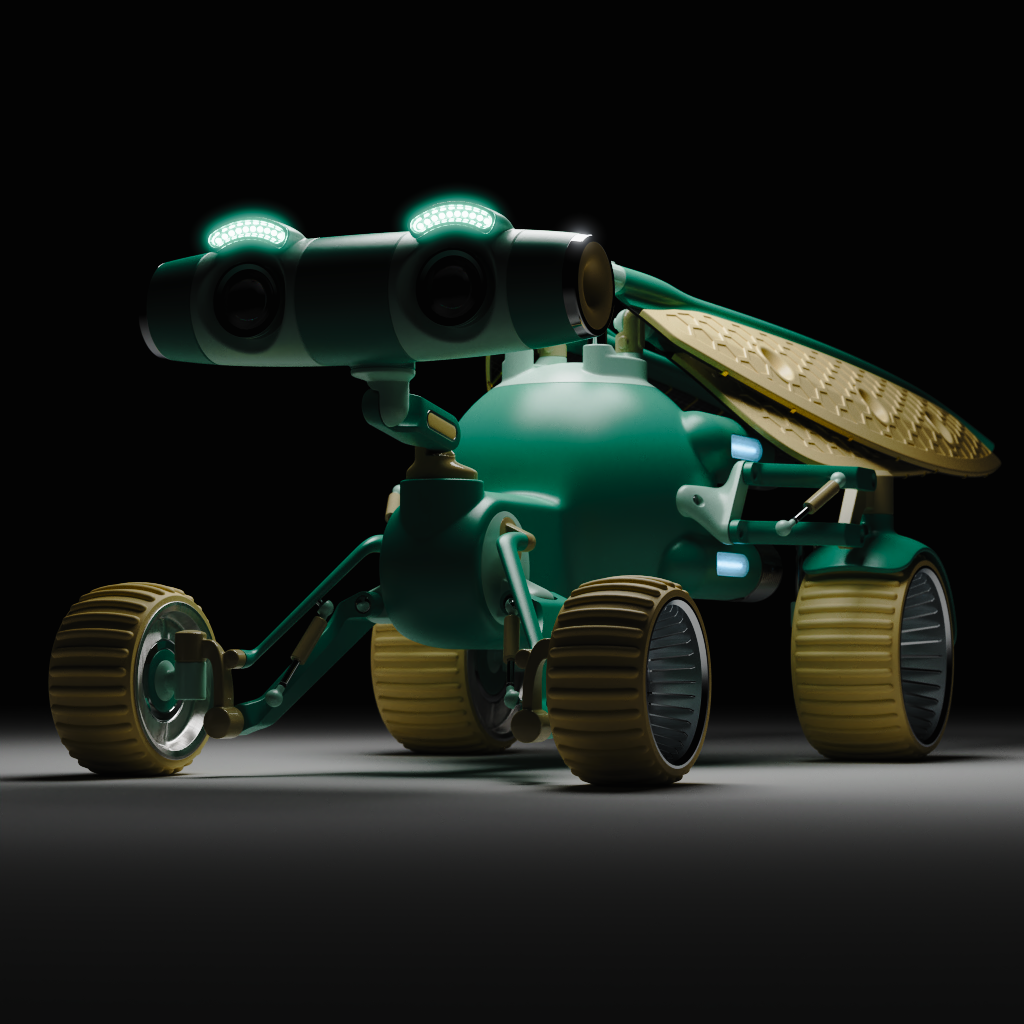
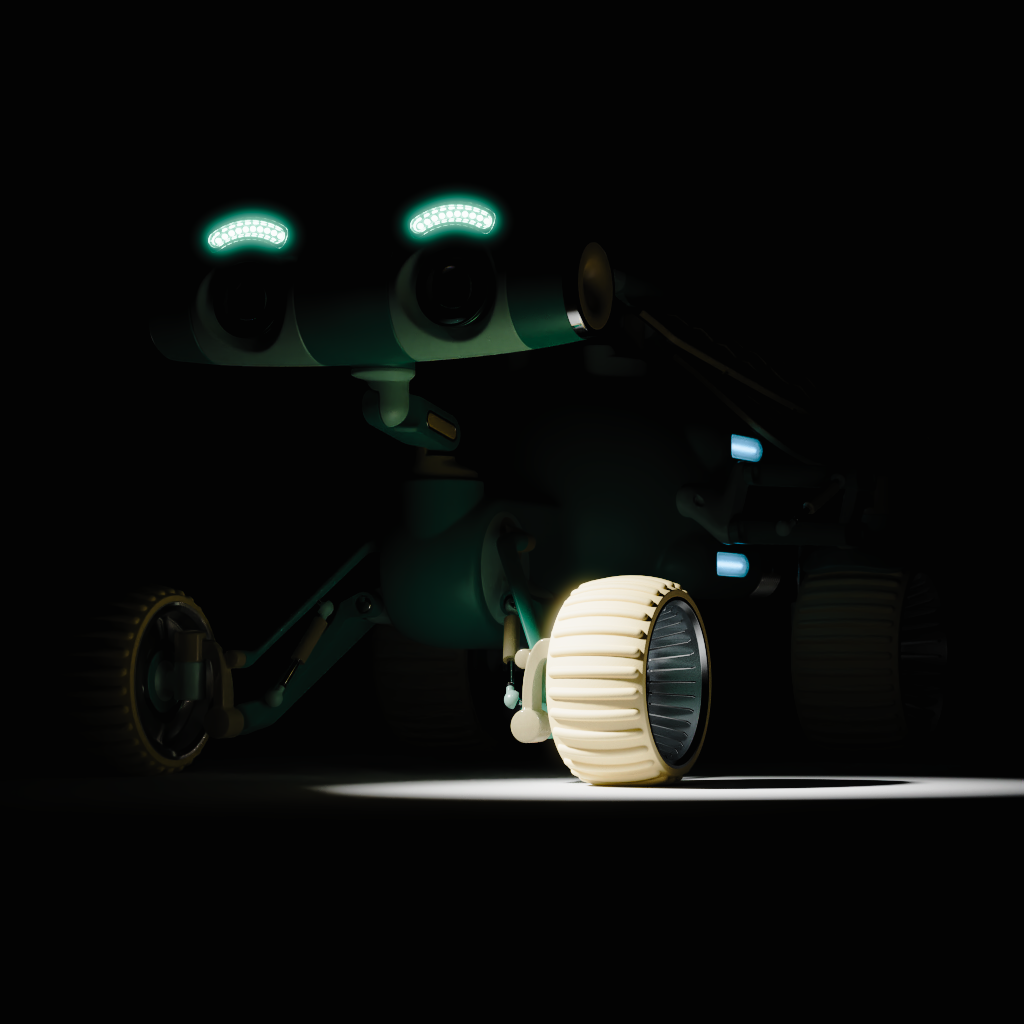
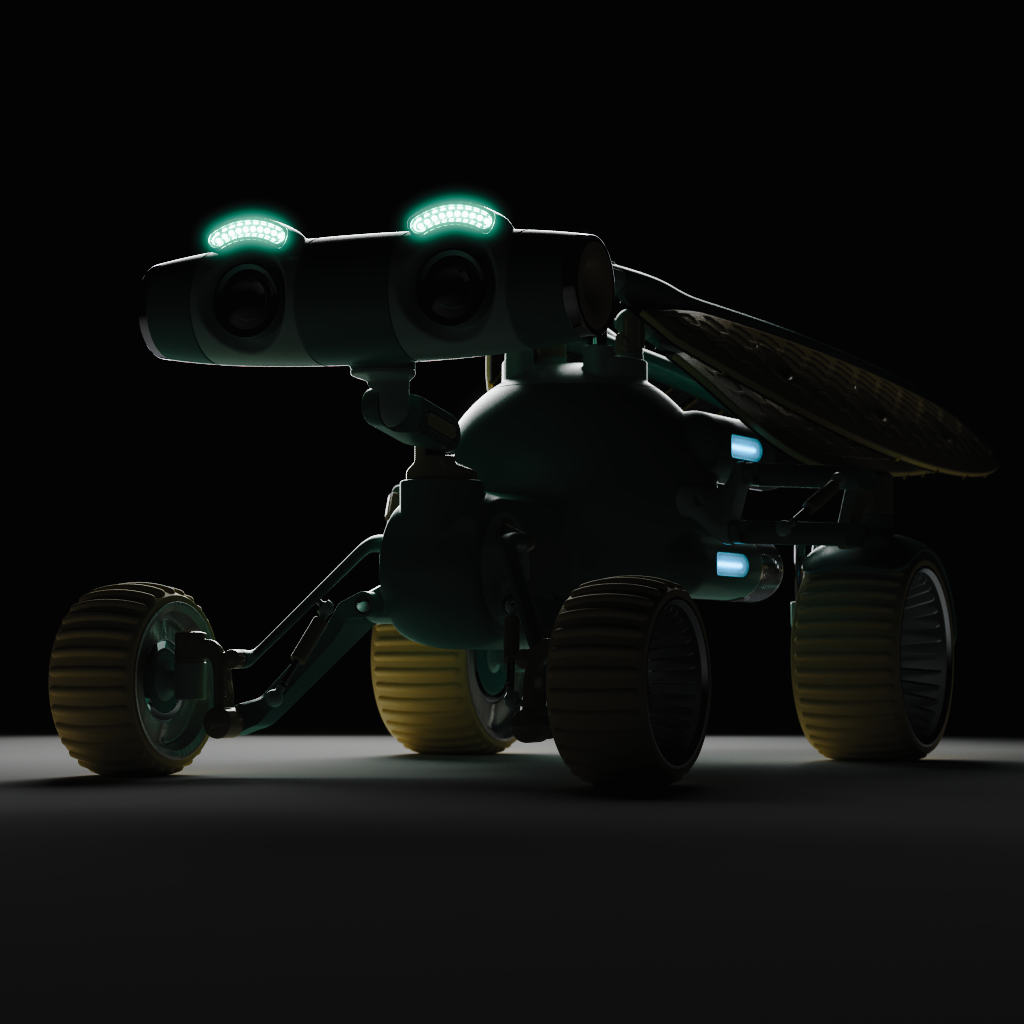
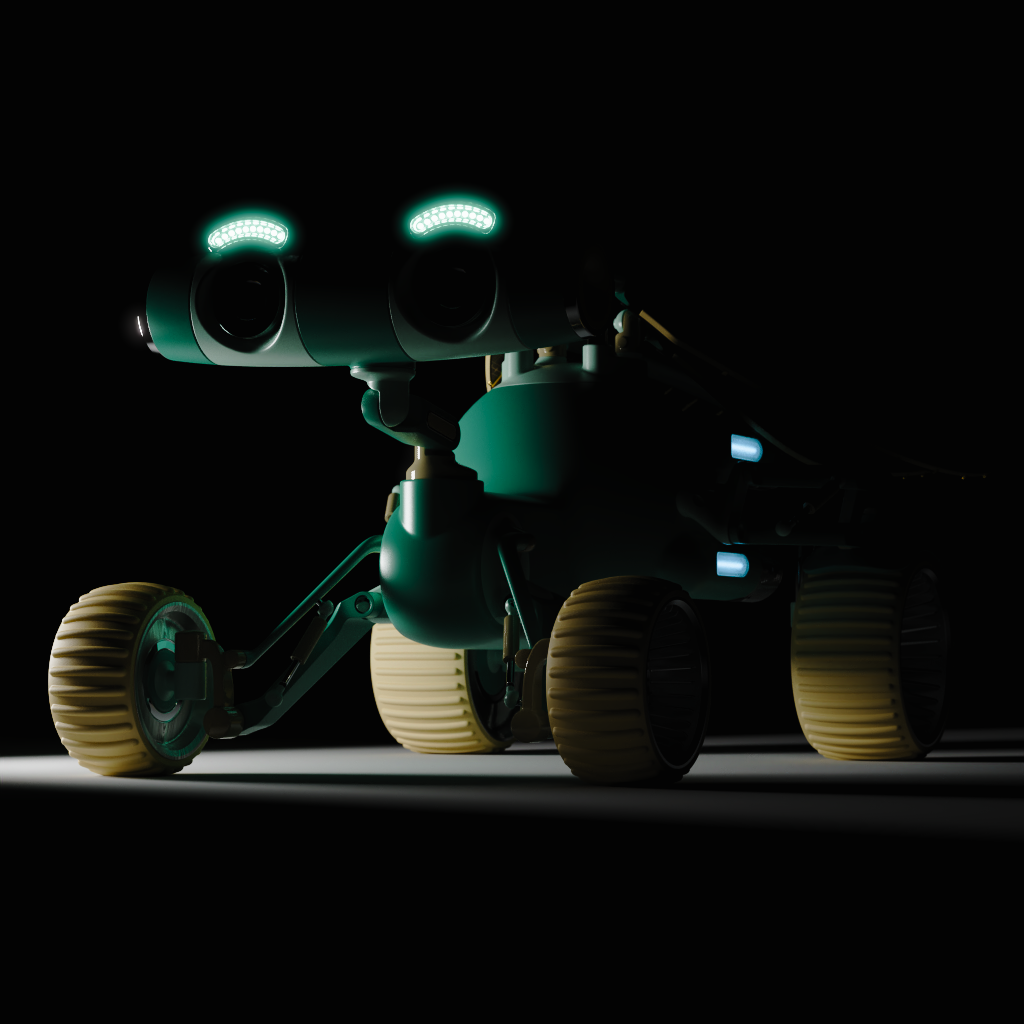
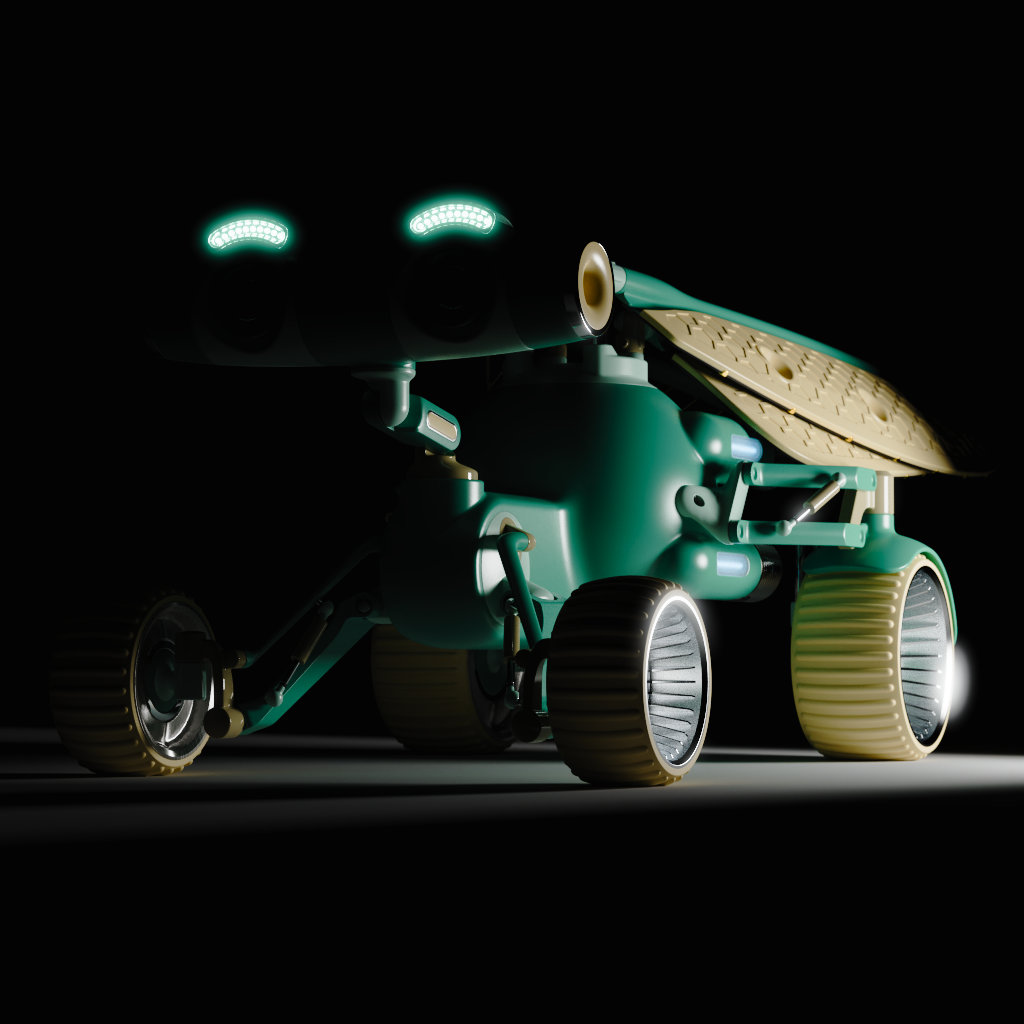
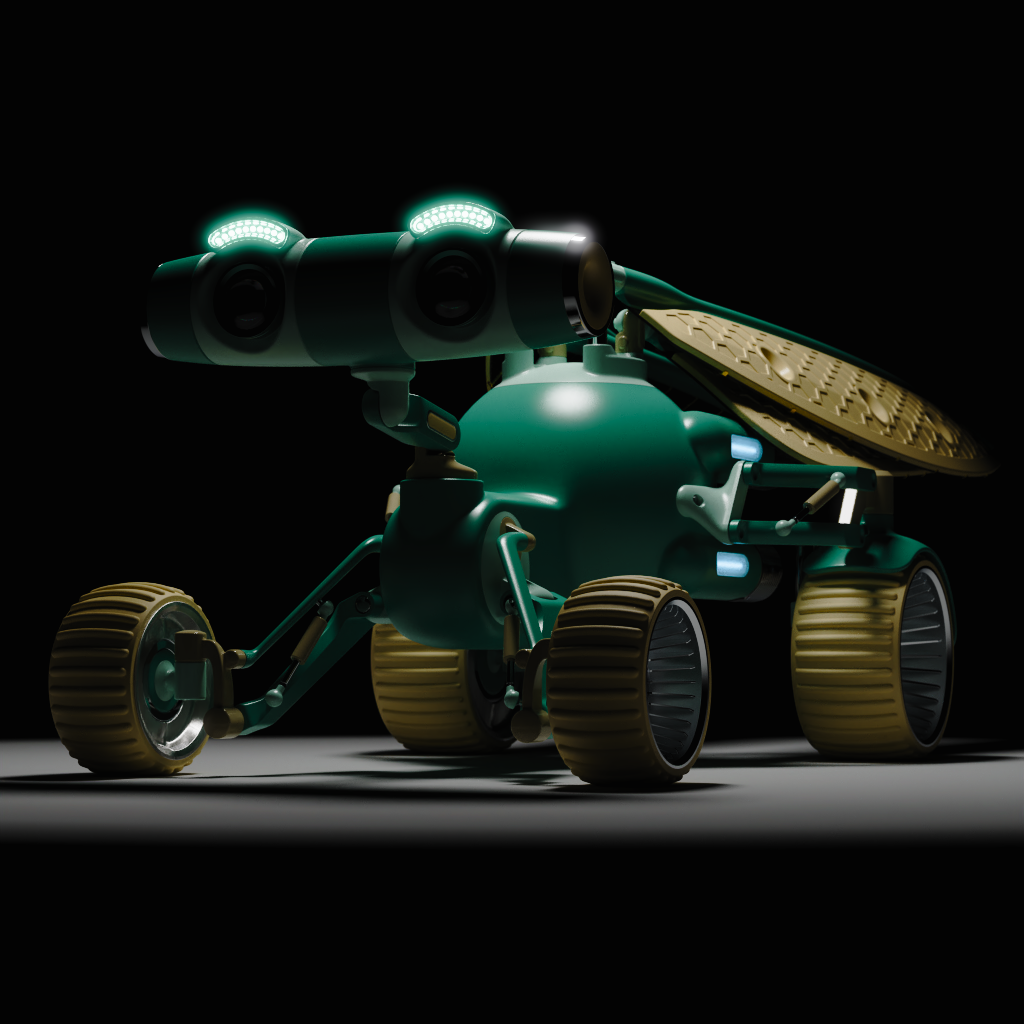
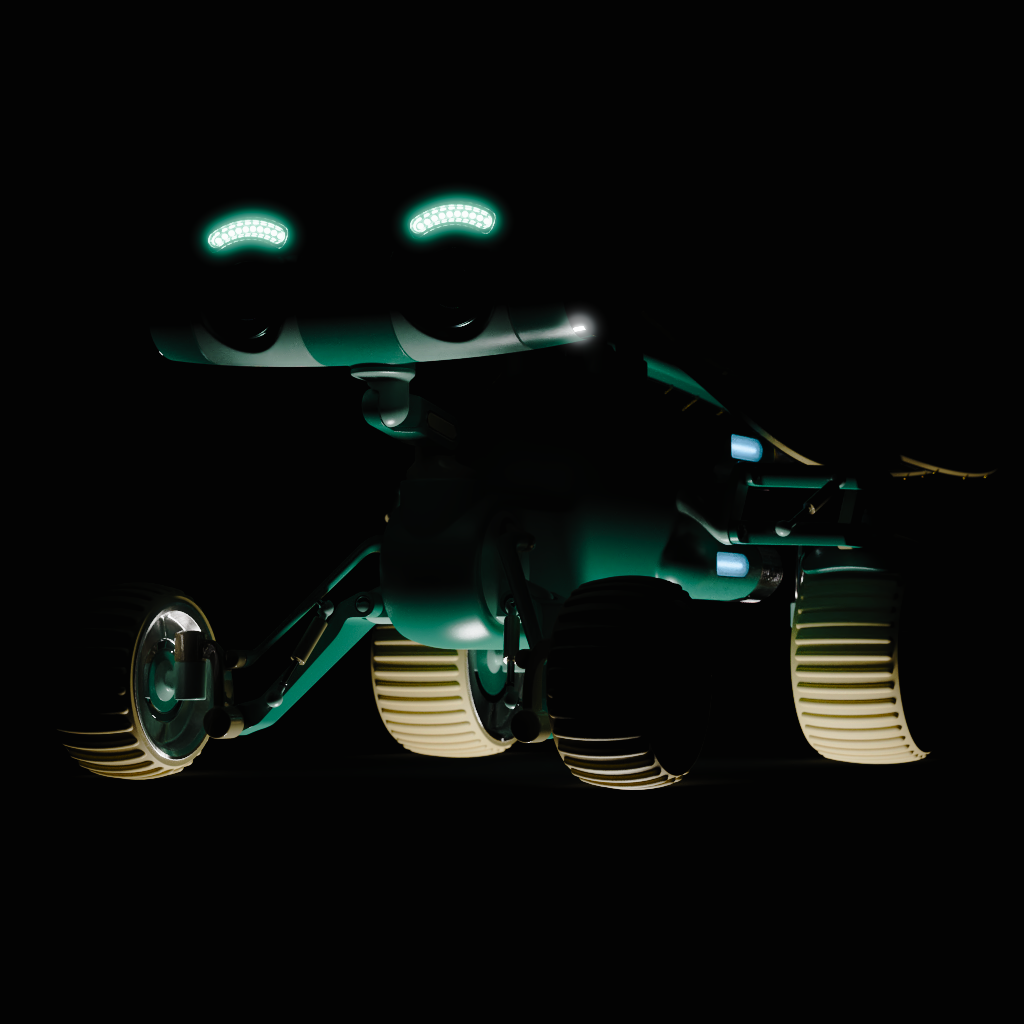
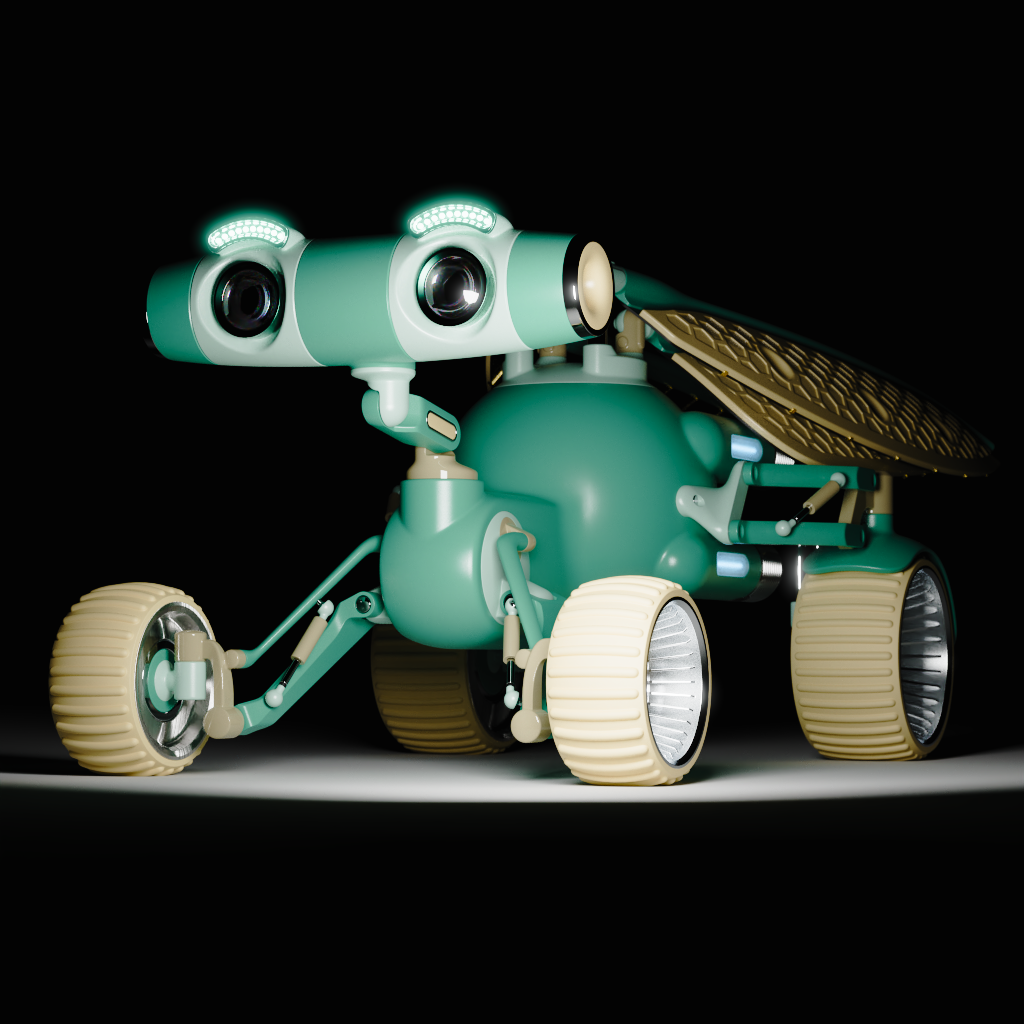
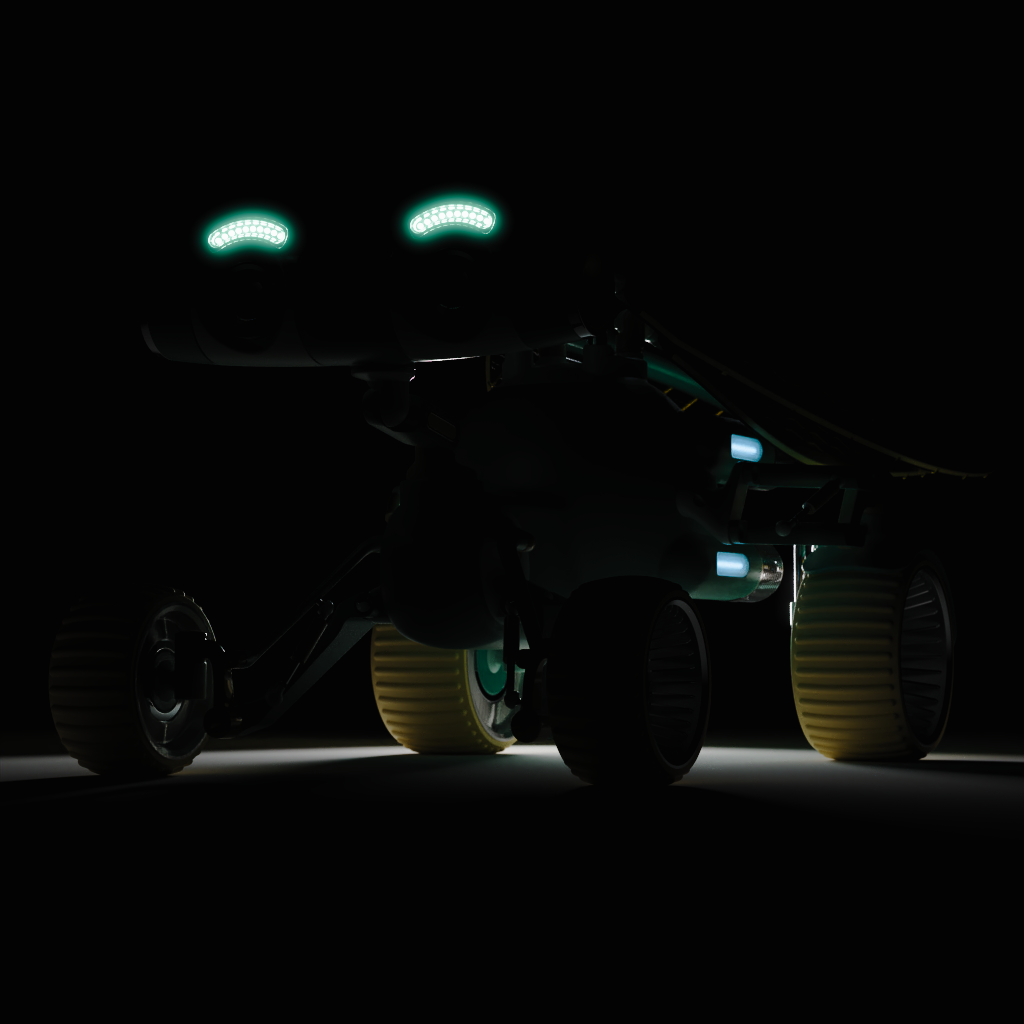
- Orbit - Orbits light around an anchor point. Ideal for adjusting rim lights and backlighting with precision. Positioning the highlight on the "head" of the robot.(a) Positioning the light as an overhead light.(b) Positioning a far-away light to target the front wheel of the robot .(c) Positioning a rim light behind the robot.(d)
- Numeric Values
- Distance - Distance between the light target and light in scene units.
- Azimuth - Rotation around KeyShot Studio up (Y) axis, measured in degrees.
- Inclination - Defines light tilt, or vertical rotation from horizontal plane.
- Twist - Twists/rotates the light around its own axis.
- Position Presets
Select one of the presets to quickly position your light around a model relative to your active camera.
The examples below show the six presets with a distance of 1500mm.
|
|
|
|
|
|


