Use the Image Tab in Veras to set up images, write prompts and control rendering.
Overview
The Image Tab contains the image controls in Veras. This article covers:
- Toolbar
- Walk through the 3D view
- Image Model
- Source
- Reference Images
- Style Chips
- Prompt
- Aspect Ratio and Resolution
- Render dropdown
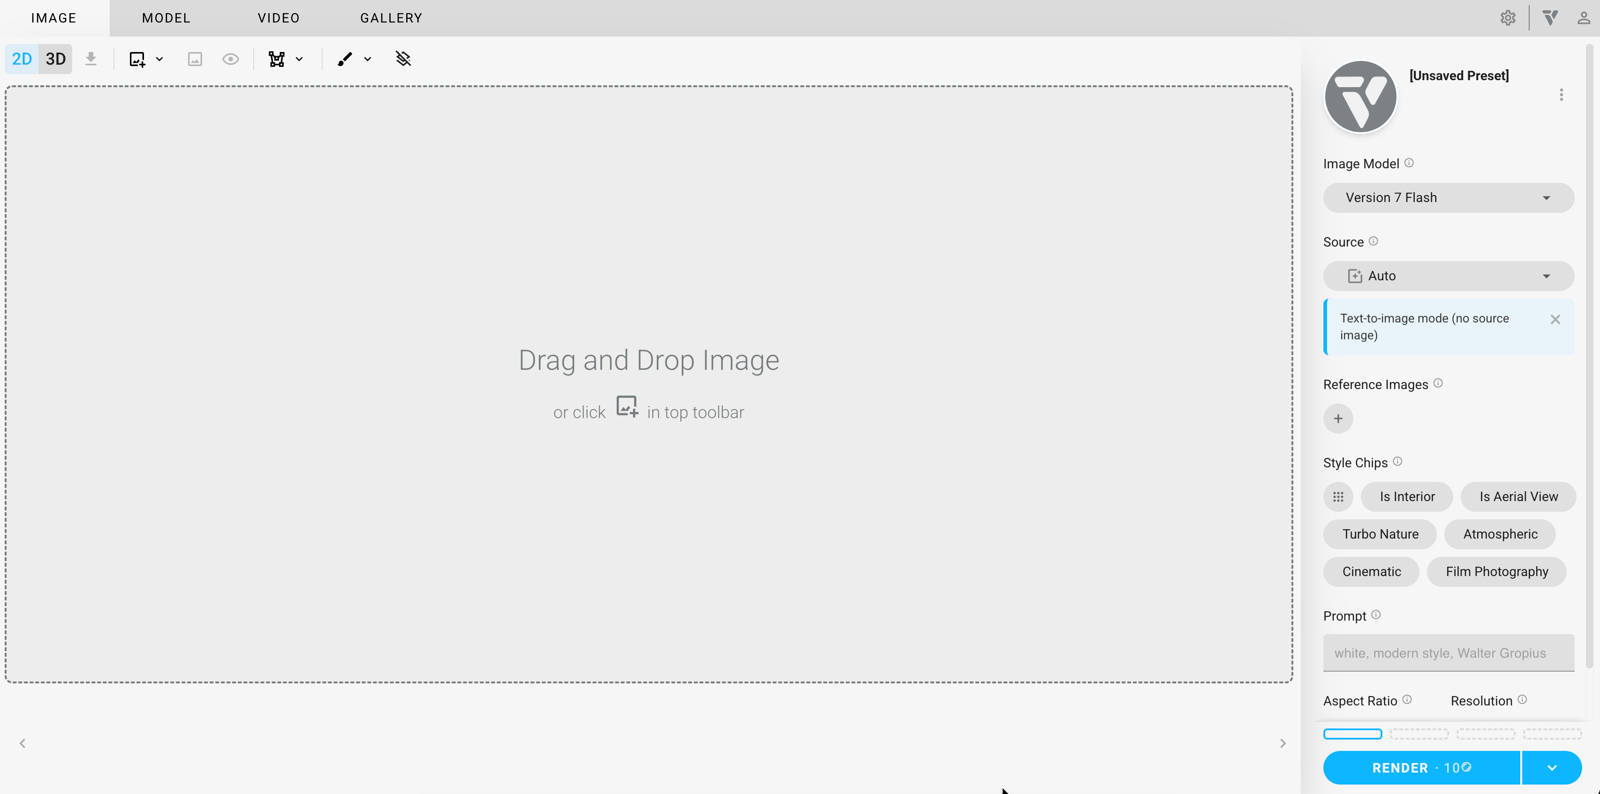
Toolbar

2D Mode

3D Mode
Icon per mode | Action | Icon per mode | Action |
|---|
Icon per mode | Action | Icon per mode | Action |
|---|---|---|---|
2D Mode enabled | 3D Mode enabled | ||
Download saves the render result to your computer. | |||
Image Upload | 3D Model Upload | ||
Show Preview | |||
Show/Hide Original Image | |||
Zoom camera to model extents fits the model in view. The dropdown menu also contains FoV, Sun elevation, Sun position and Sun intensity. | |||
Display style lets you choose Shaded, Arctic Clay or Textures Clay. | |||
The Render selection dropdown lets you choose Draw Shapes, Select by Material, or AI: Select by Category, Object, Material, or Prompt. See the Visual examples page for examples of Replace and Modify modes. | |||
Render Selection Blend blends your selection with the rest of the image. Adjust the slider from 0 to 100. | |||
The Sketch Tool dropdown lets you choose Freehand, Straight line or Curve line. Set the line colour and thickness. | |||
Show/Hide Sketches and inserted images on the canvas |
Walk through the 3D view
You can use first-person navigation in the 3D viewers.
- Use W / A / S / D to move, Q to move down and E to move up.
- Left-drag to look around.
- Movement speed adapts to the scene size, from a single asset to a whole building.
- Navigation uses physical key positions, so AZERTY and QWERTZ keyboards also work.
- Click inside the 3D view to use the navigation keys. Letter shortcuts elsewhere in the app still work.
Image Model
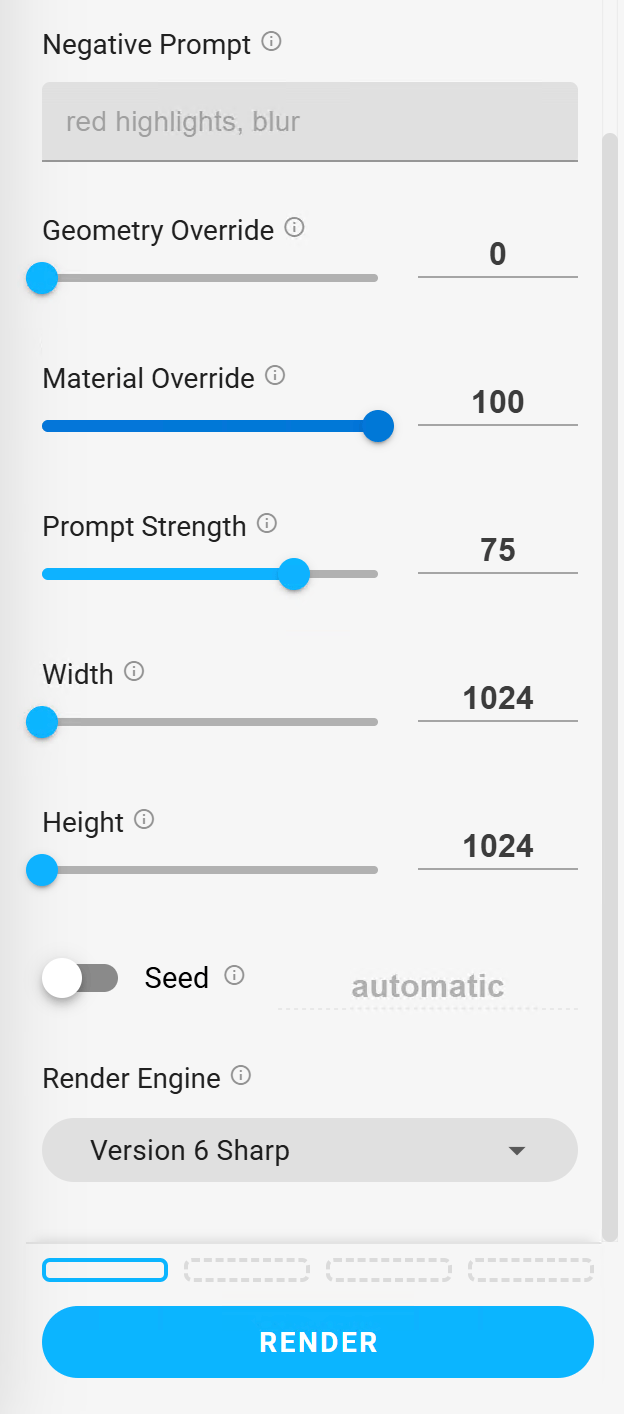
Choose from these Image Models:
- Version 7 Flash
- Version 7
- Grok Imagine 1
- Version Sharp
- Version 6
- Version 5
- Version 4
See the Image Models page for details about each option.
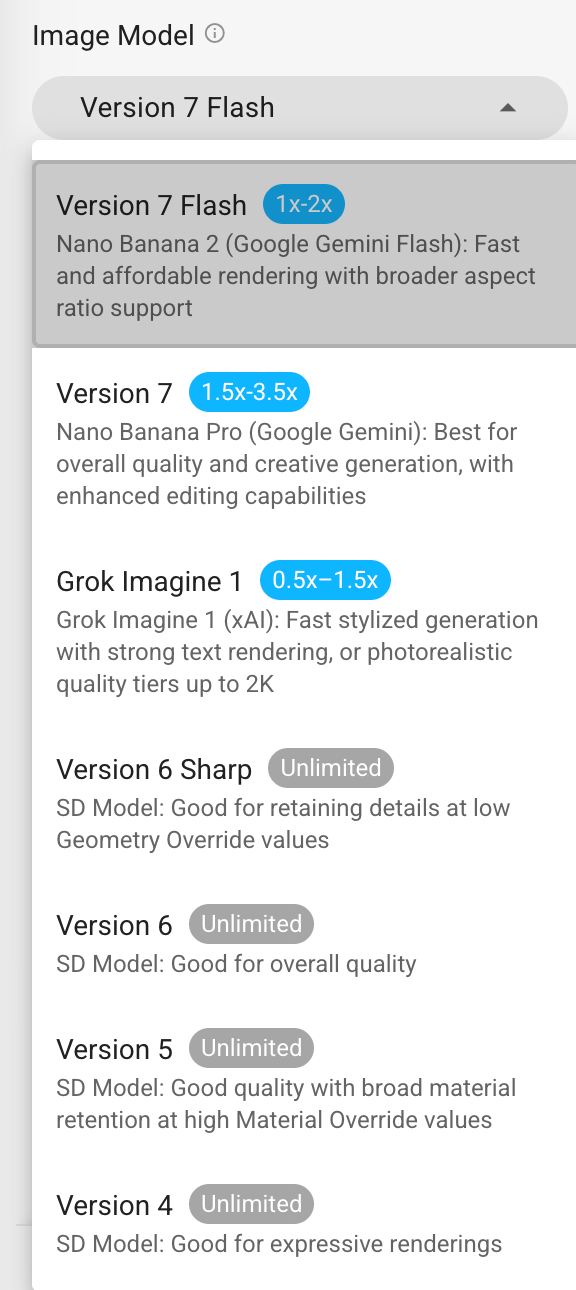
Negative Prompt reduces or removes specific content, aesthetics or styles from the render. It is linked to Prompt Strength.
Geometry Override controls how much the geometry changes from the original model. Low values retain more geometric detail. High values allow more changes.
Material Override controls how much the appearance changes. Low values stay closer to the original appearance. High values change it and produce more dynamic colours.
Prompt Strength controls the effect of the prompt. Low values produce muted results. High values produce more dramatic results.
Width sets the width of the render resolution.
Height sets the height of the render resolution.
Seed lets you reproduce previous render results, even with different geometry. When enabled, select a past render to use its seed or enter a seed manually.
Source
Source sets the starting image for your render. Choose from:
- Auto
- Host platform Image
- Rendered Image
- Manual Upload
- 3D Viewer
- None
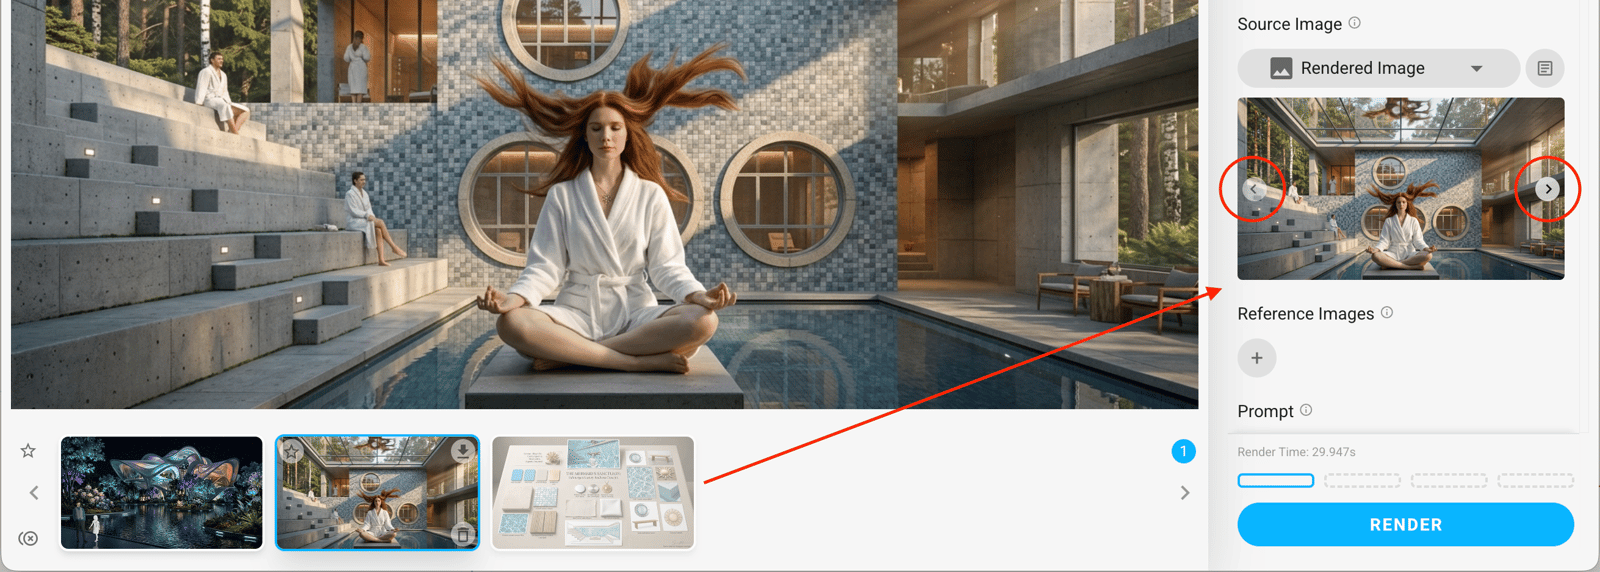
Multiple image upload
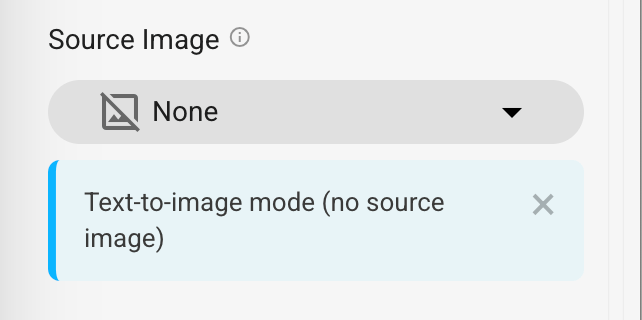
Source Image set to None
Describe Image uses the Florence 2 AI model to write a description of your source image. Choose the detail level: Short, Medium or Long.
Use the image description to help write a prompt when you cannot find the right words. You can also use it for further design work or documentation.
Use the description as a starting point for your prompt, copy it to the clipboard with one click or cancel while it is being generated. Changing the source image automatically clears the previous description.
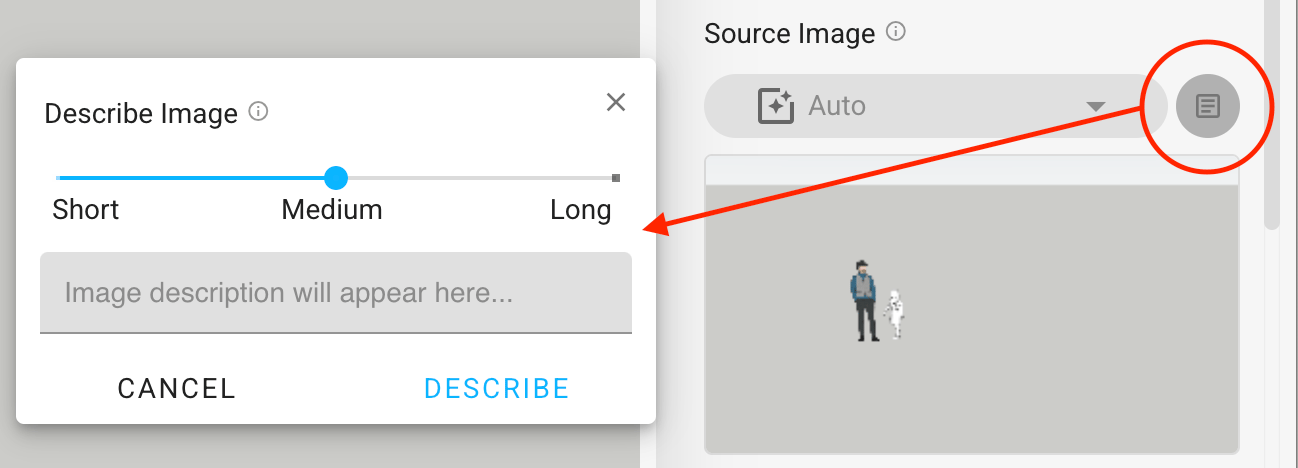
Describe Image
Reference Images
Use Reference Images to add images that guide the AI.
Choose how the AI uses each reference image:
- Style Reference uses the image's artistic style, rendering technique and visual treatment to guide the output.
- Material Reference replicates the image's exact colours, textures, patterns and surface characteristics. Provide a close-up sample of stone, wood grain, fabric or another finish for the AI to apply to your scene.
- Color Reference analyses and isolates the image's colour palette, lighting mood, colour temperature and atmospheric characteristics.
- Object Reference identifies objects in the image and adds them to the output. Provide a photo of furniture, fixtures, casework or other design elements, such as a chair, light fixture or planter, for the AI to place in your render.
- Design Lock applies the architectural design language of a reference image to your render. It replicates detailing, trim profiles, railing patterns, moulding proportions and panel layouts while keeping your model's primary structure. See the Design Lock article for details.
- Custom lets you describe how you want the AI to use an attached reference image.
Choose a source for the reference image:
- Manual Upload
- Host platform (SketchUp is shown here)
- Rendered Image
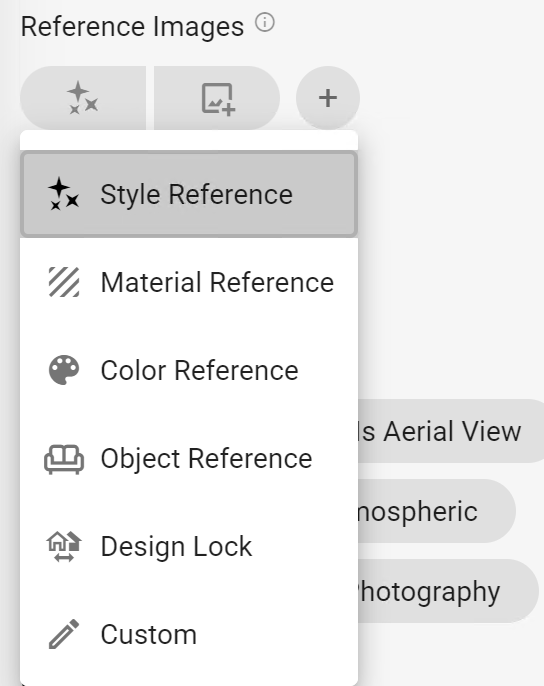
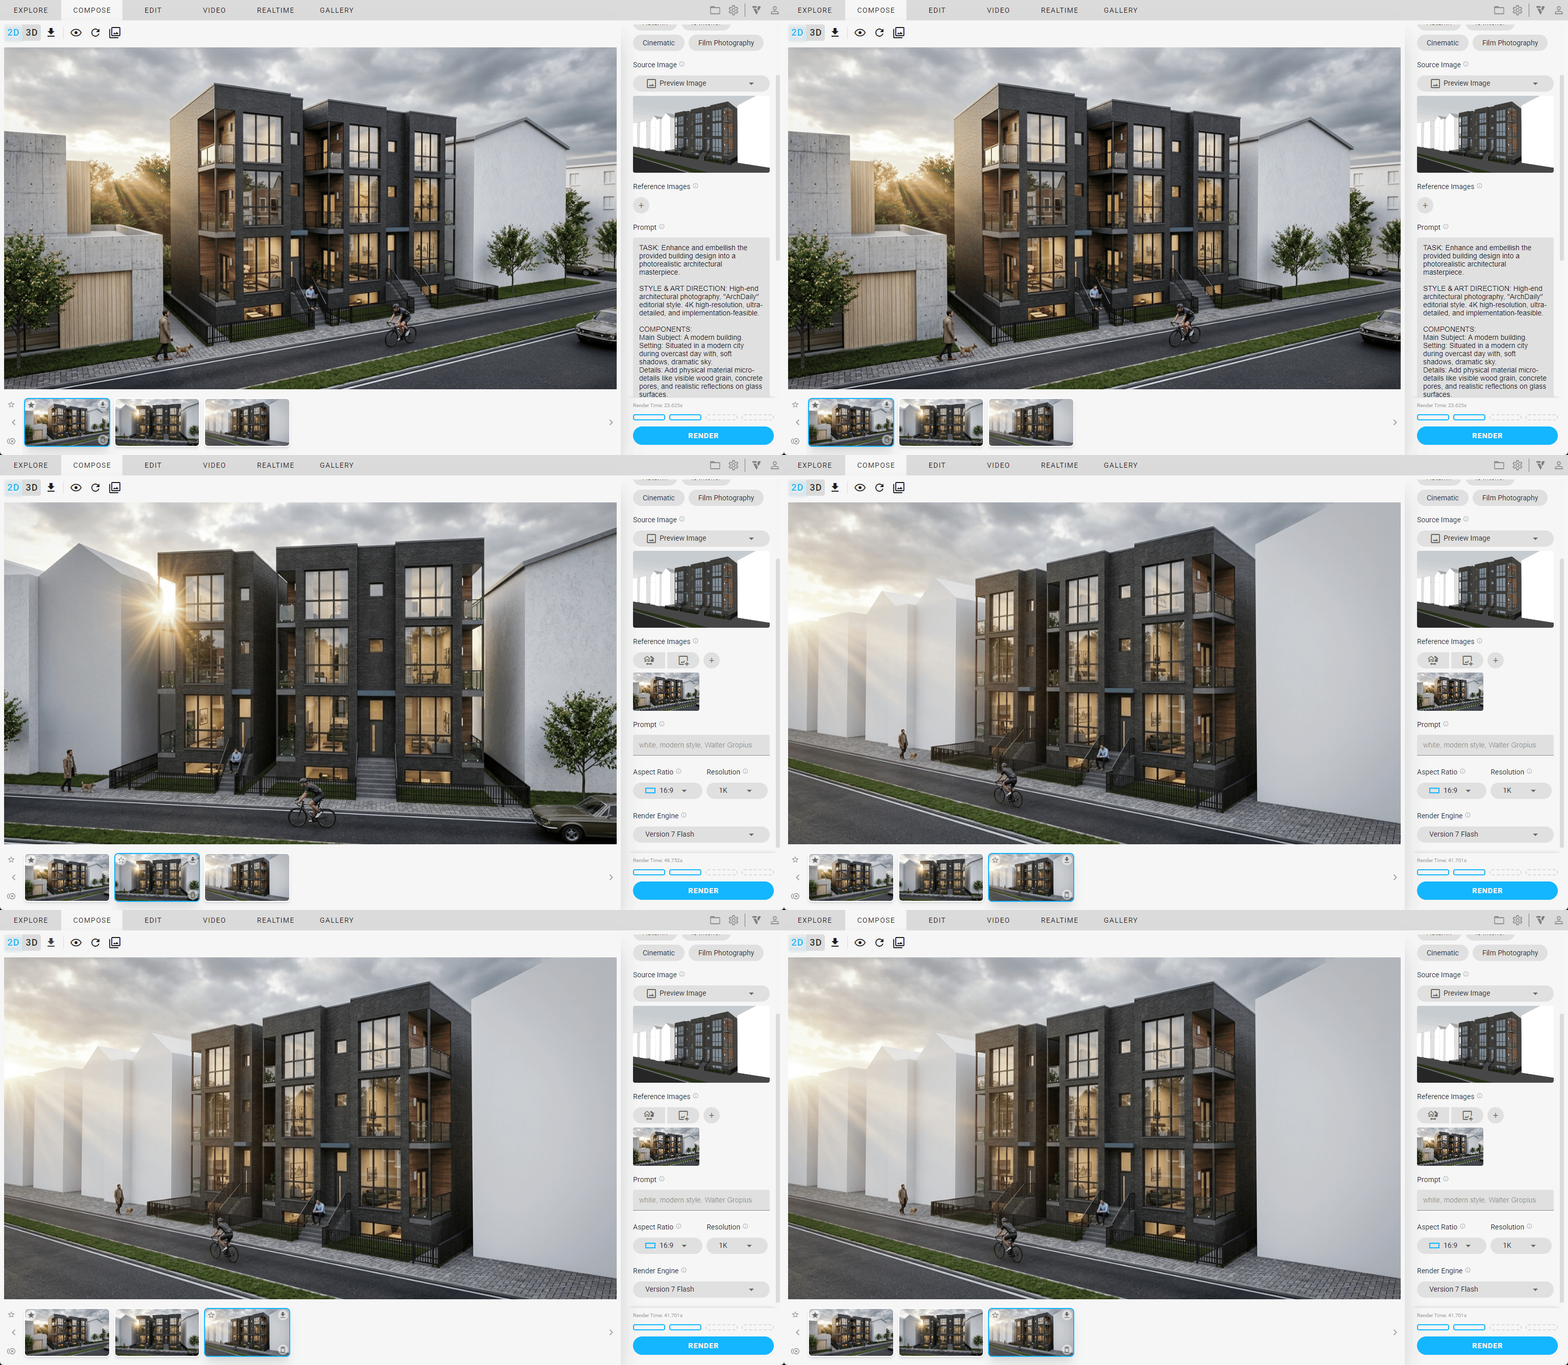
Design Lock example
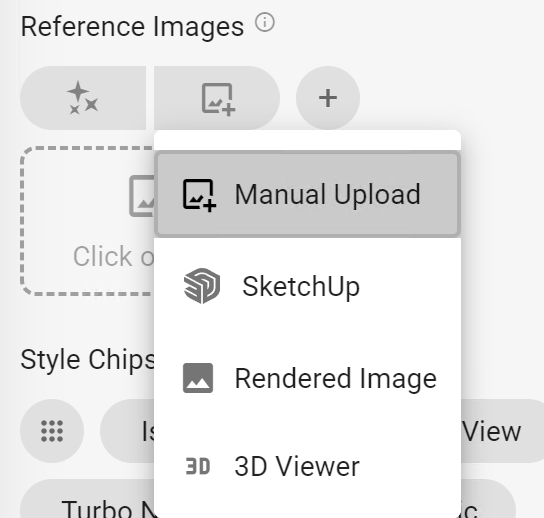
Reference Images from the Host platform
Style Chips
Style Chips add predefined text to your prompt when rendering. Click the 9-dot icon to open the Style Chips panel.
- My Style Chips contains your custom style chips. Click a chip to add it to your prompt, or use the pencil icon to edit it.
- Veras Style Chips contains built-in style chips selected by Veras for common rendering styles.
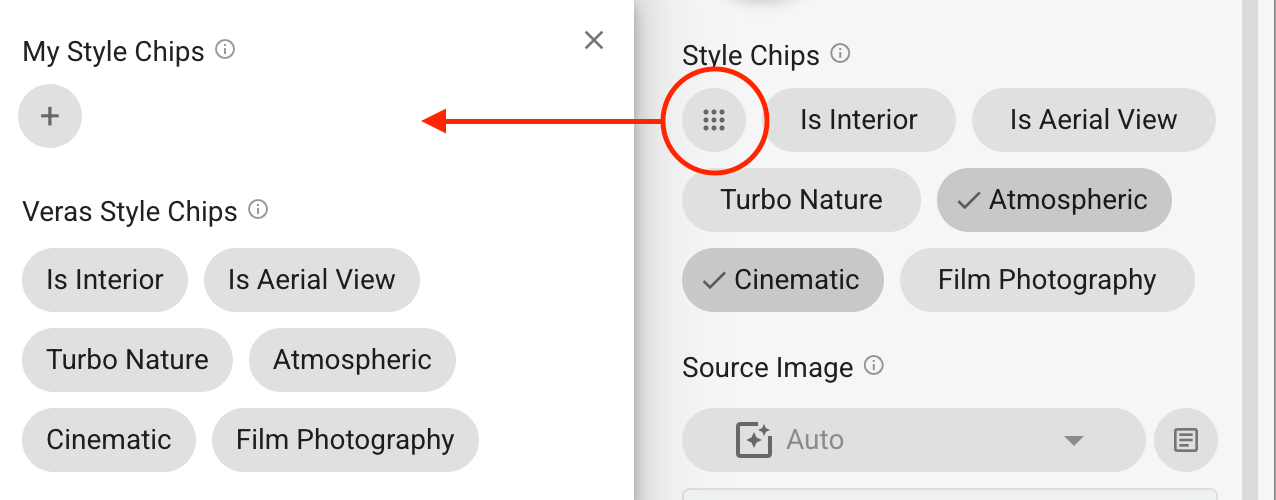
Style Chips
Prompt
Prompt is the text description that tells Veras what to create. Include the subject, style, mood and details.
Aspect Ratio and Resolution
The selected Image Model determines the available options for these settings.
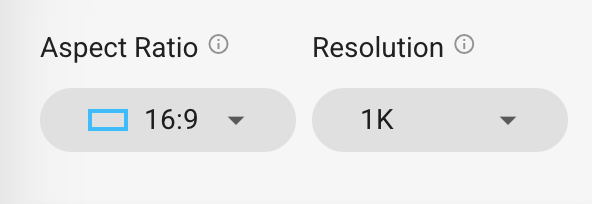
Aspect Ratio sets the proportions of your renders.
Use Resolution to select the Output Resolution.